An oil cooler is a must on your motorcycle. Whether you do touring or just drive it around town at night, keeping your oil as cool as possible will keep you from having to do major repairs to your motorcycle. Oil coolers do wear out, just like any other kind of dissipating heat device that is under pressure, but you can replace an oil cooler easily. All you need is a couple of free hours and you will be back on the road, worry free.
Start your motorcycle, and idle it until the engine is at running temperature. Turn the motorcycle off. Place a drain pan under the motorcycle and use a socket wrench to remove the oil drain plug. Drain all of the engine oil from the motorcycle.
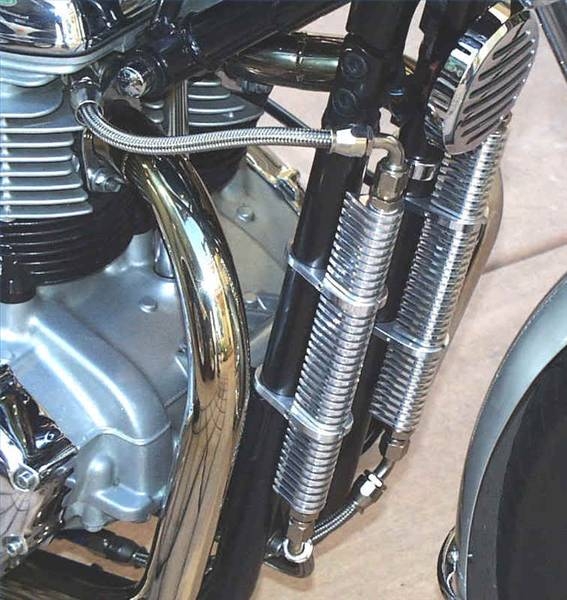
Disconnect the two hoses from your old oil cooler by loosening the hose clamps with a flat head screwdriver. Pull the hoses off the cooler.
Locate the attaching hardware for your old oil cooler. Some are attached using a plastic clip tie. Break the tie with your screwdriver and pull the old oil cooler off your motorcycle. Some oil coolers use hardware with locking nuts and bolts. Use a socket wrench to loosen and remove the nuts and bolts, and then remove your old oil cooler.
Place your new oil cooler in the same position as the old one. Connect the attaching hardware again, putting it in the same place as the hardware that attached the old cooler.
Reconnect the two hoses to your oil cooler and tighten the hose clamps. Refill your engine oil to your motorcycle's specifications, and you are done.