Starting in the late 1990s, many car manufacturers started making cabin air filters standard equipment on new cars. Cadillac was an early leader of this trend, and they're still installing them today in models like the CTS. These filters help make the air inside the passenger cabin cleaner and free of particles that may aggravate passengers with allergies. They tend to become clogged after about a year of use, but can become clogged sooner if the car is frequently driven in dusty environments.
Look on the passenger's side under the hood, right up against the firewall and windshield. You will see a wide rubber sheath about 16 inches long. Pull this sheath back toward the windshield, exposing a vented plastic plate.
Use an adjustable wrench to remove the four bolts on this plastic plate, then remove the plate.
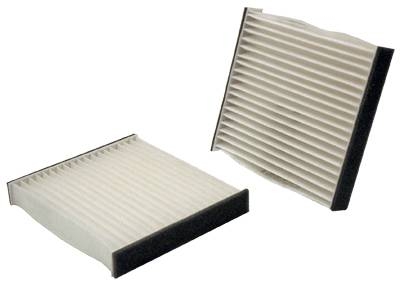
Pull out the plastic cabin air filter housing, which is just beneath the plate. Pull the old filter out of the housing and set it aside.
Slide the new filter in the housing. Take note of the printing on the side of the filter that indicates the direction of air flow; you want the arrows pointing toward the back of the car.
Slide the cabin air filter housing back into its slot.
Replace the plastic plate and tighten down its bolts, then pull the rubber sheath back over the top.