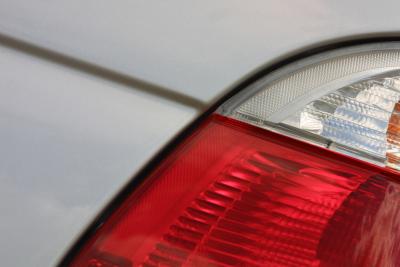
Installing a new tail light bulb on your Toyota Echo will enable drivers behind you to see you after dark and keep you safe out on the road. Stop lights, turn signal lights and back up lights are all housed in the same assembly so no matter which one you need to install, they can all be done at once or independently. The bulbs are very easy to access and can be changed in just a few minutes with basic tools. The bulbs can be purchased from most auto parts stores, some department stores and the Toyota dealer's parts department.
Open the trunk or hatch of your Toyota Echo and locate the panel just to the right or left of the opening. The panels are held in place with a plastic rivet that can be removed by prying it out with a flat screwdriver. Be careful not to scratch the plastic trim panel while removing the rivet.
Remove the plastic cover and locate the bulb sockets inside the access hole. There are three bulb sockets, the top one is the brake and tail light, the one directly below it is the turn signal and the socket to the inside edge of the housing is the reverse light.
Select the bulb socket for the bulb you are replacing and turn it counterclockwise. Pull it out of the housing and remove the bulb by pulling it straight out of the holder. Install the new bulb by pushing it into the socket.
Install the new bulb into the housing and turn clockwise to lock it in place. Replace the plastic access cover over the hole and insert the plastic rivet to secure the cover.
Test the lights by turning on the switch or having someone step on the brake pedal. If it is a turn signal bulb you installed, have someone activate the signal from inside the car. If it was a reverse light bulb, have someone put the car in reverse for you. Verify the light is functioning and close the trunk.