Just as your feet form static electricity when you rub them against a carpet, stray electrical currents caused by friction can flow from your car’s electrical system and into the cooling system. A natural occurrence, this scenario causes a condition known as electrolysis. Because the radiator of your car can hold a large amount of electrical current, it can electrically charge your antifreeze. When this happens, the electrolytes in the antifreeze can begin to eat away at the inside of your radiator causing it to erode, especially if it is made of aluminum. Being proactive and performing a simple test with a voltmeter can determine the electrical charge of your antifreeze.
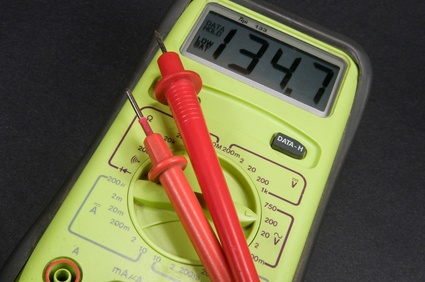
Turn the car’s engine off and wait for it to cool. Remove the radiator cap holding a rag between the skin of your hand and the cap. Set the meter scale on the voltmeter to 20 DC (direct current) volts.
Grip the voltmeter firmly and place the positive (+) lead into the antifreeze fluid. You do not need to submerge the lead in the fluid, completely. Touching the lead to the fluid’s surface should suffice.
Place the negative (-) lead on a ground. The engine itself makes for a good solid ground.
Check the voltage reading on the voltmeter. If the voltmeter measures 0.2 volts, consider the antifreeze acceptable.
Flush and replace the antifreeze if the voltmeter registers anything above 0.7. Check the antifreeze with the voltmeter again in a few weeks for readings between 0.5 and 0.7.