 Pete Trasborg
Brand Manager, Jp
Pete Trasborg
Brand Manager, Jp
One of the neat things about getting a new-to-you Jeep, especially a year or model you've not had before, is that you learn all kinds of new things the factory cheaped out on to save a few tenths of a cent, often resulting in stuff not working by the time it gets to you.
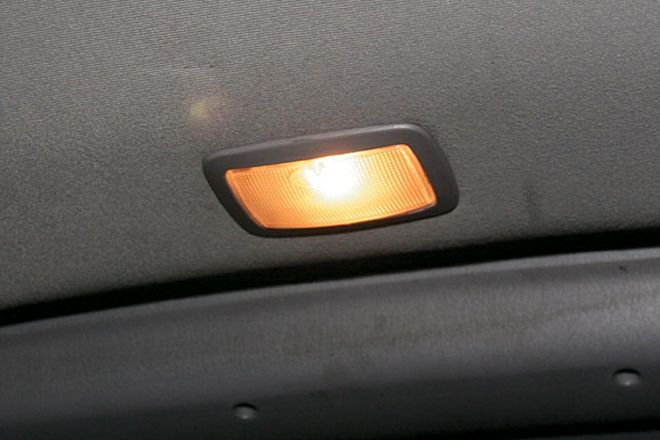
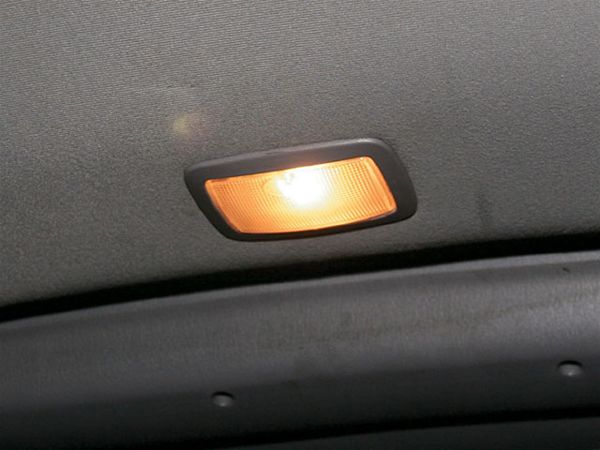
Our '98 Cherokee has been a learning experience, but none of its "quirks" got to us quite as much as the rear dome light not working. We load and unload the Jeep at all hours of the night, and while the Cherokee has a good-sized cargo hold, the lack of a functioning light, or any interior lights coming on when you open the liftgate, just plain sucks.
So, we got into the stock light and found a melted switch. The switch was supposed to control whether or not the opening of the liftgate would turn on the interior lights and the cargo area lights. We found that fixing that switch required replacing the entire dome light assembly, available only from your friendly neighborhood Jeep dealership to the tune of $90. Well, as much as we wanted light, we were unwilling to pay that much for it.
We were in our second month of using a flashlight tucked under the arm when we stumbled across the Double Ceiling Light-Optic Lens from Camping World (PN 34475). Not only did it throw a lot more light than the stock unit, it only cost $11.10. So, we picked one up, and after some messingN around, figured out how to wire it up so we had light for all situations.
We wanted to imitate the stock functionality, with the ability to leave the liftgate open for extended periods of time without draining the battery, have the light work with the liftgate, and have it work with the other interior lights. While we were at it, we needed to figure out how or when to get both of the unit's lights to come on.
We modified the wiring of the three-position switch so that the "off" position is off, the "one" position turns on one bulb when any door or the liftgate is open, and the "two" position turns on one light with the liftgate closed (useful if sleeping in the Jeep) and turns on two lights with the 'gate open. Not only did we save almost $80, we ended up with easily four times the light we had when we rigged up the stock light for the lead photo.

