Speedy Auto > Car Tech > 4x4 > Engine

Making An Off-Road Carburetor - Jp Magazine

Making An Off-Road Carburetor - Cheap Avenger Christian Hazel Brand Manager, Four Wheeler making An Offroad Carburetor parts Photo 15244103

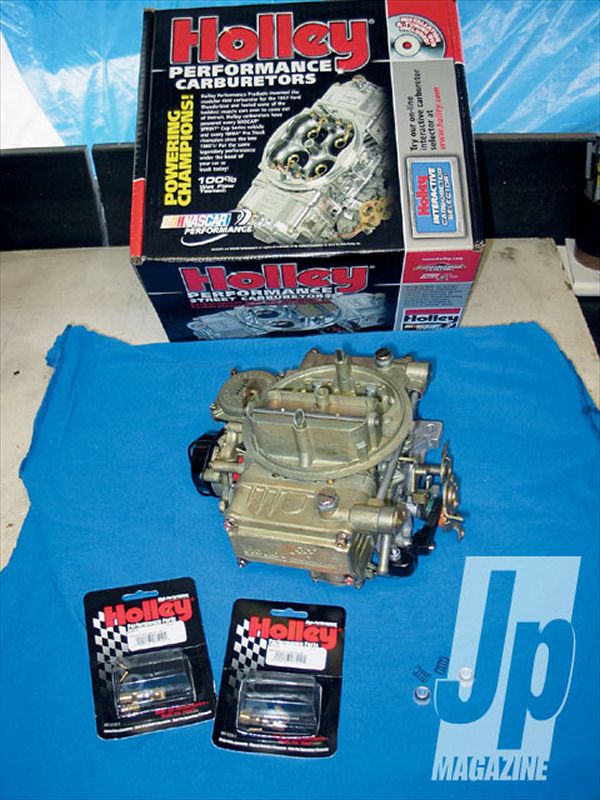
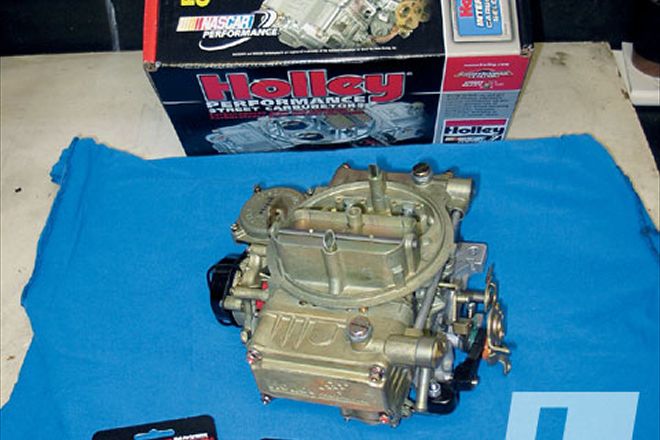
We'll tell you right up front that the Holley Truck Avenger and the Rochester Q-Jet are the best four-barrel carburetors for off-road use that we've tested. And since they don't make new Q-Jets anymore, if you want a shiny new off-road carb, the Holley Truck Avenger is your bunny.

But what if you don't have the cash to plunk down for a new 470, 670, or 770cfm Truck Avenger? We'll admit that while they're worth the money, they're not exactly cheap. Well, take heart you frugal bastiges, because with a few components from the Holley parts bin and a little elbow grease you can turn any $50 swap meet carburetor into a better performer off-road.

PhotosView Slideshow The first item on any carbureted off-roader's wish list should be a set of spring-loaded needle and seat assemblies.  These assemblies prevent flooding over rough terrain and can be installed without pulling the carburetor apart. There's no joy in having a leaker sitting on top of your engine, so while the carb is off for the needle and seat install you can take the opportunity to upgrade to Holley's modern blue no-stick bowl gaskets and maybe some Viton transfer tube seals. Although you don't need to pull the fuel bowls, a vacuum-secondary Holley four-barrel is dirt-simple to rebuild, so we pulled our 390cfm version apart for illustration. If your engine is blowing black smoke or surging and you have a strong gas odor, chances are the power valve (center) is blown. Holley sells replacements on its web site. The spring-loaded needle and seat assembly, PN 6-513 is seen at top. Simply remove the flathead set screw, unscrew the stock needle and seat assembly, and transfer the hex nut and set screw onto the new unit. You do need to hold the carburetor upside-down when installing the new units to prevent the spring and needle assembly from falling out, so the carb must come off the engine for the installation. Once screwed in, the float prevents the needle and spring from separating. The spring-loaded units prevent the Viton seal from bouncing off its seat and letting fuel gush into the fuel bowls which causes flooding, stumbling, and stalling. With the new seats installed you can set the float level with the vehicle level and the engine idling. Normally you set the level so the fuel is even with the bottom of the site holes, but for off-road use we usually lower the float level about 3/32 beyond this. Trial and error is fine if you want to go as low as you can before fuel starvation becomes an issue. A piece of welding wire makes a nice tool with which to check the level. Another method for lowering the float levels to a predetermined amount without resorting to pulling the bowls and actually measuring is to first set the float level even with the bottom of the site plug holes. Then, mark the flat of the adjuster hex and the carb. For each hex flat the adjuster is turned clockwise, the float level will be dropped 1/32-inch. Finally, the fuel bowl vents can dump raw fuel into the carb at extreme angles even if the float level has been dropped. An old-school trick is to use a piece of fuel hose to connect the front and rear bowl vents. That way any fuel slosh transfers to the opposite bowl and not straight down the carb throat, glugging the engine. Don't forget to drill or punch some holes in the top of the hose so the bowls can still ventilate.