1986-1995 Toyota Pickup & 4Runner Suspension - Four Wheeler Magazine

1986-1995 Toyota Pickup & 4Runner Suspension - Long-Travel Toyota Tech 1989 Toyota 4runner Suspension front View Photo 9813439

IFS-equipped vehicles offer excellent handling and ride quality for high-speed desert romping and everyday street driving. However, independent front suspension systems lack the crucial range of motion necessary to ensure ample traction on the trail. For this reason, most rockcrawlers prefer the older-style, solid-axle setup. Without low-hanging bracketry and limited articulation, a solid front axle simply works better when the road gives way to boulders. This is why several companies offer kits to convert the factory IFS to the stronger solid-axle arrangement.

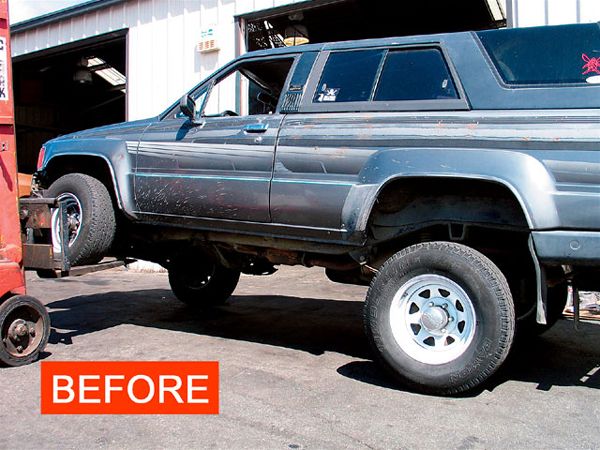
One such kit we discovered recently was this new one from the experts over at Marlin Crawler. Designed for '86-'95 Toyota pickups and 4Runners, Marlin's kit provides most of the parts and pieces required for those looking for more articulation, and a stronger front drivetrain. The kit provides 5 full inches of lift and weighs in heavily on the mechanical difficulty scale. We recommend a high-tech know-how and a decent assortment of tools to complete this installation. That's why we enlisted the expertise of Toby Lavender, owner and operator of Triple-X Traction in Seaside, California. You may remember Toby from Top Truck Challenge 2002, where he successfully piloted his flexible flatfender to a Fourth-Place finish. Toby and his crew have completed dozens of clean solid-axle swaps since he started the business five years ago. It's important to understand several technical aspects of a solid-axle conversion before breaking out the torch. So follow along as we highlight the conversion process and showcase some very unique components that will make any IFS truck ready to rock.

PhotosView Slideshow This is the solid-axle swap kit from Marlin Crawler. We liked the kit because it features larger, stronger U-bolts, U.S.-sourced leaf springs, Bilstein shocks, a heavy-duty tie rod and drag link, and a pair of solid billet steering arms. Also included in this photo are locking hubs, dust covers, spindles and a steering knuckle that we sourced from a dismantler called Yota Yard in Denver, Colorado. 1. The first step of the conversion process required that all the stock front axle and suspension components were removed. 2. Out came the torch during step two. Cutting off all the unneeded IFS bracketry took a bit of time to complete. It helped to have the vehicle on a lift at eye level for better visibility. Once the cutting was finished, Toby smoothed out all the rough edges with a grinder. 3.Once all the finish grinding was complete, Toby began work on mounting the front spring hanger. Using a jack, Toby positioned the hanger under the frame with the leading edge of the hanger flush with the front of the crossmember. Then he centered the hanger, and tack-welded it in place. 4.To mount the rear of the front springs, marks were made on the frame using special jigs provided in the kit. Toby used a plasma torch to cut round holes in each side of the frame. Once the frame tubes were properly aligned, Toby welded them to the frame. 5.With the front springs in place, Toby began work on the new front-axle assembly. To make things simple, we decided to start from scratch with a completely new fabricated housing from Front Range Off Road. Front Range builds these housings to spec and each features 3.5-inch O.D. DOM tubes with a 0.375-inch wall thickness. Additionally, they have a centersection that is formed from 1/4-inch-thick plate, which comes pre-drilled and tapped for whatever third member you specify. This axlehousing combines the strength of a Dana 60 with the great looks of a master fabricator's hard labor. These housings will fit any gear ratio, any locker, four-cylinder, V-6, or high-pinion third members. We ordered our housing to be 3 inches wider than stock so that we wouldn't have to run the wheel spacers provided with Marlin's kit. As a result, the tie rod and drag link provided with Marlin's kit, as well as the axleshafts, all had to be custom built for our axle. PhotosView Slideshow 6.To ensure the best front driveline angle possible, we decided to run a high-pinion Toyota electric-locking third member. These units are nice because they come completely assembled and ready to install. 7. We sourced the above third member from West Coast Differentials, along with this Sierra Gear rear ring-and-pinion set, one install kit and all the necessary bearings to complete the installation. 8.Once the third member was installed, Toby finished up the front-axle assembly, installing a new set of Longfield Super Axles. We picked these units for several reasons: They retain the stock-style Birfield design and allow up to a 48-degree turn without the annoying steering feedback commonly found with U-joints. They also are said to be the strongest Birfields made. Constructed of 4340 chromoly and 300M steel, they feature smaller balls to allow for a thicker bell and cage. The shafts are also made from 4340 chromoly, and instead of using the standard 27 splines at the Birfield, they use 30. 1989 Toyota 4runner Suspension install Front Axle Assembly Photo 9852801

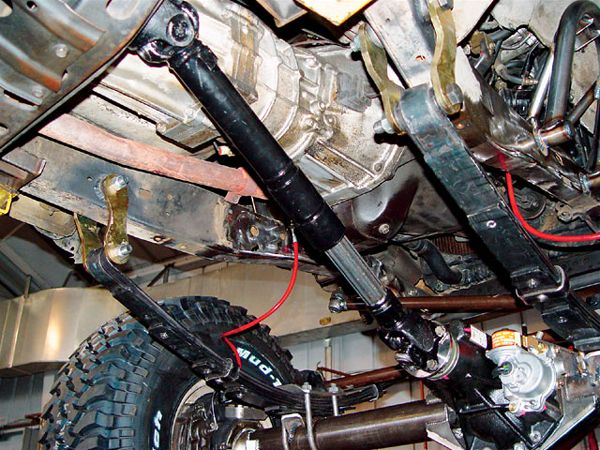
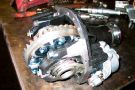
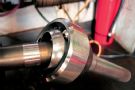
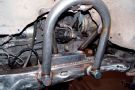
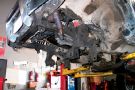
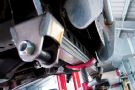
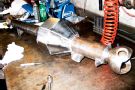
9. With the new front axle assembled, Toby positioned it under the truck, checking every detail along the way. Once he felt comfortable with the front driveline angle, he tack-welded the new spring pads in place. He then took a measurement of the front driveline, and then ordered up a pair of CV-equipped driveshafts from South Bay Driveline in San Jose, California. The experts at South Bay Driveline suggested we option in an extra-long slip on the front shaft to prevent problems. The new shafts arrived two days later and looked beautiful. Once the front shaft was installed, Toby completed the final welding on the front axle perches and spring hangers.

1989 Toyota 4runner Suspension leaf Springs Photo 9852813

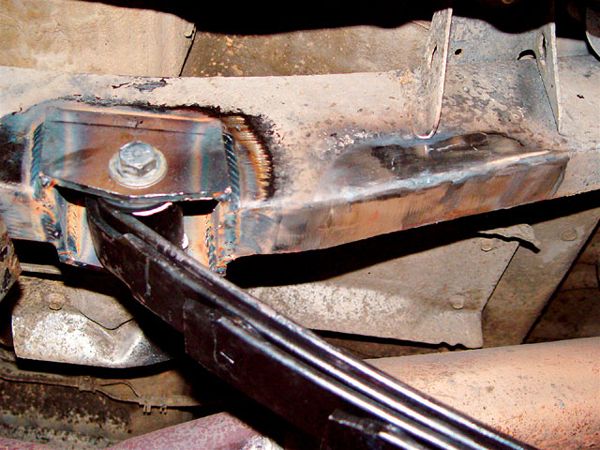
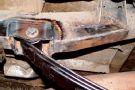
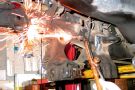
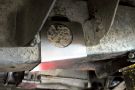
10. With 5 inches of lift up front out of the way, it was time to tackle the rear lift. First the rear axle was removed from the truck. Next the gas tank came out. Then Toby installed a pair of Marlin's frenched rear spring hangers into the frame. Though not included in the solid-axle swap kit, we thought these super-clean hangers fit this article well. What they do is prevent the rear spring hangers from hanging up on rocks. To install them, Toby notched the frame with a plasma torch. Then he inserted a hanger and welded it into place. These units are built strong from 1/4-inch-thick plate steel. Once the hangers were in place, the new 5-inch rear leaf springs were installed.

PhotosView Slideshow 11. For setup on the rear axle, Marlin supplied us with a U-bolt flip kit and a new set of 5-inch-lift leaf packs including spring perches, weld-on shock mounts and new shackles. First, Toby removed the stock spring perches from the rear axle. Next he bolted the new spring packs to the housing loosely to allow for setup of the new rear driveline. Once the proper angle was set, the new rear-axle spring perches were welded to the housing. 12. With both front and rear axles now attached to the vehicle,Toby assembled the rear axle and plumbed in the longer brake lines. After a quick brake bleeding, he mounted up the new 35-inch BFG Mud-Terrains on Center Line wheels. These shock hoops (pictured), provided by Marlin, are designed to fit a variety of Toyota trucks. Once the suspension was cycled, the best position was established and the hoops were tack-welded to the frame. Shortly thereafter, the Bilstein 5100 shocks were bolted in. This graph was generated by an independent testing facility. It demonstrates the amount of torque it takes to break a Longfield 30-spline Super Axle as well as a standard 35-spline Dana 60 axleshaft. Note how close the breaking point of the Longfield is to the Dana 60s. Keep in mind that the Longfield short shaft failed before the joint itself did. These are some tough Birfields! 1989 Toyota 4runner Suspension before Photo 9852831 1989 Toyota 4runner Suspension after Photo 9852837

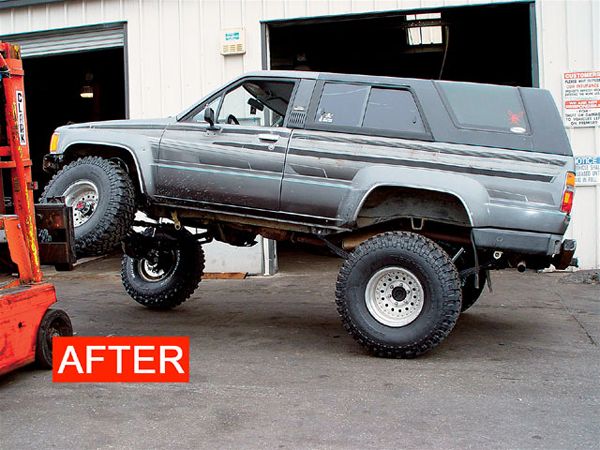
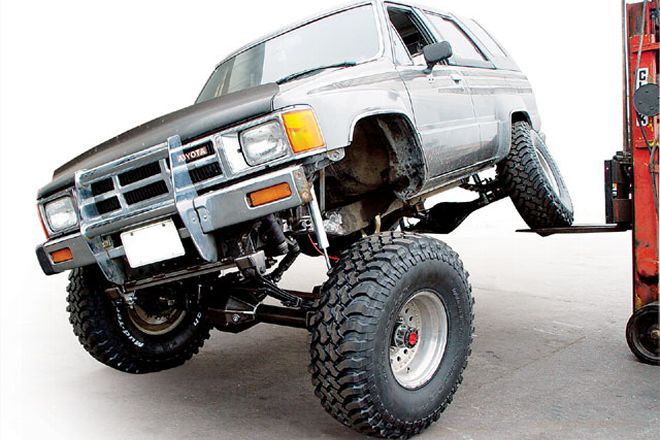
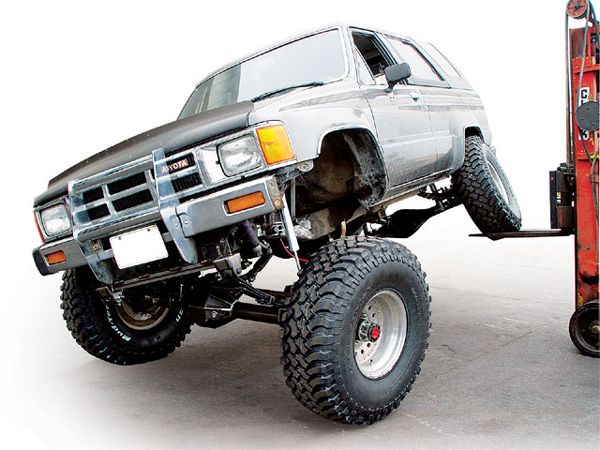
After the installation was complete, we testdrove the 4Runner and found it handled quite nicely on the road. Off-pavement, however, is where the solid axle swap shines brightest.


1989 Toyota 4runner Suspension a Arms Photo 9852843

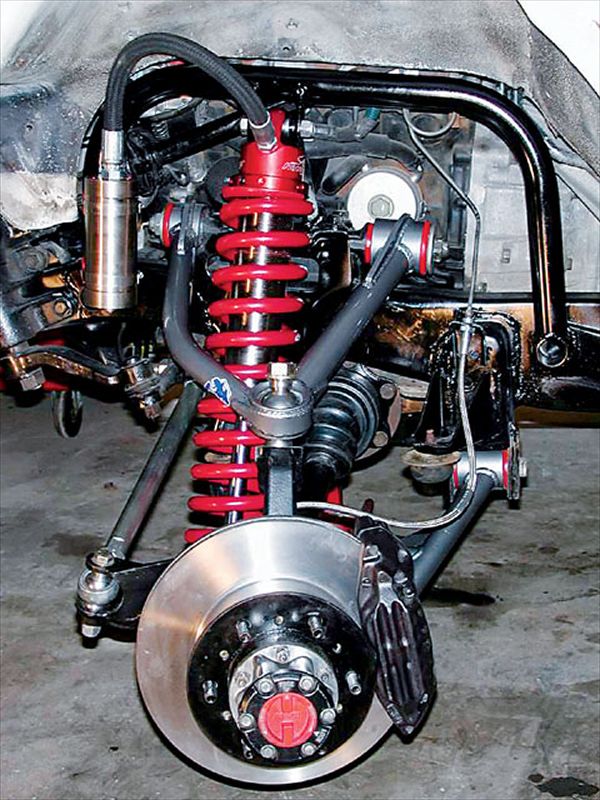
Total Chaos Fabrication of Corona, California, has been building desert-racing-inspired IFS systems for more than a decade. The company's Gen II Caddy Kit for '86-'95 4WD Toyota trucks increases wheel travel and tire clearance with minimal suspension lift to improve high-speed off-road performance. The chromoly upper and lower A-arms are extended 3.25 inches per side and use 2.5x8-inch-stroke coilover shocks to dampen 12 inches of wheel travel without eliminating four-wheel drive. The setup clears 33-inch tires (with fiberglass fenders), and ride height is adjustable between 2 to 4 inches of lift. As a secondary benefit, these suspension modifications actually improve the ride quality and the truck should handle better than stock.

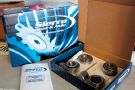
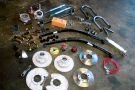
We ordered a Gen II Caddy Kit from ORW to install on a '89 4Runner to compare the performance of an IFS overhaul to a straight-axle conversion. To complete the installation, we ordered a pair of Racerunner 2.5x8-inch remote-reservoir coilover shocks, two 500x18-inch Eibach coil springs and a pair of fiberglass fenders from Glassworks Unlimited. The truck will ride on 15x8 forged alloy wheels from Alcoa and 33x10.50 BFG tires. Visit www.fourwheeler.com for more information about all the parts and a complete installation.