Last month we began the top chop of the first United Pacific Industries' (UPI) five-window coupe at Roy Brizio's shop in the Bay Area—Roy Brizio Street Rods located in South San Francisco, California. Part 1 got us off on a good step to see how one can chop not only the UPI body but the plans that go into cutting the roof down on any of the early cars—especially a Deuce five-window, which does take a bit of extra care.
Follow along as we wrap up the top chop.
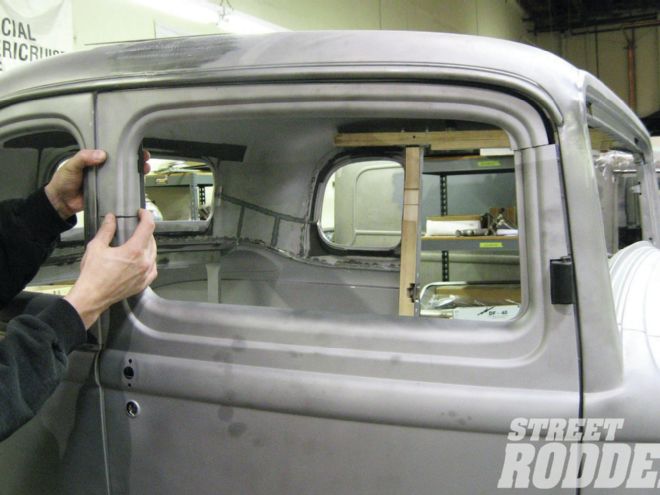
 1. After the metalwork is done, the wood needs to be refit to the chopped top. Since the roof is stretched, the upper doorjamb wood needs to be modified to fit.
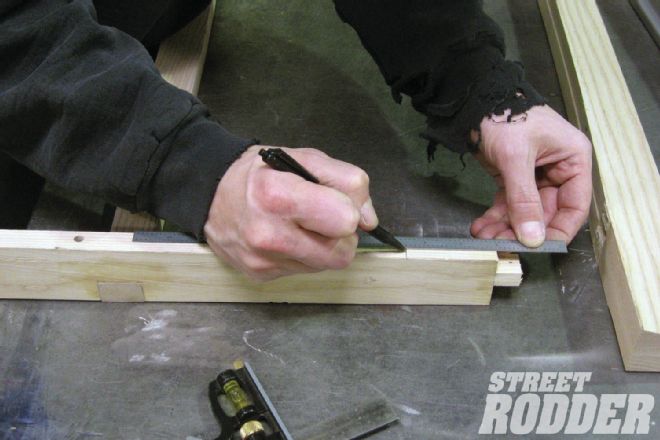
 2. Rather than "lengthen" the wood, the easiest solution is to mark the screw hole locations where the wood is bolted to the A-pillar …
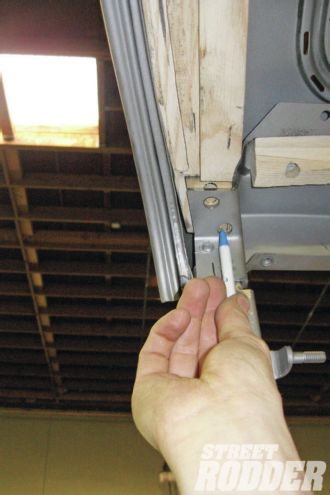
 3. … and simply drill new holes for the screws.
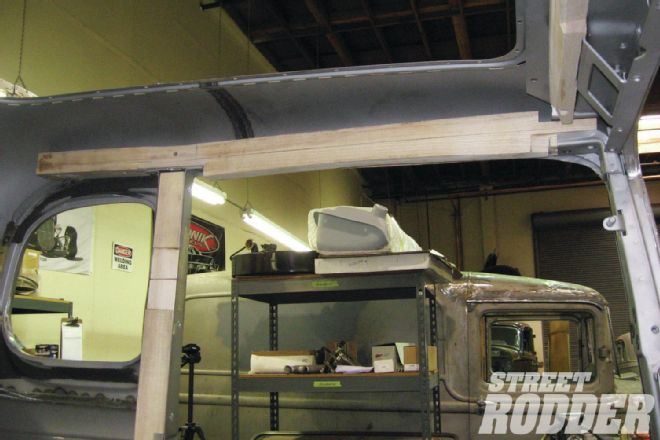
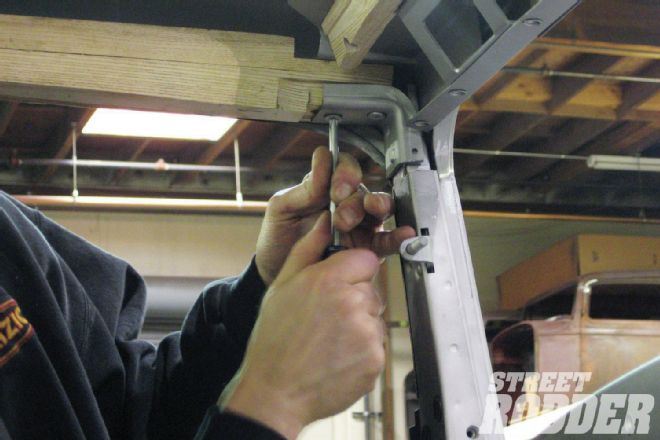 4. Once reinstalled, the pillars sit back 5/8-inch further than they did originally, but the difference doesn’t compromise the integrity of the overall structure of the body.
 5. With the body complete, the doors are next on the list. I fine-tune the cuts at this point to make sure that the doorframes fit the body and that all of the gaps and ’jambs are uniform.
 6. Like the roof, the top of the doorframe has to be stretched as well, although not nearly as much. I mocked together the frame here with clamps in order to get an exact measurement of the gap that is created.
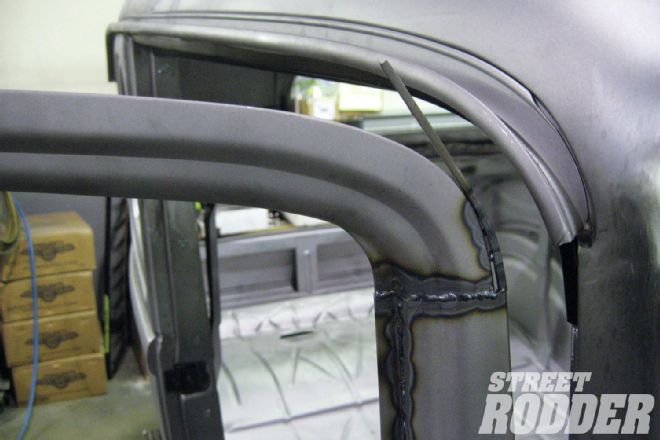
 7. Once the gap is measured, I use a piece of the doorframe that was removed from the chop to fabricate a filler piece for the top of the door. The reveal matches and saves a bit of fabrication work. Here it is shown already tack welded in place.
 8. Since the front pillars of the doorframes are angled, they need to be pie sliced and leaned inward to line up properly. Once aligned, all of the seams on the frames can be welded.
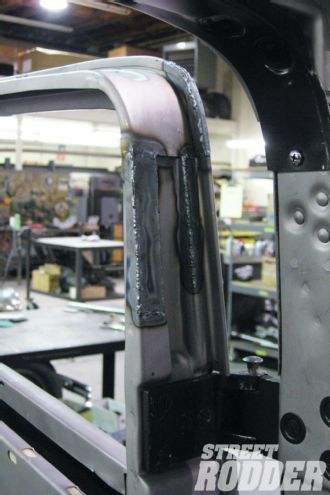
 9. Since the top front corner ends up being much smaller once the top is chopped, I use pieces of 1/8-inch square steel rod to add onto the edge of the door and make up the difference.
 10. All of the measurements and tedious work pay off when the gaps line up perfectly after welding up all the seams.
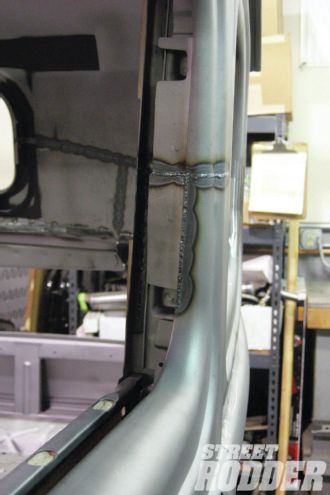 11. This is another example of the small details that make one chop stand out from another. There are a lot of seams and body lines that don’t line up perfectly and it takes quite a bit of patience to fix all of them.
 12. The front inner jamb of the door requires quite a bit of work. Rather than the usual pie slicing, I cut out and removed the original structure and fabricated new filler pieces to finish this area off.
 13. After all of the seams are welded, they get a rough grind to remove the welds and burn marks. This is when all of the diligent work starts to pay off.
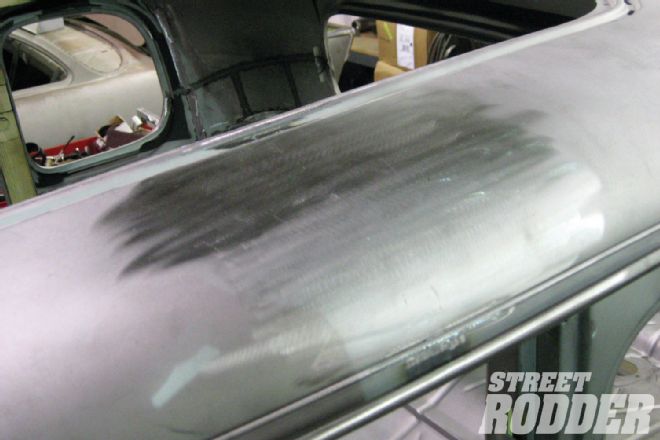 14. Once picked and filed, you’d be hard pressed to tell that the roof has been lengthened. After some fine sanding and Scotch-Brite, all evidence of the modifications will disappear completely.
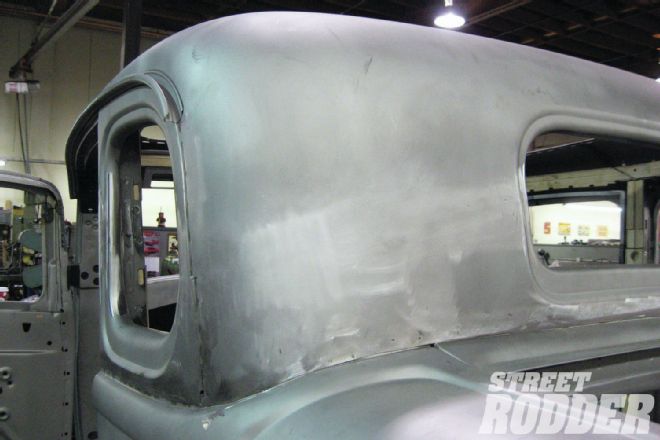 15. Even though the quarter areas of the roof require a substantial amount of cutting and welding, these rounded panels are much easier to metal-finish than most people think. Simply hammer up the low spots from inside.
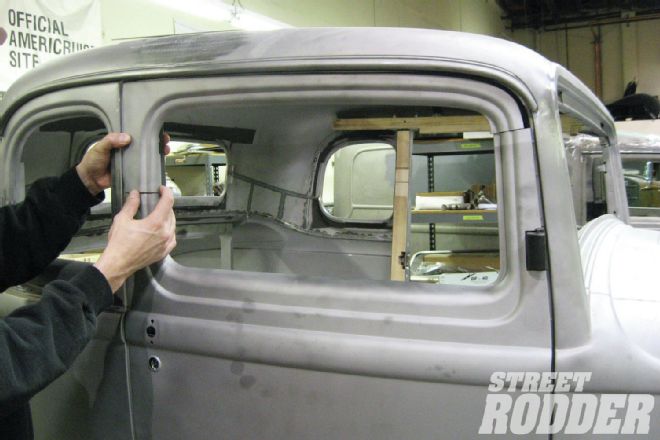
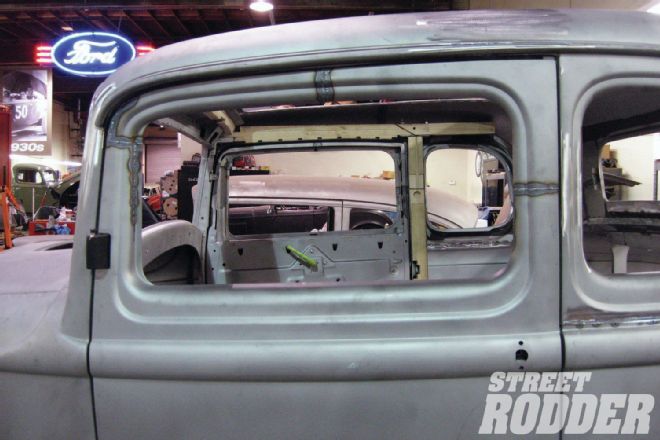
 16. Fitting the wood around the quarter windows can be done a few different ways. When they don’t provide a significant amount of structural support, I usually just cut them straight across, in this case removing 2-1/2 inches.
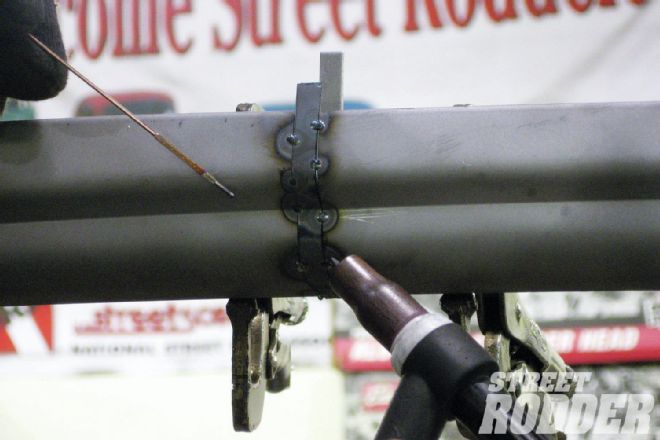
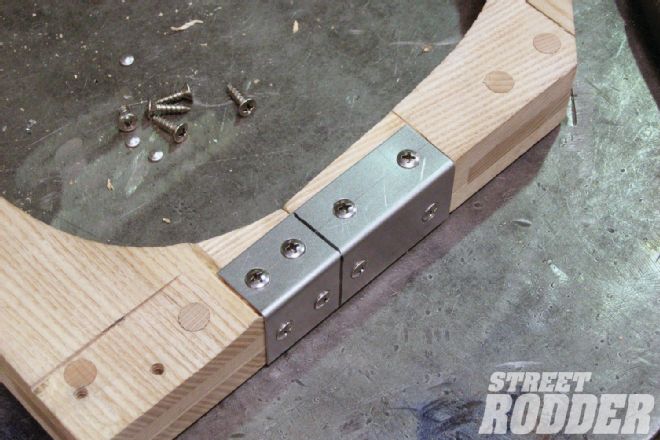 17. I then bend up a "U"-shaped bracket and screw it into the frame around three sides to attach the two halves. Here, I’ve used a router to make a channel in the wood so the bracket sits flush with the surface. I’ve also chamfered the screw holes so the screw heads don’t stick out.
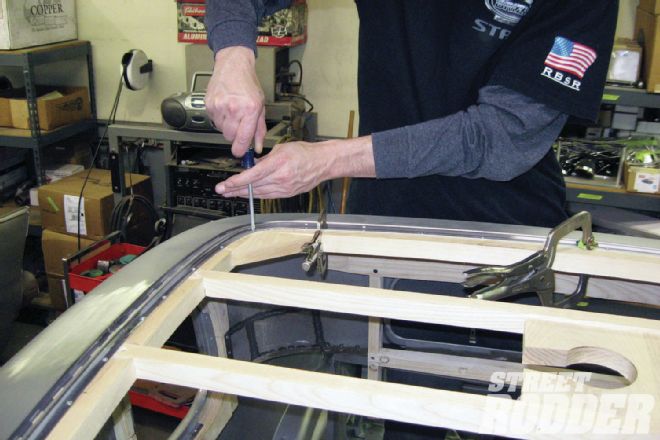
 18. Once reinstalled, all of the tack nails should line up with the original holes in the metal window flanges and wood. I often use small screws if the nails become loose after being removed a few times.
 19. Chopping the rear window wood frame is even easier. Since the top crossbar can be removed, the 2-1/2 inches can be removed from the top of the sides rather than cut from the middle.
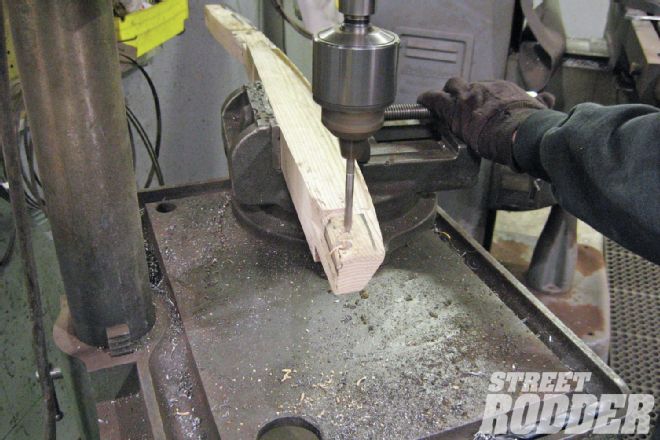
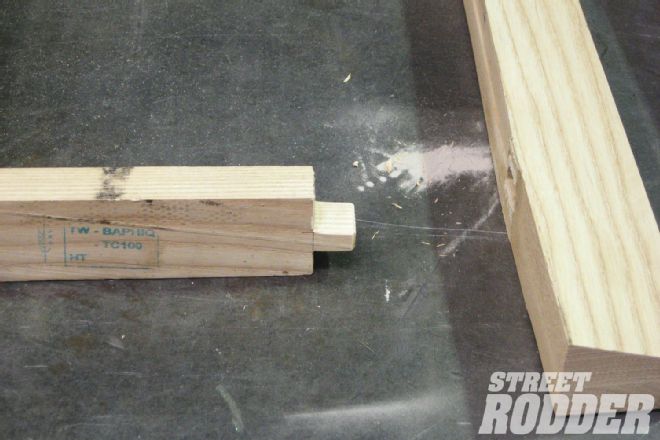 20. The only trick here is to cut out a tab at the top of the side posts, just like the original, that will fit into the notch in the top crossbar.
 21. When reassembling the wood pieces, I usually use glue as well as screws wherever possible. Since the sides of the rear window are parallel, the wood frame fits right back in place, just 2-1/2 inches shorter.
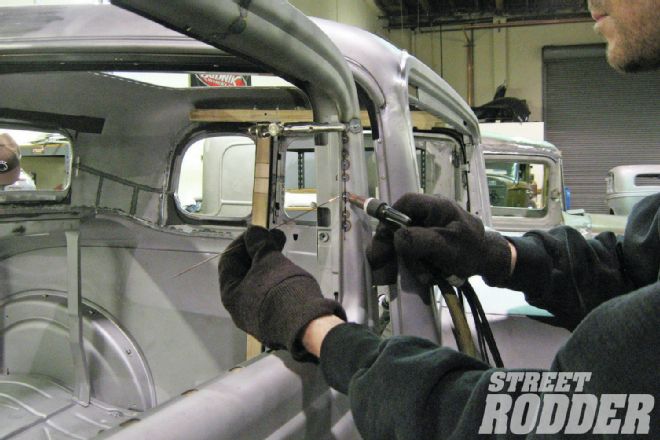
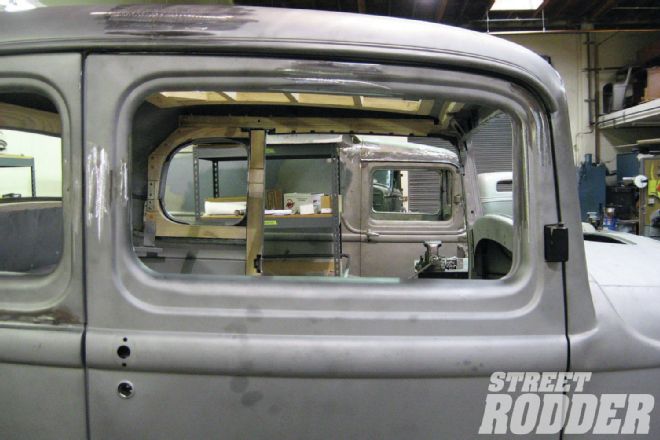
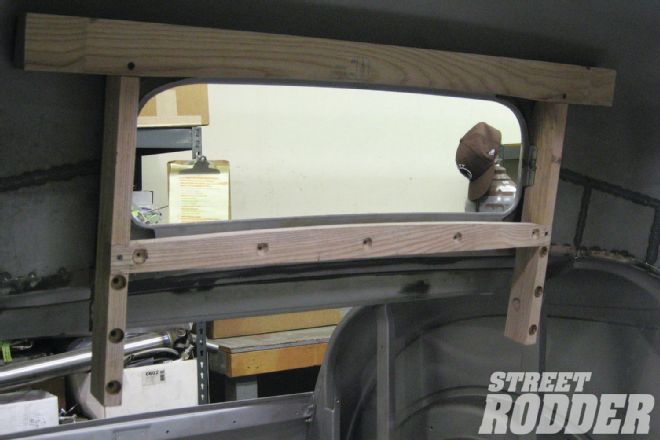
 22. Since Vic Jr. wanted to retain the stock-style cloth roof insert, we had to reinstall the wood frame in the roof opening. Obviously if you filled the roof, this wouldn’t be necessary. Since the roof has been stretched, I had to re-drill all of the screw holes for the insert.
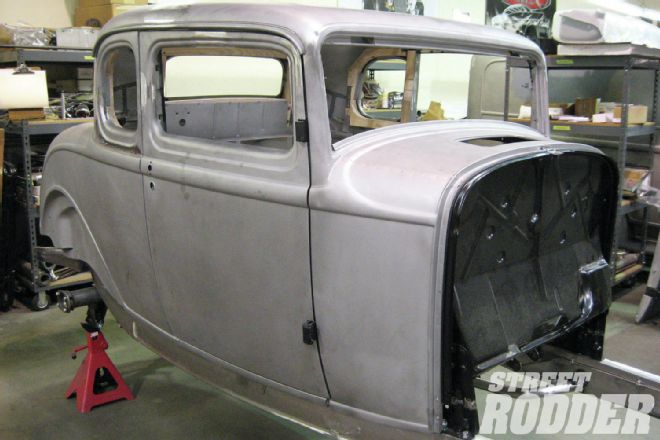 23. And there you have it. Since we started with brand-new metal, this chop went much quicker than most and turned out great. Wait till you see it in bright red paint with signature Edelbrock flames!