
When building a street rod it's always helpful to surround yourself with friends with a sense of humor. Case in point: When we first looked at the floor in our 1950 Plymouth, or more accurately looked in the area where the floor should have been, we were somewhat disappointed. There wasn't much left from the firewall to the rear bumper. Sensing our disappointment our compadres couldn't wait to comment, "Who'd you buy this thing from, Fred Flintstone?" and "Now that's flow-through ventilation" were two of the kinder, and printable, comments. Not easily discouraged (or according to Editor Brennan, not having the sense to find a better car), the floor was replaced in the passenger compartment, even our antagonists pitched in to help. However there is a limit to how much you can abuse even the best of friends, so the trunk was left for later, which has become now.
In this particular case loading up the trunk with luggage for a long trip isn't a real concern, we were thinking more about where to put the gas tank and the battery, with enough room left over for a toolbox, a couple spare parts, and maybe an overnight bag. Of course with the size of the RamRodder's trunk all those goals could be easily met, or so we thought.
We had decided to use an Aeromotive 15-gallon fuel tank (PN 18660). The tank featuresan A-1000 internal fuel pump (PN 11101) with 100 Micron Stainless Steel Fuel Filter, one return line fitting; two AN-08 vents with rollover valves; 0- to 90-ohm universal fuel gauge sending unit; and a standard 12-bolt flush mount lid assembly. Measuring 18 inches long by 20 inches wide by 10 inches high, the tank would have fit easily in the trunk, however we decided that we wanted it outside, below the trunk floor, and that complicated things slightly. If an original-style floor was installed, the gas tank would hang lower than we liked, so the solution was to simply raise the floor. As body mounts already in place were in the rearmost corners of what was left of the original trunk floor, only the center would be elevated.
To hold the tank, a support structure was fabricated and attached to the frame's two rear crossmembers. The tank is installed from the bottom and held in place by two substantial straps, it can be easily removed if any maintenance to the pump is required. Access to the fuel filler will be through a flip-up door in the floor.
Far more comfortable working with 1/4-inch plate than sheetmetal, we tackled the job of fabricating a new trunk floor anyway. First we made panels to enclose the structure made to raise the floor; take our advice, if you have any sheetmetal work to do, buy electric shears. They make cutting out larger panels much easier than doing it by hand. Ours is a vintage Kett shear that Tex Smith passed on to us (or maybe he loaned it to us and we never gave them back, it's not entirely clear) however Eastwood has them for little as $60.
With the panels cut to size we decided to jazz them up a bit by adding rolled beads. Beads not only look cool, but they stiffen the panel as well.
When rolling multiple beads, work from the inside of the piece to the outer edge. Eastwood cautions that bead rollers will shrink the metal and if you work from the outside toward the center, the previously formed bead will be distorted and the entire piece may be warped.
Aeromotive certainly made the tank installation simple enough—with an internal pump, a fuel sender, and all the fittings installed, all we had to do was fabricate some brackets. And our friends at Eastwood made sheetmetal work easy and even fun. Next, it's off to paint and bodywork, then maybe we'll give making sheetmetal interior panels a try.
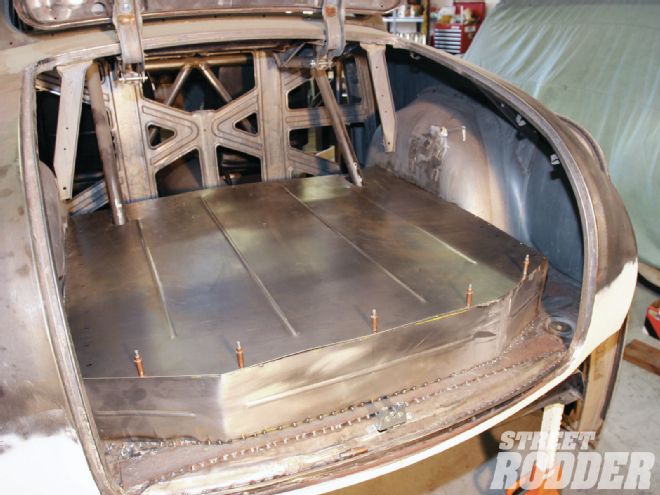 1. We weren’t worried about luggage space and we wanted the gas tank outside the trunk, so we built an elevated floor to replace the rusted original.
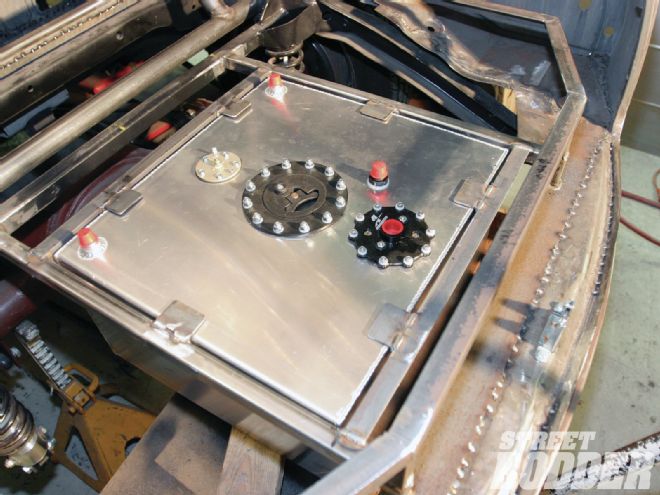
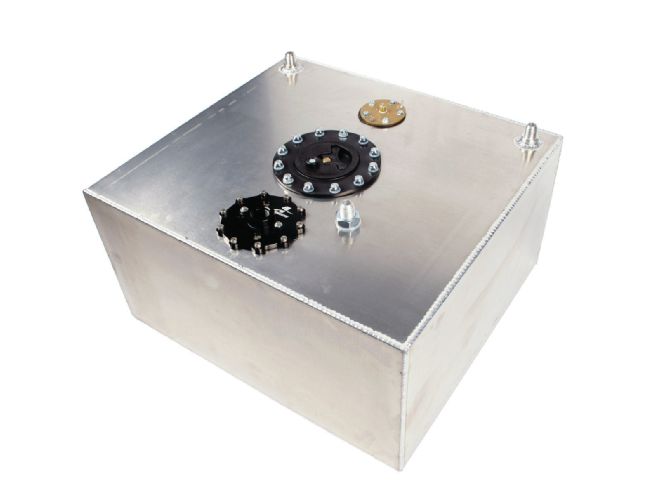 2. Aeromotive supplied the beautifully built, natural finish aluminum tank. The filler opens by lifting the lever and twisting it counterclockwise; the cap then pulls straight out.
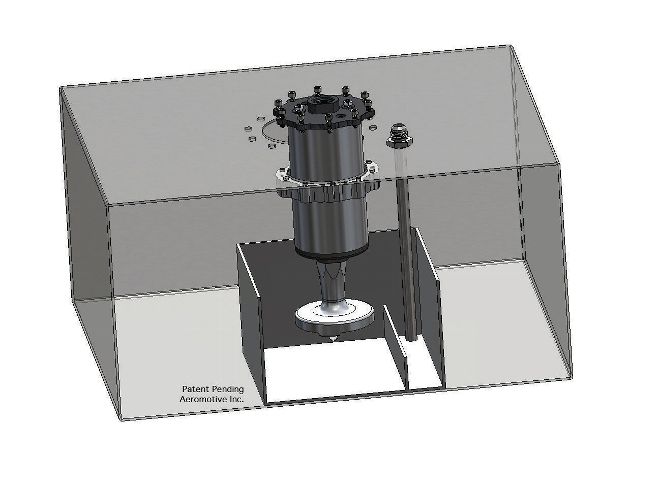 3. To ensure an adequate fuel supply under acceleration, braking and cornering the fuel pump pickup is in a sump. The A-1000 pump can be used with carburetors or fuel injection.
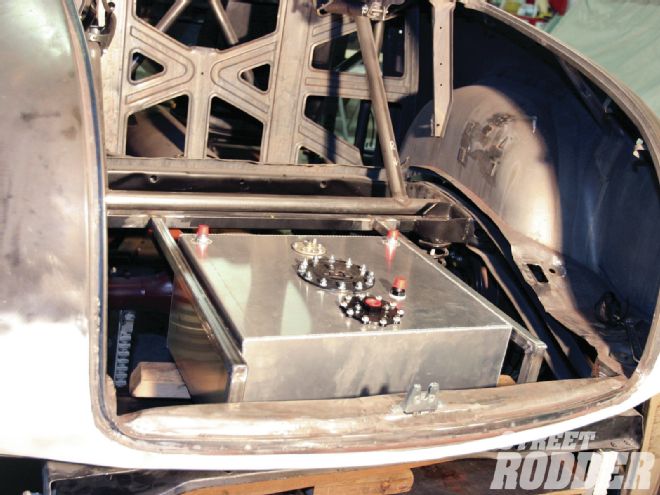 4. As there was no floor or supports left in the trunk, the tank was held in place by wood blocks on a floor jack while we determined where it fit best. New mounting brackets were then made from 1x1x1/8-inch square tubing.
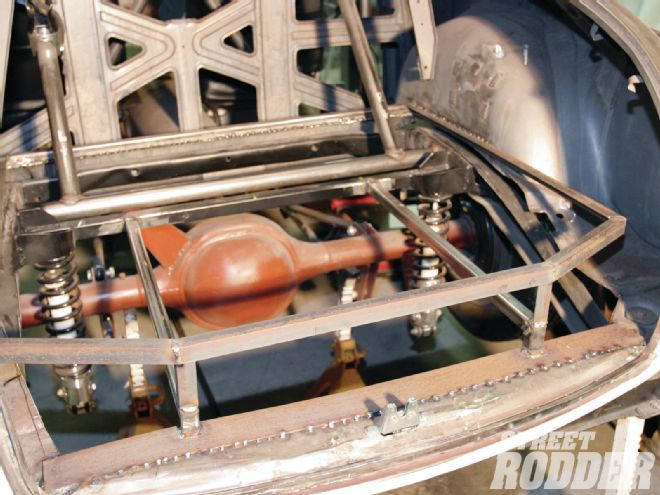 5. To support the raised floor a framework was made of 1x1/8-inch angle iron. There are 4 inches between the top of the tank and the floor to allow for plumbing.
 6. The tank fits between the tubes and is located by six angle iron tabs. Rubber pads will be added at all the contact points.
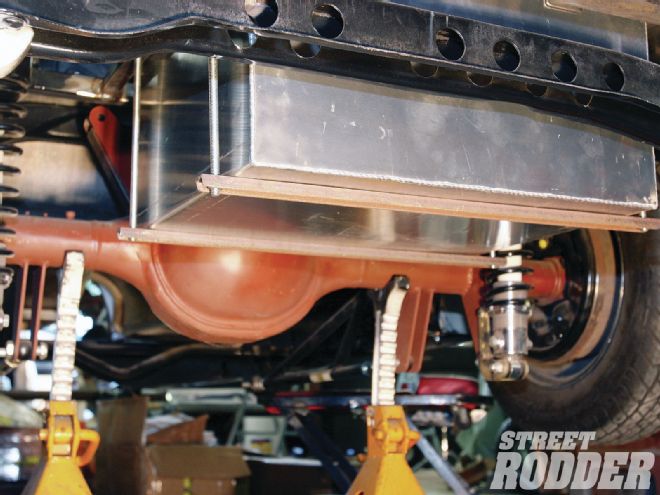 7. A pair of 1-inch channel iron supports hold the tank in position. Threaded rod was used for mockup; we’ll make stainless replacements.
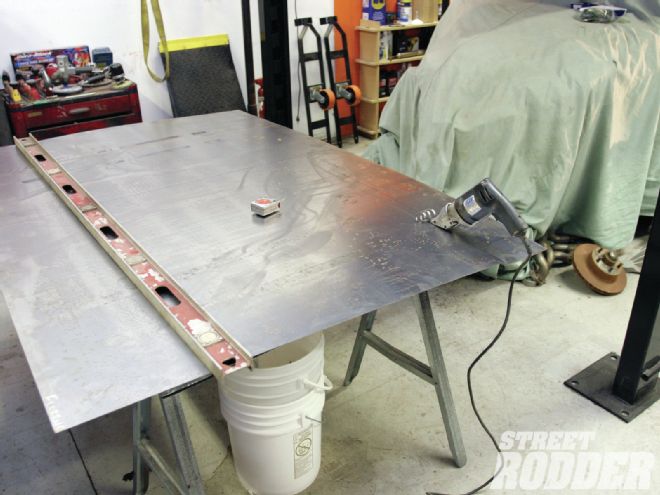 8. The new trunk floor was cut from 18-gauge sheetmetal. Electric shears work great for making quick, clean cuts. (Thanks Tex!)
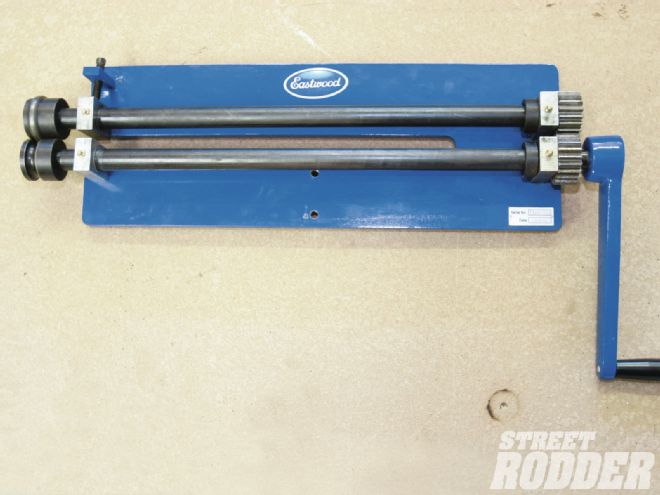 9. To stiffen the floor and add some eye appeal we decided to add four lengthwise rolled beads. We used Eastwood’s Economy Bead Roller Kit to do the job.
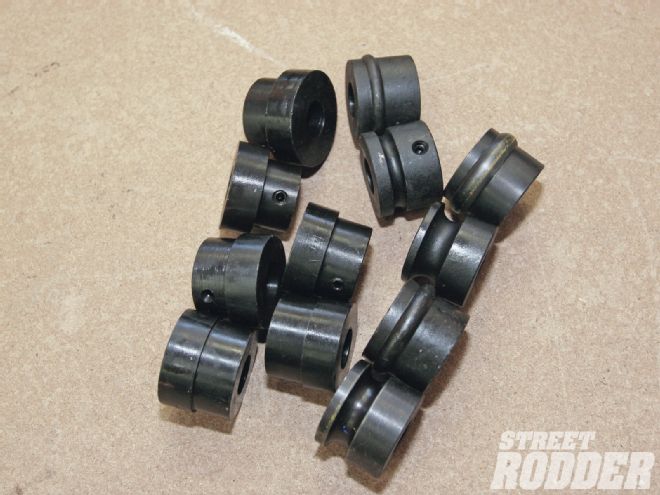 10. Eastwood’s bead roller kit includes mandrels for 1/4-, 3/8-, and 1/2-inch beads as well as 1/16-, 1/8-, and 1/4-inch flanges.
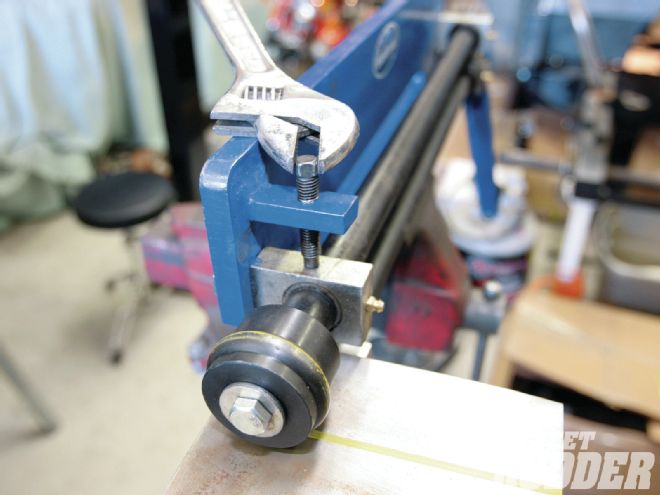 11. With the adjustments loose, the metal is put in place and the screw that acts on the top roller is turned finger tight; it’s then tightened “a few more turns” with a wrench. The trick is not to tighten the mandrels too tight as the metal may be torn.
 12. After the tension screw is adjusted, the bolt holding the upper roller shaft is tightened.
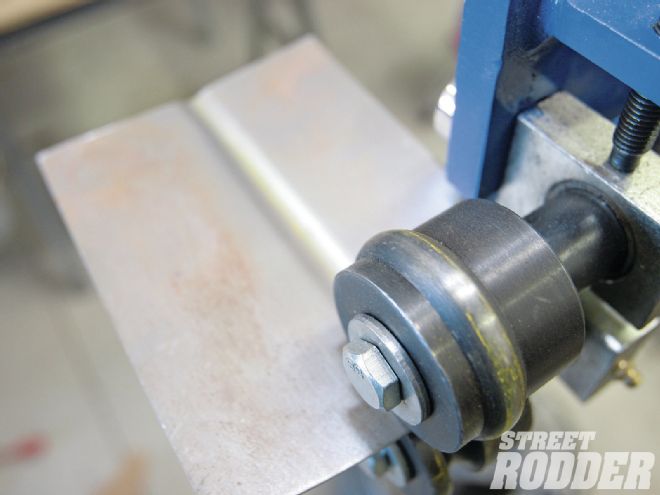 13. A test piece was run through the rollers; rerolling the metal by backing up and going the opposite direction makes a more sharply defined bead.
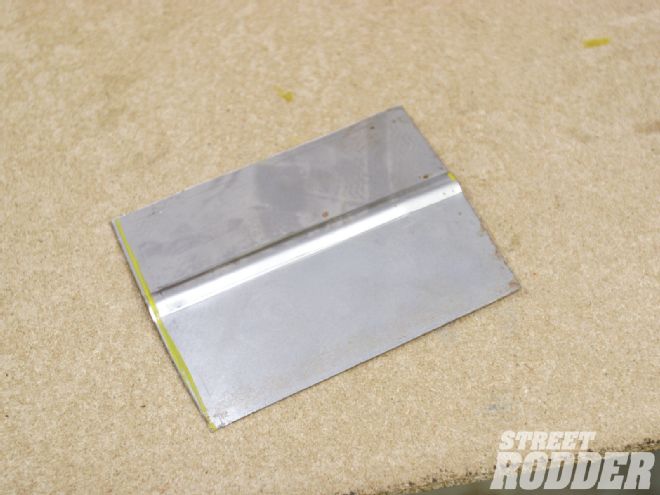 14. Our test piece had the right size bead with crisp, straight edges. Now all we had to do was duplicate the effort in the full-size floor.
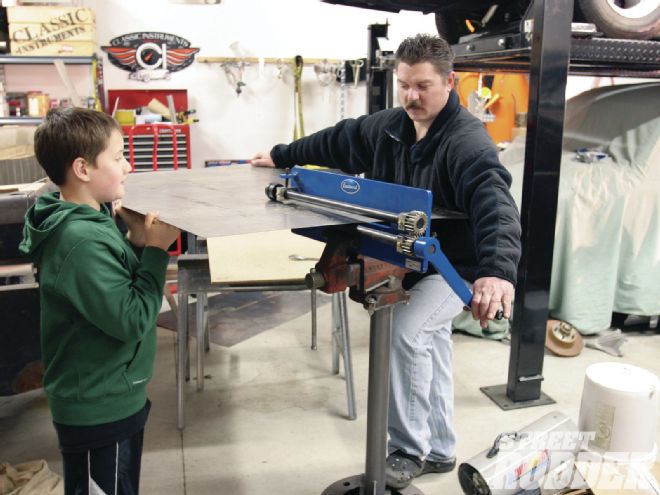 15. Rolling beads is a two-man operation. Cole Bogart (left) and Jake Brazille make a great team. It takes one to guide the metal through the rollers while the other turns the crank.
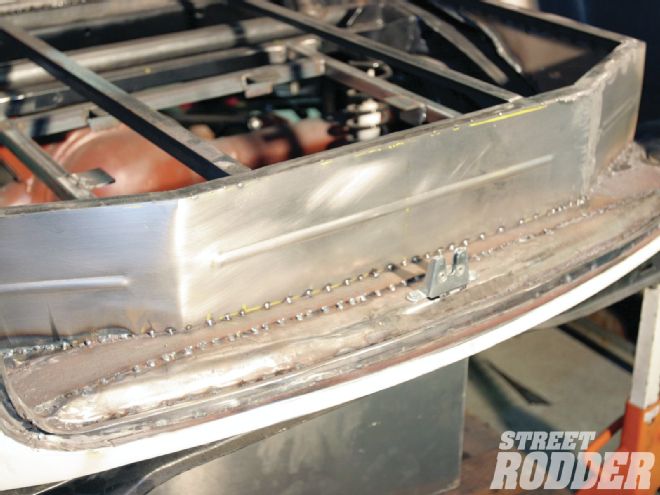 16. Three individual beads were rolled into the sheetmetal used to enclose the vertical portion of the floor’s framework. It was then tack-welded in place.
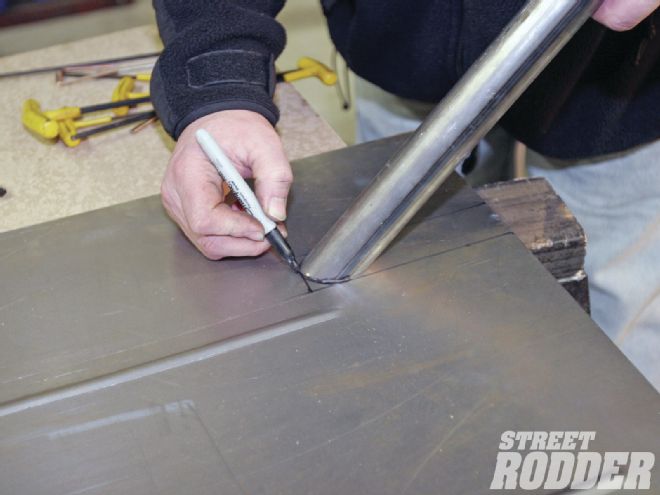 17. Two holes in the new trunk floor were necessary to accommodate the rollbar braces. To determine the proper shape of the holes, a chunk of scrap tubing was cut at the same angle as the braces.
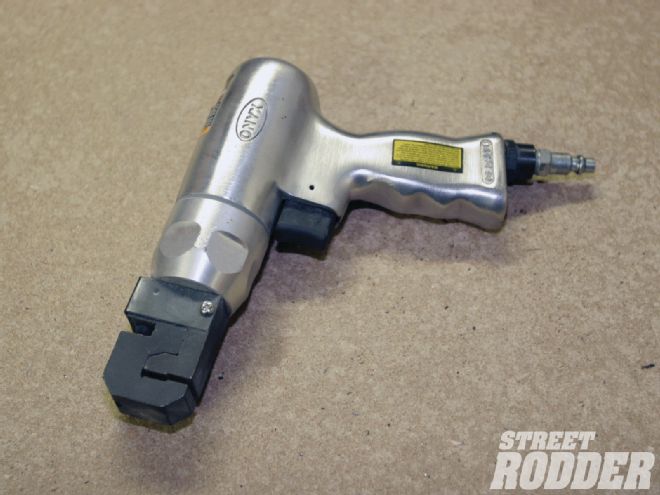 18. To attach the floor to the framework an Eastwood combo punch and flange tool was used to make holes for rosette welds.
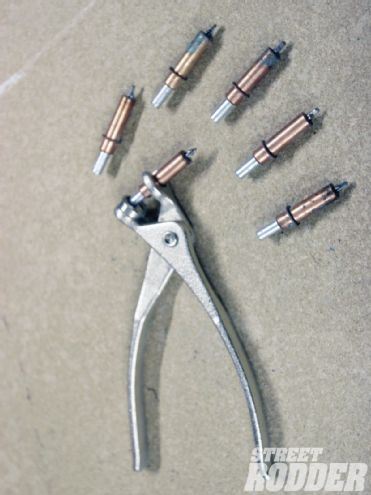 19. Spring-loaded Clecos, also referred to as “blind grip” panel fasteners were used in a few of the holes to hold the floor in place and check the final fit.
spring-loaded-clecos
19. Spring-loaded Clecos, also referred to as “blind grip” panel fasteners were used in a few of the holes to hold the floor in place and check the final fit.
spring-loaded-clecos
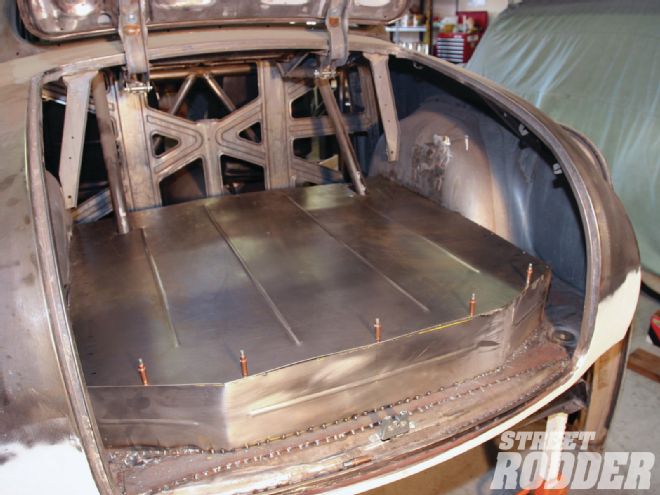 20. The new floor is in place, all that remains is some minor trimming and welding. A 6x6-inch door will be added to provide access to the fuel filler.