In the past we've presented metal-shaping articles that proved the average inexperienced Joe can create just about anything from a flat sheet of steel, provided he has access to the right tools. The problem is that many of those "right" tools are large, expensive, and really more fitting for someone planning to do a lot of shaping on a regular basis. For most projects that you'll be taking on in your garage, just a few of the most basic tools will take you a long way.
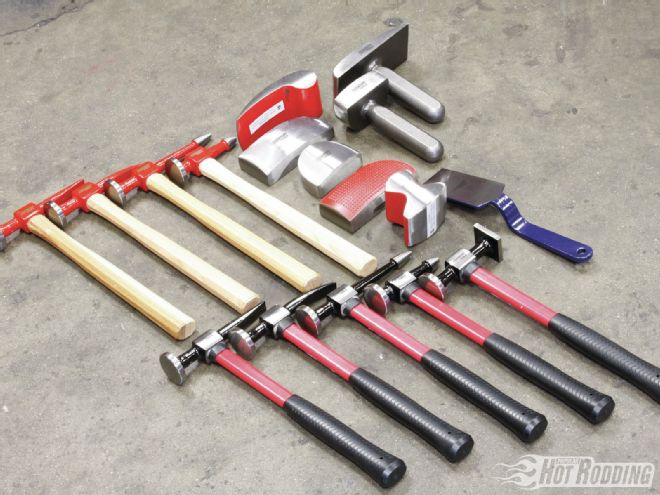 Eastwood is now the exclusive distributor of Fairmount metalworking tools and this is the new 17-piece master hammer and dolly kit. How many hammers and dollies do you need? That’s a trick question with no real answer other than “it depends.” This new Fairmount 17-piece kit from Eastwood might seem like a lot, but it’s actually an excellent starting point for those planning on venturing into custom metalwork on their projects. Think of it this way: You could make-do with a crescent wrench in a lot of cases, but a set of precisely sized wrenches is far more effective and useful in the long run. Hammers and dollies are the same way.
We plan on revisiting this topic from time to time, but to begin we'll start with the simplest machines of them all: hammers and dollies. It's hard to get more basic than beating something with a blunt object, right? But there's so much more to it than that; to really make good use of hammers you need to know the proper techniques metal shapers use to turn those swings from random strikes to targeted blows. And once you know what those basic principles are, and allow yourself time to master them, there's an astounding array of projects you'll be able to tackle with nothing more than the knowledge of how to effectively bang two hardened pieces of steel together.
For example, did you know that there is a big difference between hammering "on dolly" and "off dolly," and that most people use the wrong method for trying to work out dings or waves in sheetmetal? It's true, and not knowing the difference will have you chasing a never-ending low or high spot. Or why it's important to keep your metal-shaping hammers separate from all of your other hammering activities? We'll tell you exactly why, plus more important tips that could be holding you back from making the step from shoddy to shaper.
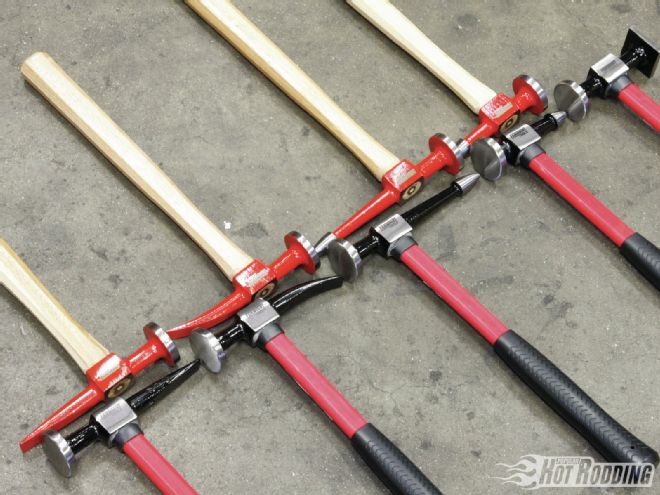 Here’s close look at the meticulously ground heads on the Fairmount hammers; the most important aspect of a metal-shaping hammer. Left to right we have: Cross Chisel, Curved Cross Chisel, General Purpose Pick, Utility Pick, and Shrinking Hammers. Each has a loosely defined purpose, and most are available with either traditional hickory handles, or fiberglass with a rubber handle. The choice here is mostly personal preference. Sire tells us he feels the fiberglass offers better balance and bounce when a lot of hammering needs to be done, but he prefers the more accurate transmission and feel from the hickory handle for light, precision work.
To demonstrate some of these essential elements, we enlisted Yannick Sire of Sire Custom Performance. Sire a metal-shaping madman with striking speed when inspired, (we were blown away by how fast he and his fabricator Vlad Chioreanu formed the floors for project Max Effort elsewhere in this issue) so we asked him to show us the beginning basics of how he makes the custom pieces he needs to finish off the unique hot rod projects his shop handles regularly.
Basic Hammering Technique
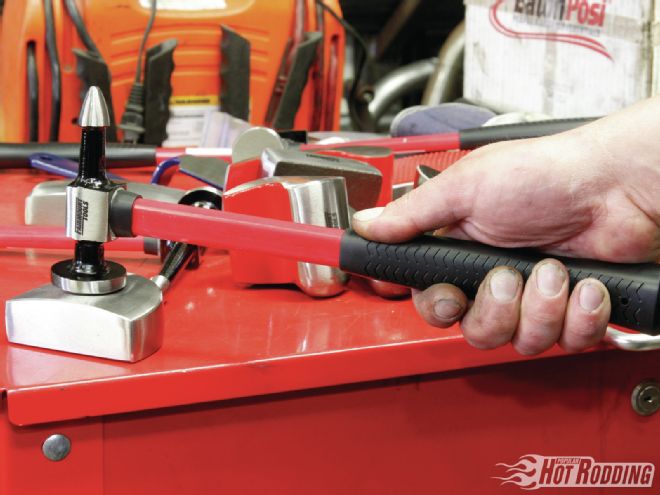
Similar to driving a nail with a claw hammer, always grip toward the end of the handle for leverage. Unlike hammering a nail, you'll be doing zero swinging with your arm; it's all in the wrist. The correct method is to go with the natural rhythm of the hammer as it bounces off the dolly. If your arm is getting tired, you're putting far too much effort into it. Some prefer to extend their thumb or pointer finger up the hammer's handle for increased control and feel, especially in delicate situations.
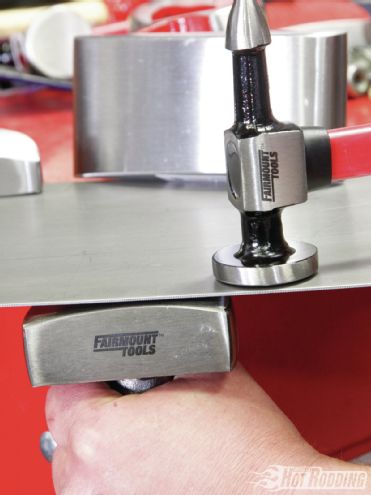
Remember that sheetmetal is actually fluid, and hammering "on dolly" is used for stretching. For correct technique, the face of the dolly and the hammer should sandwich the metal creating a sharp ting sound upon impact. The hammer should bounce quickly off the face of the metal if the contact is solid.

Hammering "off dolly" is used to equalize highs and lows. This is the technique used for working out dings and waves in sheetmetal.
Forming An Edge
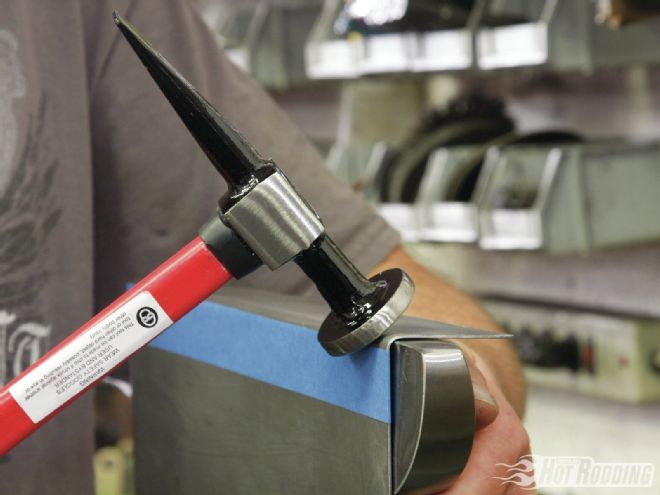
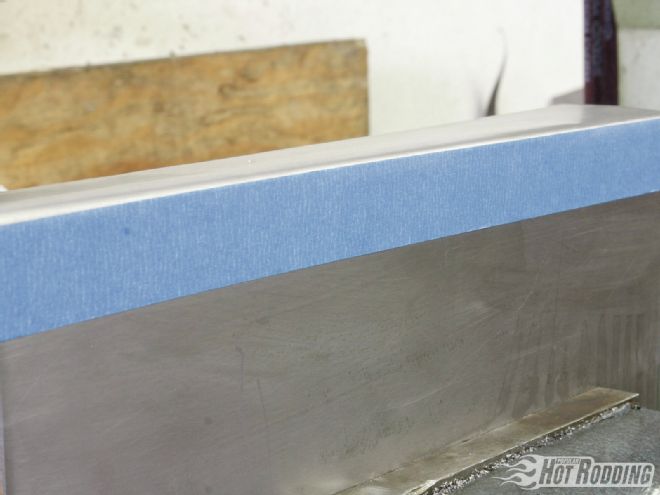
Forming an edge is one of the most valuable skills to have for adjusting seams or gaps between panels. Note how the bend in our repair panel here tapers upward away from the guide tape. Bending the edge is simple, but keeping it clean requires proper dollying. Instinct says to tap the top first, but to get the metal to bend at the tape line, tapping begins on the bend itself with the dolly placed on the inside of the lip to avoid distortion and moving the edge outward.
After rolling over the bend, the hammering switches to the top side of the lip to flatten out the lip and sharpen the bend.
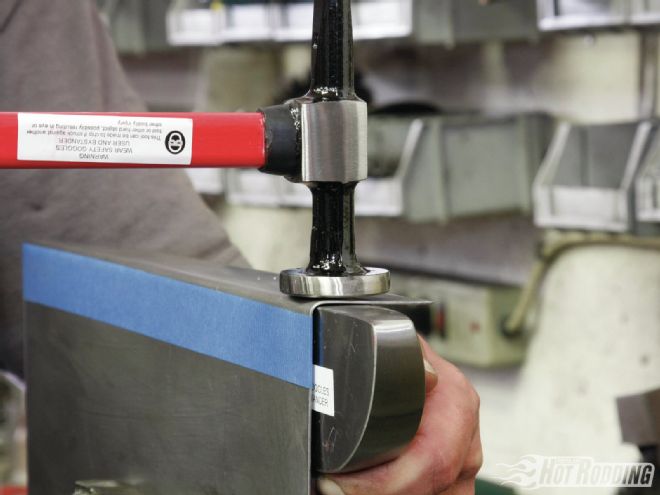
note how the edge has moved in line with the guide tape without losing the original crispness and without any deformation in the panel.
The bend in our repair panel had too much radius to is, while the spot requires a sharp 90 degrees. With the bend now moved where we want it, we can use the hammer and a sharp-edged dolly like the Toe or Hell to begin hammering on the top and side of the bend until we get the crisp bend we need.
Mallets & Sandbag
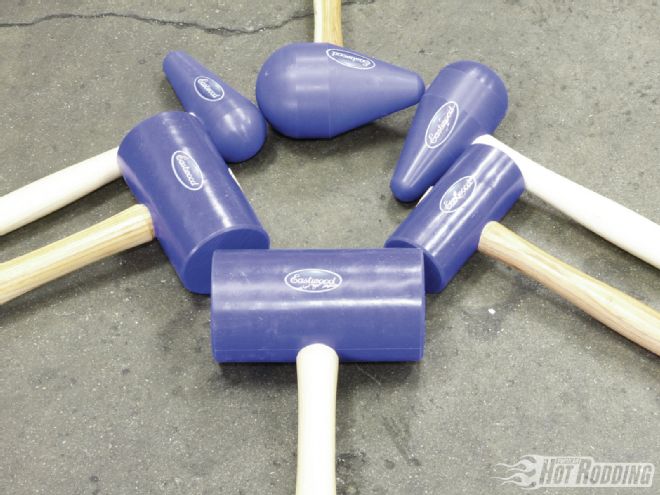
You don't always have to have a dolly to shape metal; that's where mallets come into play. These cylindrical and conical mallets are made from ultrahigh molecular-weight plastic that will allow us to stretch and form sheetmetal without marring the surface.
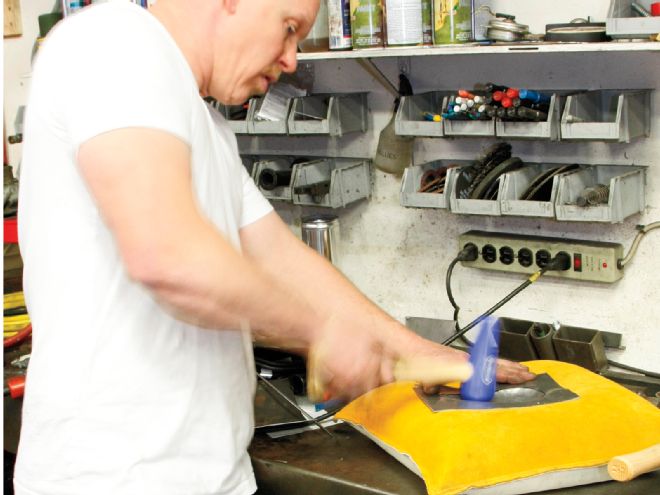
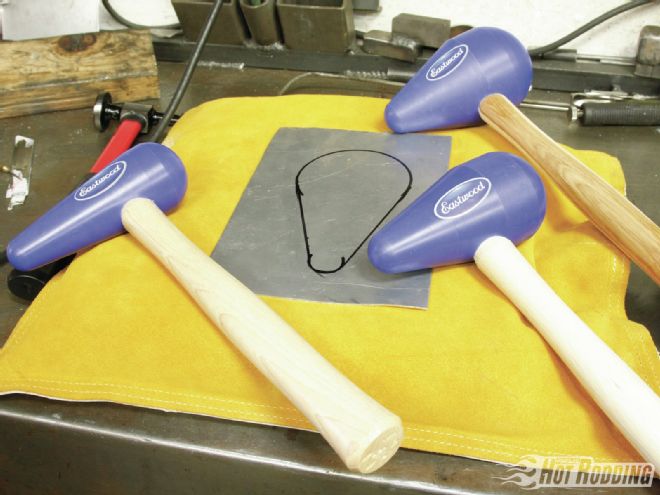
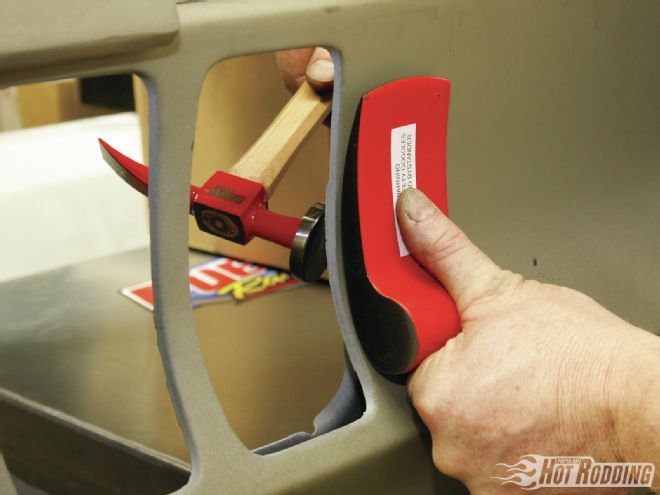
When shaping or repairing something, mallets work best with a complementary surface for the metal to be pounded on. One method involves using a hard wooden surface, such a stump, with a hole carved into it to facilitate the shaping. The most common, however, uses a leather sand bag, such as this one from Eastwood. When filled with buckshot, silver sand, or another preferred medium, the mallets themselves will impart the shape.
For demonstration, Sire is going to pound out a simple teardrop shape in a piece of sheetmetal. The pointed side of the conical mallets is used to rough in the shape. Choosing the mallet size is pure preference, though as with any other hammer, the larger ones offer more mass to swing and will impart more shape quickly. The smaller ones are for more subtle work.
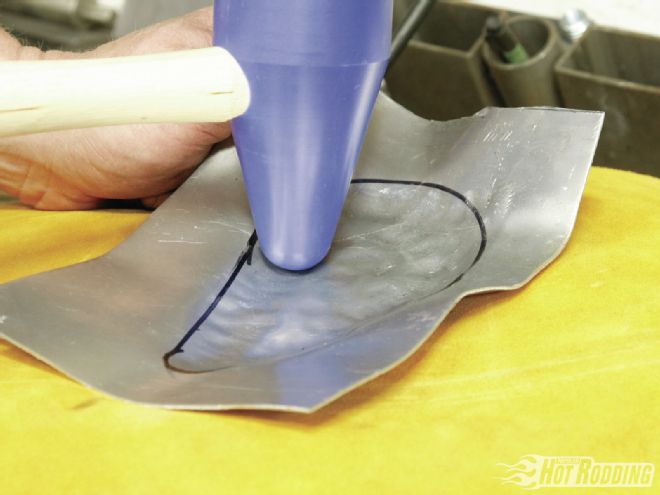
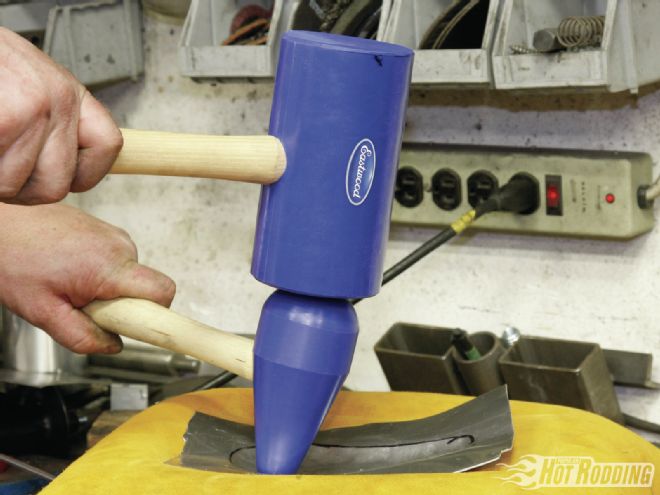
If your swings aren't very accurate, sometimes it works in your favor to hold the conical mallet in place and tap it with one of the cylindrical mallets. Sire also recommends this method for tight spots, or in this case, to get the very tip of the teardrop shape formed.
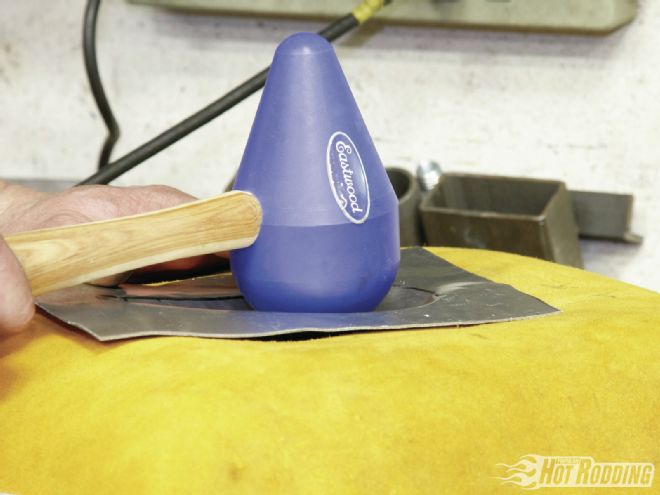
The impact from the pointed side of the mallet moves a lot of metal, but leaves behind a very rough surface. Flipping it over to the domed side allows Sire to begin working out those craters to create a more fluid shape. All this pounding is bound to buckle the sheet around the edges; the correct way to solve this problem would be with a set of shrinkers/stretchers (which we'll introduce to you in another article), but the hammer and dolly will work as well.
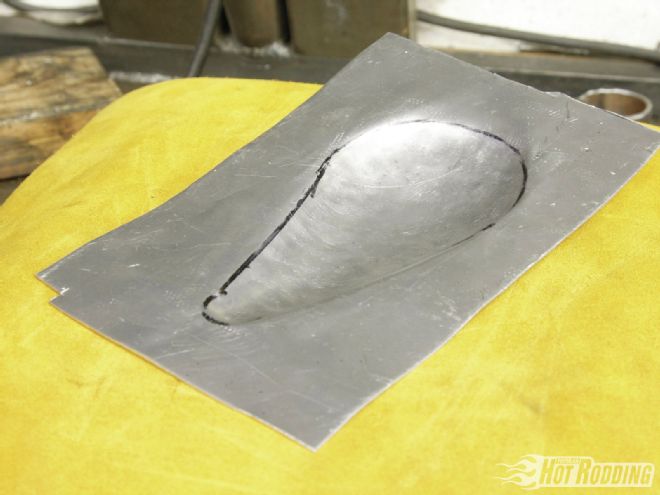
Within about 10 minutes Sire had created this small teardrop with about 1 inch of maximum depth. It needs a little more hammering and planishing to be very smooth, but the hard work is done. A small shape like this is ideal for solving clearance in tight areas; make a much bigger one and you've got the basis for a '64 Fairlane Thunderbolt-style hoodscoop.
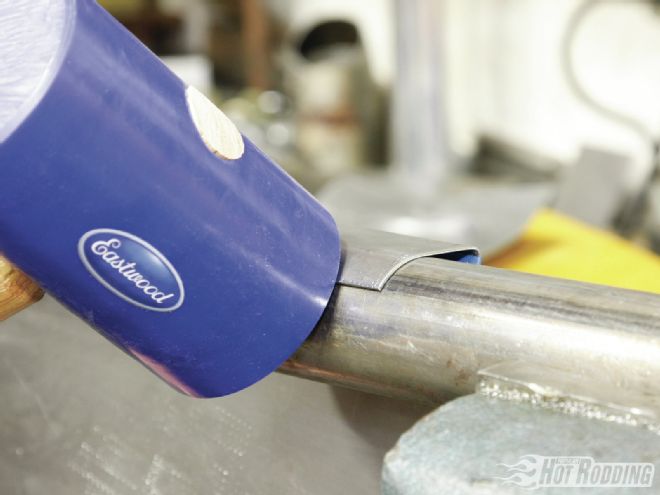
What about those cylindrical mallets? Besides just basic pounding, they're perfect for creating shape in sheetmetal over bucks or forms without marring or stretching the metal. For example, that repair panel we adjusted earlier with the hammer and dolly needs a rolled edge. To create, Sire clamped a length of DOM tube into a vise and used a heavy mallet to roll the edge of the sheet to the same contour as the tube. Using similar methods and larger forms, you can create just about any shape imaginable. Now just think of the sheetmetal problems you can solve just by hitting it!
Special Use Dollies
With a few obvious exceptions, such as forming sharp edges, the first thing to know about dollies is that really there is no such thing as the one "right" dolly for a job. Dollies are different shapes purely to help metal shapers and bodymen get it in the right place to work the metal into the right shape. Sometimes a common rail or heel-style dolly will handle everything, but there are times when more curvature may be to your advantage such as is the case with this '69 Mustang taillight panel. The shape of the Curved or Apostrophe dolly is designed for auto body repair and is almost a perfect match for the arc and allows for more precise hammering of some minor imperfections created by impacts from items inside the trunk.
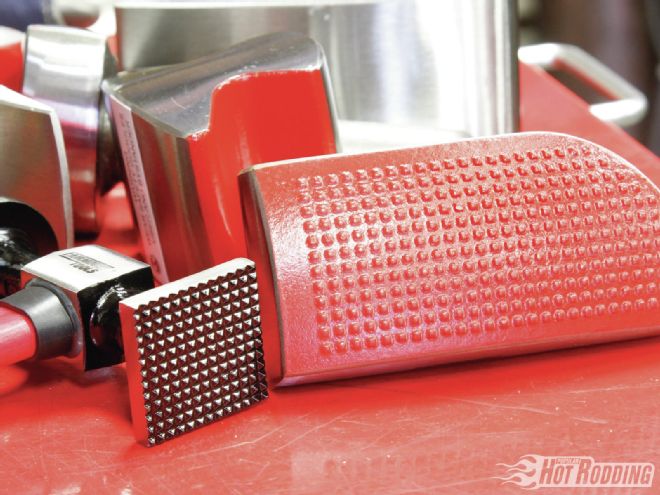
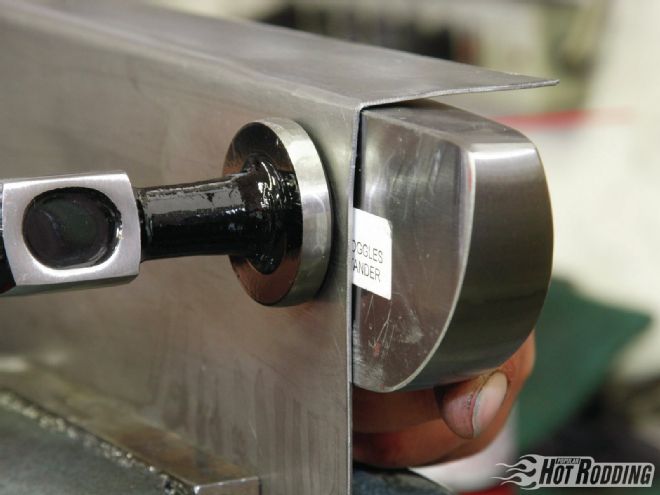
This toe dolly with the raised serrations, and its complementary hammer, are both used for shrinking metal. Metal is fluid and the purpose of the serrations is to gather the metal in an area by creating a series of tiny divots. This method is only for small amounts of shrinking and works well on areas of metal that have been over stretched or "oil canned." There are a couple different types on the market, but the type that do work the most effectively are quite sharp with a grid of tiny, sharp pyramids (rather than flat-topped serrations), such as both of these Fairmount tools.