If TIG welding is an art, TIG welding tubing elevates it to Ph.D status. Last month, we just dealt with welding flat pieces of steel together. Compared with welding tubing, that was the TIG welding equivalent of a walk in the park. Because you're only moving in one direction, it is much easier to keep your hands braced and therefore your welds straight. Moving in two planes (left to right and around an axis) adds complexity, because you have to shift your hand positions more than you would welding in a straight line. Each stop and start creates the potential for mismatched welds. That's no big deal if you don't care about aesthetics, but it can become an eyesore. Fortunately, practice makes perfect, and the best way to practice welding is on scrap. Here we go…
Save yourself a lot of frustration and start with something easy. Buy some lengths of mild steel. It’s is a lot easier to cut and doesn’t require special filler rod like stainless. We bought some sticks of 11⁄2-inchx0.120-wall-thickness round, mild steel at M&K Metals in scenic Gardena, California. Thicker wall tubing means less burn-throughs—and less frustration, as well.
To get a feel for welding around an object, clamp the tube in a vise and go to town. Again, this minimizes frustration, which can cause you to give up on the welding technique. Don’t bother trying to join anything together—just run flat beads around the tube.
Next, cut a section of tube and try TIG welding it to a flat piece of steel. The technique is similar to a T-joint, with the added complication of having to move around an object in a fluid manner.
Check the backside of the weld to see if you used enough heat to fully penetrate the joint. If there is no evidence of a heat-affected zone, you need more amperage. It will be obvious if you used too many amps—you’ll have a big hole to look through.
Welding tubing together also takes skill, and if the fitment isn’t as tight as possible, you will have to bridge the gap with extra filler material. Practice by cutting the tube at a slight angle, then weld it to a flat piece of steel to see how big an opening you’re comfortable with filling. It is possible to work in stages, building layers of filler material on top of one another until the joint is filled.
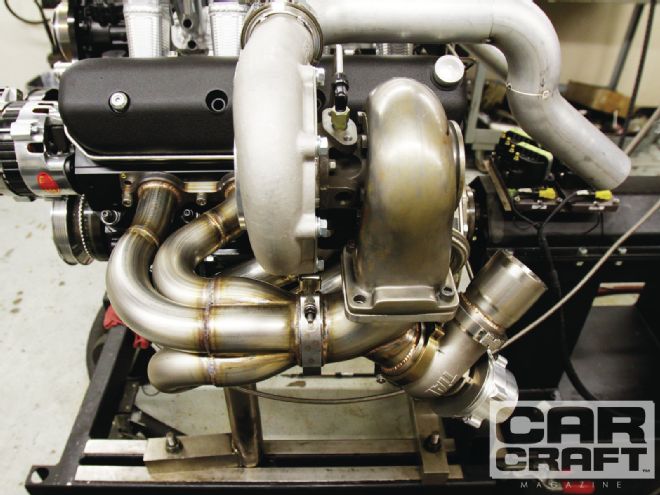
In a real-world application, you will also have to deal with awkward body and hand positions and limited access for the torch and filler wire. Structures such as rollcages or parts like exhaust headers can pose just such problems. Mock up the tubes and lightly tack-weld them in place until you are 100 percent ready to start fully TIG welding the parts.