Safety is not necessarily a hot rodder’s top priority. If it was we wouldn’t drive around in overpowered roadsters with no rollbars or seatbelts. But if you want to race that same roadster under the rules of a sanctioning body, be it SCTA, NHRA, or any other, driver safety is something you’ll have to address.
As the Notso Special is destined to be a dual-purpose street and lakes race car, I planned on including the necessary safety equipment from the onset. These include a number of body and chassis additions over a regular hot rod, as well as a race-legal harness, arm restraints, and a head and neck restraint (HANS) system. Of course there’s also the necessary fire suit, gloves, underwear, boots, and so on, but with the exception of the HANS, we’ll concentrate here on the equipment on the car, not on the driver.
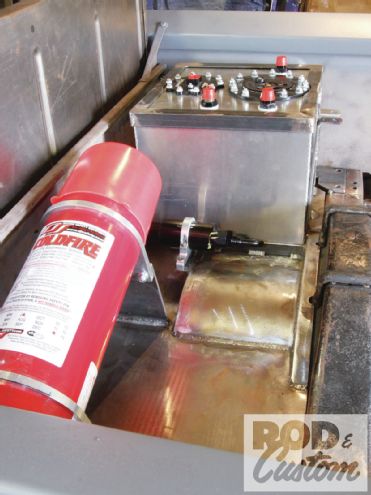
Most sanctioning body rules require an on-board fire extinguisher system, and SCTA is no different. The size of the system required will depend on the speed your car will be capable of, as the longer it takes to stop your vehicle, the larger the extinguisher capacity you’ll require. I opted to go with a bigger system than required in my case, so it won’t need upgrading in the future should I go faster than I initially plan to. Considering the simplicity of the installation, and the fact it requires no electrical power at all, I’d be tempted in the future to install such a system on any project vehicle, not just a race car, purely for the peace of mind factor.
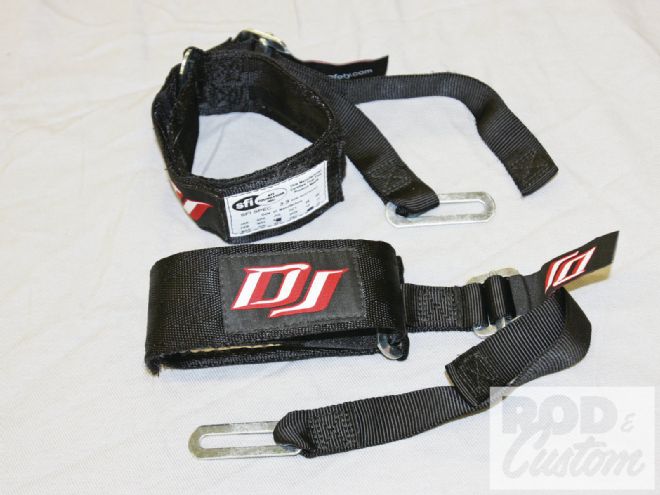
The 10-pound ColdFire foam bottle and mounting brackets had already been donated to the project (thanks Jeff), while a drive across L.A. to DJ Safety saw me return with the remainder of what the company offers both individually or as a complete kit with bottle—an injector with cable bracket, 9-foot cable assembly, 10 feet of aluminum tubing, and three nozzles. I also came back with the correct SFI-spec rollcage padding, a pair of arm restraints, and a five-point latch-style harness with 3-inch belts. The shoulder belts taper to 2 inches wide where they go over the HANS device. DJ Safety also offers parachutes, window nets, blower restraints, trans blankets, helmets, gloves, fire suits—in fact, they pretty much have your safety needs covered for racing or off-roading.
In addition to driver safety items, there are a couple of electrical safety issues that aren’t required when building a “normal” hot rod or custom. The fuel pump wiring circuit has to include an inertia switch to turn off the pump in the case of a rollover, while there has to be a battery cut-off switch both on the rear of the car, and within reach of the driver. Many racers simply run two manually operated cut-off switches to accomplish this, but I didn’t want to run the main battery cable through the interior, and figured this was the perfect opportunity to use Lokar’s interior battery disconnect lever kit. While Lokar is a name familiar to readers, you may not know that the company also has a line of drag racing products, of which this is one. The kit allows you to turn electrical power on or off from the driver seat, the lever bolting directly to many drag race shifters, though I mounted it to the rollcage. It’s available with or without either a 125- or 300-amp master power switch. We selected the without option, as Ron Francis Wiring had already supplied a switch, as well as battery cables. OK, enough with the theory, let’s get on with the practical work.
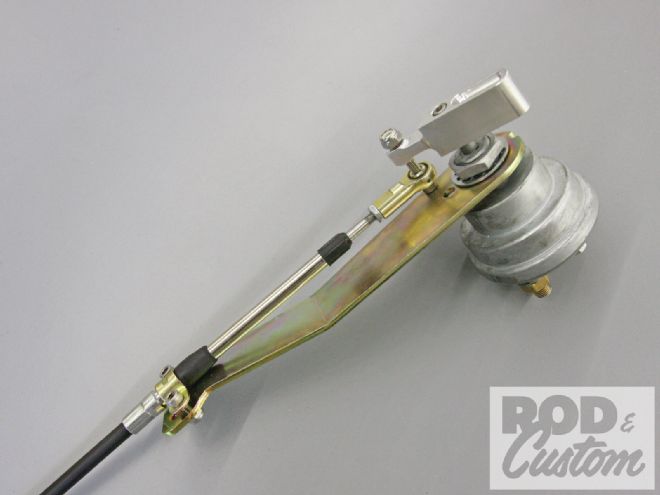
1 With the fire bottle mounted as recommended in the instructions, at an angle greater than 15 degrees from horizontal, I had ensured there was sufficient clearance for the release cable to attach, without contacting the Aeromotive fuel tank. The bottle has a protective cap in place here.
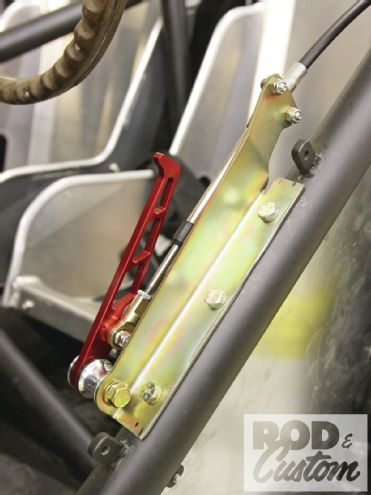
2 A bracket for the other end of the release cable was TIG-welded in place within reach of the driver seat, yet in a position where it couldn’t be accidentally activated.

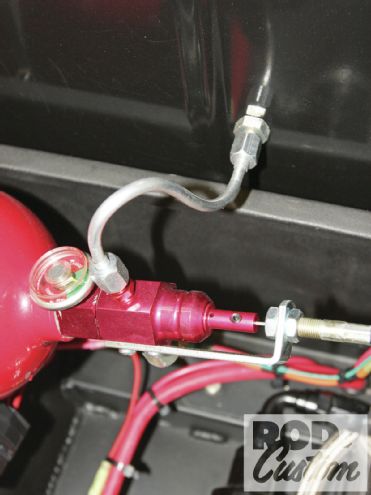
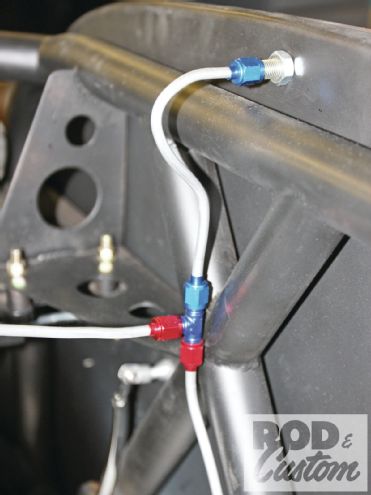
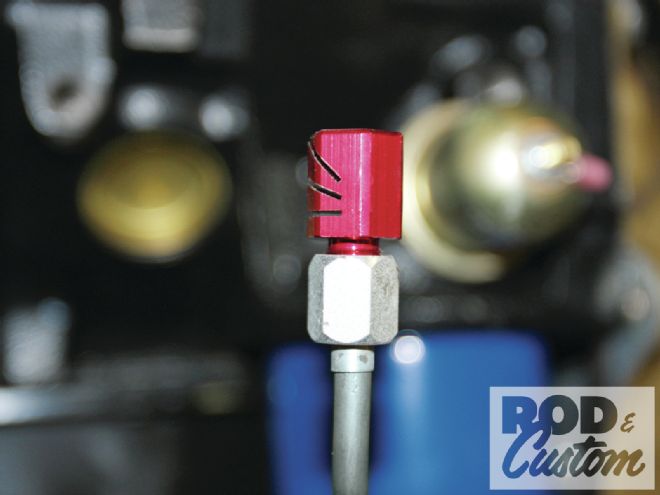
3 With the injector fitted to the bottle, the release cable could be installed through the bracket supplied. It should be cut to length where it is visible through the small sight hole (arrow), then clamped using the setscrew. The plumbing was also tackled now, with 1/4-inch hardline passing through a bulkhead fitting in the painted rear cab panel, then down the diagonal rollcage tubing to the front of the car. As the body panels are bolted solidly to the cage and chassis, there’s no flexing to worry about.
4 Here’s the release cable mounted within the driver’s reach. The yellow tag is on an R-clip that passes through the end of the cable, preventing it from being activated unless the clip is removed. Above it is the tubing running from the bottle to the front of the car.
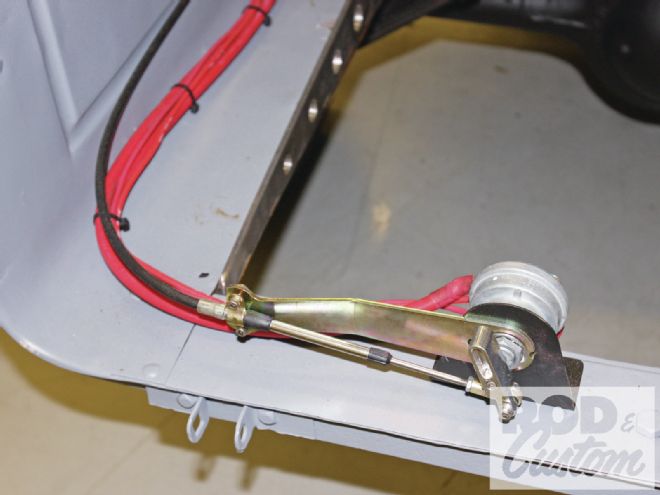
5 The tubing runs to a T on the inside of the firewall (I have yet to install tubing clamps), one line leading to a nozzle aimed at the driver, the other passing through a bulkhead fitting in the firewall to another T ...
6 … from where the tubing splits again to run either side of the engine, pointing upward at the headers and oil pan, as directed by the SCTA rulebook. Note the three angled slots in the DJ Safety nozzle, providing a wide fan of foam.
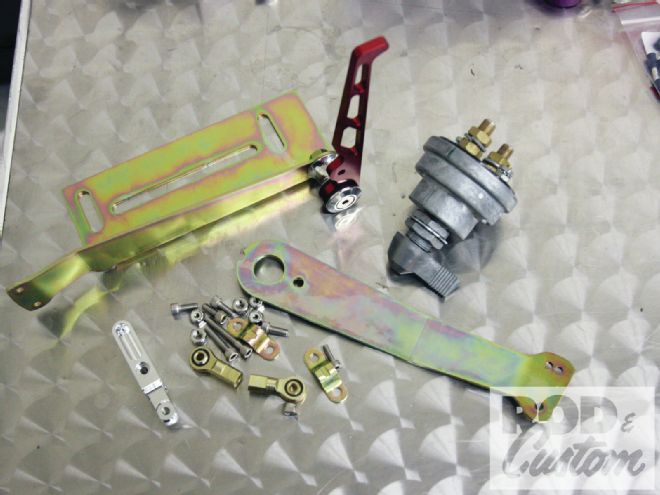
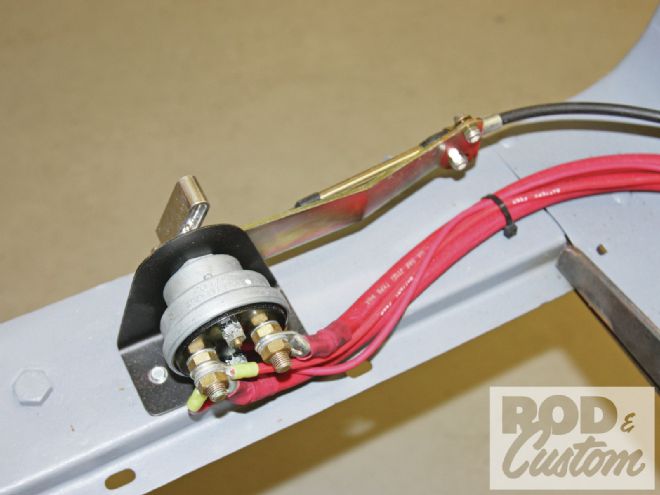
7 These are the components making up the Lokar Performance Interior Battery Disconnect Lever Kit, as well as the master disconnect switch from Ron Francis Wiring. The lever on the switch is replaced by the billet arm on the left of the picture. The kit is supplied with an 8-foot cable as standard, though 6- and 7-foot cables are available.
8 The lever was mounted on the door’s diagonal cage tube, drilled and tapped for 1⁄4-20 bolts. I used 1⁄4-20 threads throughout the car wherever possible for ease of future maintenance.
9 The switch spindle required tapping to accept the larger bolt, which locates the arm, but other than that assembly was straightforward. Here the cable is in place and all bolts are ready to tighten.
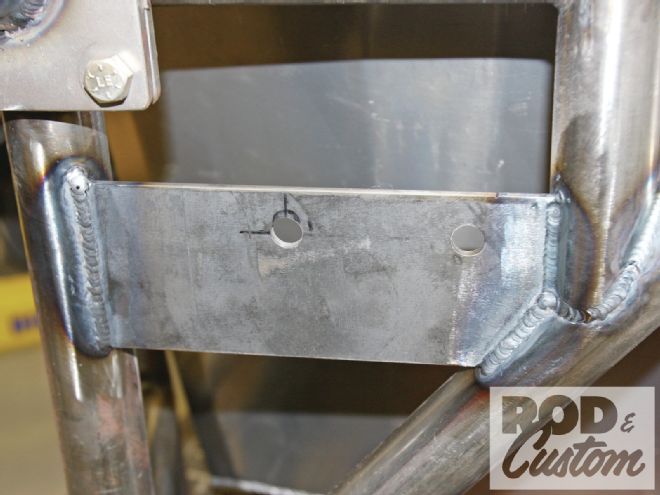
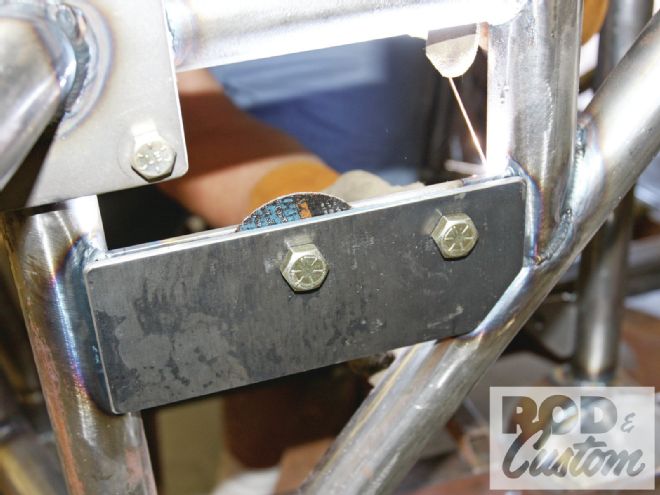
10 A temporary bracket, in lieu of a tailgate for now, and the switch was mounted.
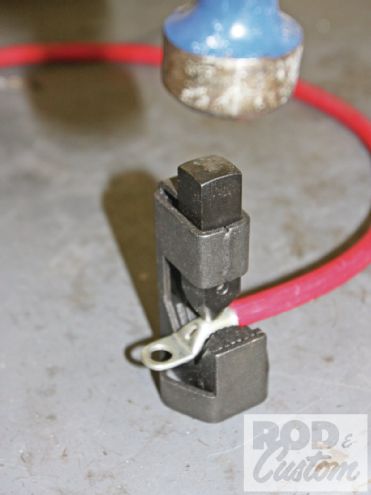
11 Ron Francis Wiring supplied these cable ends and heat-shrink tubing with their Hot Rod Battery Cables kit. The aluminum block can be used to crimp the cable ends … though I used this version. With the cable in place, a good hammer blow crimps the cable for good.
12 The battery is wired to the right side of the switch (as seen from the rear), while the three wires on the left are the battery feed to the front of the car, the live feed from the alternator, and the fuel pump feed (which uses a relay and fuse near the tank rather than running the wires back from the fuse box behind the dash). This way the master switch kills power to all electrical systems.
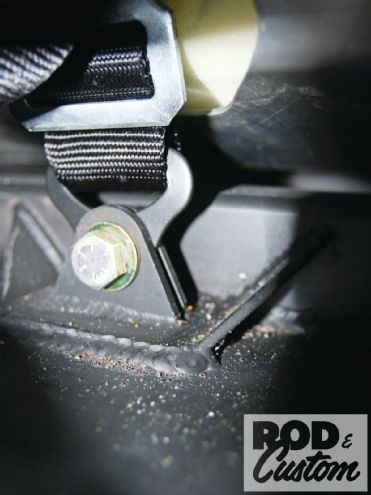
13 The shoulder straps for the five-piece harness travel over the shoulder bar of the rollcage, and are mounted vertically, behind the seat. Here’s the first 3/16-inch plate welded in place …
14 … and here’s the second, with spacers between the two, allowing the mounting eyelets on the harness straps to be sandwiched between them.
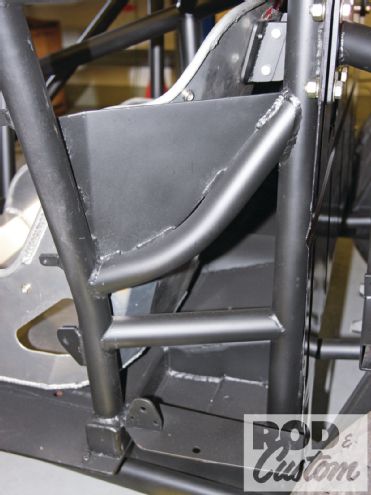
15 Cutting the minimum amount possible from the cab back panel allowed me to determine the final amount to be trimmed. The second horizontal bar was added in case anyone shorter than me ever drives the car, as the rules (and harness installation instructions) are specific about the angle of the harness straps from the driver’s shoulders to the bar or mounts. This way the straps can pass over the lower tube, if required.
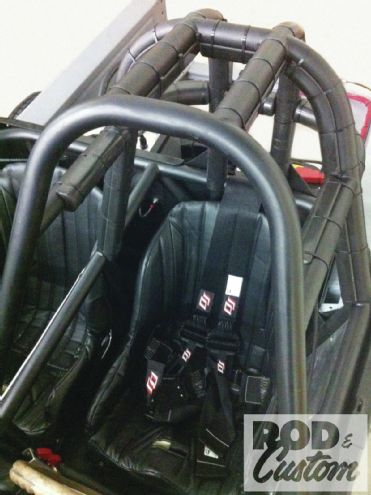
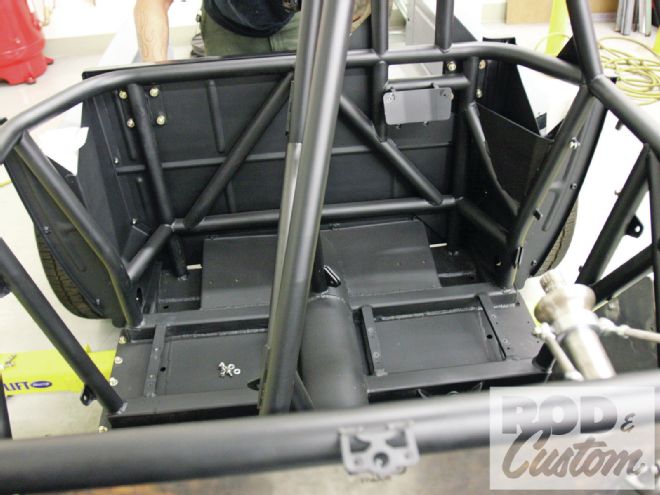
16 Finally, the welding is completed, the chassis and cage have been painted, and assembly has begun. The cab back and corners are in place, as is the pickup bed. Though there are no adjustable seat runners, per se; I tapped two sets of holes in the lower mounts, and the driver seat upper mount is adjustable too, allowing for the seat to come forward 1 inch, if required.
17 As with the shoulder strap mounts, the lap strap mounts consist of two 3⁄16-inch plates sandwiching the eyelets. These, however, were pre-fabricated brackets bought from the local steel supply house.
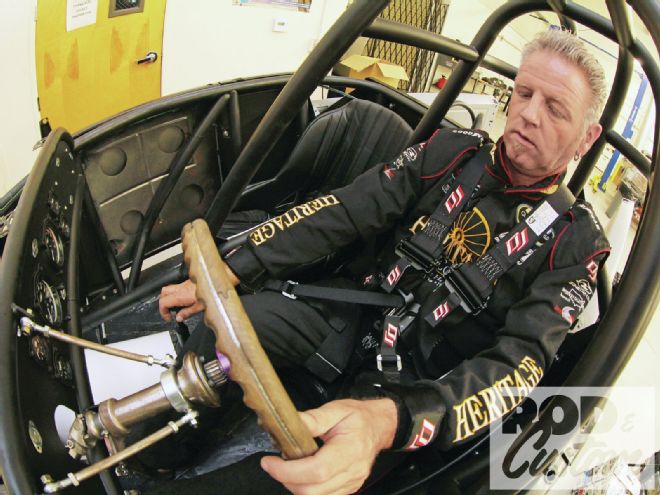
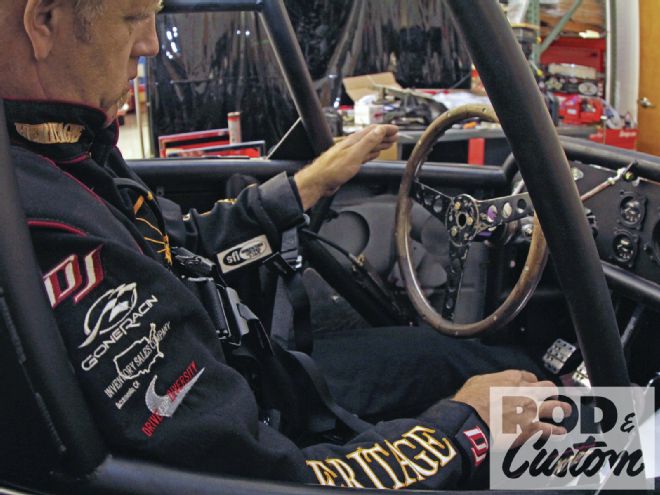
18 If it wasn’t clear before, it probably makes sense now, with the shoulder straps installed for the final time. Now I need to fabricate a cover for this area.

19 I added these tubes and a 3/16-inch plate as additional side impact protection as the corner of the pickup bed was close to the driver’s body at this point, protruding slightly into the cage. Now it doesn’t do that. Note also how the harness lap strap mounts are opposite horizontal tube sections of the cage structure.
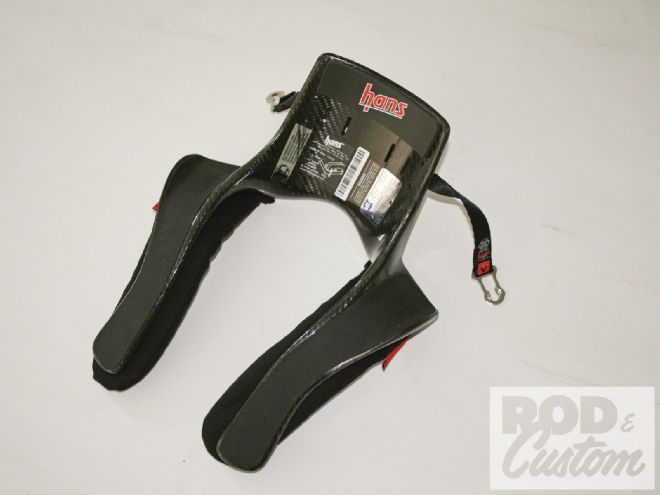
20 Here’s the driver seat with its cover in place (supplied by Speedway Motors along with the seats), and the latch-style harness bolted in. DJ Safety also offers the cam-style latch on their harnesses.
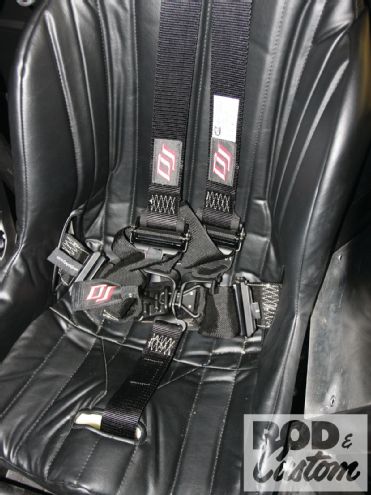
21 The crotch strap is referred to as an anti-submarine strap. I mounted it as shown, on a gusseted plate that was welded to the 1/4-inch steel floor as well as the 1/4-inch wall seat crossmember.
22 Test-fit time! The fish-eye lens makes the cage look roomy, but believe me, it’s not! With a fire suit on, and the harness tight, I needed to ensure I could reach everything with the arm restraints on. You can clearly see here how the shoulder straps narrow to 2 inches in width …
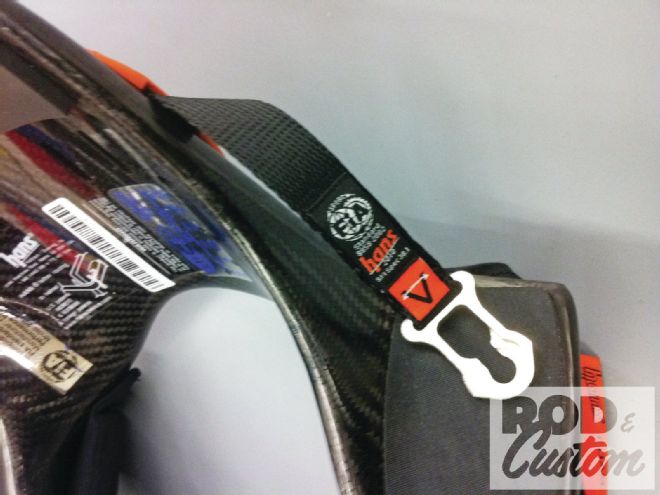
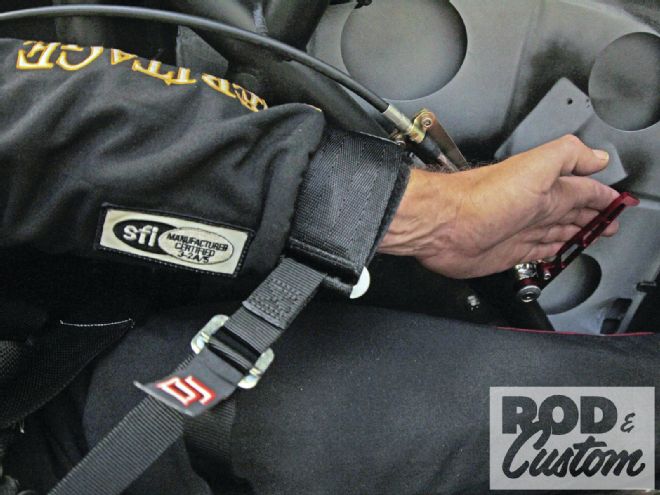
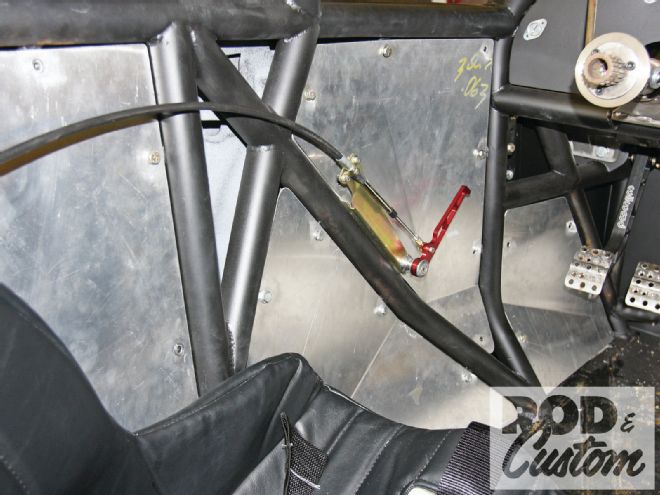
23 … so they can fit in the shoulder sections of the HANS device, which has raised edges to locate the straps.
24 These clips attach to corresponding clips on the driver’s helmet, preventing his or her head from moving forward violently in a crash, and preventing neck injury or worse. You won’t be allowed to race without a HANS device, and they ain’t cheap! They are, however, preferable to the alternative, if you crash without one.
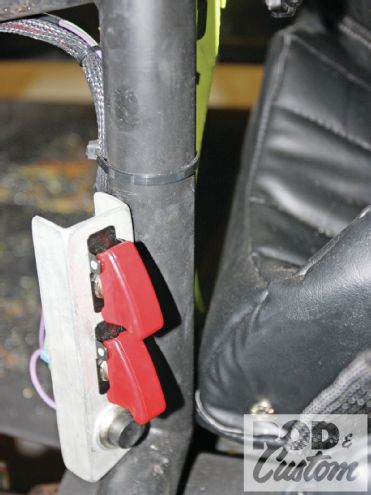
25 Here are the correct SFI-spec arm restraints, with the SFI tag shown. The slotted ends fit the latch on the harness, while the restraints are adjustable for length.
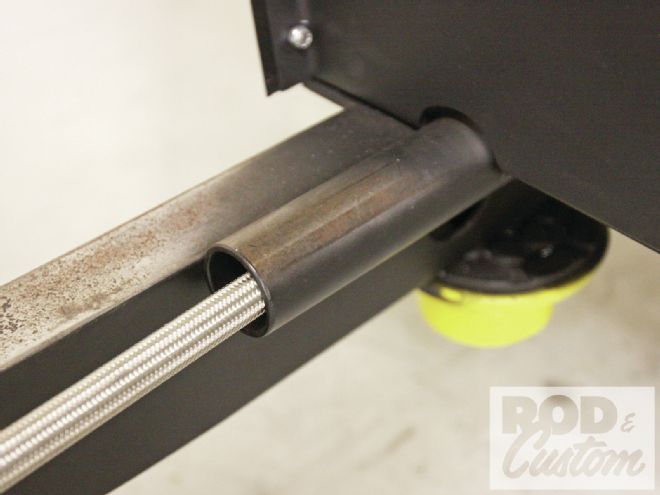
26 In picture 23 you can see that I could reach the steering wheel, but I could also get my hand outside the cage structure, meaning it could do this in an accident. The arm restraints are there to stop this from happening, and once adjusted to prevent this, I could reach but no longer turn the wheel. I’ll need a dished wheel for racing it seems.
27 I can, however, reach the battery disconnect lever.
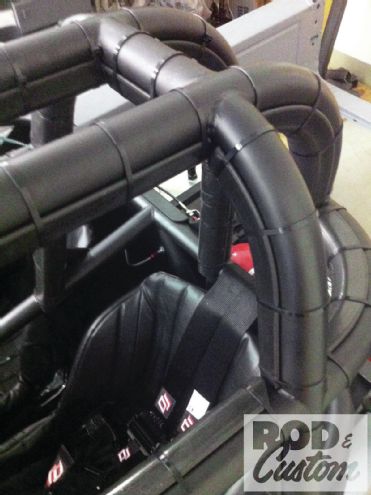
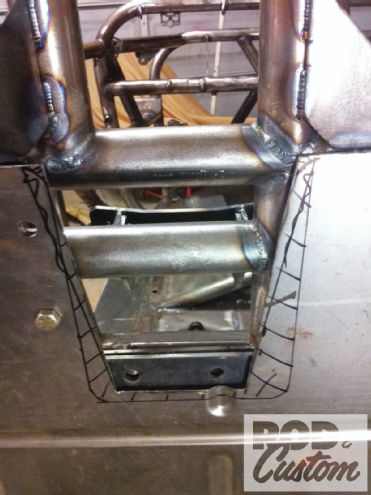
28 While I’m on the subject of body parts exiting the cage structure, the SCTA rulebook also states that no limbs should be able to do just that in the event that the vehicle’s body panels come off in an accident. While specially made nets are available for this, aluminum paneling, installed inside the outer plane of the rollcage, is also acceptable. Now you know what all the threaded tabs on the driver side of the cage were for in previous pictures!
29 This temporary switch panel down between the seats houses the fuel pump and ignition switches with aircraft-style covers, from Ron Francis, as well as the starter button. I can reach it, and it’s not in the way so it won’t be hit accidentally, but I’m not sure I like the position. However, I certainly can’t reach the dash, and my options are limited!
30 The SCTA rules state that where fuel lines pass the bellhousing, even with the addition of a scattershield, they have to pass through thick wall tubing to prevent them from being sheared by flying clutch parts. I used a length of leftover rollcage tubing, radiused the ends, and welded it to the framerail.
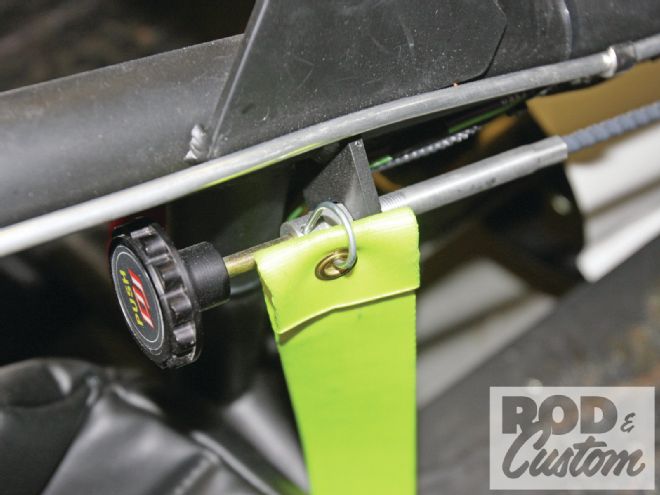
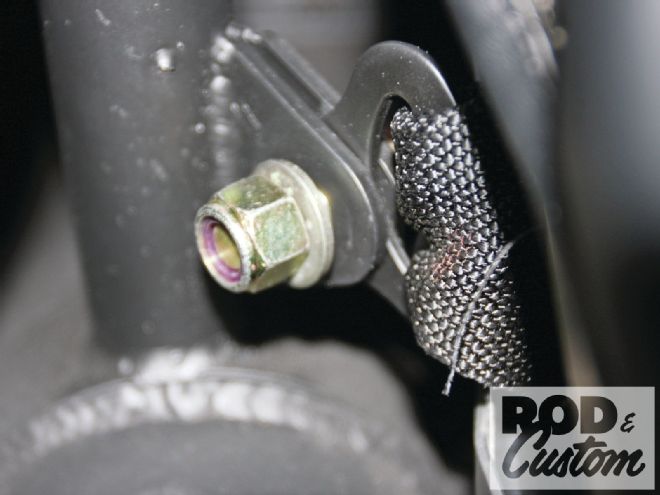
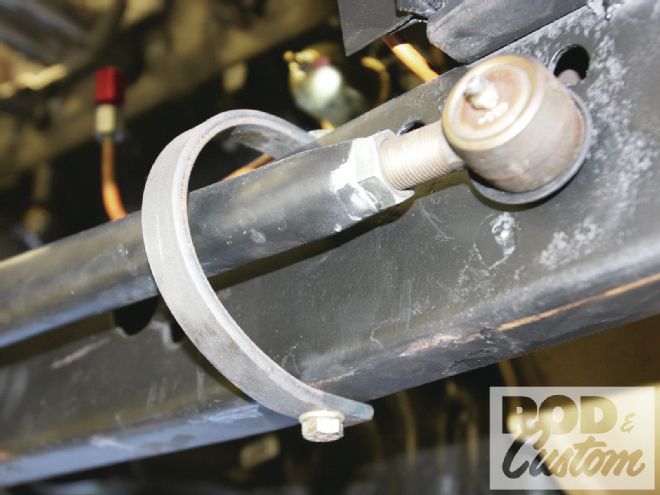
31 Restraining straps, or “slings” as the SCTA rulebook calls them, are required near the forward end of rear suspension links, with a minimum diameter of 1/4 inch, to prevent them from dropping to the ground should the joint fail. I added them to the front split ’bones too.
32 Even the rollcage padding has to meet an SFI specification. DJ Safety also supplied this for our car.
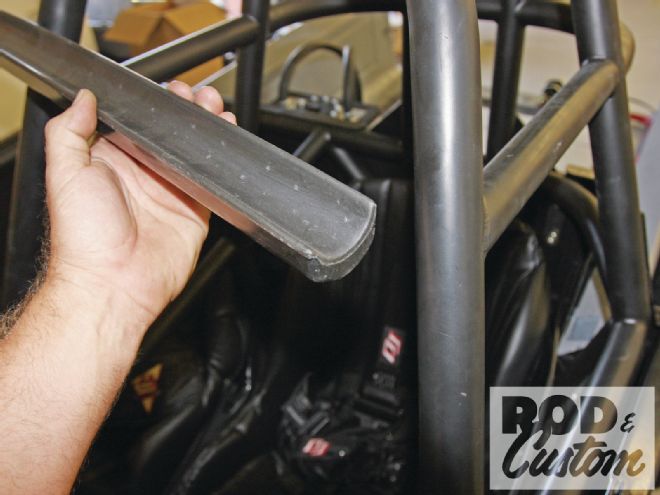
33 With slight trimming to clear the vertical tubes, the padding was installed using large wire ties to hold it in place.