A lot of people think sheetmetal work is the hot rodding equivalent of rocket science. And forget about shrinking metal; that's alchemy. A Ph.D. in mechanical engineering or medieval chemistry would come in handy but are not necessary. In fact, heat-shrinking a small reveal or bead is much easier than you might imagine.
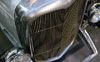
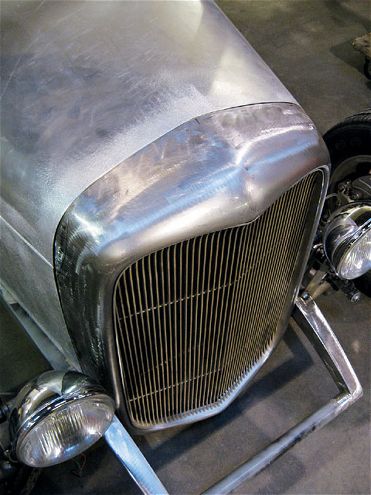
There are, of course, varying degrees of difficulty involved in heat shrinking. For example, using heat to shrink an "oil can" in a large flat panel takes a little more practice than shrinking a small ding out of a curved panel. Likewise, shrinking the hood-trim indent out of the entire length of a shoebox Ford hood is much harder than shrinking the bead out of a '32 Ford grille shell.
Assuming you are starting with something within your skill range, you only need a few tools and a modicum of patience. Although dent-shrinking can be achieved with a shrinking disc or a spitzenagle (stud nailer gun), in order to shrink a bead you will need a heat source that produces a flame. An oxyacetylene setup is the most acceptable source since it produces a concentrated flame (use a #0 or #1 torch tip).
Depending on the complexity of the panel you're working on, you'll need a variety of body hammers and dollies. We'll be using both high- and low-crowned dollies, and a "flat" hammer. Make sure the surfaces of your hammers and dollies are smooth and polished; imperfections in your tools are likely to leave an imprint in the surface of the panel because these metals are in a very soft state.
Since you will be working with very hot metal, it's also a good idea to use a pair of gloves while you work. We wear thin exhaust-fabricating gloves, which shield heat but also allow us to feel the contours of the metal.
We should also mention that many people suggest fast-quenching shrunk areas with a wet rag, or sometimes with compressed air. We've heard two different opinions on this; some say fast-quenching shrinks the metal more than slow cooling, and some say that it shrinks the same amount as slow cooling. It certainly does, however, eventually make the metal brittle and unworkable, so make sure to heat and shrink enough the first time if you use a wet rag to cool. You do not want to heat a new area of metal before the preceding area has cooled, so be patient.
Before you start working the precious metal on your hot rod, try heating and hammering some scrap metal. If you have access to a bead roller, roll yourself a bead and shrink it. Get an idea of how much heat it takes to "cherry" the metal and how hard you need to strike it to smooth it down.
In general, be aware that the hotter you get the metal, the more it will eventually shrink. Remember, metal will initially expand when you heat it. As you hammer a nearly liquid-hot bead against a dolly, you are simply forcing the molecules into a smaller area. The "shrinking" happens as the metal cools down, so wait until it has completely cooled before determining whether it needs more shrinking or not.
Have fun. This takes patience and practice, so don't be discouraged if it takes a while to get the bang of it. Eventually, you'll wonder what all the fuss was about.