
In part one of this install we told you the story of our cool looking but miserable-to-drive 1967 Chevelle. We’ve all driven an old Chevy that has crummy brakes and sketchy handling, but these days a fix is only a bit of cash and few handtools away.
We started by ordering up Classic Performance Products’ (CPP) Stage IV Pro-Touring kit (PN 6467PTK-4, $3,599). This kit came with almost everything we needed to upgrade the Chevelle’s suspension and brakes. To complement these parts, we also added in a 500 series close-ratio steering box (PN CP50004) and the vacuum brake booster we upgraded to CPP’s Hydra Stop system.
With the front bits installed, it was time to turn our attention to the back end of our classic Chevy. Like the front, all of the parts are basic bolt-on deals, and compared to many of the kits on the market, they certainly fall more into the affordable category. We also managed to test out the new brakes to see if the performance would back up the good looks. If you missed part one of this story, be sure to check it out at chevyhiperformance.com.
01. Our 1967 Chevelle may have had factory front disc brakes, but the rears were the typical drum deal. They looked to have been recently serviced, but that didn’t seem to help their performance. Before the car was taken apart, we did a little testing, and the best stopping distance on new high-performance tires was 156 very sketchy feet. And, after that hard hit, the brakes clocked out early. They also had a nasty tendency to lock up and nearly spin the car.
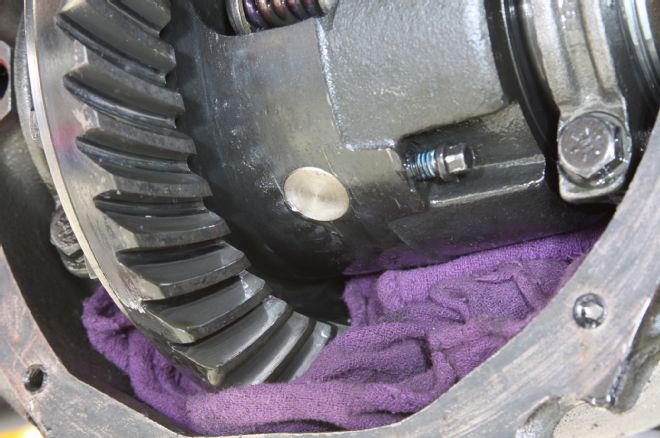
02. Before we could remove the backing plates we had to pull the axles, and before we could do that we needed to release the C-clips in the differential. To do this, we pulled the cover off of the 12-bolt, carefully rotated the diff till it was in this position and removed the small bolt (seen with blue thread locker on it). We then removed the pin (a magnet helps if it won’t drop free) and wiggled out the C-clips. With the pin out, we made sure not to spin the diff in any way, or parts would have started falling out of place.
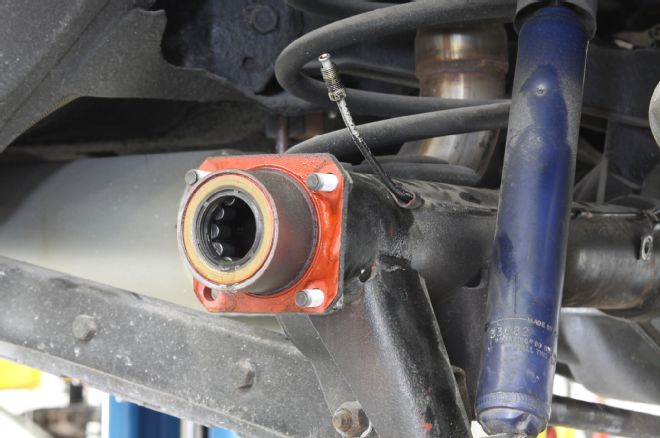
03. And here’s what we were left with. The existing brake hardline will eventually be replaced with new, pre-bent brake lines supplied in the CPP kit. They also supplied both a 10-bolt and a 12-bolt differential cover gasket.
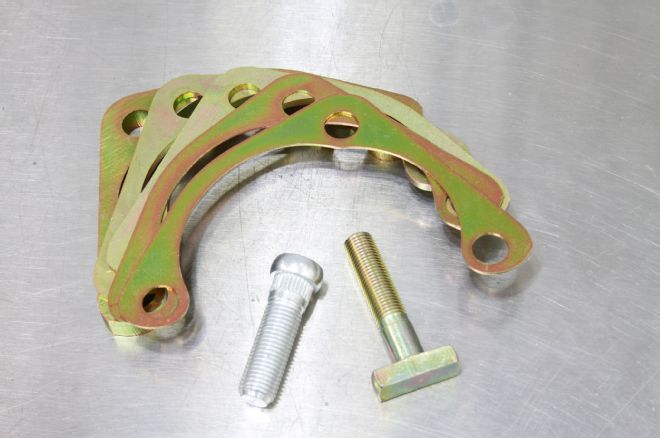
04. CPP included a stack of caliper bracket shims and new T-bolts in the kit. How many shims you’ll need depends on your flange. The only way to find out is to test fit the caliper and see if it ends up centered over the rotor. They also include new rear wheel studs; they weren’t any longer than what we already had, so we were good-to-go.
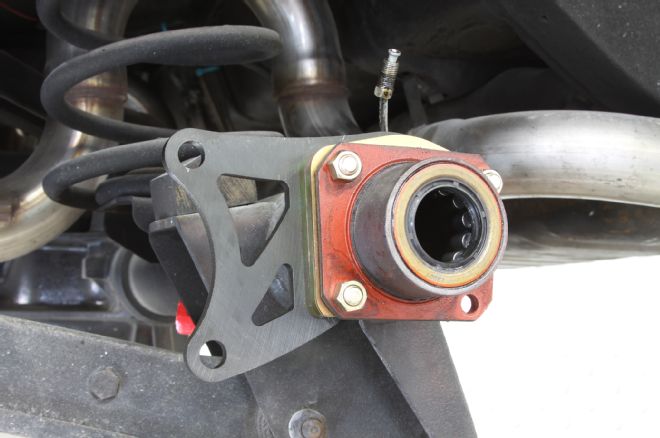
05. And here’s how the caliper bracket bolted to the housing flange. Note that the bolt at 4 o’clock wasn’t used at this point in the install.

06. The single-piston CPP floating caliper is really all that’s needed on the back of a car. One nice feature is it also contains the parking brake.
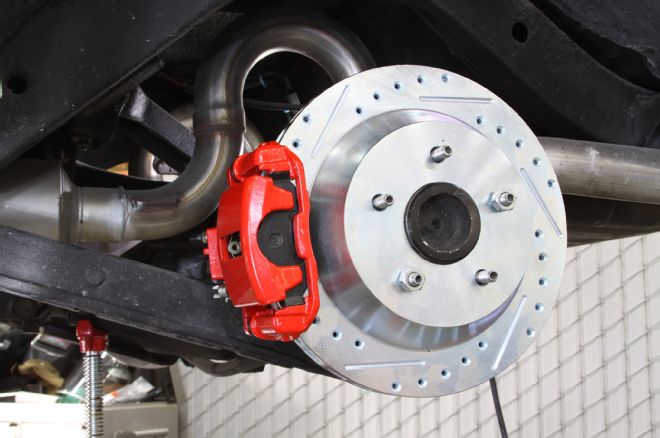
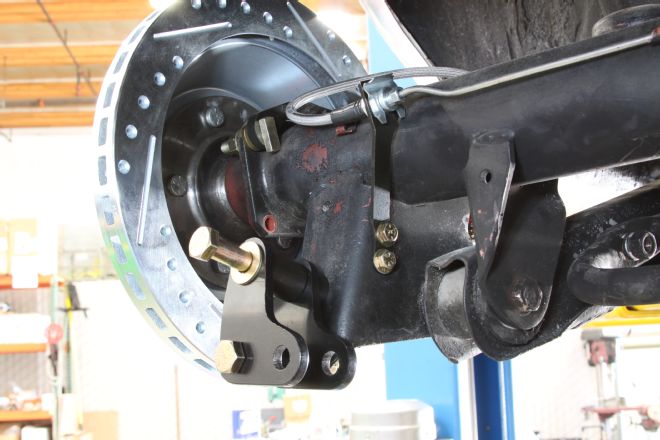
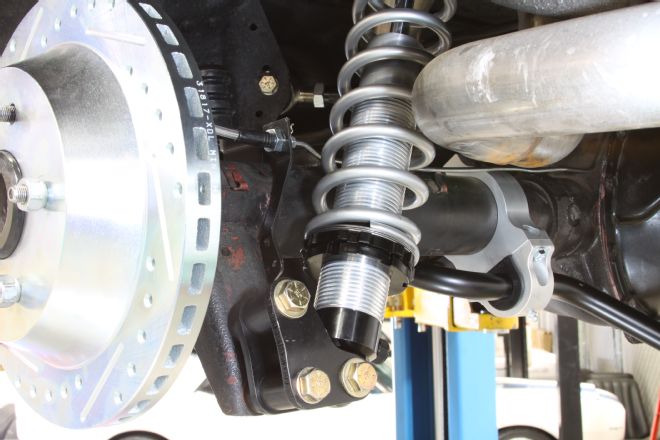
07. With the axle reinstalled and the diff buttoned back up we then installed the new 12-inch slotted, drilled, zinc-washed rotor and bolted on the CPP caliper. The calipers had to mount forward to provide clearance for the shocks.
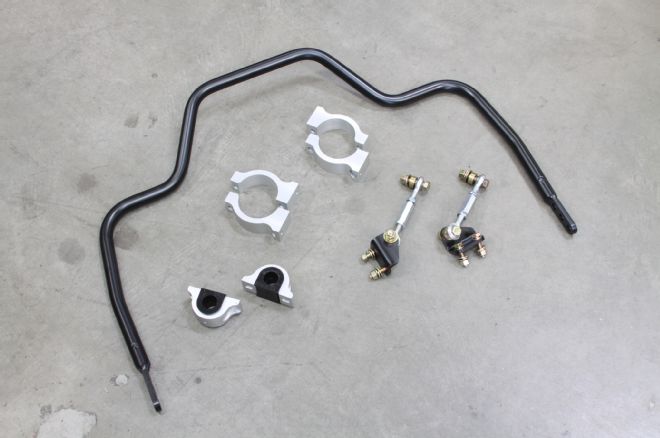
08. In addition to the rear sway bar option (PN OPTION-RSB2, $50), we also got fancy with CPP’s deluxe rear billet poly/aluminum mounts (PN RBM-DKM25, $129).
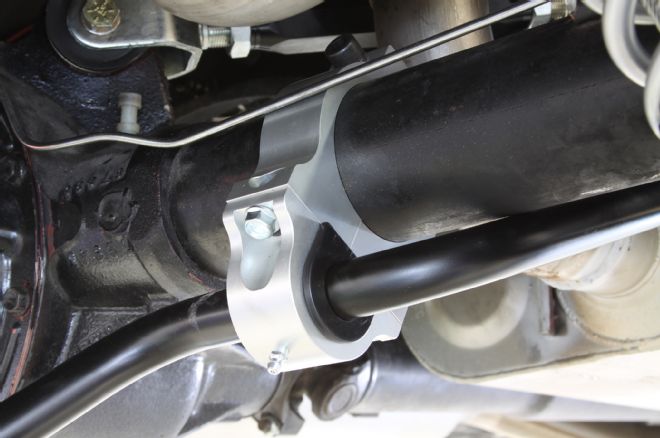
09. The billet bushing mount looks a lot better than U-bolts and were much easier than welding on sway bar support pads.
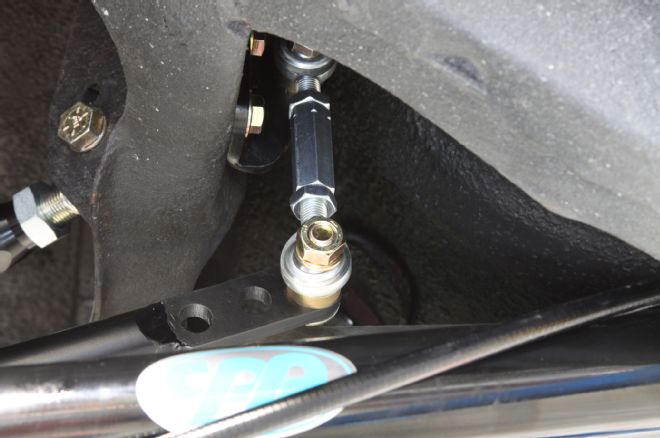
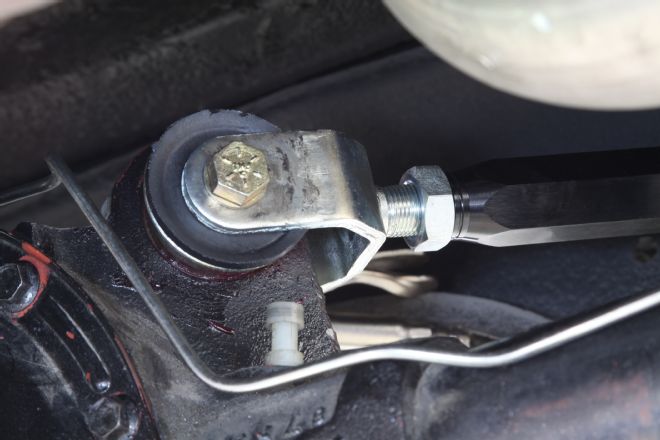
10. The upper brackets were bolted to the frame and then the links were adjusted and attached to the sway bar. The bar itself has three points, so the roll stiffness can be tuned for the car. For now we set it on the last hole, which is the softest.

11. Part of improving the handling of any car is stiffening up the suspension in terms of flex. Our Chevelle actually had nicer parts than most we’ve seen since it was fitted with a rear sway bar and factory “boxed” lower trailing arms.

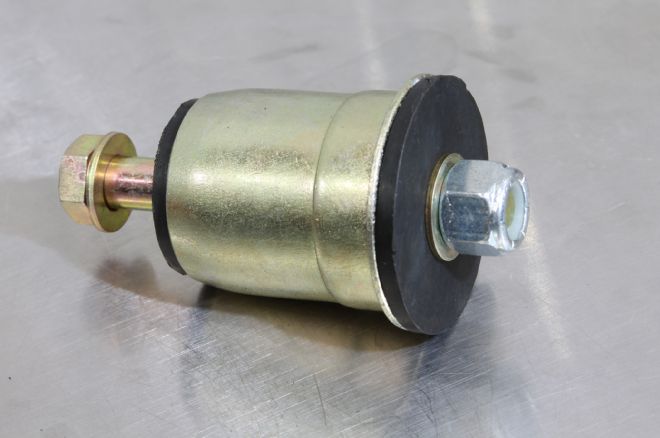
12. But even the upgraded, boxed GM trailing arms bend and flex a lot compared to these tubular pieces from CPP. The bars came with the urethane bushings already installed.
13. Not much to say about installing the lower trailing arms since they simply bolted in place of the old ones using the new Grade 8 hardware supplied by CPP.
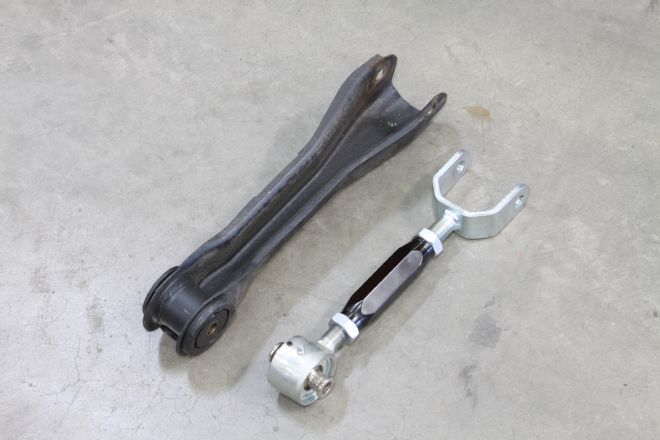
14. It’s pretty easy to see how much stronger the new upper arm is compared to the stamped steel stocker. The other huge benefit is that it’s adjustable, so we can fine-tune the pinion angle and better align the rear end.
15. The hardest part of the entire rear suspension is typically swapping out the upper control arm bushings in the rearend housing.
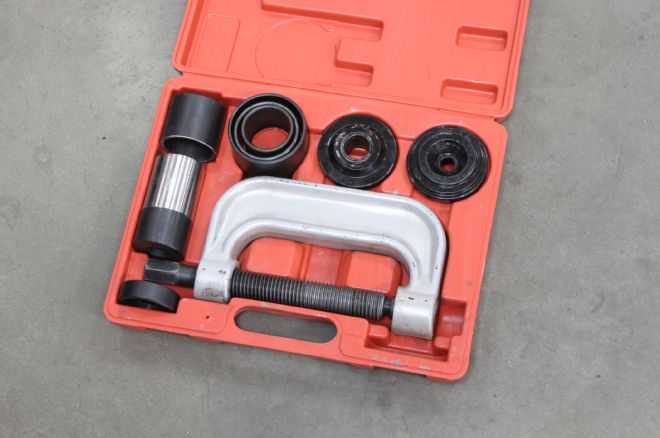
16. Normally, we struggle with this bushing, but fortunately CPP sells this sweet 4-in-1 ball joint service set (PN BJT, $79). In addition to easily removing and installing ball joints, it’s also quite adept at removing and installing rear control arm bushings.
17. We lubed up the new bushing and tapped it into the housing until it bottomed out. We then installed the new upper control arm. To make sure we were in the ballpark, we set the length of the new upper arm the same as the stocker that was removed.
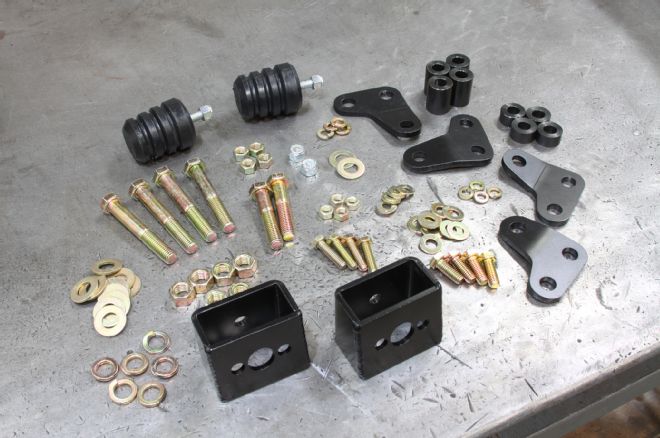
18. Another upgrade we opted for was CPP’s coilover conversion kit (PN PTK-RCOILOVER-SA, $229). This will allow us to easily dial in the rear ride height on our Chevelle, and besides, coilovers are just cool. As you can see, there’s a lot of hardware involved, but installation was pretty straightforward.
19. Here you can see the main shock bracket assembly. The larger spacers went between the two plates while the short ones went between the rear plate and the existing shock mount welded to the rearend housing. The system utilized the existing shock mounting hole, but we had to drill a hole for the upper bolt. If you look closely you’ll notice that the plates have a slight bend in them. This adds a ton of strength to the finished assembly.
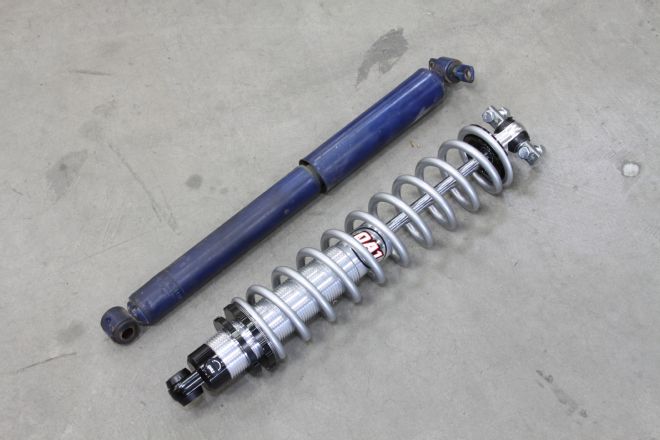
20. The rear coilovers were single-adjustable billet QA1 pieces and a CPP coil spring. Besides being great looking (especially compared to the stock shock), this will let us dial in the ride/handling of the Chevelle in addition to its ride height.
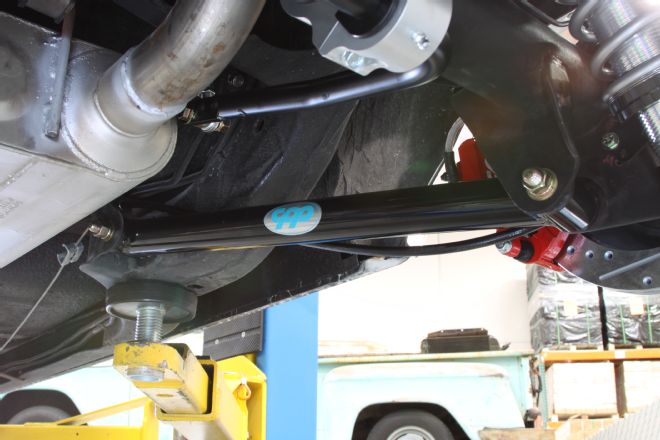
21. And here’s the coilover shock mounted under the Chevy. We lucked out and just managed to clear the exhaust, but keep in mind that the coilover conversion does take up a bit more space than a standard shock.
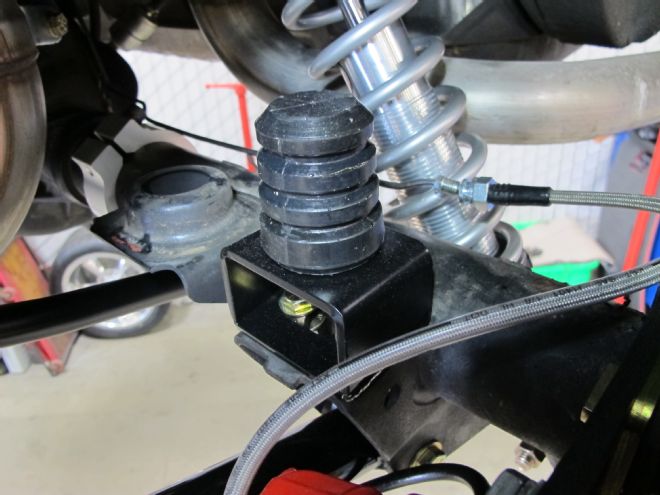
22. The bump stop simply bolted to the rearend using the supplied riser bracket.
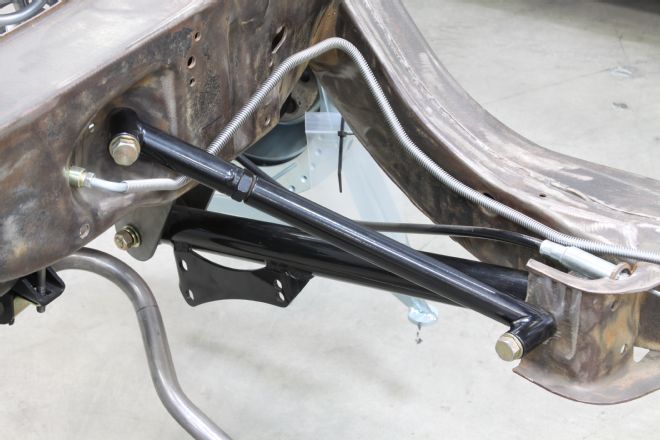
23. CPP offers these Trailing Arm Mount Adjustable Braces (PN 6467TAMB, $89). We couldn’t add them due to our mufflers being too far back, but if you have space, they’re a great idea. Here’s a picture of them mounted to one of CPP’s display frames. The bar ties the rear of the upper trailing arm to the rear of the lower trailing arm and adds a lot of chassis stiffness.
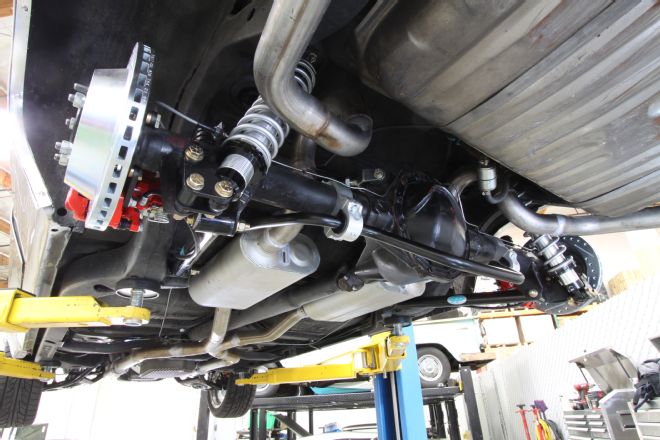
24. And with that we were done with the install and could get the Chevelle down to our local alignment shop. The new parts look great, but more importantly they should help this 3,700-pound Chevy negotiate the curves a whole lot better.
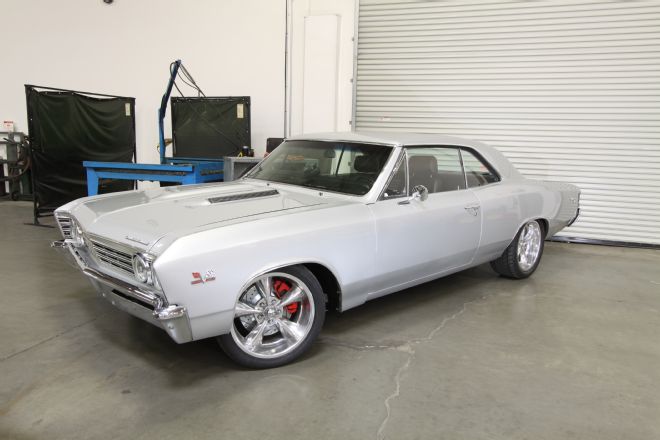
25. When the Chevelle showed up to the shop it rolled on 15-inch Rally wheels. They wouldn’t clear the new brakes, so we tossed on a set of 18-inch rollers from Showwheels. Even with better tires, the braking performance was awful, with a best stopping distance of 158 feet. Keep in mind that was with the rear locking up. With the new suspension and brakes, we again tested the car and were rewarded with a best stopping distance (from 60 mph) of 125 feet. Best of all, it was 125 drama-free feet. Even after six all-out hits, our stopping distance was still a respectable 129 feet. Six hard stops on the old brakes would have imbedded us in a tree.