Classic Mustangs have never been much on traction quality in demanding driving conditions. Because they have light rearends and suffer from axle hop and spring wrap under tough driving conditions, they need the help and stability traction bars can offer. There are all kinds of traction-enhancing devices out there for classic Mustangs. Some are attractive and functional and some not so attractive and functional—you want attractive and functional for your classic Mustang. The new concours PN TM-1068-C Underride traction bar system for 1965 and 1966 Mustangs from Scott Drake are both stealthy and functional. What’s more, they can be installed in an afternoon.
We took our Drake underride traction bars to Marlo’s Frame & Alignment in the San Fernando Valley and had Marlon Mitchell practice his craft on a customer’s 1966 Mustang GT hardtop. Installation was a breeze and Marlon had his customer back on the road in about two hours.
The Drake underride traction bars are a bolt-on/weld-on affair and don’t require special tools. What you will need is a good welder who can secure framerail brackets to the frame. When you examine the axle brackets, you will notice there are three U-bolt holes in each; this is to make installation easier and save the hassle of disconnecting the shocks. Bracket security will be sufficient enough that you don’t have to be concerned with any of it coming loose. Scott Drake has a variety of underride traction bar kits for 1965-1973 classic Mustangs. Let’s get started.
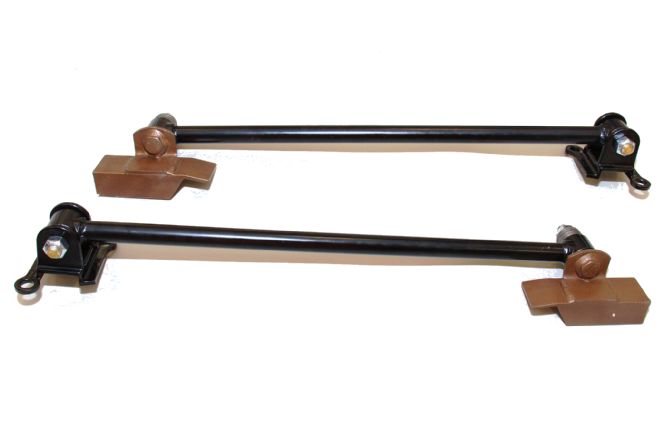
01. Scott Drake’s PN TM-1068-C underride traction bars for 1965 and 1966 Mustang are durable high-quality, thick-wall, powdercoated pieces designed to keep the axle stable under demanding conditions. These are reproductions of the traction bars originally installed on 1966 Shelby G.T. 350s by the Shelby factory to eliminate axle wrap and wheel hop. They feature authentic details to perfectly match the appearance of the originals. The unique three-bolt cast axle mount brackets have accurate “10-70” markings just like they did in 1966. Once installed, they are invisible.
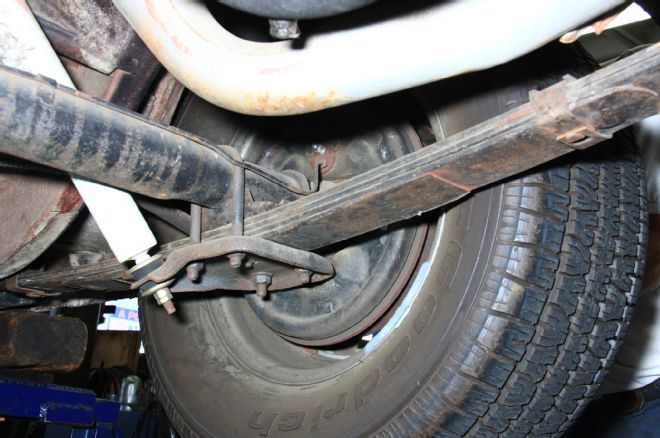
02. The Drake underride traction bars bolt onto the leaf spring bracket. All you have to do is support the axle and the vehicle safely. Never rely on a hydraulic jack to support the vehicle. Always use jackstands at the framerails. Support the axle with an adjustable hydraulic jack.
03. Disassemble the underride traction bars, keeping hardware loosely fastened. This will allow you to position the underride achieving proper fit before welding.
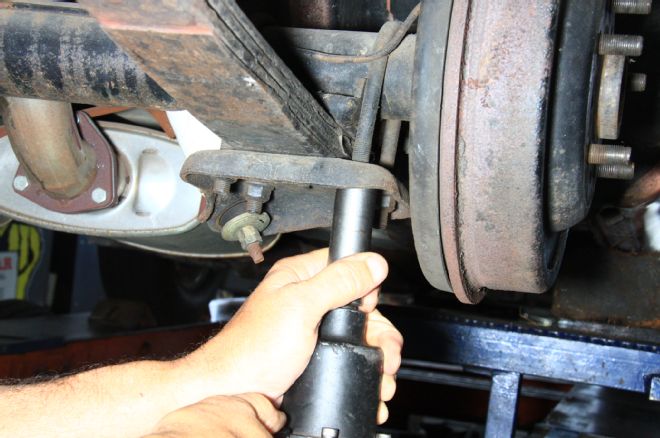
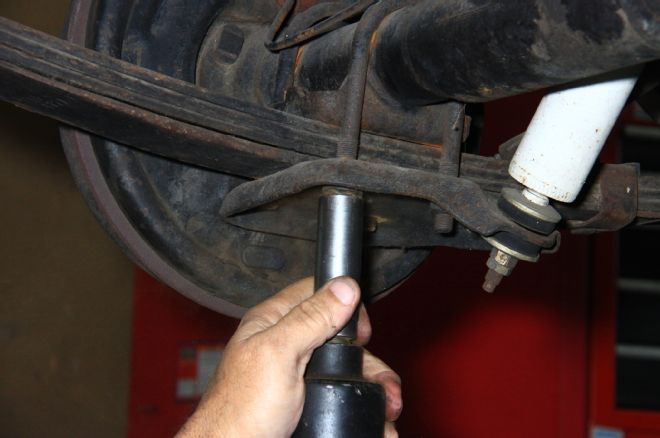
04. With the axle housing properly supported with an adjustable hydraulic jack, remove the U-bolt hardware. There’s no need to disconnect the shock.
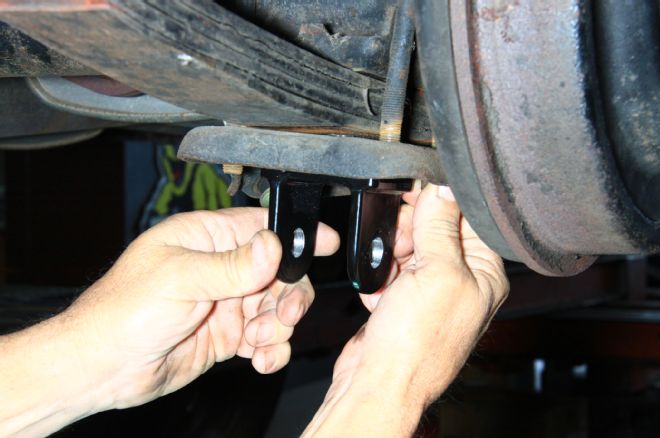
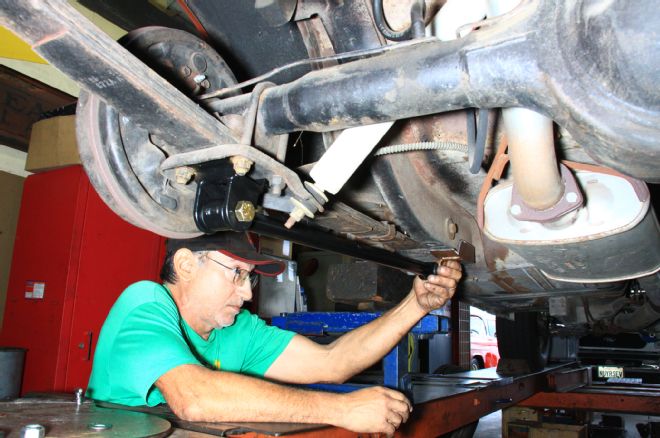
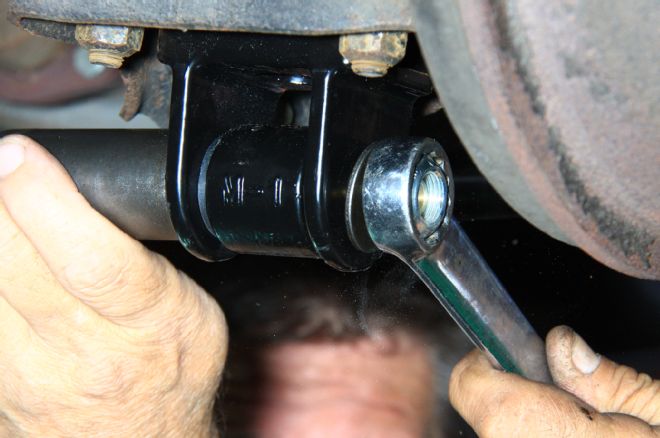
05-06. Position the Drake underride bracket as shown and support with a jack. This will keep the bracket secure until you tighten the nuts.
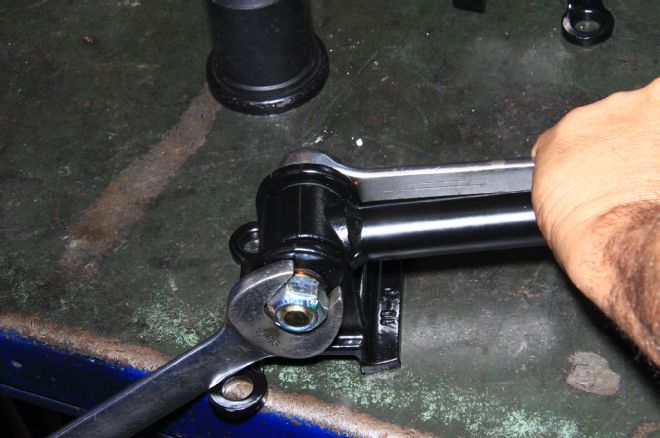
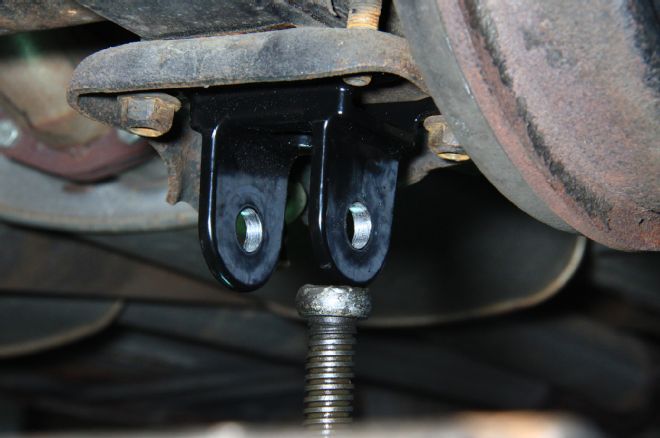
07. Crisscross tighten the U-bolts as shown, checking bracket positioning as you go. Do not over-tighten the U-bolts, as that will distort and permanently damage the axle tube.
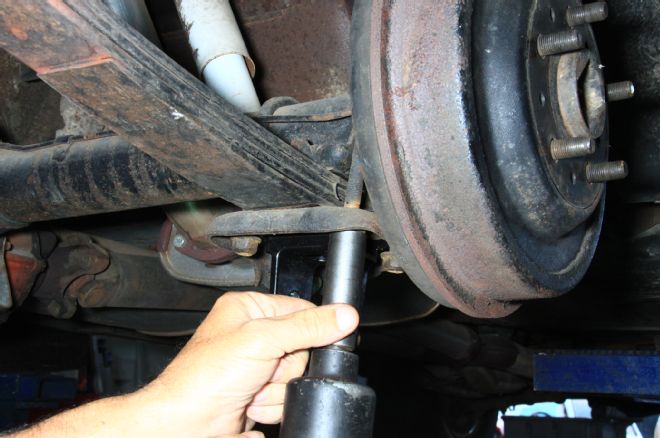
08. Loosen the lefthand side leaf spring bracket and repeat the procedure.
09-10.The lefthand underride traction bar assembly is positioned and readied for welding.
11. The righthand framerail bracket is positioned for welding. Paint must be ground from the edges to achieve a quality weld.
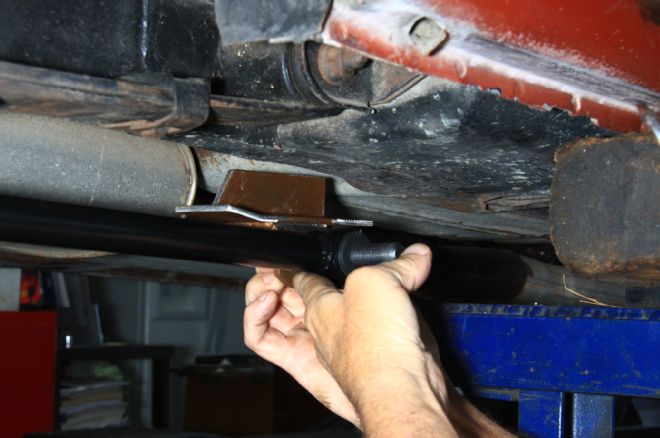
12. The framerail bracket should be positioned as shown with the bracket flush with the framerail—again with metal-to-metal contact.
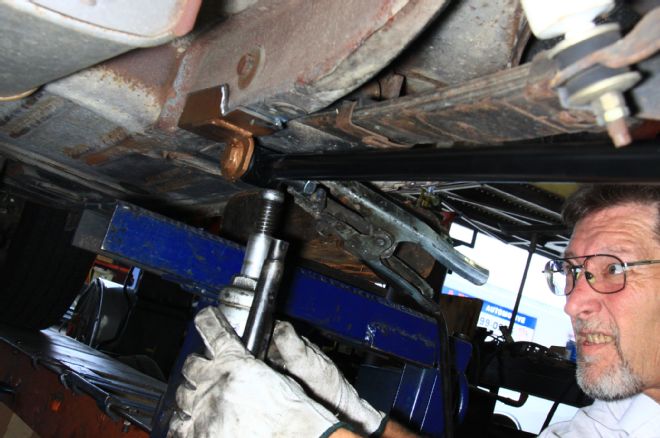
13. The frame rail bracket is secured in place with a bottle jack for welding. Marlon tack-welded the bracket to get it secure, then, removed the bottle jack and track bar.
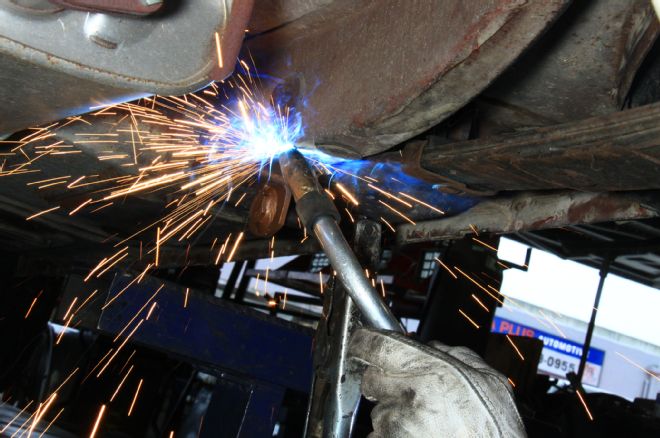
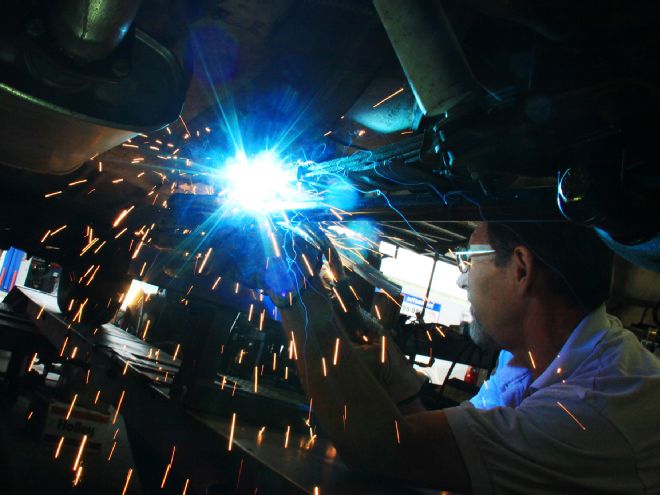
14. Marlon welds the framerail bracket with a MIG welder. He cautions anyone welding these brackets to be careful about heat and the risk of setting the carpet on fire through the floorpan. Weld in short segments to keep heat transfer down or pull the back seat out and pull the carpet back to prevent damage.
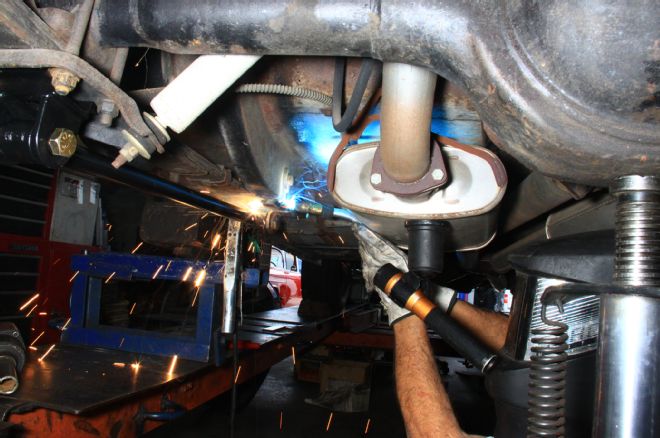
15. Marlon repeats the same procedure on the lefthand side. He spots first to secure the bracket, and then removes the track bar to prevent any bushing damage from heat.

16. The welded bracket should look like this around its perimeter.
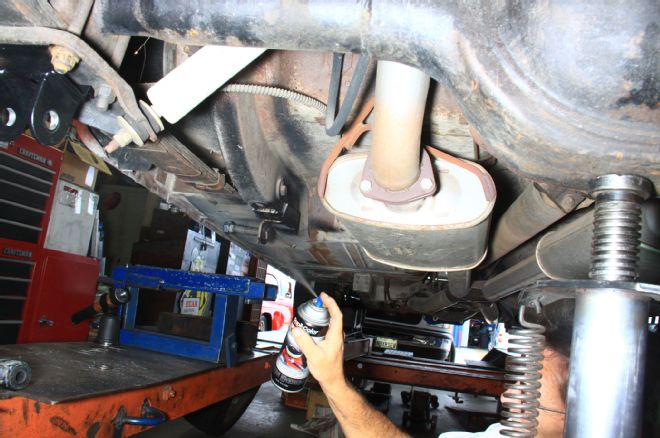
17. Self-etching satin black primer and paint are applied to prevent corrosion and give the welded bracket a finished look.
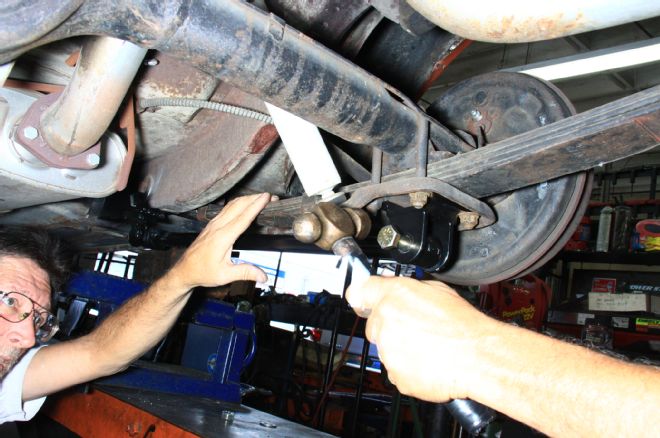
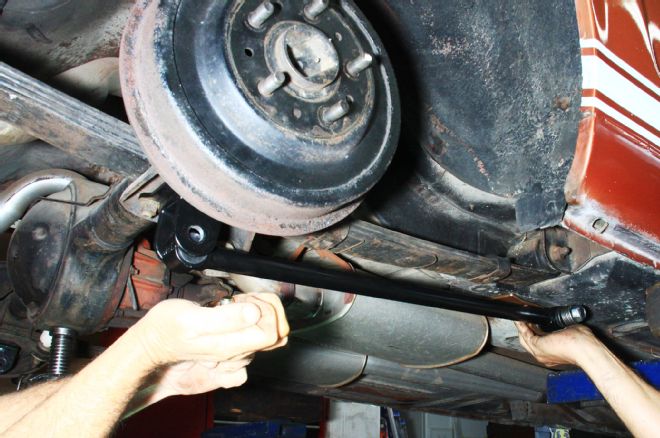
18-19. The traction bars are installed and tightened.
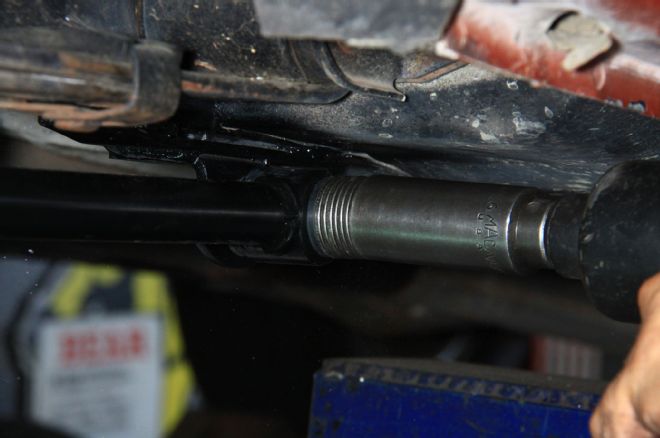
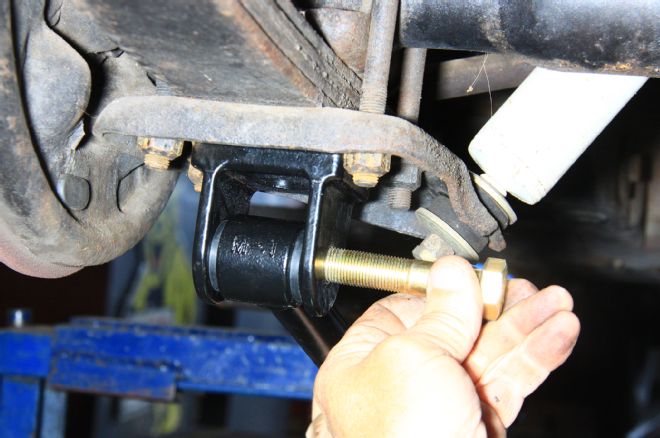
20. The bars are secured and tightened at the forward framerail brackets. These washers are shims designed to center each bar fore and aft.
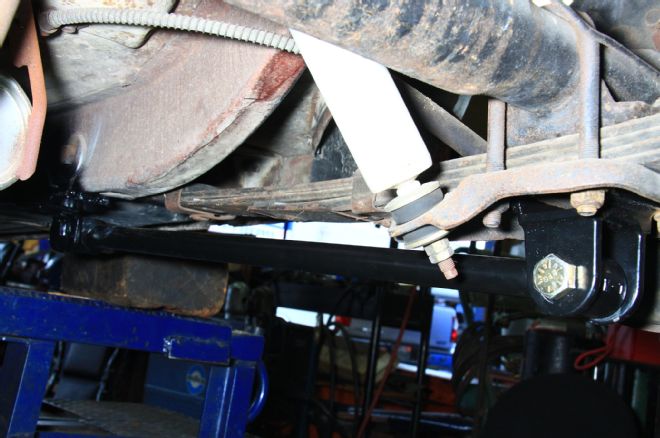
21. The installed Drake underride traction bar looks terrific and will eliminate axle hop and spring wrap up.