The popularity of the shoebox Ford is undeniable. As a "poor man's Merc" of sorts, it's been chopped, sectioned, nosed, decked, and shaved probably more times that its prestigious sibling. It's arguably one of the most popular of the postwar, fullsize Ford passenger cars, and it's no surprise as it's one of the best looking cars that ever rolled off a FoMoCo assembly line.
But being popular and pretty doesn't mean there isn't room for improvement. Like that cheerleader in High School who got fat and lost her looks by her 10-year reunion, time has a way to not be so kind to 65-year-old cars. While they did their job quite well at the time, our expectations of how a car should perform have changed a lot since we all liked Ike.
A staple since before the war, Ford used the straight axle wishbone frontend under everything from Model Ts through the war and on into the '40s. For the new '49 passenger car, the Ford engineers took out their slide rules and came up with a totally redesigned frontend. Based on a coil spring design using a pair of unequal length control arms mated via an upright, the new independent suspension design was one of many firsts for the new '49 Ford. A separate spindle mates to the upright using the familiar kingpin design, but that's where the similarities to any traditional Ford suspension design ends. And yet while the components may look foreign at first glance, it's actually much more familiar than one might think as it shares a striking number of similarities in geometry to that of the venerable Mustang II that we've all become familiar with over the years. Thanks to those similarities, the bright guys in the Ford engineering department designed a suspension system that handles pretty well for a vehicle of such vintage.
While the suspension design is pretty acceptable, the brakes and steering lag behind by leaps and bounds. The drum brakes are unreliable and in their best form work slightly better than a drug heel hung out the door and the steering box suffers from an odd 45-degree intersection of the sector and worm shaft that results in a loose box, even in low-mileage examples. Further, the box was designed to turn in the opposite direction than that of most modern boxes, making a simple swap-type upgrade problematic. Idle arm stability, necessary to maintain proper toe-in adjustment, was another weak point in the steering system, as is the inner tie rod pivot location (something Ford changed in the '52-53 model years to improve bumpsteer trouble).
With these items noted, when it came time to upgrade our buddy Buck Lyons' 1950 Ford Custom sedan, I had a few questions for Brent VanDervort, the main man at Fatman Fabrications. He pointed out the aforementioned strong points of the '50s suspension design and talked us out of a total suspension swap. Since we weren't planning on pulling the Flathead at the time, this was good news as it meant the engine could remain in place. Knowing that Buck was really a lowrider guy at heart, we opted to swap out the stock uprights with Fatman's 2-1/2-inch dropped items to give the Ford more low to go with its slow. New kingpins and hardware were really all that was required to bring the front suspension components up to snuff as Buck had recently rebuilt the frontend.
Out back, a rear lowering kit thanks to Butch's Cool Stuff will bring the back end down into lowrider territory as well. RideTech adjustable shocks will soften the blow when it comes to the bouncy bit, creating a safer and more comfortable ride than any Ford old-timer could have imagined.
This month, we're gonna handle the suspension chores, returning next month to sort out the steering and stopping requirements with a full disc brake upgrade from Engineered Components Inc. Stay tuned as we take a stock shoebox and turn it into a serious street cruiser.
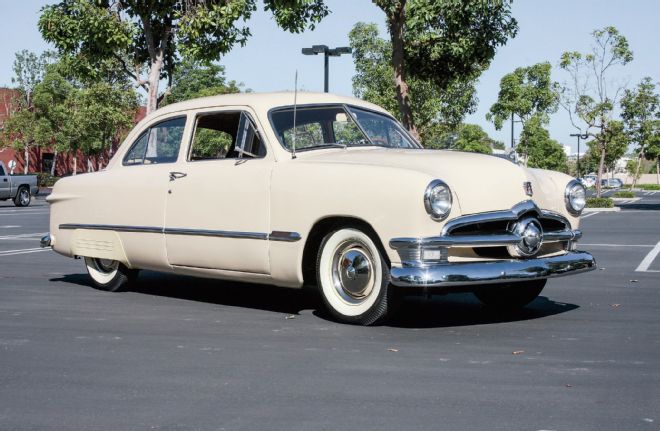
1. Buck's '50 Ford looked pretty good before we rolled it into the Street Rodder Tech Center; a bit stock for our taste, but a nice solid street cruiser. We measured the height at both bumpers so we had a decent baseline to compare with our end results; 11-1/2 inches at the front, 14-1/2 inches at the rear.
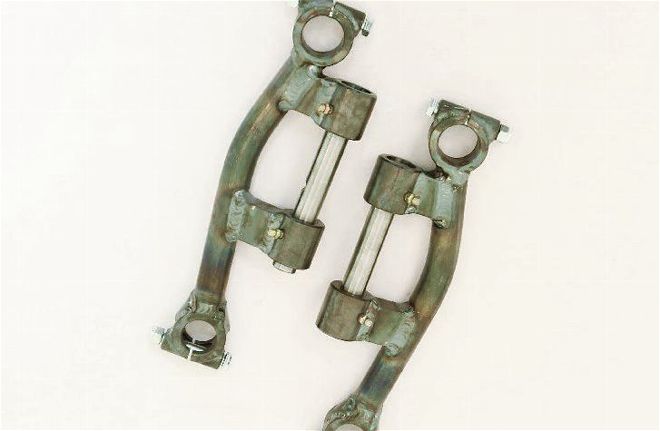
2. Fatman's new dropped uprights feature a 2-1/2-inch drop over the stock items and come with the kingpin bushings already pressed into the uprights, new kingpins, and hardware.

3. To bring the back end of our Ford down, we'll be using a lowering block kit from Butch's Cool Stuff. We had them ship out a 2- and 3-inch kit as we weren't sure how much of a drop we'd need.
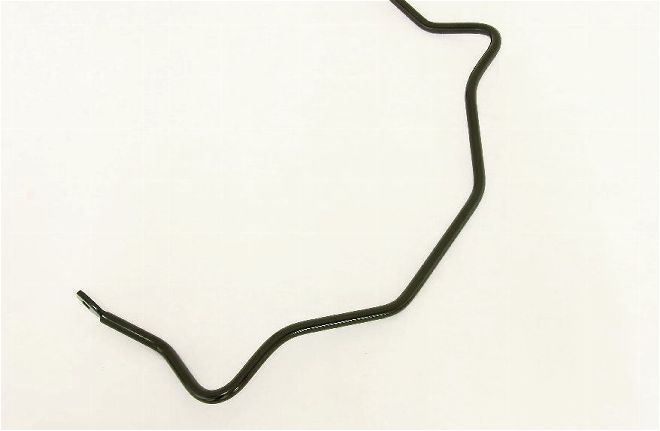
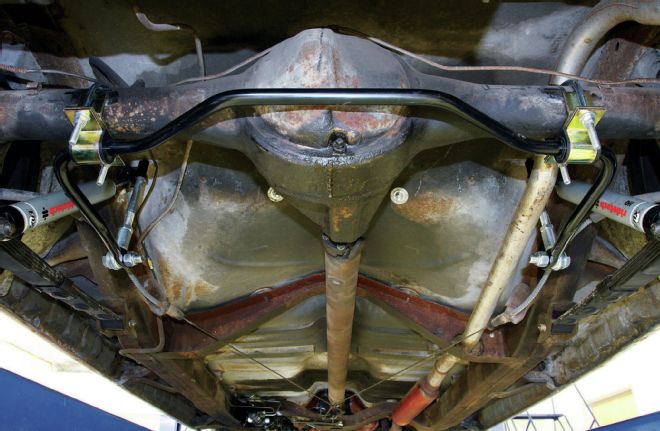
4. While the '48-53 Fords had a decent sway bar up front from the factory, these cars still suffered from a bit of the body roll blues. To help curb that bad habit, Brent recommends installing a rear sway bar to complement the front. These mount to the rearend using a pair of purpose-built U-bolt brackets and mate to the chassis at the shock mount with another set of purpose-built sway bar links.
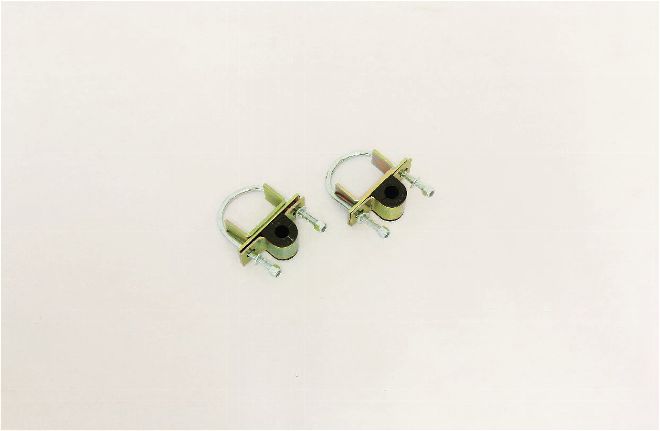
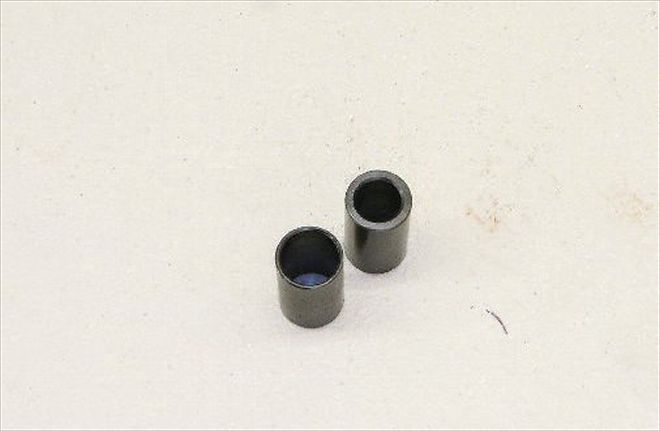
5-6. While the '48-53 Fords had a decent sway bar up front from the factory, these cars still suffered from a bit of the body roll blues. To help curb that bad habit, Brent recommends installing a rear sway bar to complement the front. These mount to the rearend using a pair of purpose-built U-bolt brackets and mate to the chassis at the shock mount with another set of purpose-built sway bar links.
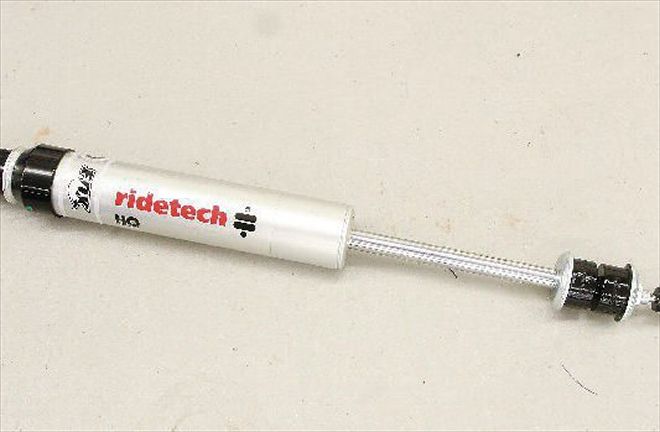
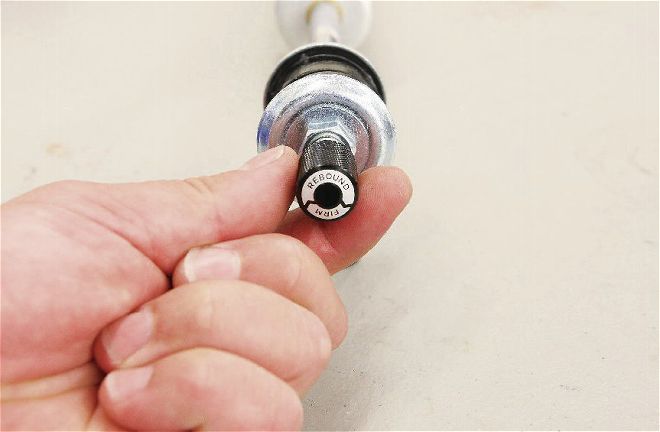
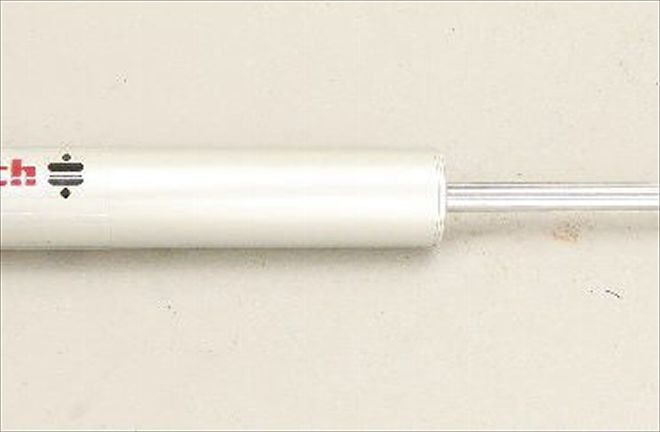
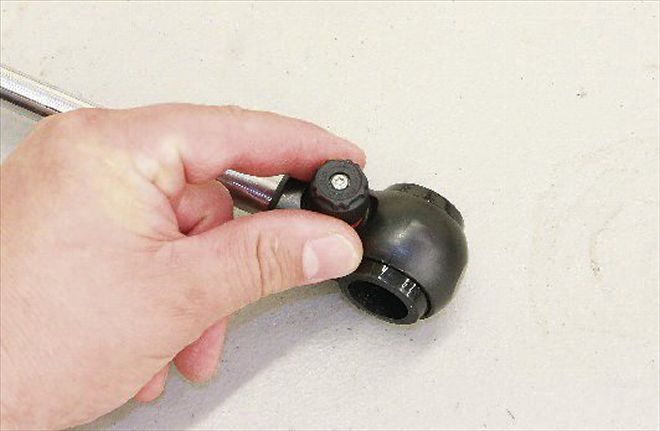
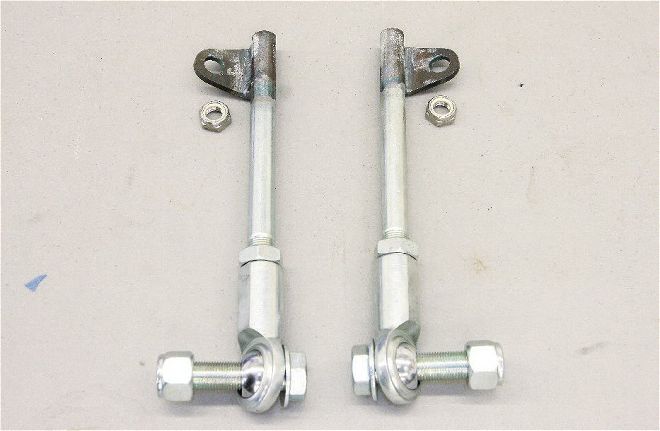
7-11. Better shocks can make a world of difference when it comes to handling, comfort, and driveability. That said, we opted for the full-tilt-boogie and ordered up a set of adjustable numbers from RideTech for all four corners. With the ability to dial in the rebound at-will, Buck will be able to perfect the Ford's ride anytime.
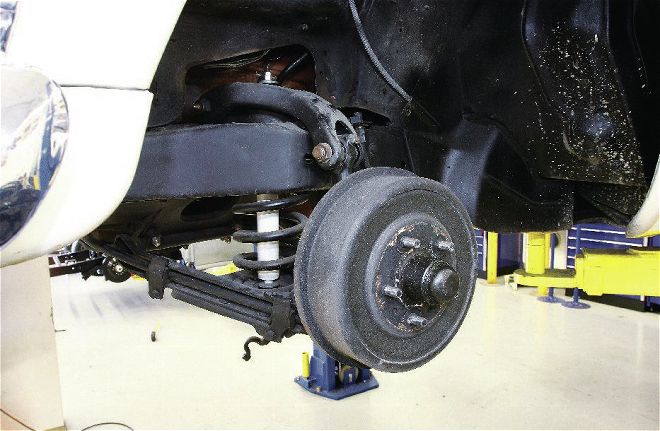
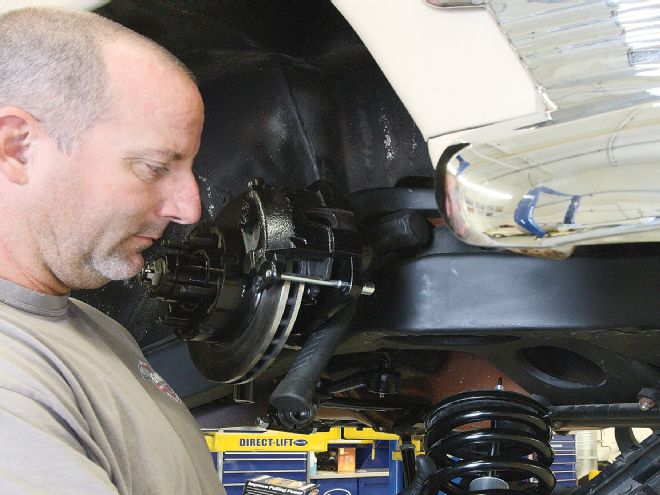
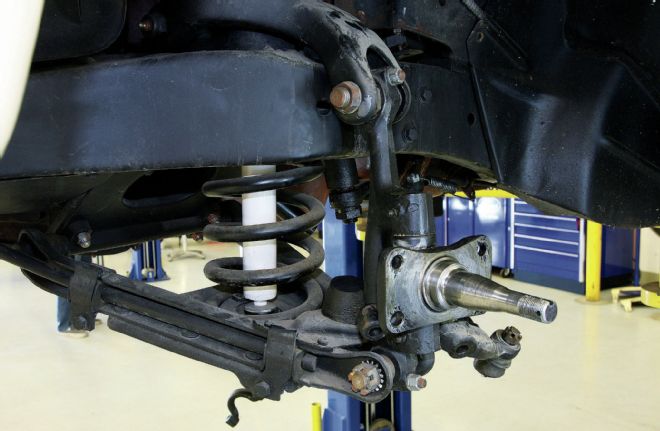
12. Here's the stock suspension before we tore into it. It's obviously different than the straight axle/wishbone setup that was under the previous-year Fords and slightly familiar to the typical IFS setup we've come to recognize. The coil spring and independent nature of the suspension designs were a huge leap in Ford's performance and handling package.
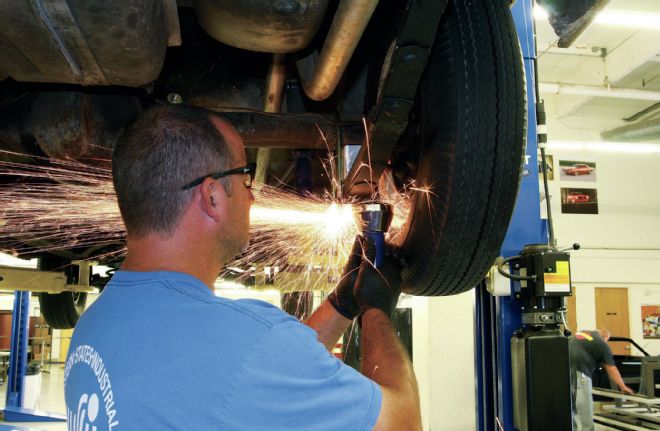
13. The first thing we did was to pull the front drums and set them on the pallet marked "scrap yard." As much as I hate to throw original parts out, I hate tripping over the stuff even more. Note that the steering arm is already off as well as it attaches to the lower two spindle mounting holes.
14. We're going to be reusing the stock spindles so they need to be removed from the stock uprights. To do so, we need to remove the kingpins. First, the upper and lower grease cap seals are removed...
15. ... followed by the tapered pin that holds the kingpin in place.
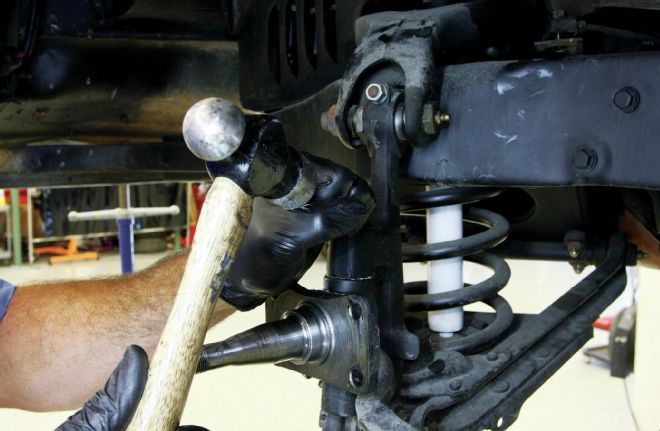
16. Then, the kingpin can be gently driven out of the upright/spindle assembly.
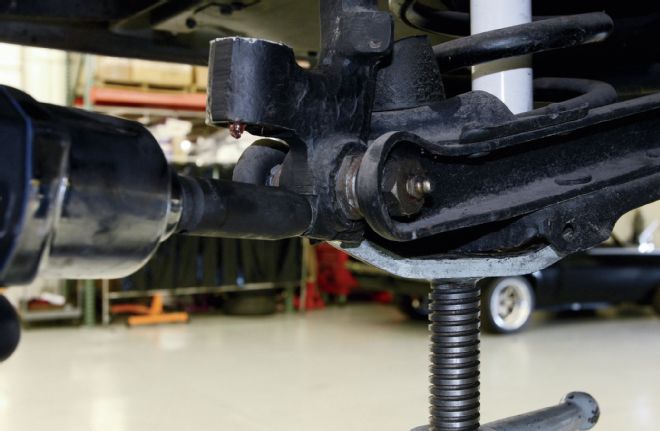
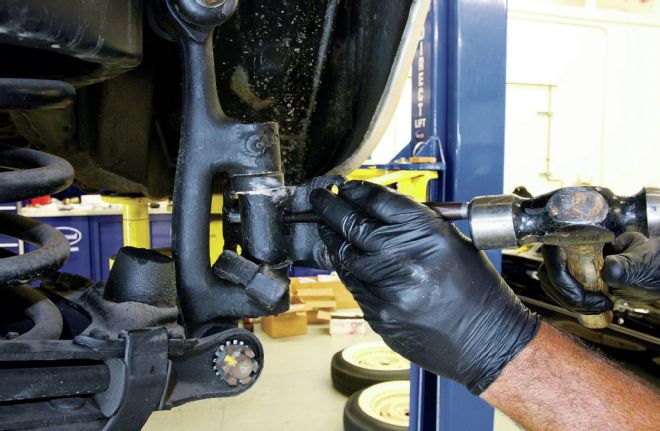
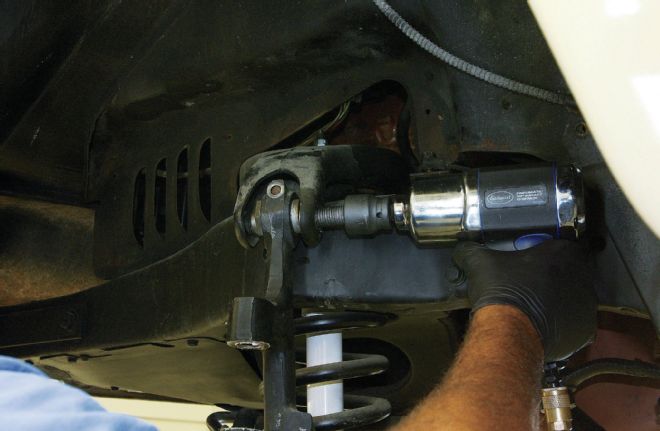
17. Freeing the uprights begins by removing the trunnion pinch bolts located at the top and bottom of the upright. Note the jackstand used to support the lower control arm. This is necessary to support the pressure from the coil spring so the upright can be removed without any bind.
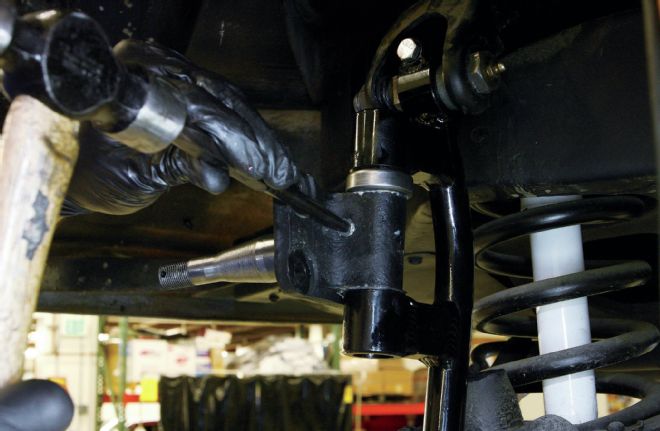
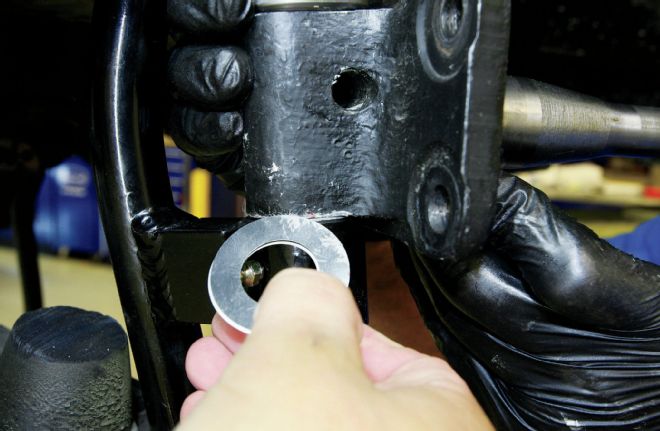
18. Next, the trunnion pins are removed. The hexagonal nut on the trunnion bushing turns an eccentric, adding or subtracting caster from the frontend.
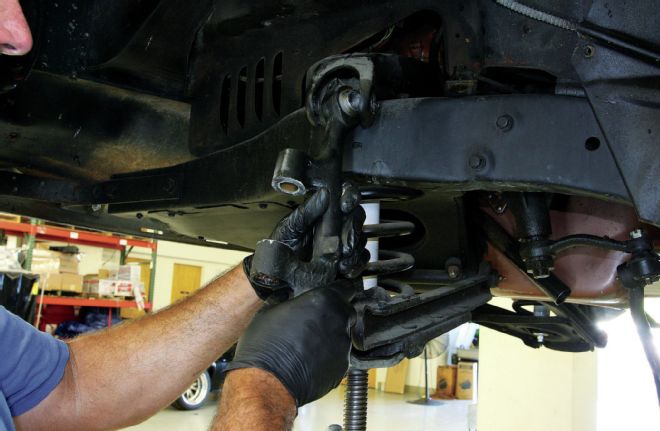
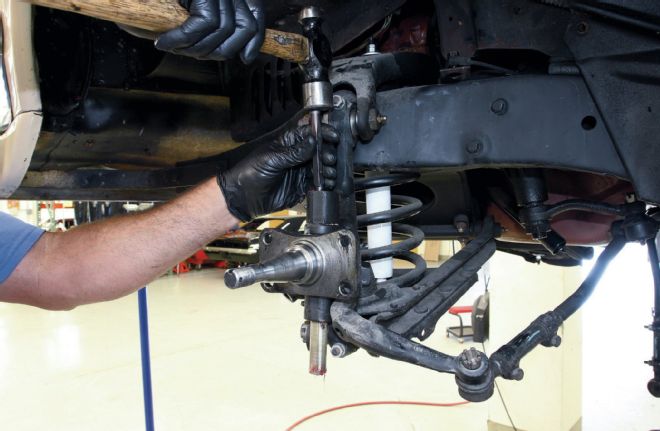
19. With both trunnion pins out, the upright can be removed from the control arms.

20. Since the frontend had recently been rebuilt, the trunnion bushings in the old uprights were still in great shape, so it's a simple matter of removing them from the stock uprights and installing them in the new dropped uprights, with a little antiseize added for good measure.
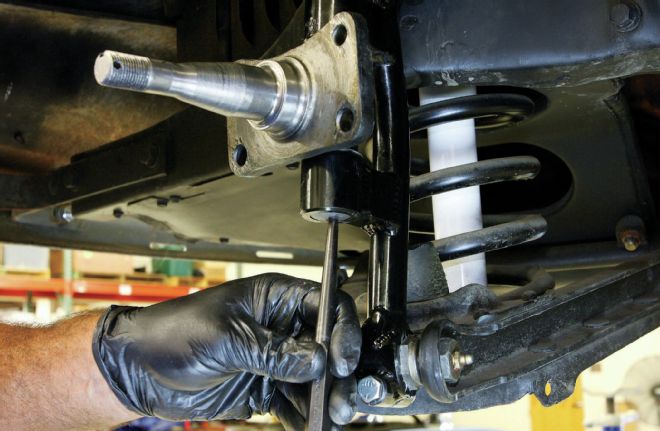
21. The process is then reversed, installing the trunnion pins and pinch bolts. The amount of drop is pretty evident when compared to the old upright in the previous images. It's a simple matter of moving the location of the spindle up, essentially.
22. Speaking of spindles, a new kingpin is driven in from the top, through a new thrust bearing and the spindle. Thin shims are used to ensure the spindle is nice and snug between the upright's kingpin bosses.
23. The kingpin lock pin is gently tapped in place, securing the kingpin to the spindle.
24. A pair of grease cap seals are then installed, one on top and one on the bottom...

25. ...before the Zerk fittings are lubricated.
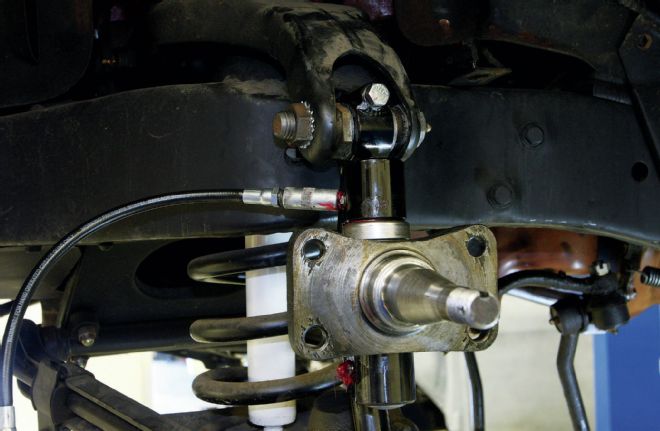
26. This allows the kingpin to rotate freely in the upright bosses.
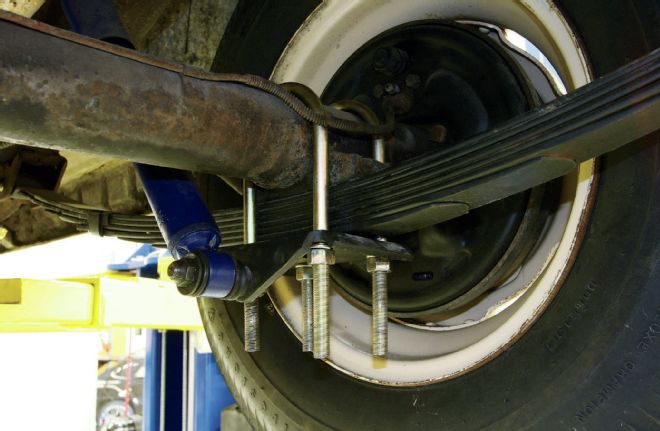
27. Out back, the old Ford's rearend sat directly on the spring pack. A set of 3-inch lowering blocks should bring the quarter-panels closer to the pavement.
28. Installing lowering blocks is a simple affair. Support the rearend, remove the U-bolts, insert the blocks between the rearend and leaf springs, and install the new U-bolts. Here, Buck's trimming the extra length so that the bottom of the U-bolts don't extend past the scrub line.
29. The other option we're adding to the Ford's backend is a sway bar. This mounts to the rearend with the provided U-bolts and clamps...
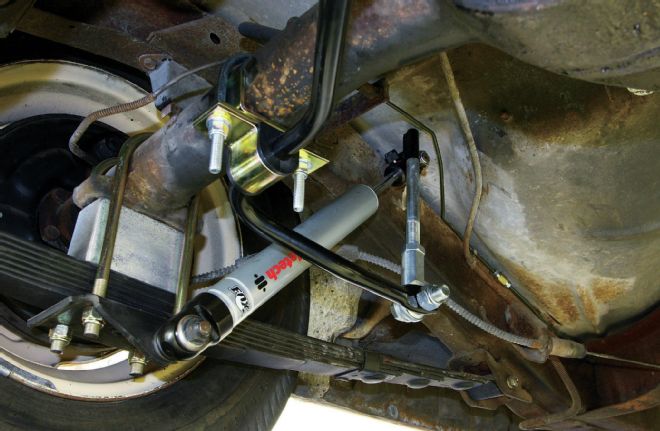
30. ...while a pair of endlinks fix the outer end of the sway bar to the Ford's chassis using the upper shock mount. While we were adding the sway bar, we also upgraded the old gas shocks with RideTech adjustable units.