We're all about performance, hard driving, and building vintage rods that are track terrors, but sometimes that's just not what a car is all about. Sometimes certain cars are really more about the cruise and the leisurely enjoyable drive. There's absolutely nothing wrong with that, and the good news is that the same upgrades we always advocate for aggressive driving can yield the same benefits for those cars.
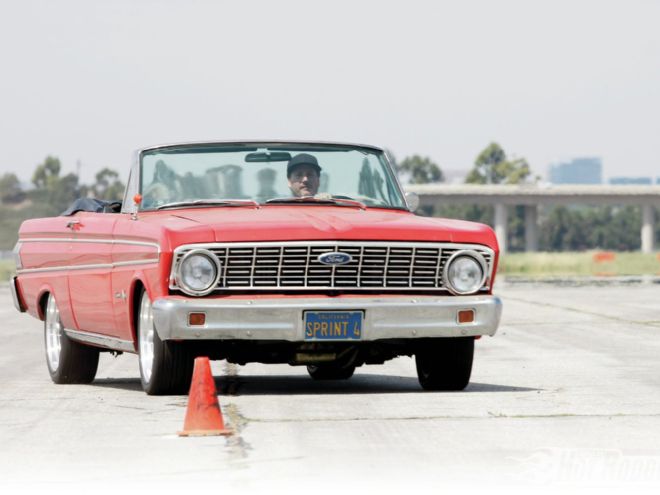
Take this cool little 1964 Falcon convertible owned by Hedman Hedders, for example. It's a very clean, straight little cruiser still running the original 260ci V-8 (with headers and good exhaust, of course) and two-speed auto, so it's not exactly stunningly quick. But once you get rolling with the top down, who cares?
So aside from our blessed lady of acceleration, the other finer points of modernizing a classic still come into play for our leisurely jaunts. Good brakes are always worthwhile for safety, and more confidence-inspiring suspension and steering will make the drive more effortless and relaxing. In the case of this 1964 Falcon, it might get a peppier engine rebuild and three forward gears down the road, but track domination really isn't the goal. A driving experience that puts a smile on your face is, though.
To make it happen while keeping the upgrades simple and affordable, Classic Performance Products' (CPP) new front suspension system for Falcon/Comet/Ranchero was chosen along with their steering box upgrade and big disc brakes. CPP offers similar packages for a variety of cars as well as other Fords, so if your cruiser could use a refresh, check out how easily it can be updated for more smiles per hour.
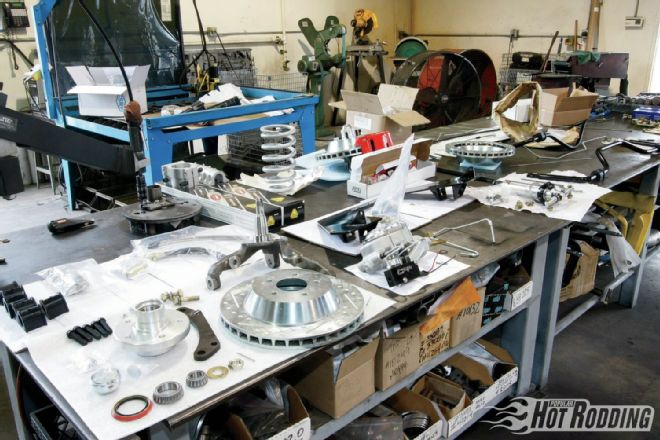 1. Here’s most of the smorgasbord of parts from CPP that we’ll be throwing at the Falcon. It’s a lot of individual pieces, but they are all designed to be easy for any hot rodder to do at home. You could realistically do this same package on your own car in a long weekend’s worth of work.
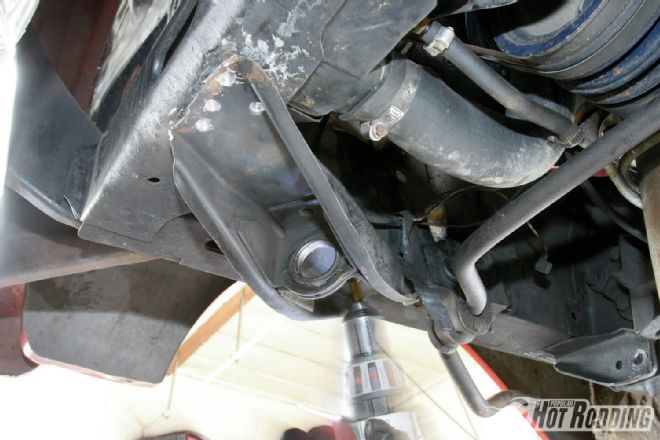 2. Once the complete stock front suspension—radius rods and all—has been removed, it’s time to start drilling out spot welds and grinding and cutting away the brackets. We need to get down to clean bare framerails.
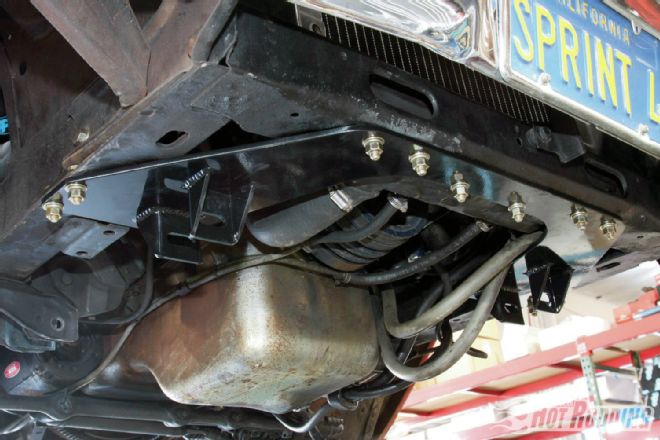 3. Replacing them will be this sturdy A-frame bracket, which will provide mounts for the new lower control arms as well as more strength for the frame. Holes will need to be drilled to mount the bolts.
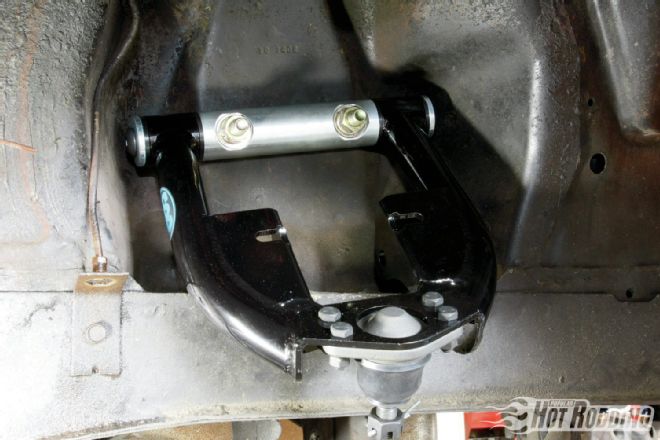 4. CPP’s tubular upper control arm uses revised geometry for better handling versus the stock arms, but bolts in at the stock location.
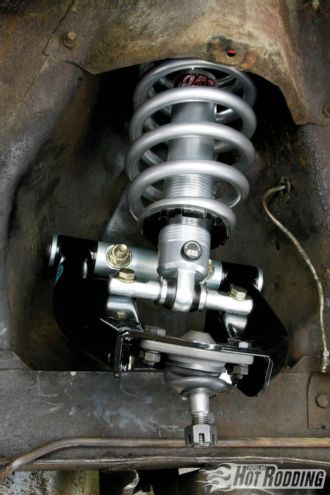 5. Rather than a simple coil spring, the shock tower will now house an adjustable QA1 coilover with a spring rate designed for a comfortable ride while still offering a higher roll resistance over stock.
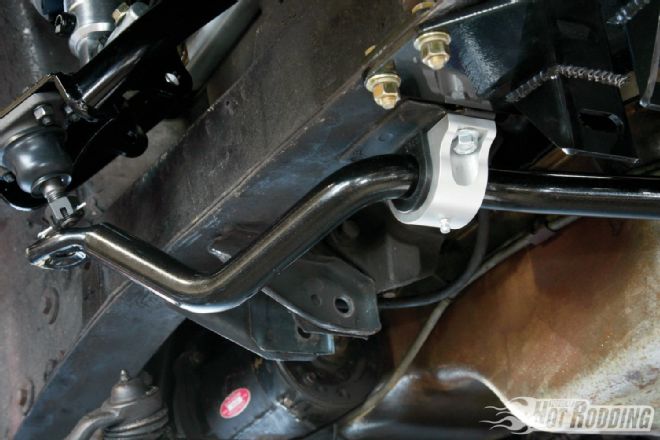 6. Replacing the puny stock sway bar is this hefty CPP 1.25-incher with billet mounts and polyurethane bushings.
 7. Rather than the single-mount lower control arm found on most unibody ’60s FoMoCo products, the CPP A-frame creates a suitable forward mount for a more standard A-shaped control arm. The rearward mount uses the factory location.
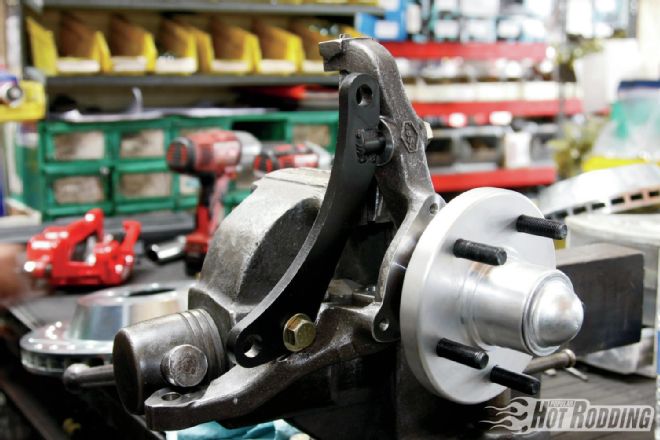 8. The factory spindles are prepped for sizable discs with an adapter bracket as well as a new sealed billet hub.
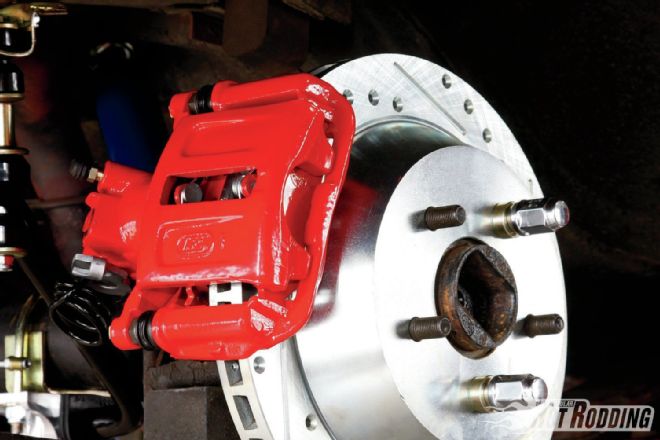
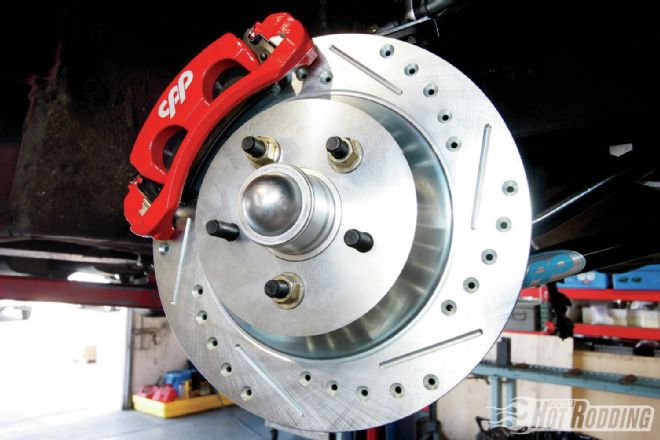 9. Atop that hub goes a 13-inch CPP drilled and slotted rotor with a four-piston caliper mounted to the adapter bracket. This will be a night and day difference versus the stock drums.
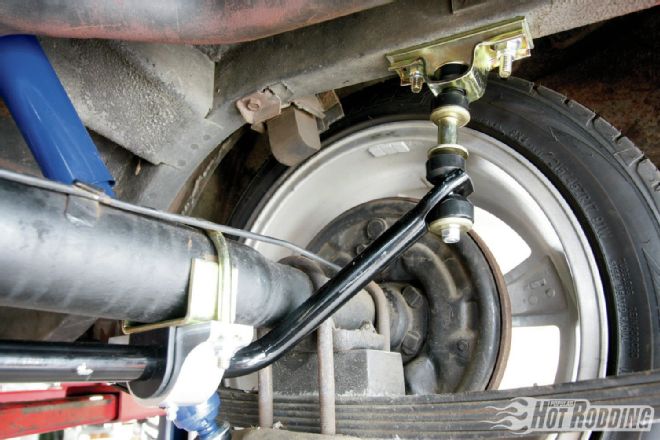 10. The rear suspension will be keeping its leaf springs, but these axle clamps with billet aluminum mounts and polyurethane bushings will allow us to add a rear sway bar. The endlinks are attached to the framerails via a new bracket that will require a couple of holes to be drilled.
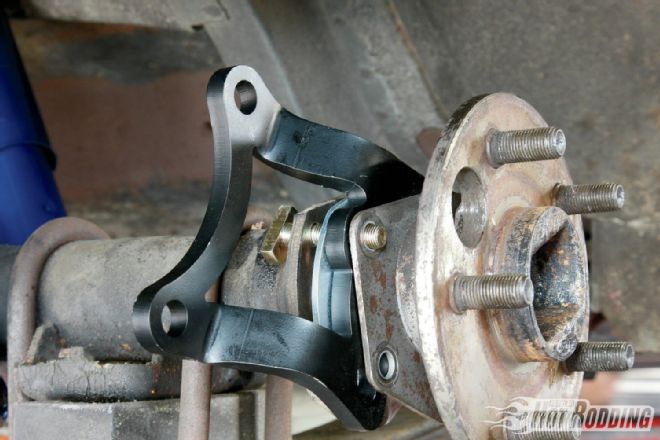 11. Just like the front brakes, once we disassemble the rear drums an adapter bracket is employed to mount the new caliper. Installing this bracket does require unbolting and pulling the axles.
 12. The 12-inch CPP drilled and slotted rotor slides right on and the two-piston caliper bolts onto the bracket. This CPP caliper actually retains the use of the factory parking brake.
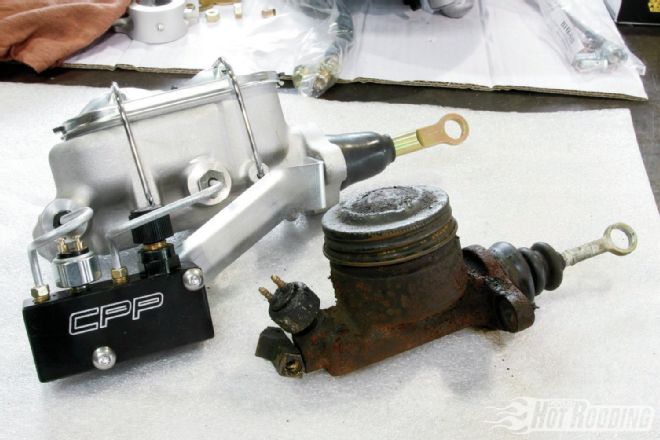 13. Of course the single-bowl brake master cylinder would never be up to supporting the new discs, so a new CPP unit with an integrated proportioning valve will be taking its place.
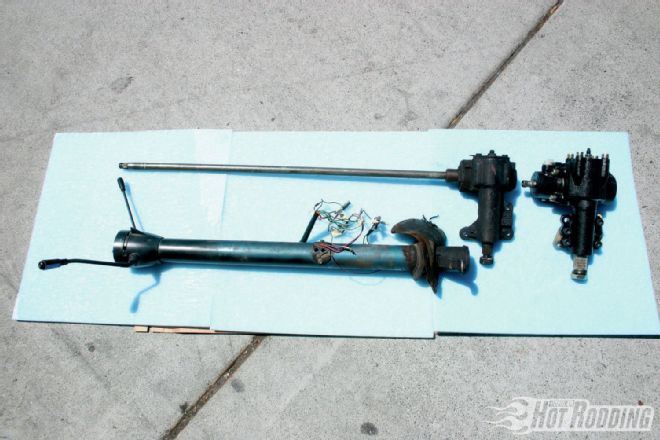 14. Our solution for sloppy steering comes in the form of a new CPP power steering box that will replace the original. The end of the factory column will need to be modified with a bearing to support a new separate steering shaft.
 15. The quick-ratio steering box is physically different than the original, but it’s a direct bolt-in replacement and clears the Hedman headers installed on the Falcon, though any header will likely need to be removed for installation.
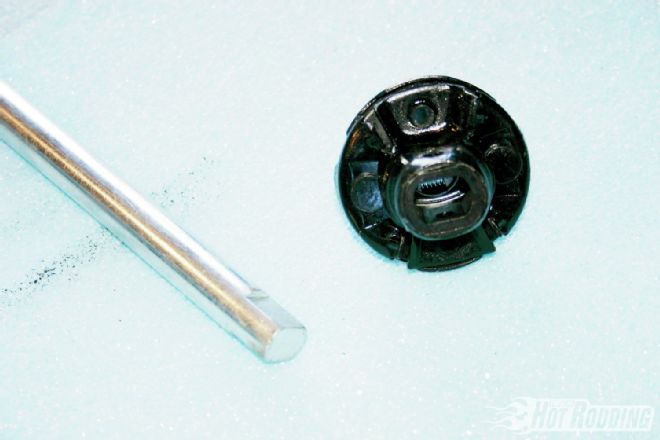 16. The new steering shaft will connect at the box via this rag joint rather than directly.
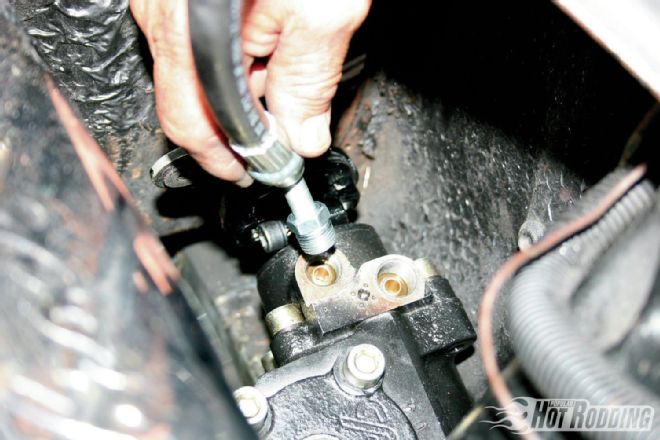 17. The Falcon was a power steering–equipped car, so we used a power version of the CPP box. It’s compatible with the stock pump, but new lines will route directly to the box rather than to the factory slave cylinder on the power steering linkage.
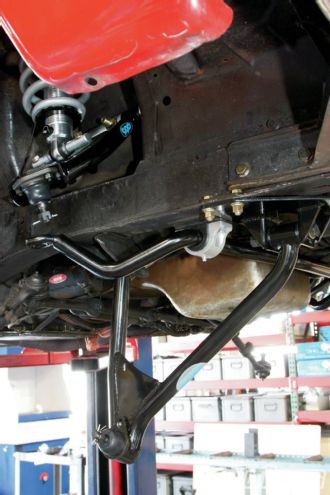
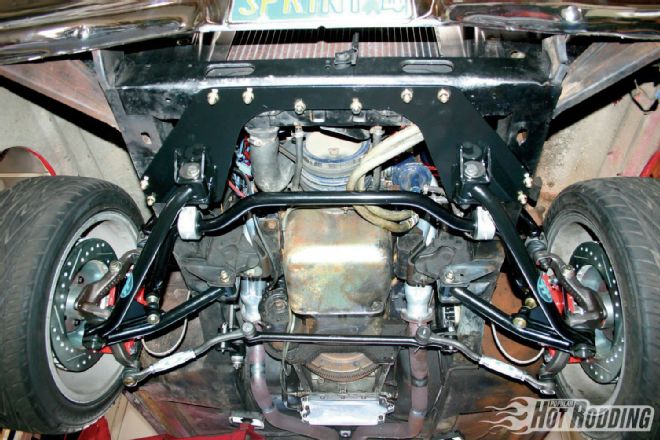 18. Speaking of linkage, all the factory power steering stuff was removed and replaced with manual parts since the box itself now handles the assist. This is the completed new CPP front suspension. We love the clean look of it.
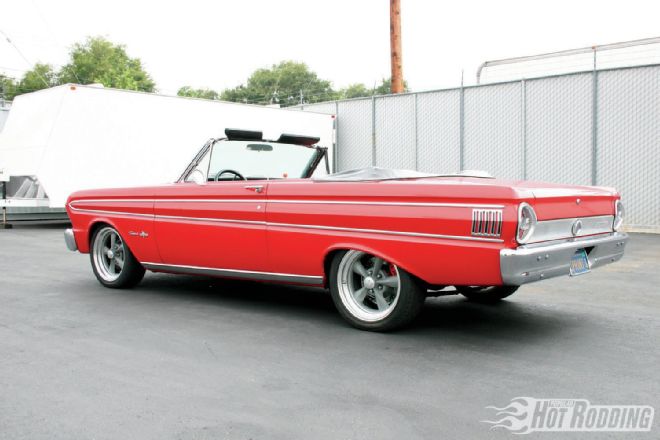 The Falcon is now not only better prepared for cruising in 19. Southern California, but also now boasts a perfect stance over its 17-inch Rocket Racing wheels that’ll have heads turning no matter where it cruises.