 Not the usual item to start a restoration on, our '71 Challenger R/T yielded this battle-weary steering column. Getting it in shape made for a relaxing weekend project. Mopar columns are relatively simple to work on as compared to the complex units of today, and the floor-shift examples found in most factory musclecars are the simplest.
There's a fine line that separates the look of a fully rebuilt Mopar from a car that is just fixed up. Be it a purist's authentic resto or a tastefully and functionally modified car, you can always spot the machine that received the whole nine yards. Everywhere you look, it's quality, clean, and like new or better. To perform the total rebuild, you must go into each component and work the details before moving to the next. You'll find yourself working on components of the car that most guys take for granted. How many late-model Camaro or 5.0 Mustang guys will blueprint the pedals, rework the window mechanism, or, as we do this month, fully rebuild a steering column? Not many, we guess.
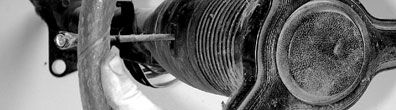
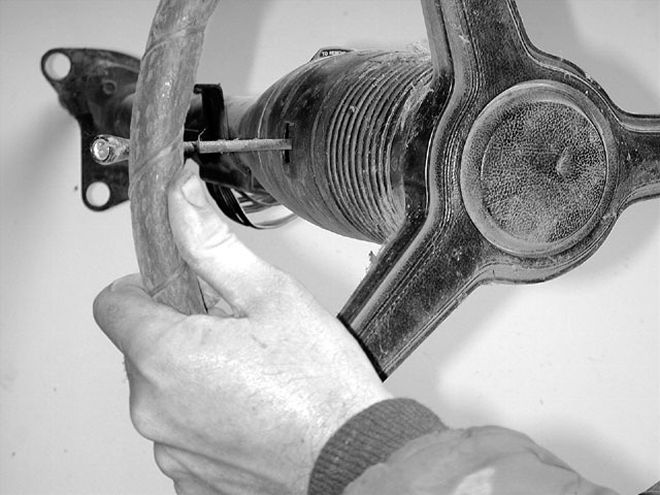
The details truly make the difference. Take the oft-neglected steering column. Slip behind the wheel of a nice looking Mopar, and the little things can detract and annoy. These cars are 30-plus years old and show it: The steering wheel begins to growl when turned, the signals won't self-cancel or work at all, and the ignition key has to be wiggled to get the engine to fire. Suddenly, that pretty Mopar acts like a tired old car. By the same token, if the wheel turns as smooth as silk, the controls snap positively like they were made yesterday, and the finish quality looks better than it did leaving Hamtramck, the sense of quality prevails. We had all types of woes brewing in the column of our '71 Challenger R/T: faulty electronics, a junkyard-quality finish, and dried, dirt-encrusted bearings made it anything but a smooth operator. A full cosmetic and functional rebuild set us back a couple of days, but it put us way ahead of the game when it came to a quality resto effort.
Testing 1-2-3
A few tests can quickly identify a bad signal switch, saving the potential frustration of putting together the column and tearing it down again to replace the switch. Here's how to test it:
Horn: The switch provides the ground for the horn relay. This is the black wire. Bridge a test light from the black output wire to a hot source. The light should fire when the horn is depressed, and if it doesn't, suspect a fault in the switch or horn contact plates. Substitute a multimeter for the test light by checking for continuity between the same wires.
Brake lights: The brake lights on Mopars share a common bulb with the turn signal and feed the brake lights through the signal switch. A failure in the turn-signal switch is a common cause of frustration when brake lights refuse to function (the signals may even work fine). To check for a problem in the column, center the turn-signal switch and run a hot jumper wire to the white brake-light feed wire at the switch connector. The test light should come on when contacted to the brown (right rear) and green (left rear) wires, which feed the rear brake/turn light elements. With the switch to the right, only the green should be live, and only the brown should be live when the switch is in the left turn position. If this isn't the case, a problem is in the switch.
Turn signals: The turn signals feed through the red wire, which draws its juice through the signal-flasher unit. To check the signal switch, connect a jumper wire to the white feed wire at the switch connector. There are four output wires for the turn-signal system, one for each corner of the car. Turn the switch to the right. The brown (right rear) and tan (right front) wires should fire a test lamp, and the green (left rear) and light green (left front) wires should be live when you turn the switch to the left. Failing this test, the switch is faulty.