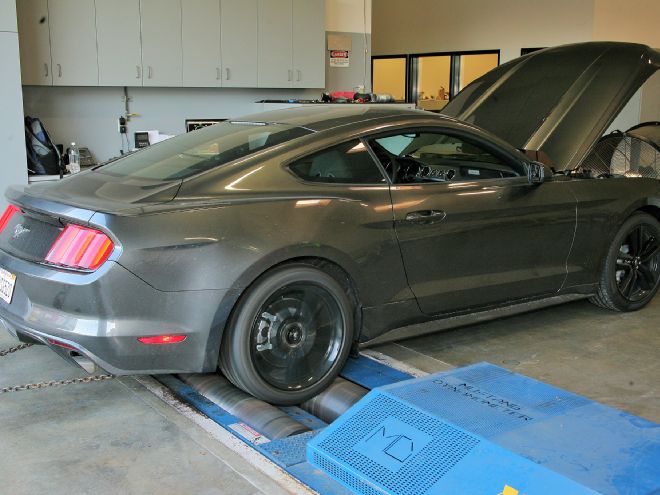
The upside of any forced induction system is that is shoves more air into the engine than it could possibly ingest on its own, which of course creates more power. The downside is that compressed air by nature builds heat, especially the harder you push the car. It doesn’t take long before you hit a point where it’s more than the stock cooler can handle and power will suffer.
Ford did a great job on the EcoBoost and its intercooling, pulling large engine output with smaller engine fuel economy. But at the end of the day it was still built with daily driving and moderate performance in mind, the type of stuff most people are happy with. That means there is still some left on the table. What’s really neat is that to get some significant gains we don’t even have to get aggressive with the parts swapping and tuning; we just have to dial the intake temp down with better cooling from Vortech.
Vortech’s new EcoBoost charge cooler upgrade fights power-robbing heat by increasing charge cooling effectiveness without sacrificing pressure. According to Vortech, the upgrade virtually eliminates all heat soak, even during extended aggressive driving. Not only is power kept stable, but the cooling air even bumps it a bit. Should you get boost-hungry down the line, Vortech says the upgrade will support up to 1,000 hp. We don’t even know if an EcoBoost can make that much power, but we’re willing to bet somebody out there is going to find out!
Believe it or not, the hardest part of this whole swap is just removing the front fascia. Everything else is a cakewalk. Vortech provides superb disassembly details and photos in the instructions, so we’ll skip the boring stuff about pulling the front end off and get right to the goods.
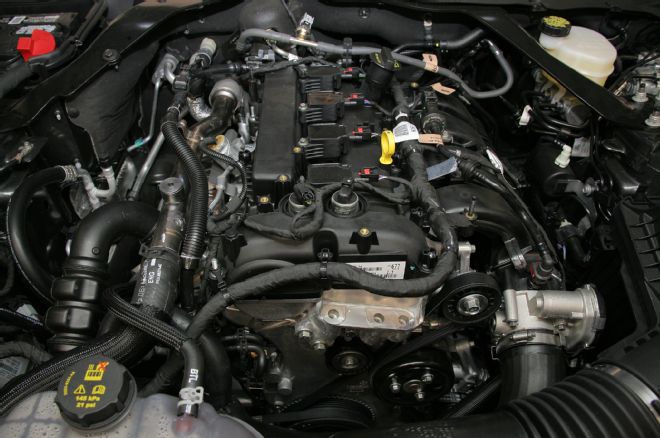
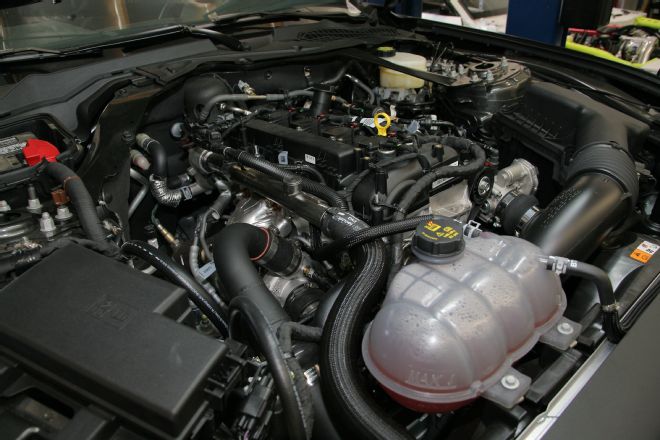
01. Here’s a look at the stone stock EcoBoost engine. It’s been quite a few years since we’ve had a turbo four-banger Mustang to play with, so we’re looking forward to see what’s possible. This boost cooler kit is a perfect place to start.
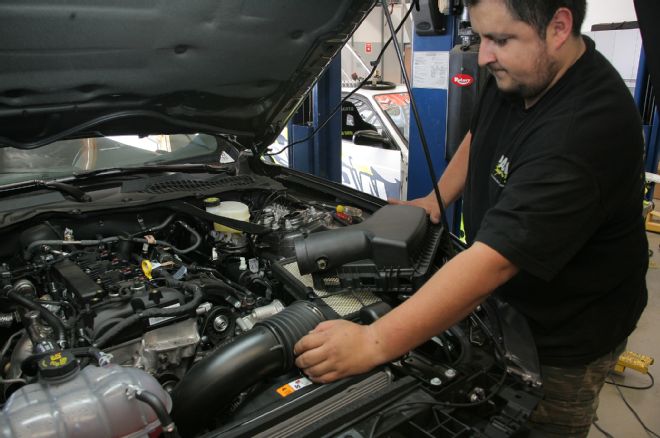
02. We start the install with the airbox. After the electrical connector is unplugged and the inlet tube is removed from the lid, just a couple of 10mm bolts need to be removed to pull it out. Set it aside; we’ll reinstall it later.
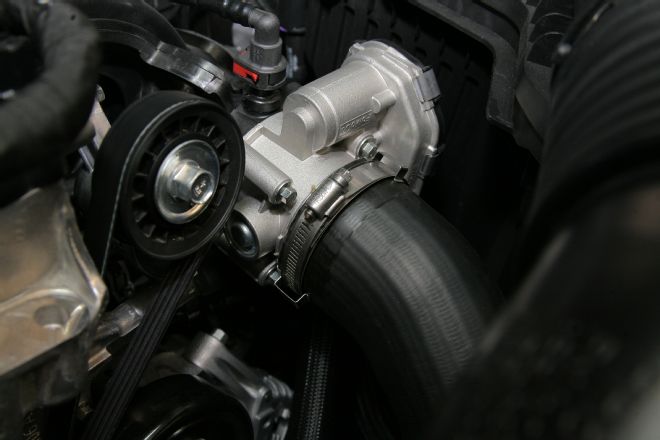
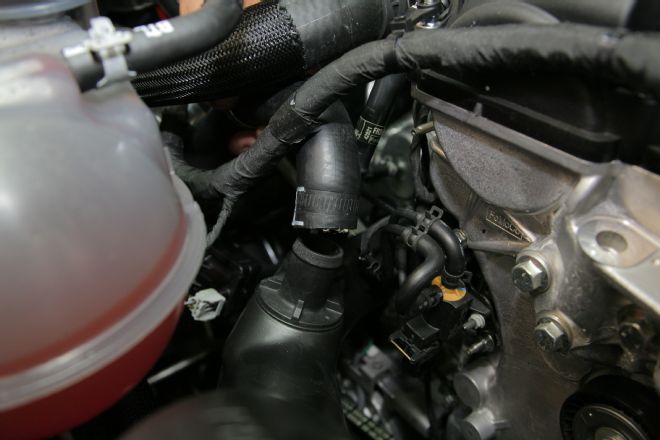
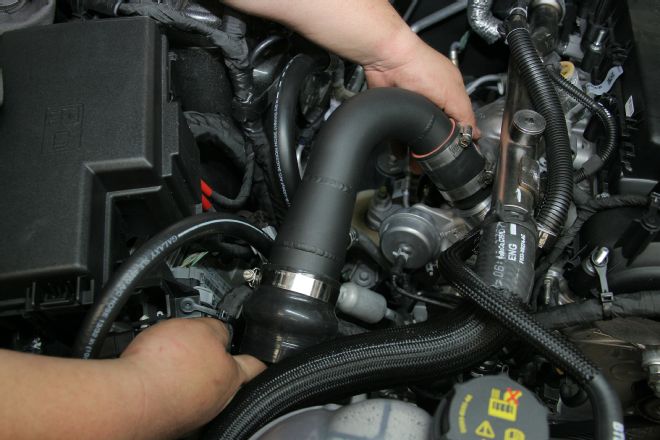
03. Just to the left of the airbox, the discharge duct from the cooler is detached from the throttle-body by loosening the hose clamp.
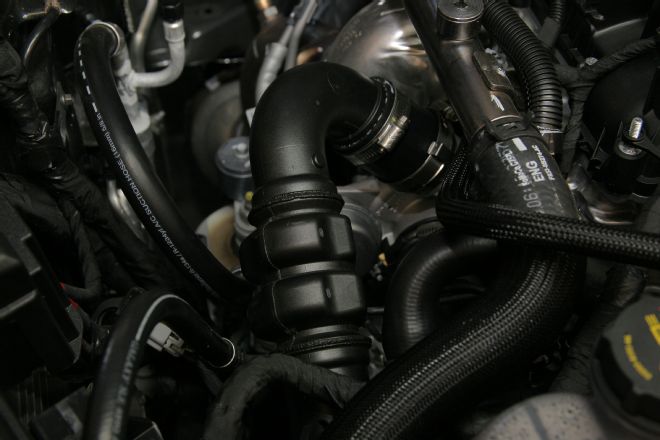
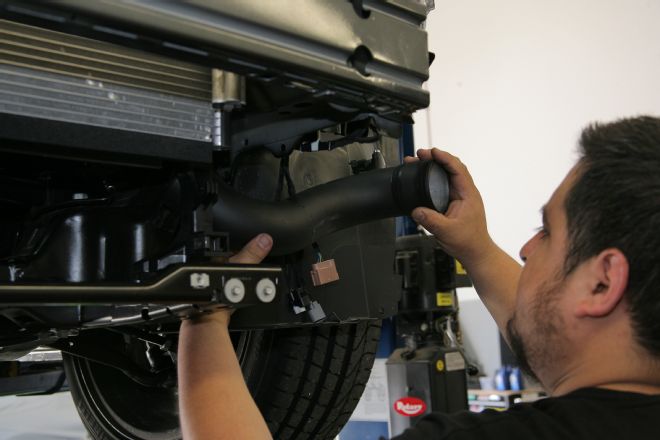
04. The discharge duct from the silicone sleeve gets removed along with its silicone connector, so the hose clamp at the turbo outlet is loosened.
05. To remove the discharge duct as an assembly, the bypass valve recirculation hose is detached from the inlet tube.
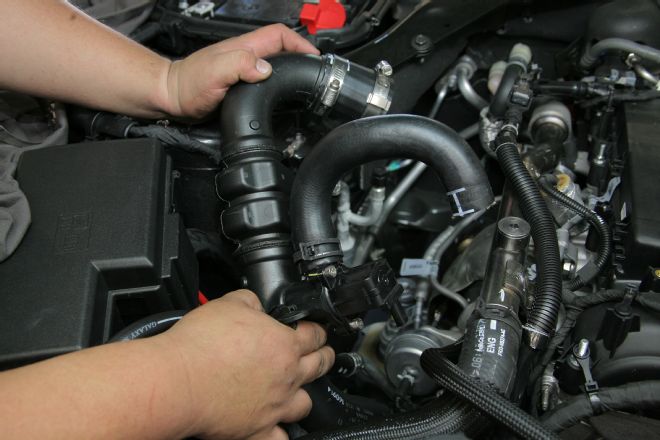
06. After the electrical connector is unplugged from the bypass valve, the whole assembly comes out together to make it easier to retrofit the Vortech kit.
07. Vortech supplies a new tube, but the OEM bypass valve is transferred over with the stock hardware. The stock clamp is used for reinstalling the recirculation hose as well.
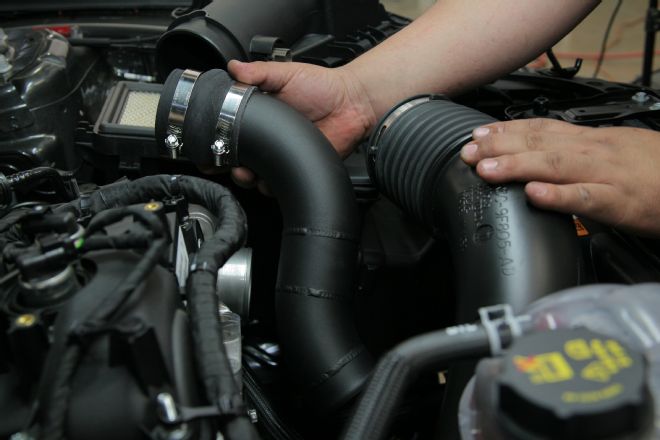
08. The tube requires new sleeves, so Vortech sends high-quality silicon sleeves for both sides. A 3-inch to 2 3/4-inch reducer sleeve with another No. 32 clamp connects the tube to the intercooler inlet tube.
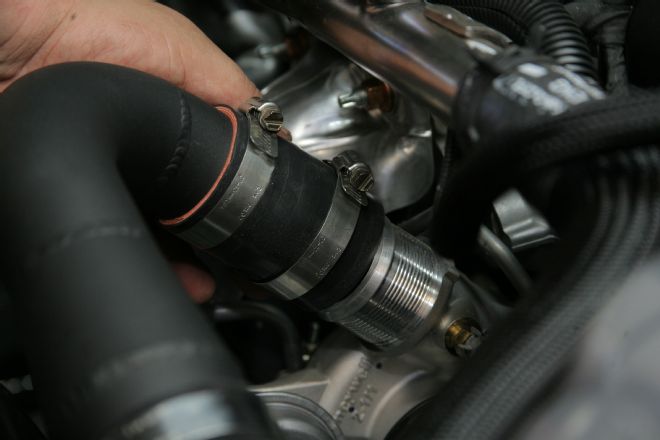
09. A 2-inch silicone sleeve with new No. 32 hose clamps slides onto the turbo outlet to install the Vortech tube. Note the ridges on the outlet; they provide extra grip.
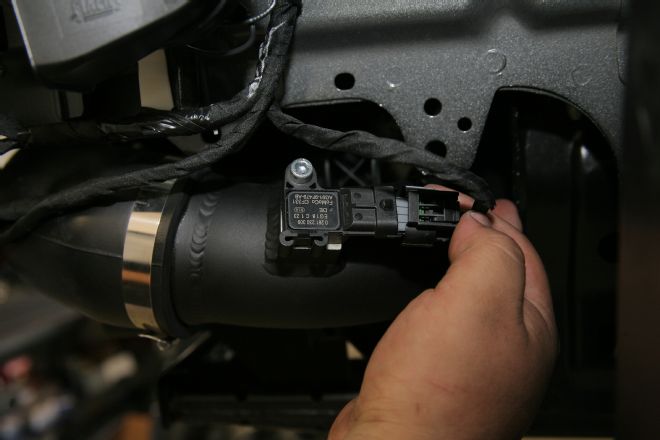
10. Now comes the big and more exciting part, the intercooler! The stock one does a good job of heat exchanging for a daily driver, but it’s pretty limited for performance. The TMAP sensor must be unplugged and a 10mm screw on the passenger side removed. There is also a locking tab on the driver side that needs to be held down while the bottom of the cooler is pulled forward.
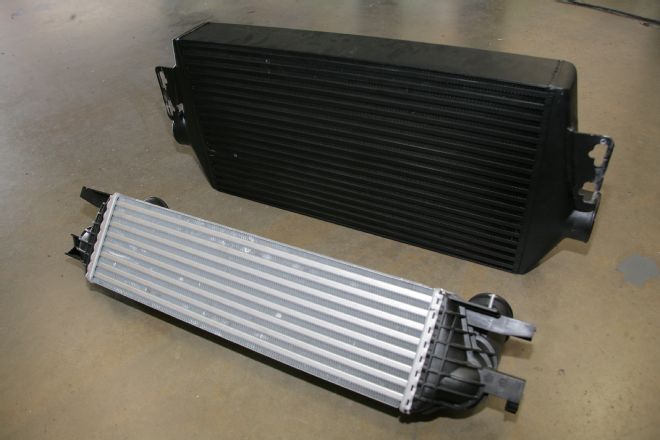
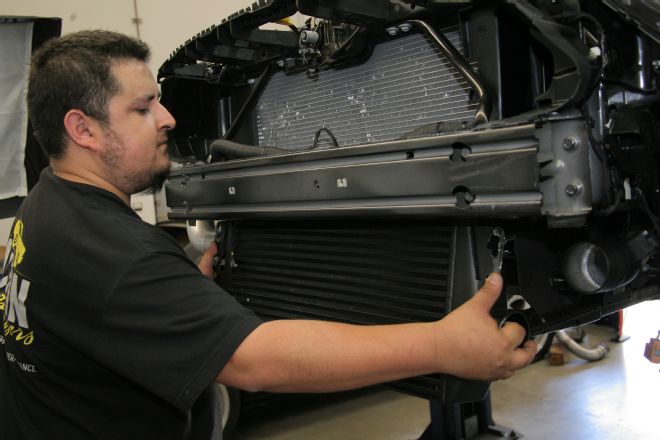
11. Here’s the stock EcoBoost cooler dwarfed by the new Vortech cooler. It’s easy to see why the cooling capacity is so greatly increased just by the sheer square inches of the cooling fins. Also note that the Vortech cooler is full aluminum, while the stock uses plastic tanks.
12. Before the Vortech cooler goes in, it is easier to fish the new tubes on the driver side for the outlet of the cooler.
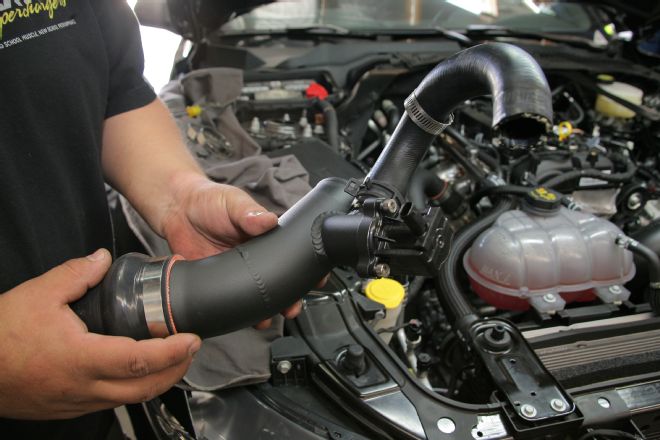
13. The stock TMAP sensor is carried over from the original pipe to the Vortech pipe, but be careful not to damage the O-ring. A 3-inch silicon tube will attach it to the throttle-body.
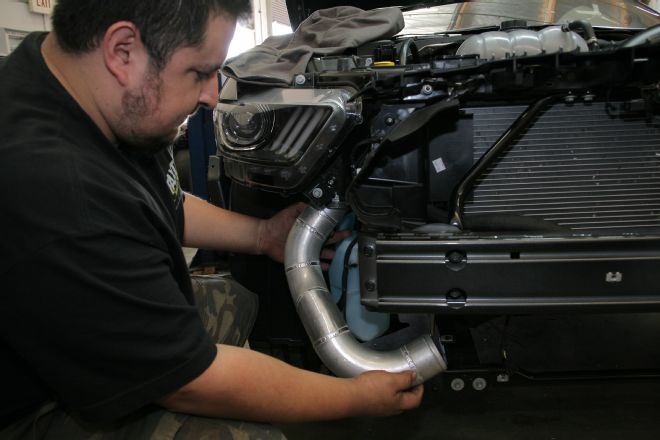
14. Back over on the passenger side, the last piece of the hot side tubing is routed down. You may need to slightly bend a tab on the bumper support for clearance. Note that this is a preproduction part; kits will have black powdercoated parts.
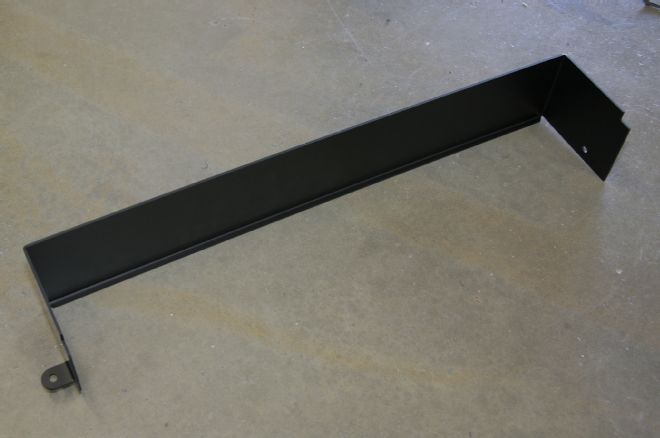
15. To seal off the lower part of the radiator, the A/C condenser needs to be sealed off. To keep proper airflow, Vortech includes this block-off plate
16. The block-off plate installs on the lower radiator support. A new hole will need to be drilled on the driver side of the panel on the OEM mounting bracket to mount the plate.
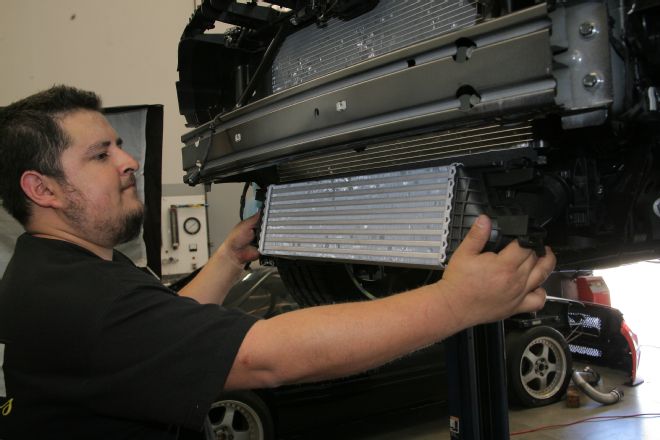
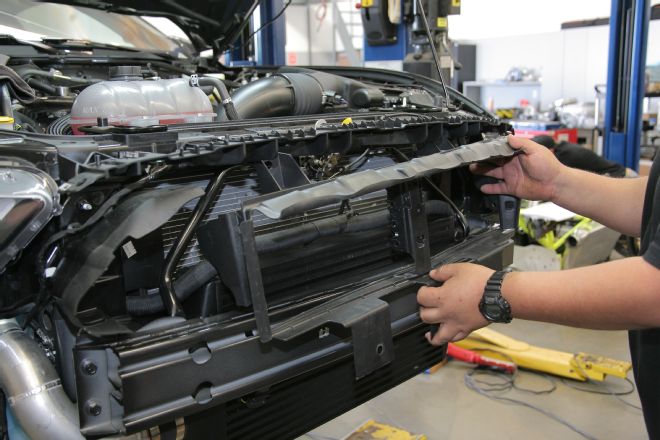
17. Now it’s time to mount the new Vortech cooler. The cooler mounts via the inner bumper support bolts and the front end brace, if the car was so equipped. If not, Vortech includes the extra hardware.
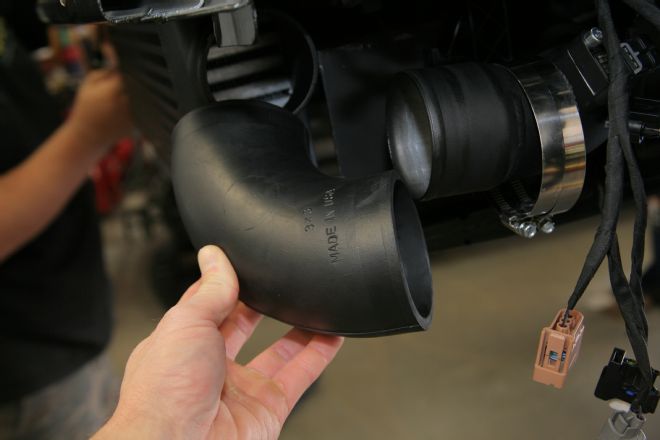
18. With the cooler mounted securely, a silicon sleeve attaches the hot side to the cooler, while a 90-degree elbow is installed on the cool side.
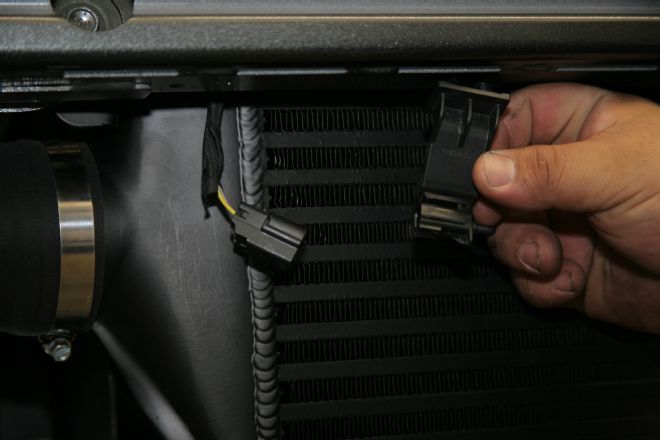
19. The ambient air temp sensor will actually go back into its stock location after the install is complete.
20. The factory TMAP sensor is installed on the cool side pipe and plugged back in.

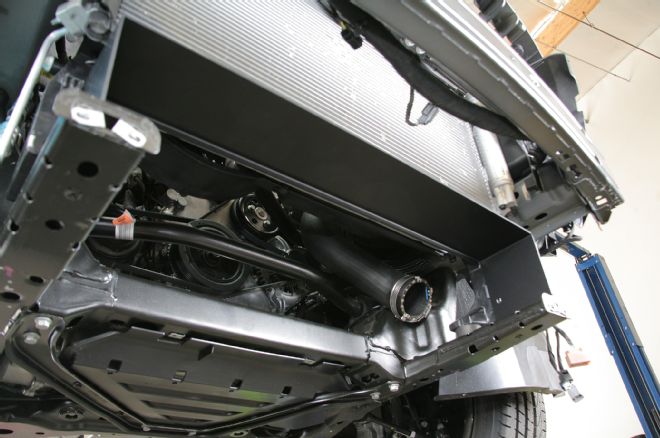
21. Here’s the cooler fully installed. Everything fit so perfectly snug, it could easily pass for factory and kind of leaves us wondering why Ford didn’t put a larger unit in.
22. This is perhaps the most involved part of the install. The electric louver shroud has to be basically gutted and heavily trimmed. The louvers will slide out easily by pushing the mounting tabs on the center support outwards. A couple of clearance scallops are necessary, as is trimming for depth due the larger cooler; Vortech details all of this with photos in the instruction manual. The harness for the louver motor will need to be slightly rerouted as well.
23. This is what the cooler upgrade kit looks like under the hood when fully installed with the factory airbox returned. It’s so perfectly clean and so subtle that unless you’re really paying attention, you’ll never spot the upgrade. However, the EcoBoost is now ready for harder driving, and more power!