One of the contributing factors to the LS engine's success when it comes to performance and economy can be traced to its DIS (distributorless ignition system). By assigning an individual coil for every cylinder and placing them in close proximity to the sparkplugs, spark energy is drastically increased as is its accuracy in relation to the engine's timing. A much hotter spark, thanks to the coil's ability to recharge more completely after every fire, results in more thorough combustion, creating a more powerful and economical engine.
The problem with this when it comes to building a custom truck is that the coil placement atop the valve covers doesn't leave a lot of options as to engine dress-up without moving the coils to another location. Moving the coils is the easiest alternative and gives the builder some flexibility as far as valve cover options go, but this is not without its share of issues as well.
For one, the spark plug leads are probably going to need to be custom built as the stock wires will probably be too short. This is not a big problem as companies such as Summit Racing offer build-to-suit plug wire kits from MSD (part number MSD-32079) that will cover a modest relocation. If the coils are going to be tucked away even farther, Summit can sell ignition wire in bulk that the end user can cut to fit.
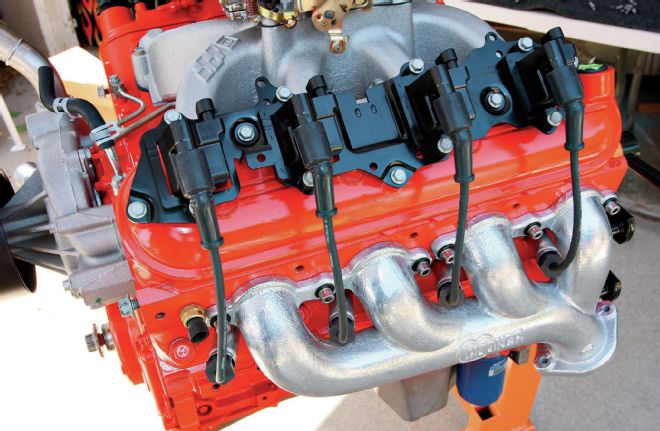
01 Here's the GM coil pack in their stock location atop the valve cover. Not the best location if you're looking to clean up the engine compartment.
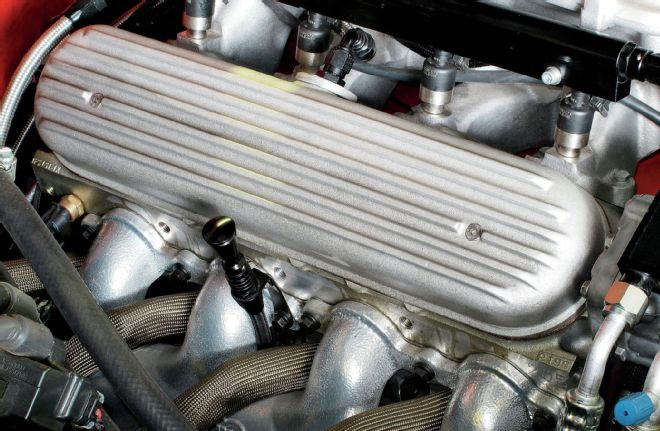
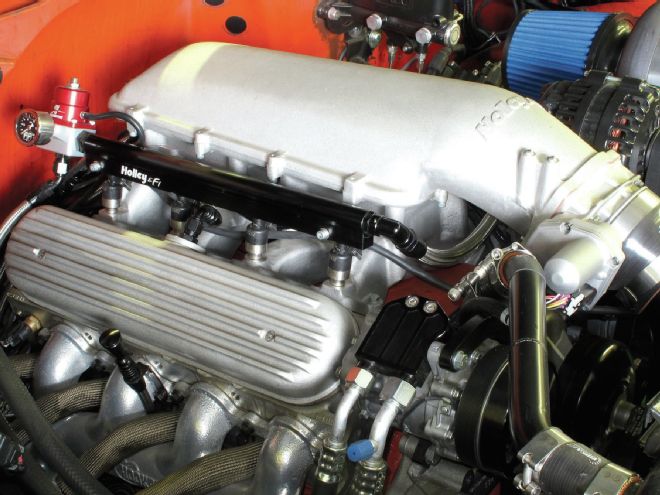
02 On the flipside, here's the engine with the new finned aluminum valve covers from Speedway Motors installed. Definitely lends a more vintage vibe to the contemporary powerplant.
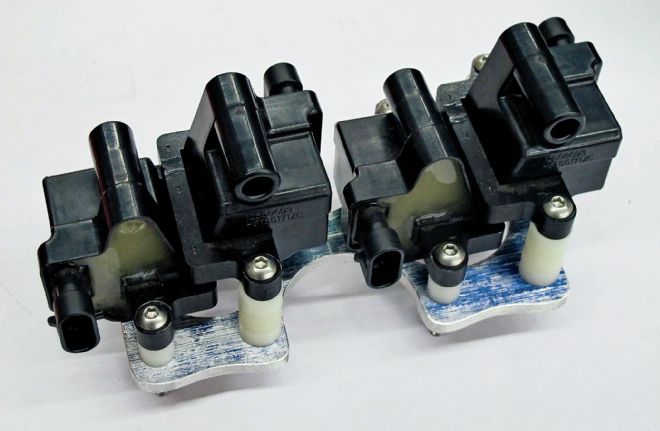
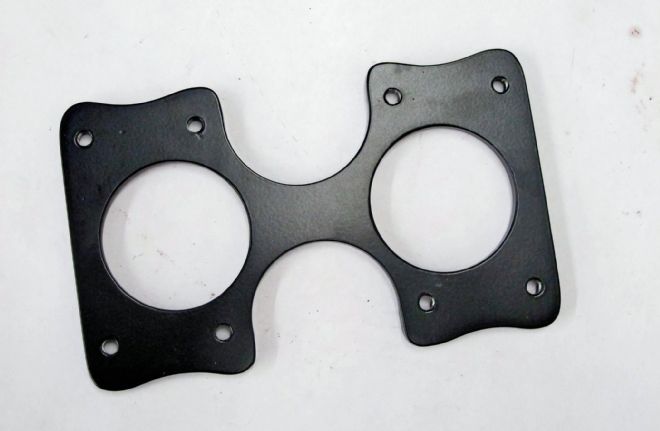
03 Knowing that I wanted to relocate the coil packs, my first task was to fabricate a plate that the coils could attach to. Then, I could figure out the mounting location.
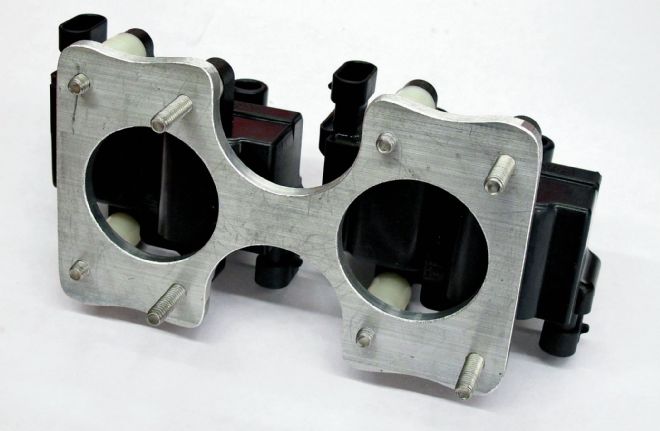
04 I ended up using a piece of 1⁄4-inch aluminum plate to act as the base, drilled and tapped to accept the coils, stacked one on top of the other in pairs. Four of the eight fasteners are extended to fasten the unit in place.
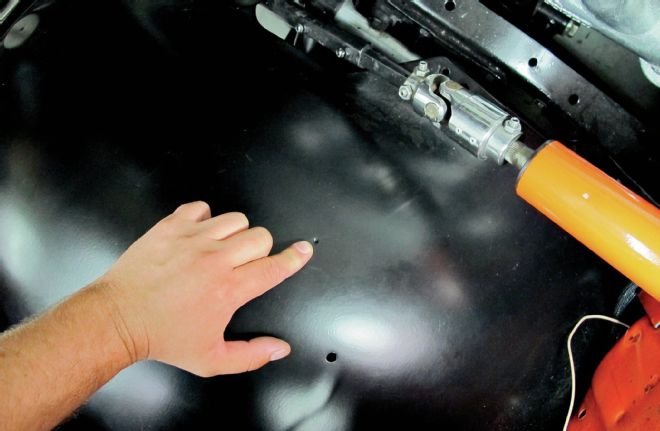
05 I ended up opting to mount the coil packs on the wheelwells since the proximity to the spark plugs means the likelihood of any spark energy loss will be minimal and they'll be easy to access should the need arise. This location also keeps them away from the exhaust heat. I'm using a factory dimple on each wheelwell as a reference point for the mounting of the packs.
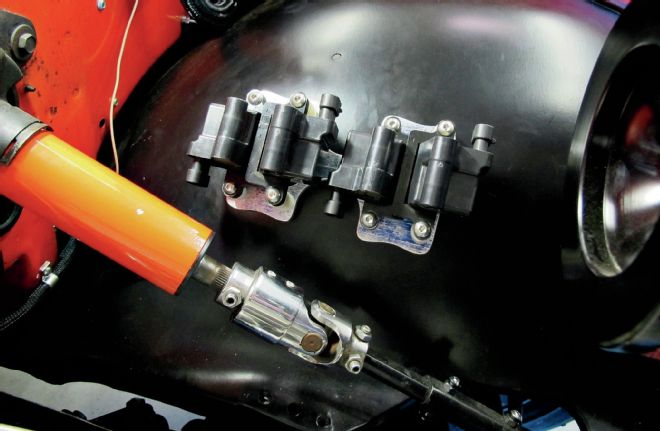
06 Here's the driver side pack in place.
07 With the pack in place, you can see how much longer the new spark plug leads will need to be to mate coil and plug.
08 Now that the mounting location for the coil packs is figured out, I sent the billet bases to Eddie Motorsports for a bath in their powdercoating booth. A hole saw and a little time on a belt sander was all it took to fabricate the bases.
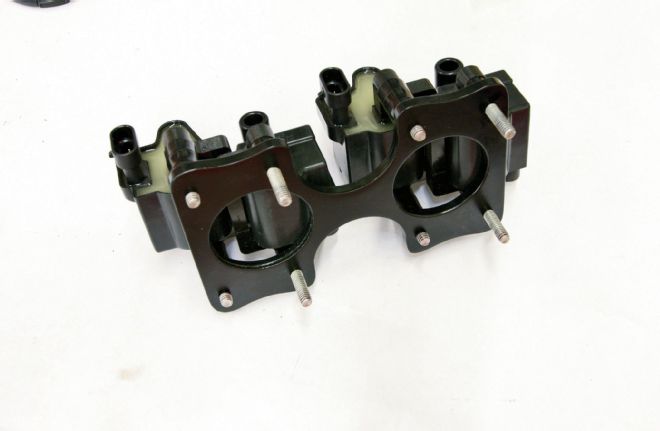
09-10 I used a series of spacers to get the coils to mount in a staggered arrangement so that the real estate that they occupied on the wheelwell was kept to a minimum.
Another item to consider is the coil harness. Most wiring harnesses are designed to mate to the coil pack atop the valve covers and are routed so. Moving the coil pack requires lengthening the coil harness, made possible by Painless Performance's LS Engine Coil Extension Harness Kit, available in lengths of 24, 36, or 48 inches. For our setup, we'll be using Painless' 24-inch extension harness (part number 60127). Last but not least, you're going to have to find some way to mount the coils. This can be as simple as reusing the stock GM bracket to bolt the coils to the firewall or can be as trick as hiding the coils completely out of sight, affixed by a billet bracket.
The sky is the limit when it comes to relocating the coil packs, but there are a few things to keep in mind. First and foremost, the engineers at GM designed the coils to be mounted in close proximity to the spark plugs for a reason. Secondly, you may need to access the coil packs from time to time and it will probably happen when you're on the side of the road, parked in the dirt, or in the rain. The stock GM coil packs are pretty durable, but like any electrical component, they aren't without their faults. Keep this in mind if you plan on burying them under the floor between the transmission and the trans tunnel. Speaking of mounting location, atop the valve cover is a pretty decent spot, relatively speaking, when it comes to underhood temps. A common first thought is to move the coil packs down near the exhaust manifolds, but the excessive heat generated from this location can become problematic.
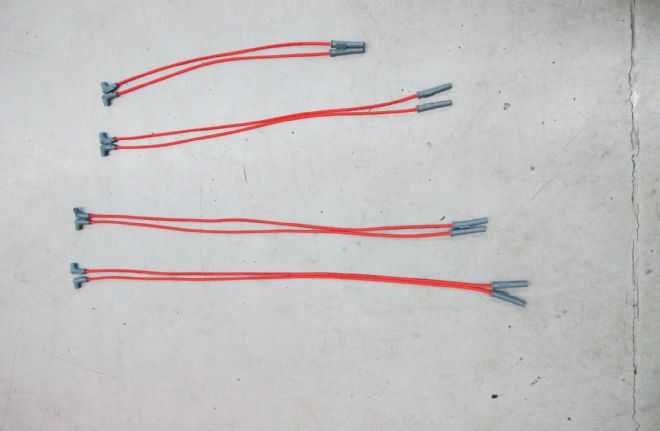
11 I ordered a set of MSD 8.5mm spark plug wires from Summit Racing (part number MSD-32079) that came in four predetermined lengths with a straight fitting on one end and a 90-degree fitting on the other. We'll be retaining the straight fitting and cutting the wires to length, deleting the 90-degree end in the process.
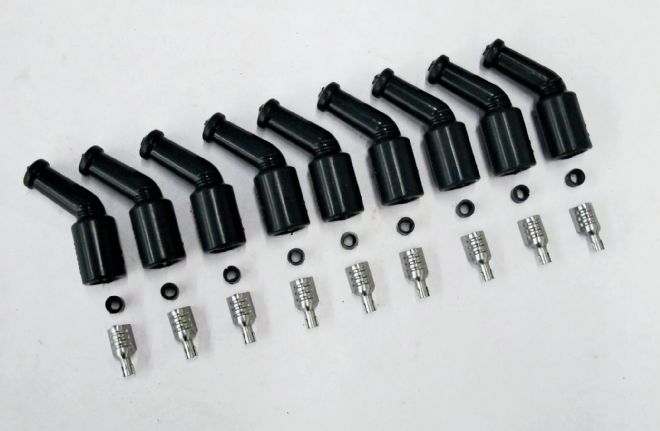
12 New boots will be installed at the coil end of each wire with dual crimp stainless steel terminals featuring snap-locks to ensure a secure fit.
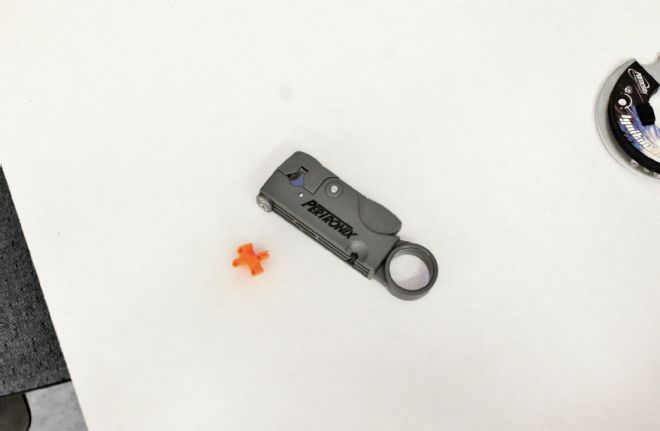
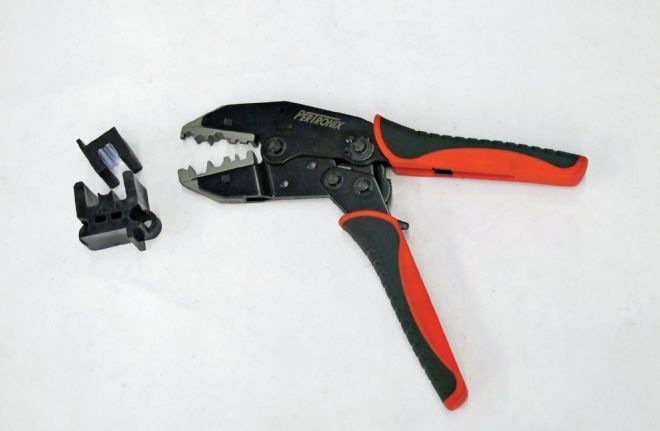
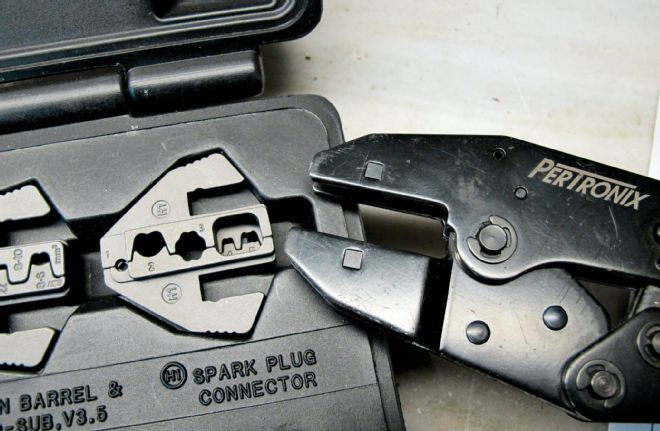
13-14 When it comes to crimping spark plug wires, we had two options at our disposal. One used the MSD tool that came with our wire kit while the other used our PerTronix Quick Change Crimp Tool (part number T3001) and Spark Plug Wire Stripping Tool (part number T3004). Really two different means to the same end, but we found the PerTronix solution works very well and is extremely useful at other wiring jobs found throughout a truck build.
15 Of course the first step is to cut each wire to length. I found that our Earl's Hand-Held Hose Cutter (part number EAR-D022ERL) from Summit Racing works great for not only cutting various sized hoses, but also cuts spark plug wires equally as good.
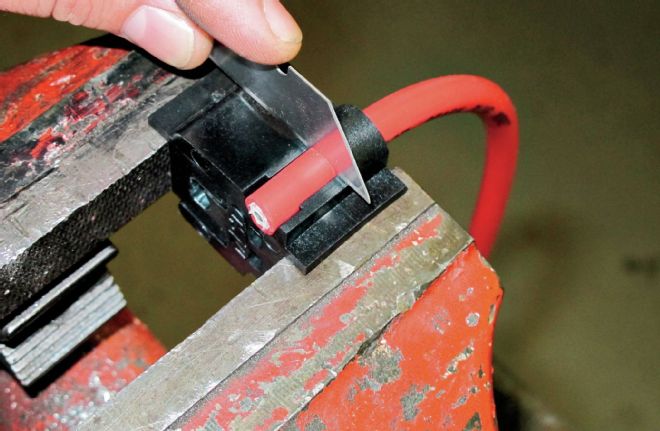
16 Once the wire is cut to length, the outer synthetic/silicone jacket needs to be trimmed away to expose the inner copper wire. The MSD tool has an area that specifies the length of housing that needs to be cut as well as a surface for which to cut against to ensure that only the outer housing is removed.
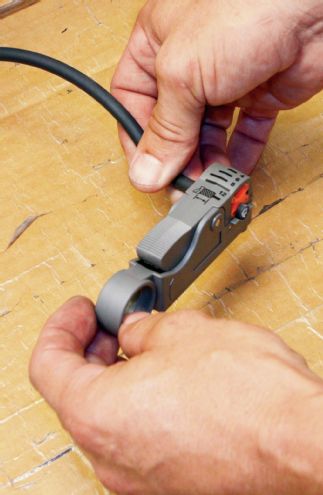
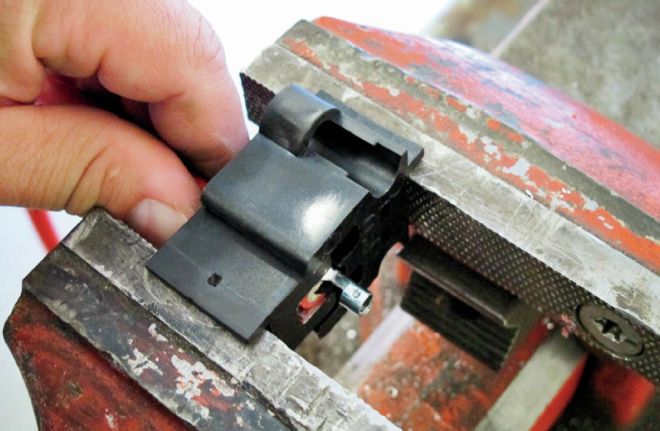
17 The PerTronix wire stripper is equally simple and just as effective to strip the housing from a spark plug wire with a quick flick of the wrist.
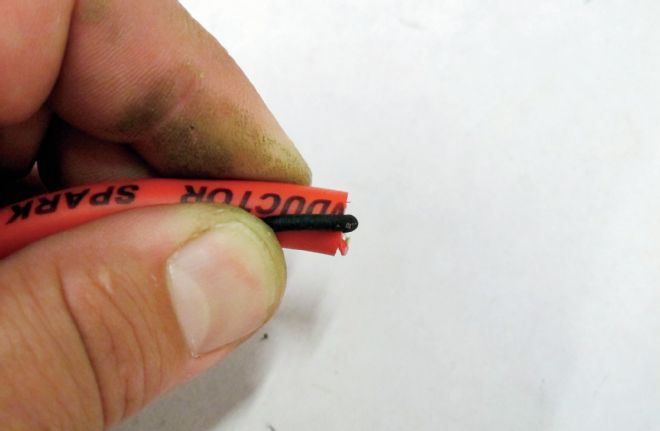
18 With the inner core wire exposed, it's folded back over the housing…
19…before the dual crimp stainless terminals are slid into place.
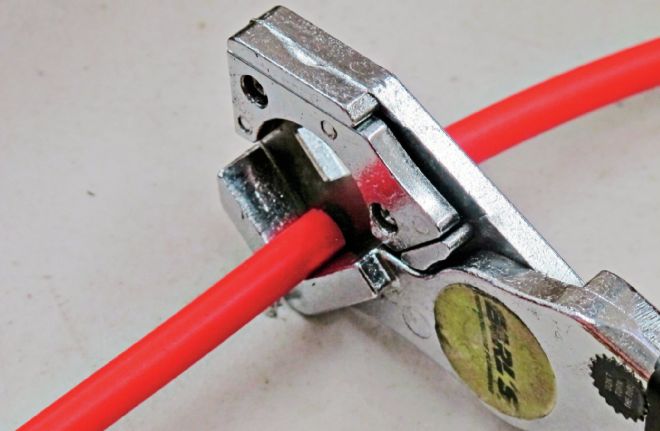
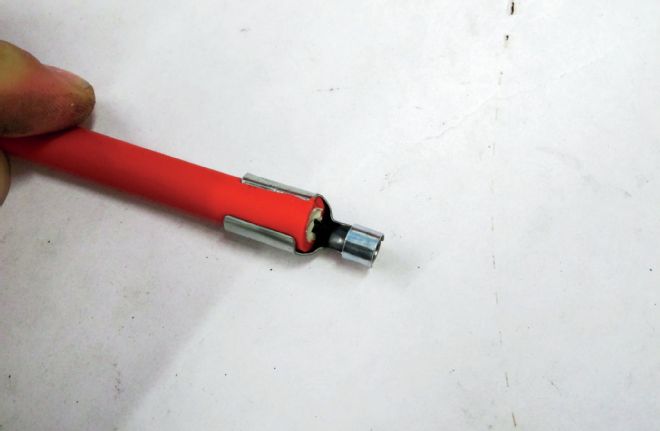
20 Again, the MSD tool is used to crimp the terminal in place using a vise to do the crimping.
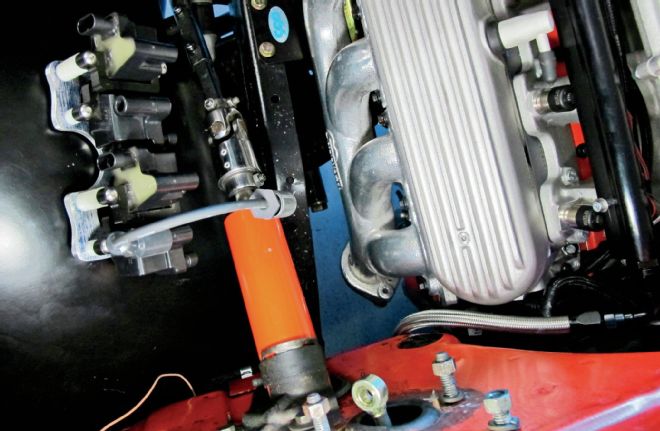
With all this in mind, when it came time to figure out a decent spot to mount the coil packs for my '68 C10, I decided to fabricate a bracket out of aluminum and mount them atop the fenderwells. It's not super trick, but it gets the job done. The spark plug leads are only slightly longer than the stock items and the coil packs are far enough away from the exhaust so that excessive heat isn't an issue. As for ease of access, there really isn't a better spot under the hood than at the top of the wheelwell, so that made it a no brainer. Moving the coil packs off the valve covers allowed us to replace the stock covers with a finned aluminum version from Speedway Motors (part number 5721012). Coupled with the Chevy orange block, black components, and as-cast intake, our LS engine is looking less contemporary and more timeless; just the vibe we were looking for!
21 Likewise, the PerTronix Quick Change Crimper works equally as effective and can be used “in the field” as a vise isn't necessary.
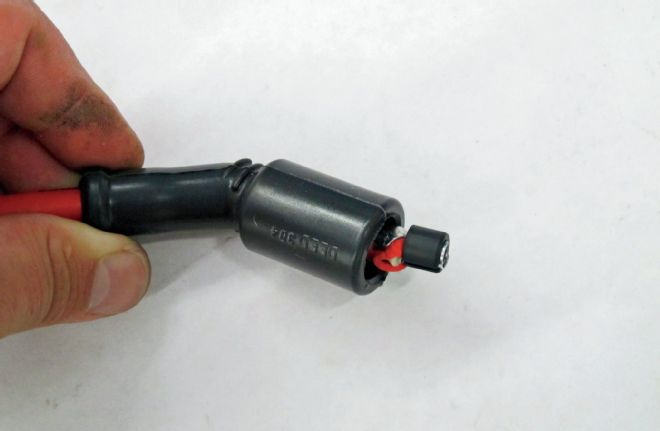
22 With the wire properly crimped the boot can be installed, followed by the snap lock ring that will keep the terminal nice and tight on the coil.
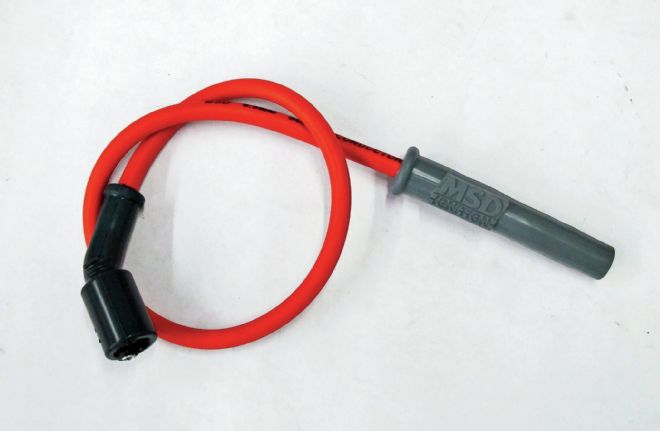
23 Here's one of the finished spark plug wires, ready to rock.
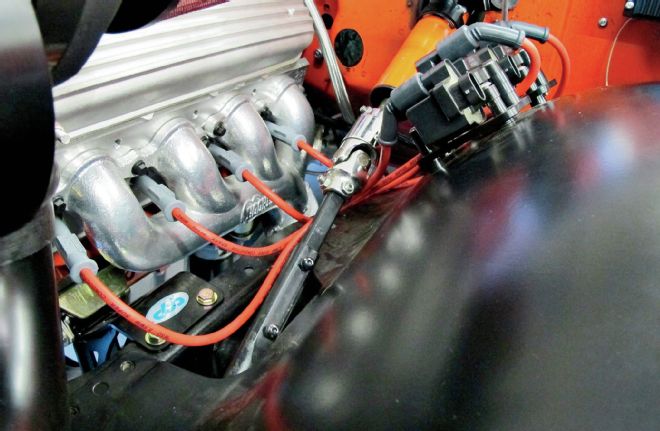
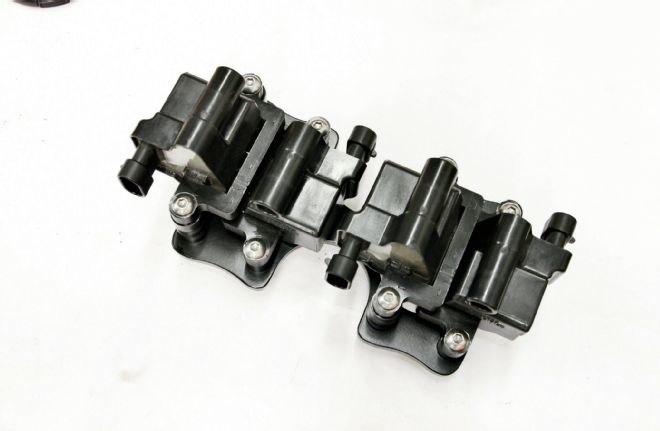
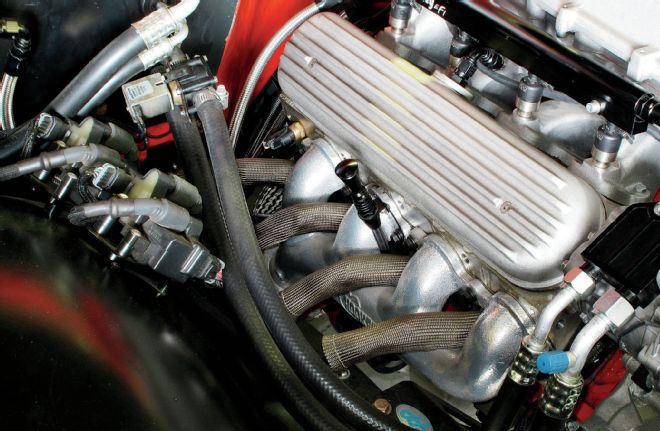
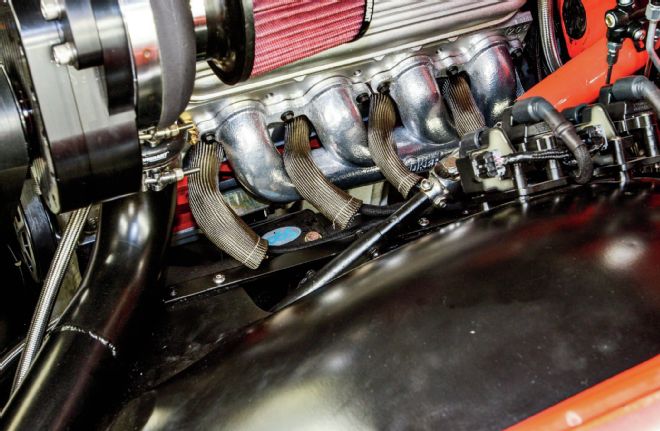
24 This shot shows the safe distance maintained between the coil packs and the headers and illustrates the routing of the plug wires.
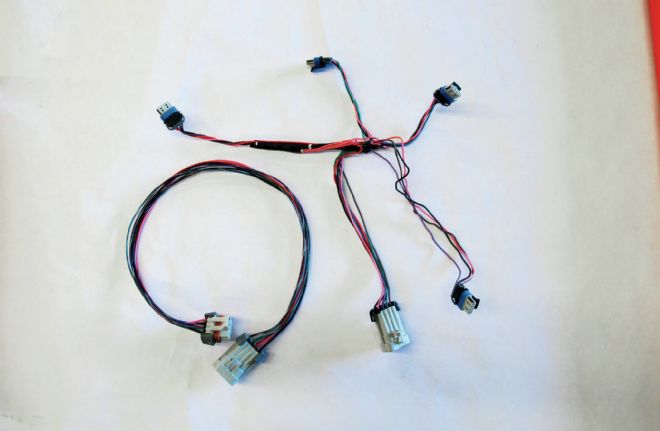
25 Next, we need to sort out the wiring harness for the coil packs. At left is the 24-inch extension harness from Painless Performance while the stock GM coil harness is on the right. Note that the shrouding/electrical tape has been removed from the GM harness. This is necessary since our coils aren't laid out in the side-by-side fashion anymore like they were on the valve cover.

26 I used the same ClassicBraid wiring loom from Painless that I've been using throughout my truck build to assemble a better coil harness that matches the updated coil layout. That's a stock GM harness at right and the modified version at the left.
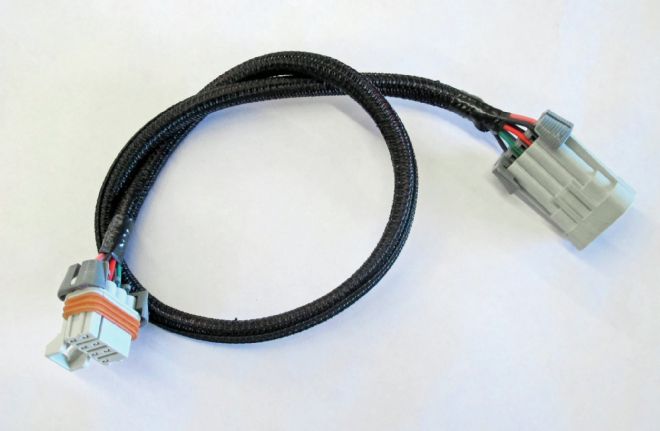
27 I gave the coil extension harness the same treatment.
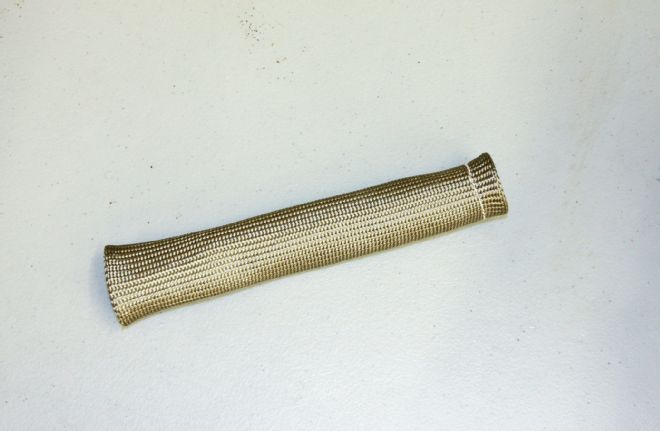
28 To better cope with the exhaust heat and to add a little more style to our ignition system, I opted to install a set of DEI's Titanium Protect-A-Boots. Developed from a unique material mined from lava rock, the material is naturally resistant to heat, chemicals, abrasions, and contaminants, and looks cool to boot!
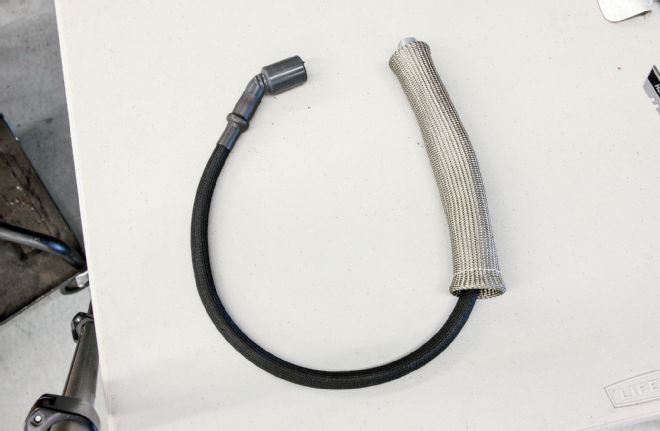
29 I wrapped the entire plug wire with ClassicBraid, held in place by heat shrink tubing at either end and complemented by the Protect-A-Boot. The result is a spark plug wire that can take some serious abuse and looks the business.
30-31 The end result speaks for itself. The coils have been relocated, set aside so that the engine can be topped with a vintage-style finned aluminum valve cover to complete the look.