In last month's installment, we took the first steps needed to bring the world-famous 1968 Firebird Grand Marque VIII factory show car back to new condition. Our primary partner in this ongoing tech series, Classic Pontiac Rescue in Honea Path, South Carolina, removed the front clip, and diagnosed the misaligned sheetmetal gaps he observed as subframe shifting.
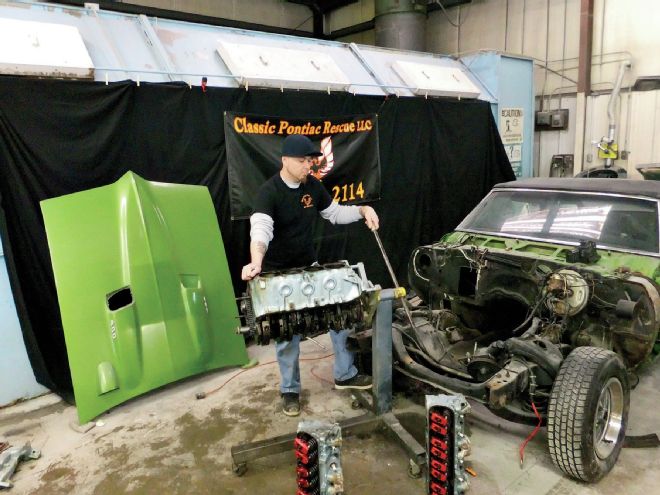
This month, Classic Pontiac Rescue extracts this Firebird 400's code-YT mill from its cradle, and then removes the drive accessories, and opens up the mill to inspect the cooling system, crankcase, and combustion chambers. Let's jump right into the action.
Conclusion
Between now and the next installment, Joe plans on taking the 400 engine to his local and trusted machine shop for a proper inspection of the block. All of the surfaces will be checked, the block will thoroughly cleaned, any needed machine work will be performed, and the heads will further evaluated.
Join us next time as we visit the machine shop and document this Pure Pontiac 400's field trip out of the Firebird.
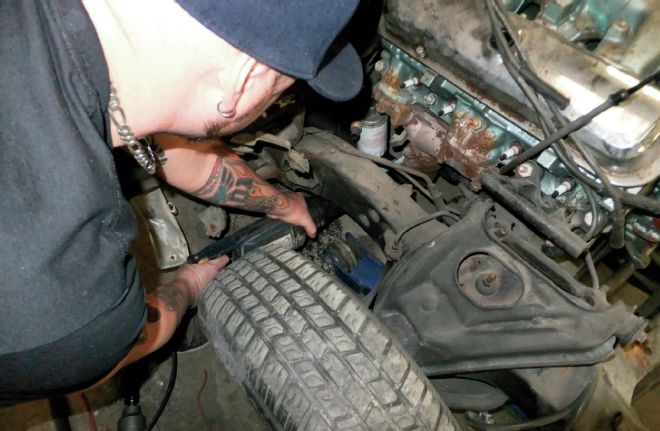
1. With the Firebird's front clip removed, Classic Pontiac Rescue owner Joe Jackson removes all of the drive accessories from the front of the Pure-Pontiac engine. He starts with the harmonic balancer and lower pulleys.
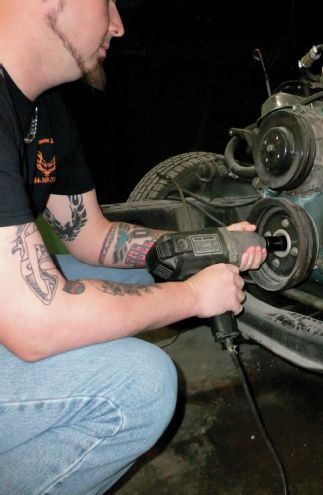
2. Next he removes the alternator and power-steering assemblies.

3. Off comes the fuel line and pump.
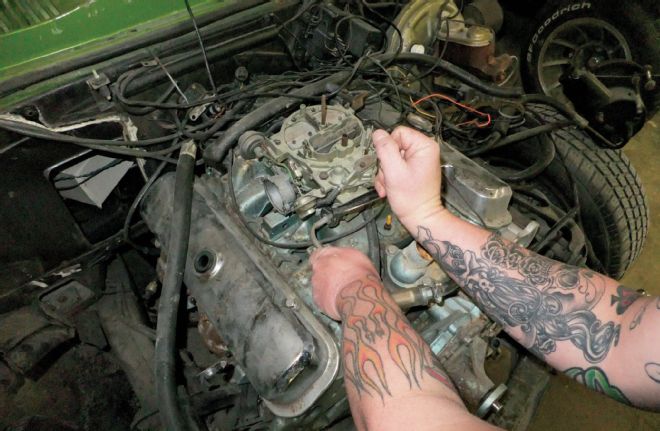
4. The Rochester Quadrajet carburetor is next to go. To the trained eye, this Q-jet was originally from a Chevy. Don't worry though, we'll install the correct Pontiac Quadrajet later in the series.
5. Joe says the driver-side exhaust pipe was already disconnected and removed before he took delivery of the car. Since the entire exhaust system is being replaced later, he uses a reciprocating saw to cut the passenger-side pipe close to the manifold flange.
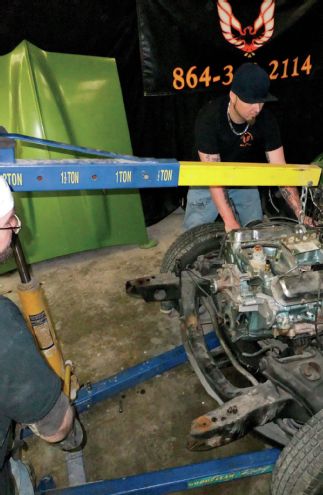
6. With all of the wiring disconnected and the mounts free from the subframe, it's time to extract the 400. Joe says it's always best to have two people for this step to ensure damage does not happen to either the car or the engine and attached components. He demonstrates how he uses a suitable engine hoist rated for the weight of the Pontiac block and a helper guides the engine away from the Firebird.
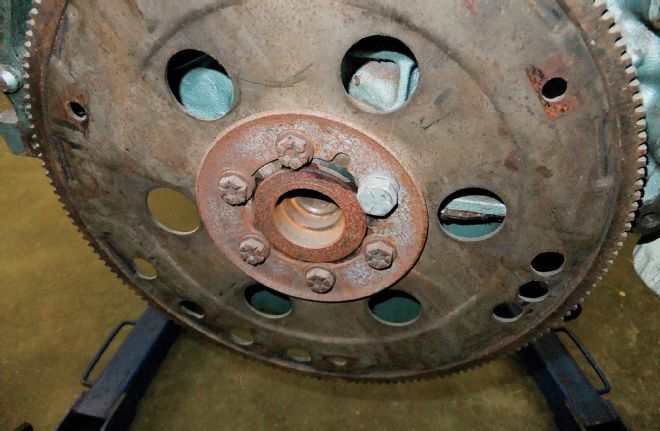
7. "The first thing we noticed upon engine removal was a flywheel attaching bolt that has a much larger head than the stock piece," Joe says. "This can cause two problems. It can set the rotating assembly off balance and also cause interference with proper spacing between the torque converter and flywheel."
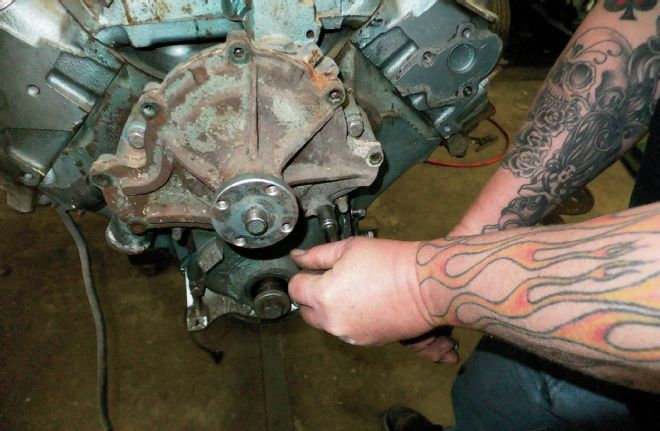
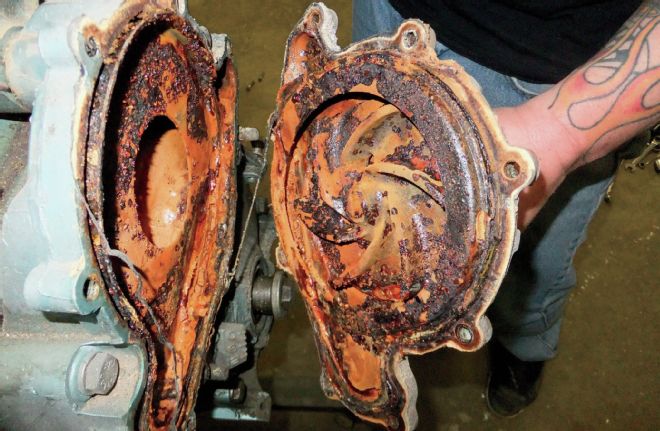
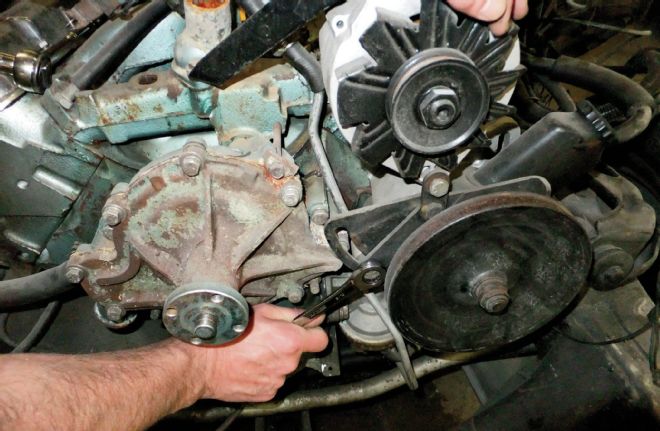
8. Now Joe removes the water pump and takes a peek inside to see what might be going on. As noted in the last month's installment, with the amount of corrosion found in the radiator, he suspects he will see something much the same in the water pump and timing cover. Holy moly! That is exactly what he discovers.
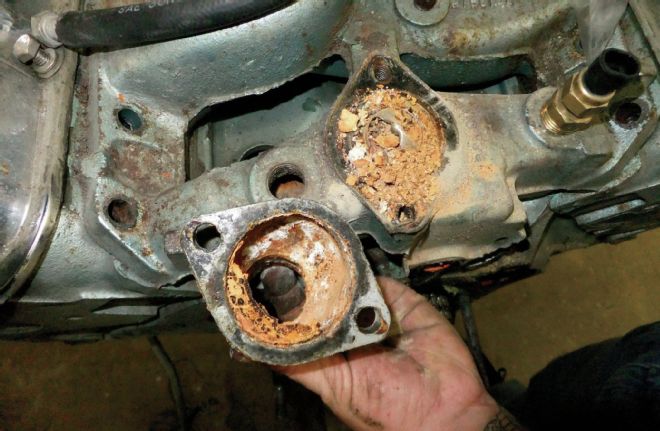
9. Did the corrosion travel to the thermostat housing? Yes, he finds more of the same massive rust and buildup.
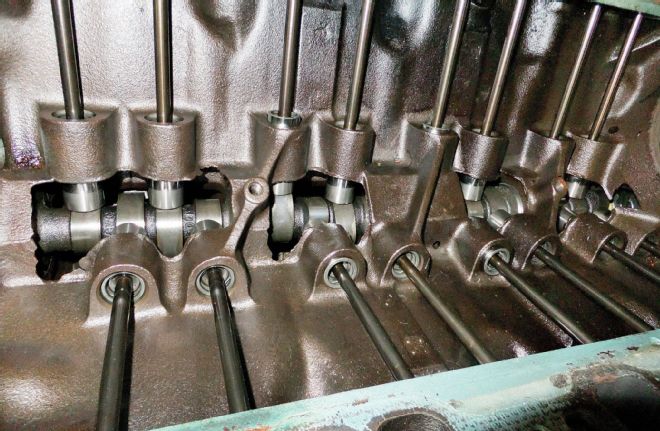
10. In contrast, however, the removal of the intake manifold and valley pan shows a remarkably clean and almost unused crankcase. At first glance, the cam, lifters, and pushrods all appear to be brand new.
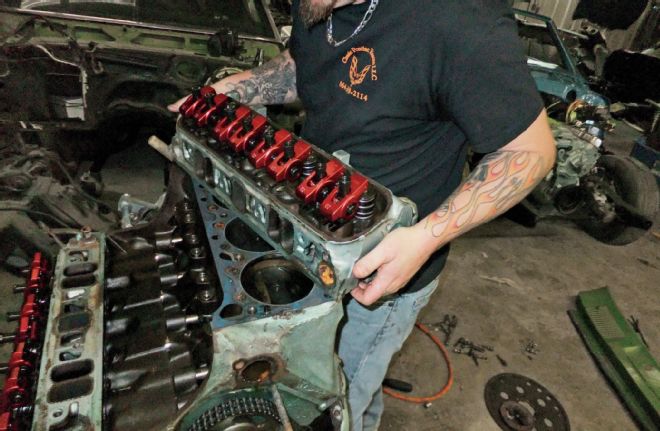
11. Once the rocker arms are loose and the pushrods are out, Joe unbolts and removes the cylinder heads to reveal the condition of the pistons and the cylinder walls.
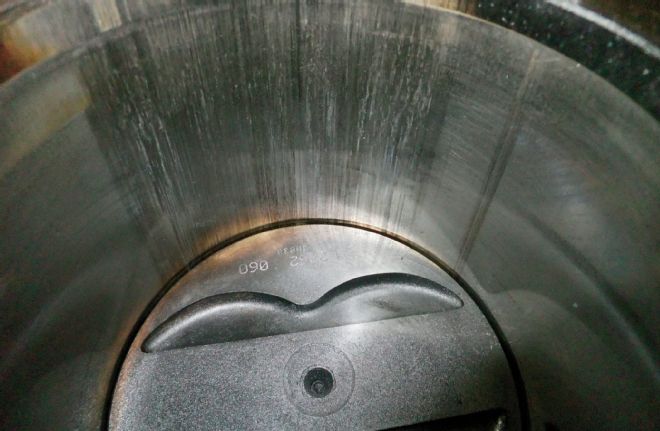
12. Ouch! He discovers scoring in the cylinder walls. Cylinder No. 7, shown here, is the most severe one of the eight. Sharp eye readers will see that this 400 had previously been outfitted with 0.060-over pistons. Will the block clean up? We'll have to wait for a future installment to find out.
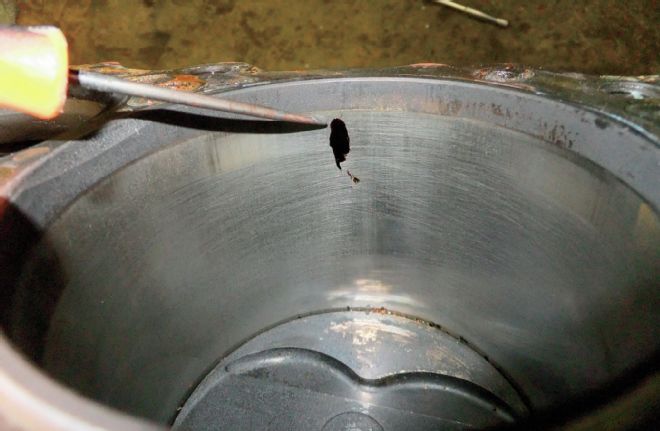
13. Joe notes a dried oil drip on the side of the No. 4 cylinder wall. He suspects a leaky valve seal.
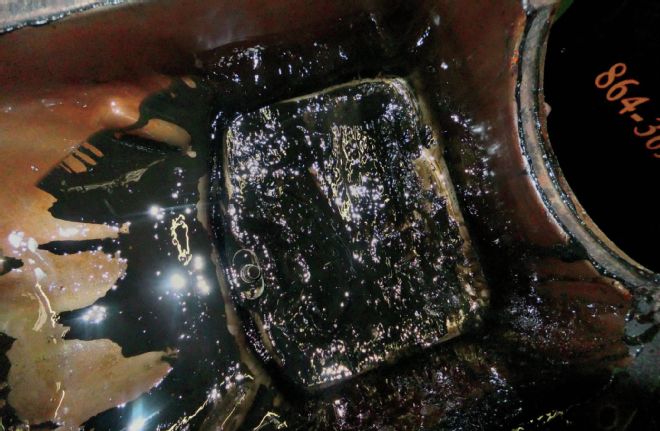
14. After removing the oil pan, he sees the sea of sludge on the its bottom. "It's quite puzzling for an engine with very few miles," Joe says.

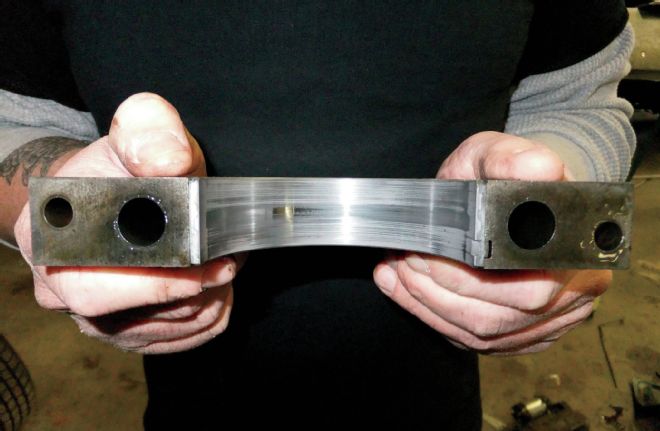
15. Joe removes the main caps and several rod caps to inspect the bearings for wear.
16. "I found what I consider to be unusual and excessive wear for a relatively unused engine," he says. "It appears improper torquing, trash in the oil, or a combination of both has damaged the bearings."