It's an age-old problem, where to you put "stuff" when you own a vintage pickup? Sure you can cram some of it under and behind the seats, but those areas fill up quickly and are often the location of such necessities as a jack, tool kit, and roadside repair items like wire, duct tape, and so on. No doubt about it, storage space in a vintage cab is at a premium.
And so it is little wonder that many trucks end up with a storage chest of sorts in the back of the bed. After spending untold hours finishing the bed wood it can be difficult to cover any portion of it with a trunk, and for that reason you need to shop around and find a trunk that is as cool as the rest of your hauler.
We stumbled upon this Yoo Poong Enterprises aluminum clad steamer trunk in a local antique mall and for the princely sum of $65 it was ours. The entire interior was wood and it had delaminated, so restoration of the inside was in order. We did that with simple 1x2 poplar in the corners and around the top and the bottom of the chest, followed by tongue and groove cedar to line the chest. An aluminum hood prop by Joe's Racing Products was sourced from Summit Racing and installed to hold the top open. Now that the trunk was structurally sound it was time to mount it in the bed.
We already mentioned spending a good bit of time refinishing the bed so when it came time to mount the vintage trunk we weren't about to drill holes in the wood. The solution was simple enough and also made the trunk easily removable. We cut three pieces of red oak 1-inch wide by ¾-inch tall to act as spacers on the stainless steel bedstrips. Next we removed two of the stainless steel carriage bolts from three bedstrips and replaced them with longer stainless carriage bolts to hold the strips in place. The trunk was then carefully centered and located on the bedstrips, allowing room for the lid to open without hitting the front bed panel. Inside the trunk we fabricated three aluminum strips and attached the trunk to the new oak strips with nine screws.
Our aluminum-clad trunk is quite unique in the world of trunks and we were pleased with the appearance of the old steamer trunk, but felt there was something missing. Belts.
It just seems appropriate for an old trunk to be strapped down by belts, it adds to the whole vintage look. We also had another problem. Although the trunk is clad in aluminum, it is far from watertight and since we drive the truck long distances in all kinds of weather, we decided the trunk needed a canvas cover to keep the water out. This will protect both the integrity of the trunk and assure that we would have dry clothes upon arrival. We had a simple black Sunbrella cover made at the local awning shop, but any upholstery shop could handle the job too. The cover slips over the trunk and most certainly required belts to hold it in place.
We began by placing an order with Restoration Supply Company for some of their great stainless steel quick-release latches, hood strap springs, and footman loops, all in stainless steel. They also have leather straps in natural, black, or brown in varying lengths. Armed with the hardware to build our belts all that was required was some rivets, a couple of pieces of aluminum sheet, contact cement, and a rivet gun.
Actually building the belts is fairly straightforward process and in a few hours we had the belts completed and installed on our trunk. We opted for some distressed leather belts that we found in a local store and were quite pleased with the end results. The belts hold the weatherproof cover in place while we are traveling and then simply strap over the chest when the cover is off, giving the appearance that the belts are holding the steamer trunk in place. We also replaced the missing lift straps on either side of the trunk; in that case I literally took my leather belt off, cut it into pieces and riveted it together to make the straps. A simple sacrifice for the greater good!
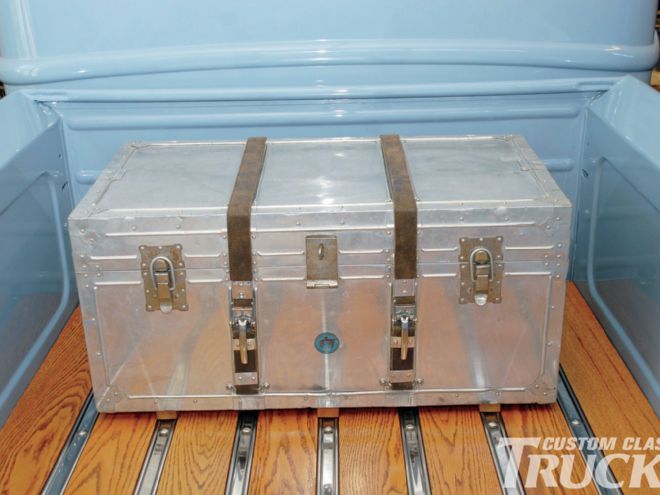
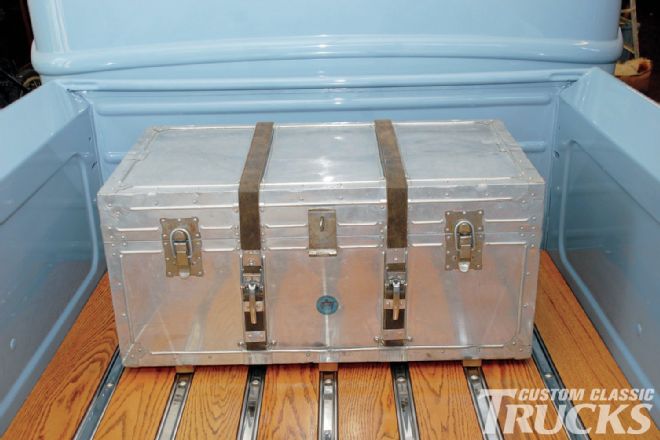 1. Like most vintage truckers we were lacking space to carry “stuff” so we opted for a vintage steamer trunk in the bed. The aluminum clad Yoo Poong trunk is quite rare and we felt that vintage-style belts were a must.
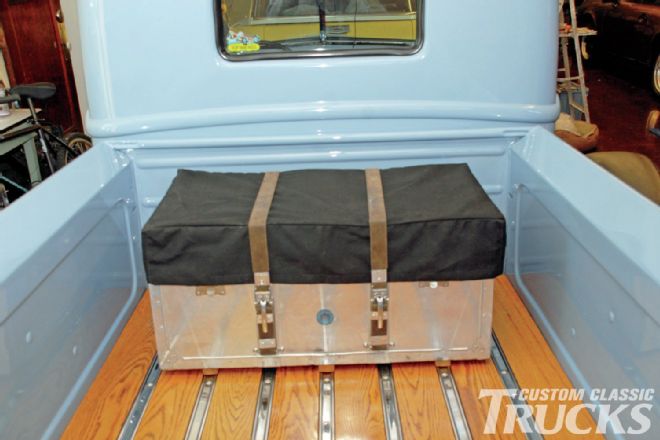 2. Another reason for the belts is the need to secure the weatherproof cover we had made for the steamer trunk. These trunks are not waterproof so this cover solves that problem, and after testing it in a driving rain, it works great.
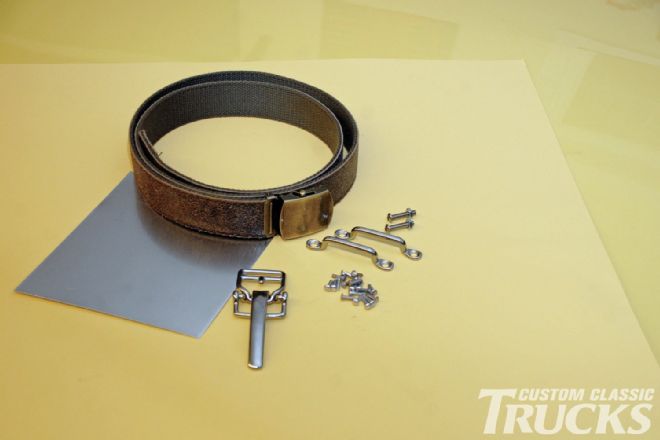 3. You can order everything you need to build the belts from Restoration Supply Company; however, we opted to purchase some distressed leather belts at a local flea market, be sure to get the “big boy size” as you’ll need long pieces.
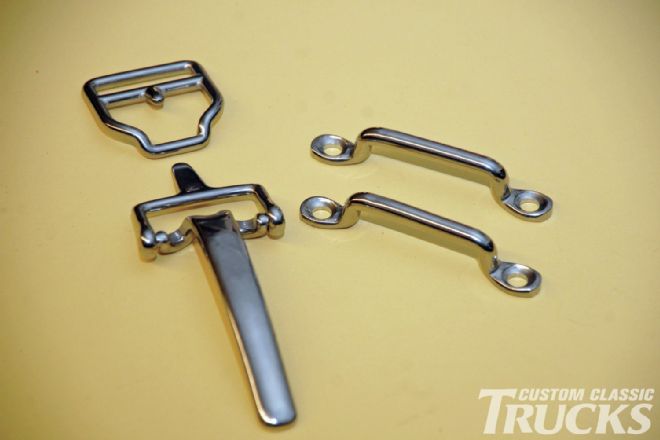 4. The stainless steel hardware consists of the two-piece quick-release fastener and two footman loops for each belt. The quick release has a cam action to it that snugs the belt as you close the latch.
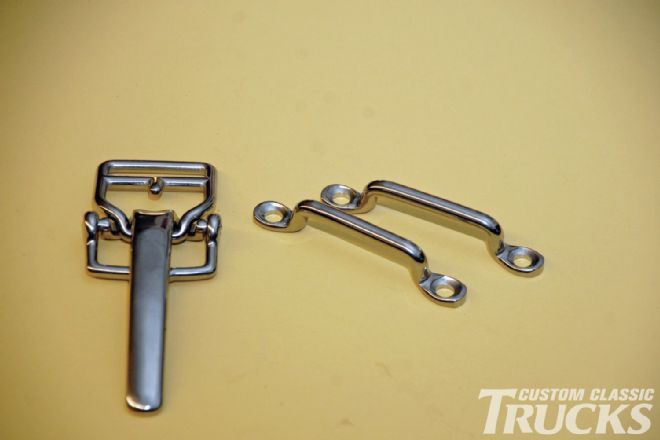 5. Here you can see the quick-release latch in the assembled stage, the long handle simply goes through the open loop on the other end of the belt.
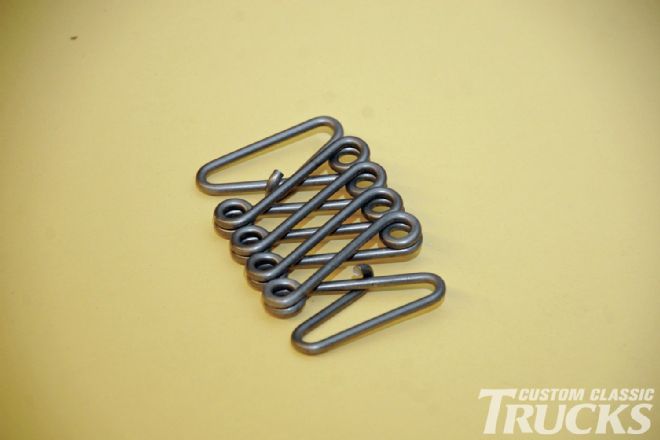 6. If you want the belts to be even tighter you can put a hood strap spring in the belt, then the quick-release fastener will pull down to stretch the spring when closed.
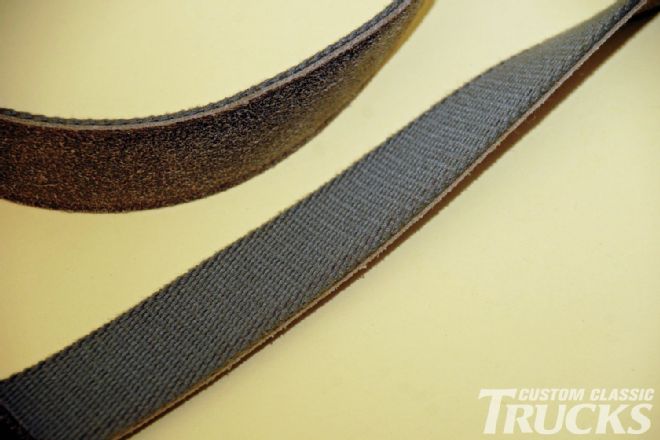 7. The distressed leather belts we found were leather on one side and green webbing on the other, in the right truck a green military style web belt would be very cool, but we opted for the leather side.
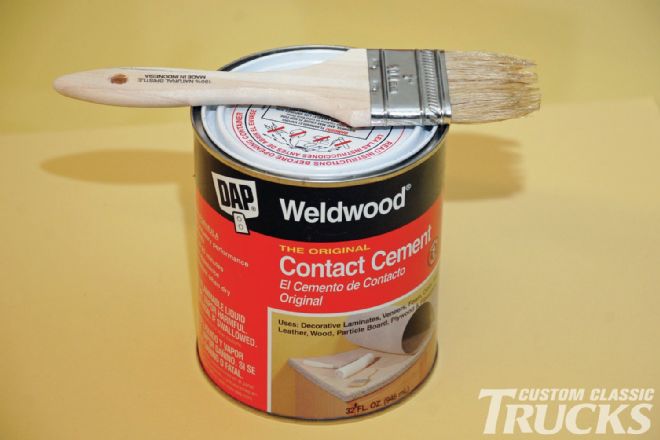 8. Every garage should have a can of good old contact cement on the shelf. While rivets would be holding the belts together we wanted the extra holding power of cement on the belts.
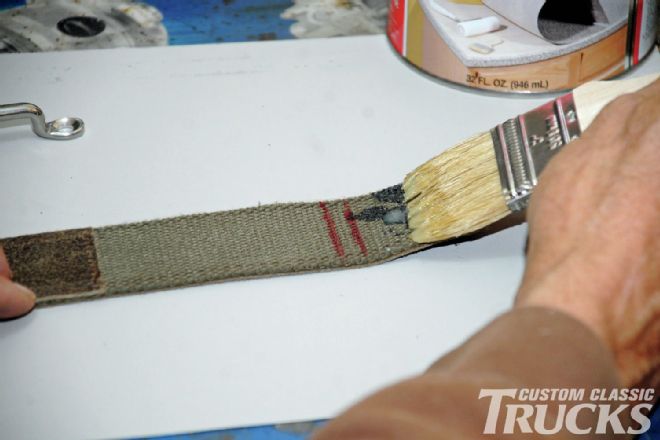 9. We gave each side of the belt a coat of contact cement before putting them together. The marks on the belts are the fold lines, and due to the cloth backing we had to apply two coats of cement to the belts.
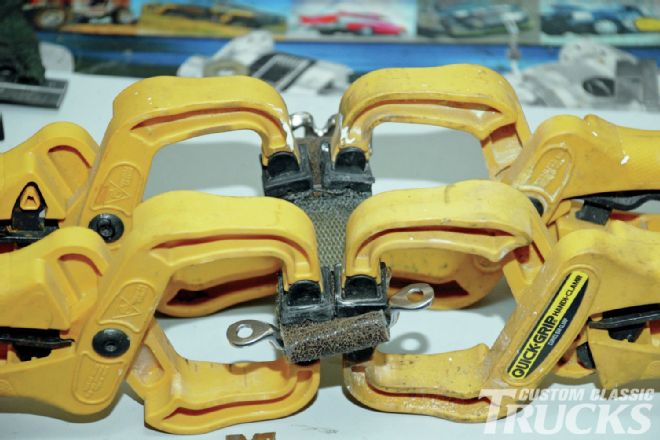 10. This is the footman end of the belt; after the contact cement had tacked off we folded the belt over and clamped it together to ensure a good bond. Don’t forget to install the hardware before folding.
 11. Now it was time to fabricate the aluminum strips for the belts. After cutting the aluminum 1¼-inches wide and long enough to surround the belt we measured and drilled two rivet holes. Then the piece was folded around the belt.
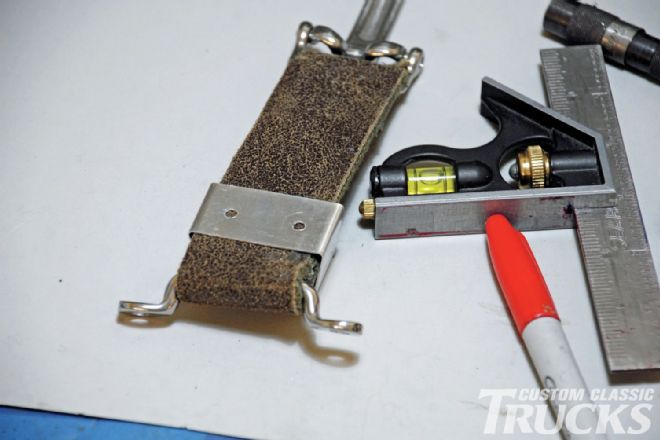
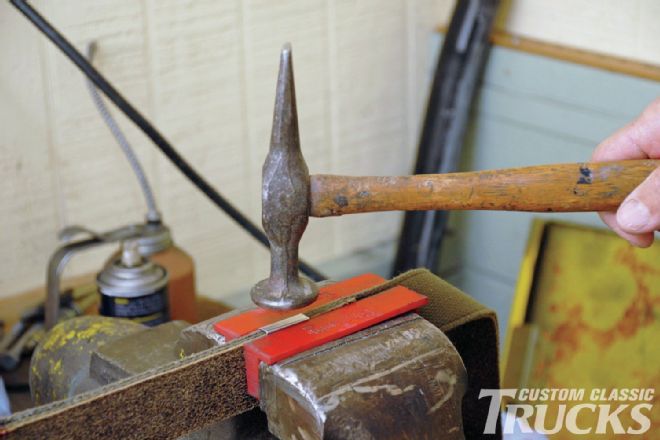 12. Next we squeezed the aluminum strip onto the belt with the help of a vise with soft jaw pads in place. By leaving the belt slightly above the top of the jaws we were able to hammer a nice square edge on the aluminum.
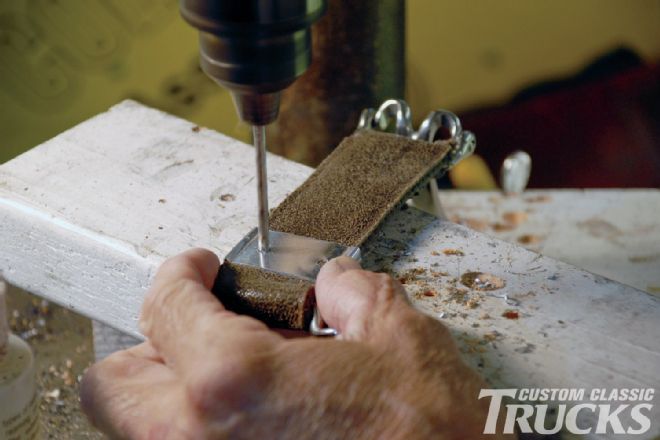 13. With the aluminum in place we carefully drilled through the leather and the backside of the aluminum in preparation for the rivets.
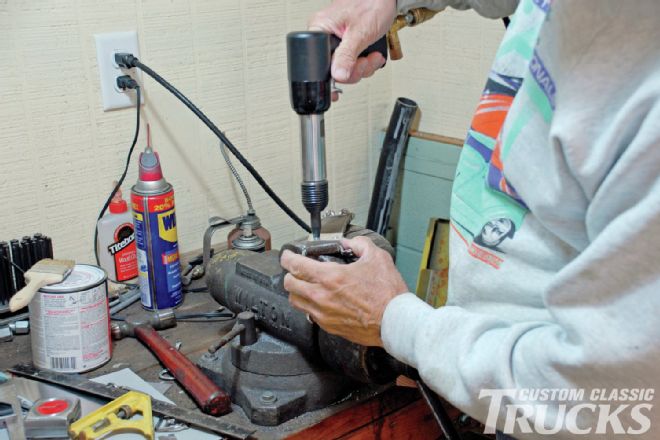 14. We used the vise as the backside bucking bar for the rivets. It takes a little practice to compress the rivet and not distort the thin aluminum. Since the belt material is soft the rivet wants to pull down into the material, so work slowly with your rivet gun.
 21. And after spending a day we had the belts made and installed on the new trunk. We’re real pleased with the combined form and function of both the steamer trunk and the new hold-down straps.
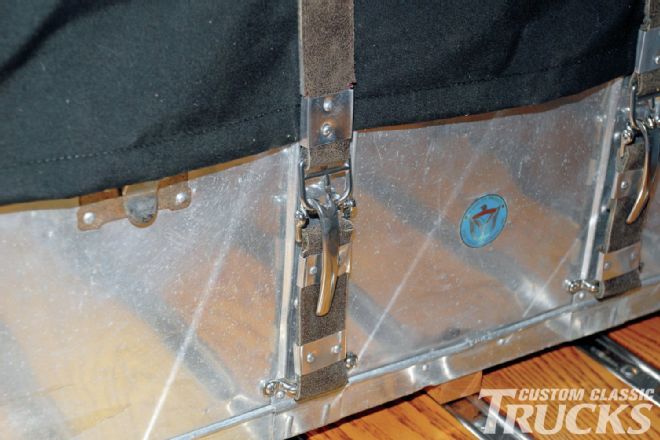
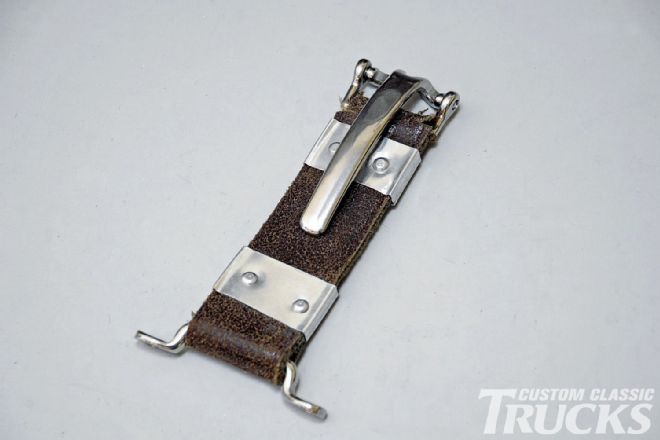 15. Here is one completed lower belt, rivets in place, and ready to be bolted to the front of the trunk with stainless 10-24 button head bolts.
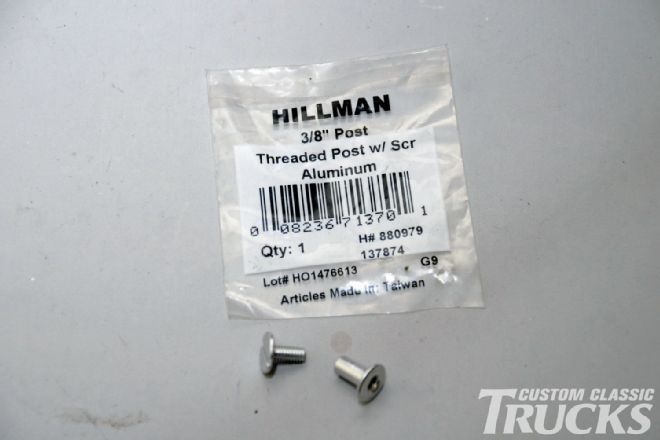 16. If you don’t have rivets and a rivet gun you can substitute these threaded posts. They are aluminum and at a glance will look much like a rivet. They are available at your local hardware store or home improvement center.
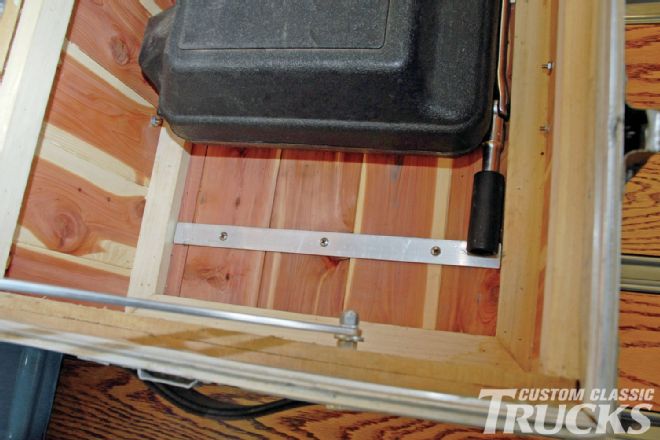 17. After completely replacing all the interior wood we fabricated three aluminum strips for the inside of the trunk and attached the trunk to the three wood strips we cut that mount to the stainless bedrails.
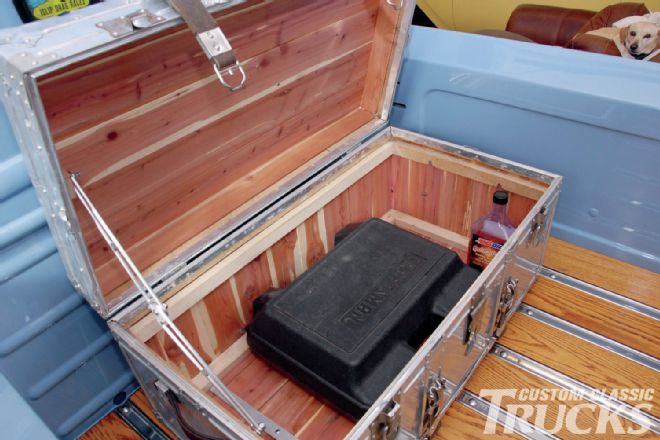 18. The new cedar-lined trunk carries tools and allows room for some clothes. By mounting the trunk up off the bed floor water and air can travel under the trunk preserving both the bed and the trunk in the process.
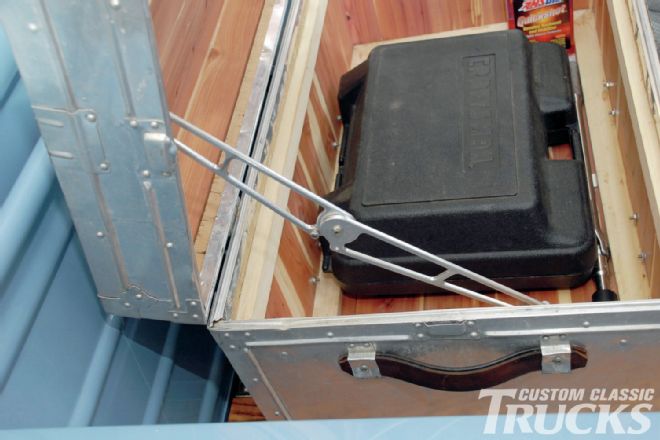 19. We needed a way to hold the lid up and found this hood support from Joe’s Racing to be the perfect answer; we sourced the support from Summit Racing.
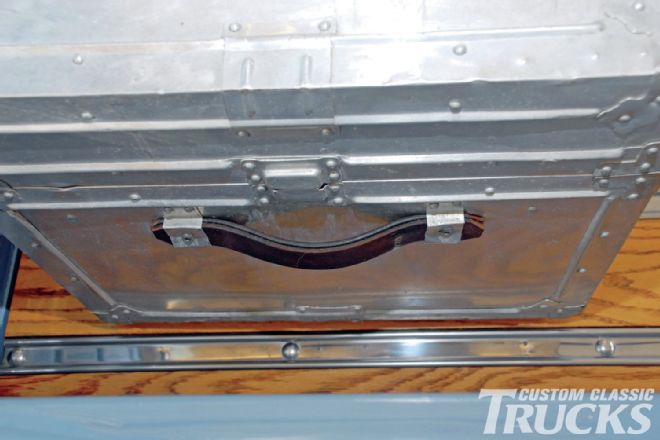 20. The side handles were missing on the trunk when we purchased it, so we did what any real trucker would do, removed our belt, cut it to pieces and installed new handles on either side of the trunk.