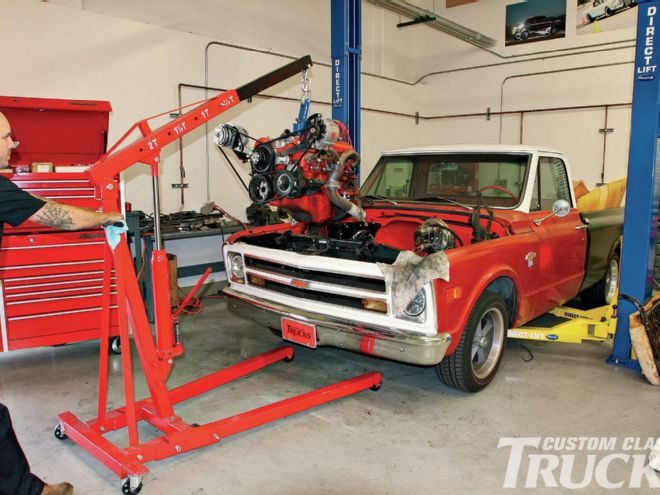
After months of preparation, it's finally time to make some serious progress by dropping the new LS drivetrain between the 'rails of the '68 Chevy C10 we've been working on. It's been a long and educational road as I knew literally nothing about the LS family of engines when all this first got off the ground. A year or so later and I've learned enough to come to the conclusion that these new, odd-looking little numbers can be set up to make gobs of power in a pretty efficient manner, something previous-generation engines didn't do so well. And with a little bit of work, they can actually look pretty cool to boot.
Dropping a late-model engine into a C10 is actually more straightforward than one might think. With a handful of options regarding engine placement, it's simply a matter of determining the amount of setback from the stock motor mount location and choosing the corresponding mounting plates to mate the motor to the small-block-style motor mounts. From there, the new LS engine can be bolted up to the stock motor mount location on the front crossmember. With new products being constantly developed, by the time this goes to print, I wouldn't be surprised if there was a drop-in kit for every classic truck out there.
Before we dropped in the motor for the first and final time, I took the opportunity to give the frame a thorough cleaning and hit it with the same two-stage Eastwood process I used on the back end. First, I applied two coats of Rust Encapsulator to stop whatever rust may have been lurking in the nooks and crannies of the stamped steel crossmembers. Then, I applied another two coats of Extreme Chassis Black, to give the frame a bulletproof coating with just enough sheen to give it that OEM look. From there, the foundation was laid to place the engine.
The extra bit of work it took to prep the chassis set me back a few more days than I would have liked, and believe me I was ready to drop the motor in a month ago, but I'm glad I took the time to prep the space while I had the room. Now the entire underside of the truck is detailed and looks great, further emphasizing the work on the engine. With the engine in place, we can start wiring, running fuel lines, and sorting out the supercharger/intercooler plumbing, stay tuned!
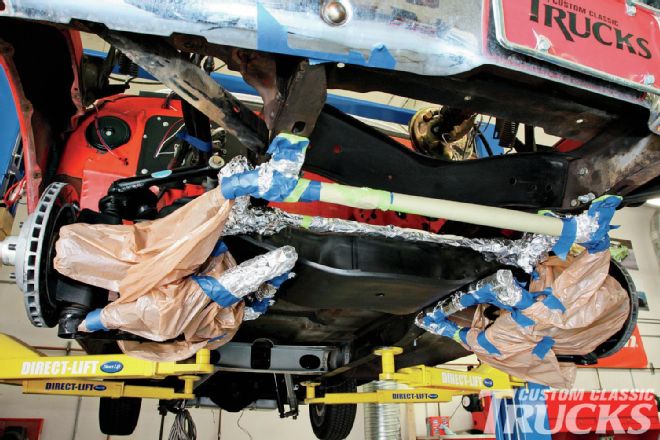 1. With the old 307 removed, it was time to give the chassis a much-needed cleaning. At some point over the course of the last six months, the old motor developed a fairly significant oil leak, resulting in the usual mess. After a good scrubbing with some foaming cleaner (non-toxic of course), it was time to start masking off what I didn’t want to paint. I like to use a variety of methods when it comes to masking off oddly shaped items like suspension components and the like. Plastic garbage bags, aluminum foil, and masking paper work great for covering all kinds of misshapen components as well as those whose surfaces don’t lend themselves to more traditional methods.
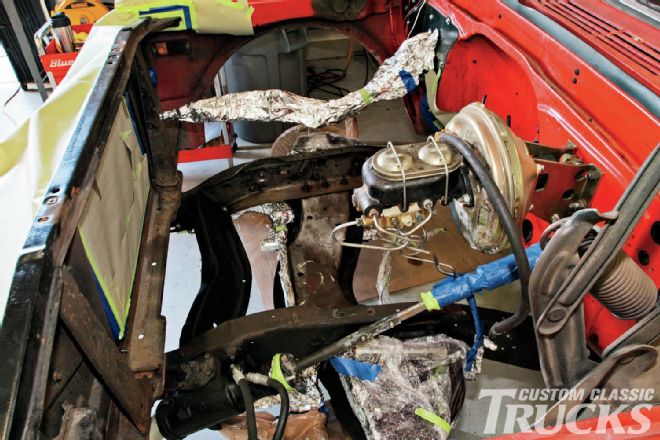 2. I’m going to paint the chassis as well as the radiator core support in one fell swoop, so things like the A/C hoses, steering column, and suspension components are masked off as is the front sheetmetal and firewall within 8-10 inches of the painted surface.
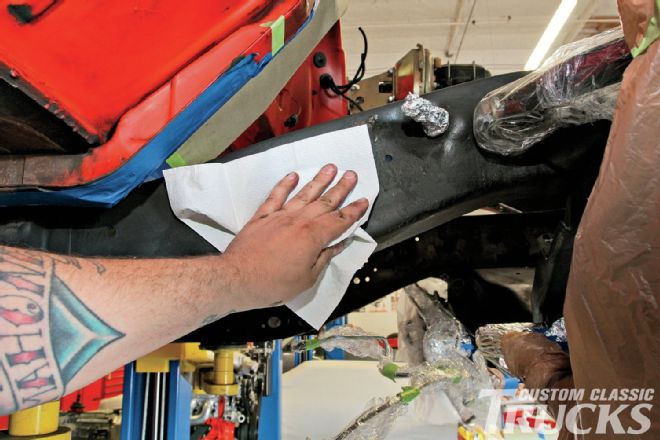
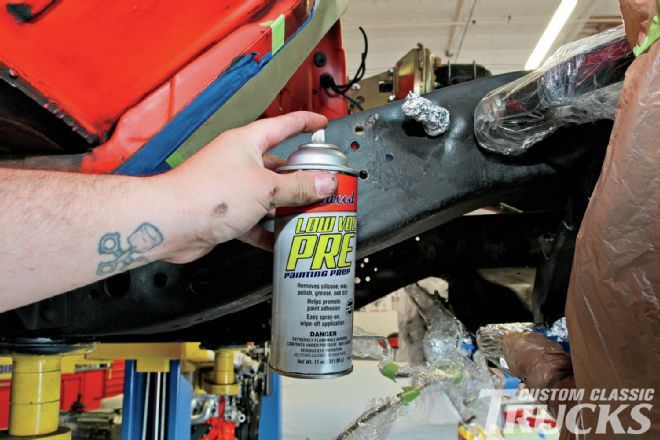 3. A final wipe down using Eastwood’s PRE Painting Prep ensures that the frame has been successfully vetted of as many foreign contaminants as possible.
 4. A final wipe down using Eastwood’s PRE Painting Prep ensures that the frame has been successfully vetted of as many foreign contaminants as possible.
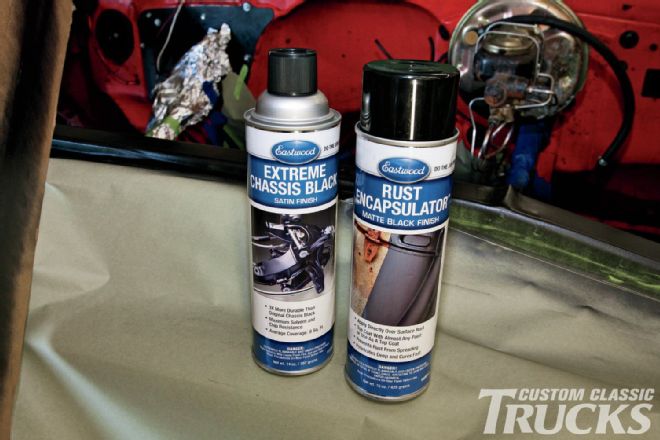 5. Painting the chassis is a two-step approach, using the same paint as I did on the rest of the frame. The first step is to use Eastwood’s Rust Encapsulator. This durable finish can be applied directly over surface rust and is formulated to protect against further spreading of the nasty stuff. For the second step, I’ll be applying Eastwood’s Extreme Chassis Black. This stuff is tough as nails, just what you want in a topcoat and goes on smooth and leaves a perfect, satin finish. All told, I’ll be applying two coats of each for good measure and even coverage.
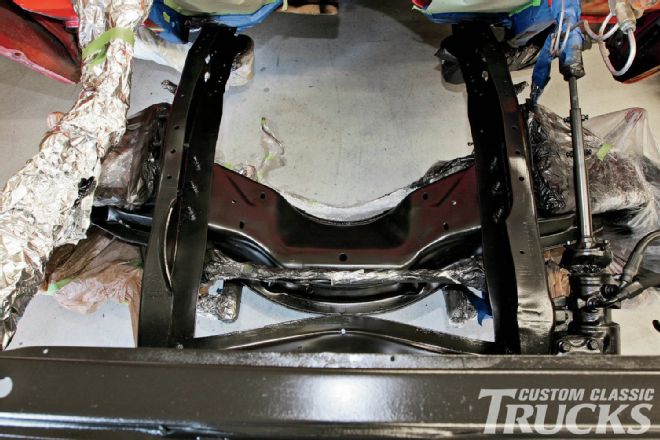 6. Here’s what the chassis looks like just after applying the second coat of Chassis Black. Note the slight sheen and even appearance.
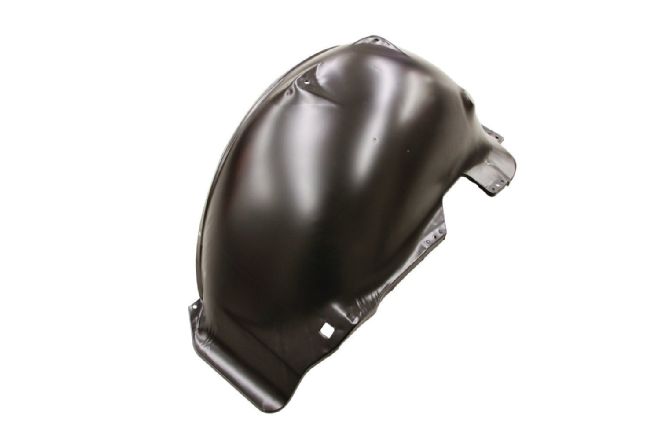 7. I was originally going to do the same treatment to the inner fenders, but after further observation, it was pretty apparent that they needed to be blasted if I wanted them to look good. It only made sense then to go one step further and send them off to Eddie Motorsports to be powdercoated as well.
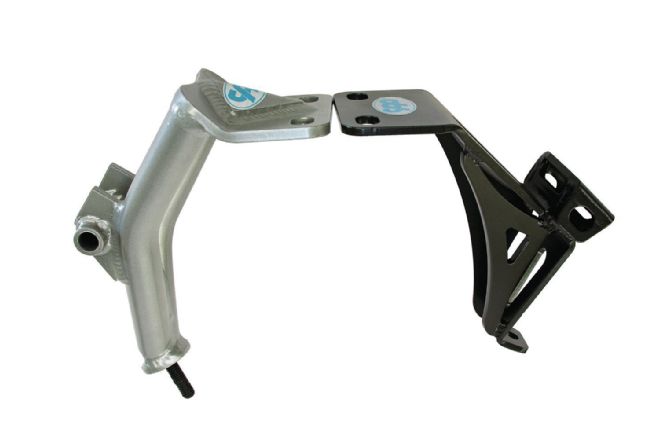
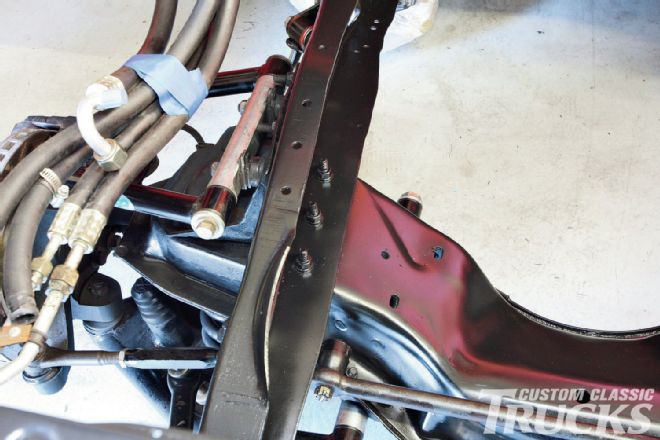 8. With the chassis painted and the masking removed, it’s time to get down to business. You’ll notice three holes in line across the top of the framerail as well as two elongated holes on the crossmember. These are the stock motor mount holes. The inline six-cylinder motor mount picked up the top two rear holes and the lower, innermost hole, while the V-8 mount pickup up the top front holes and outer elongated hole on the crossmember.
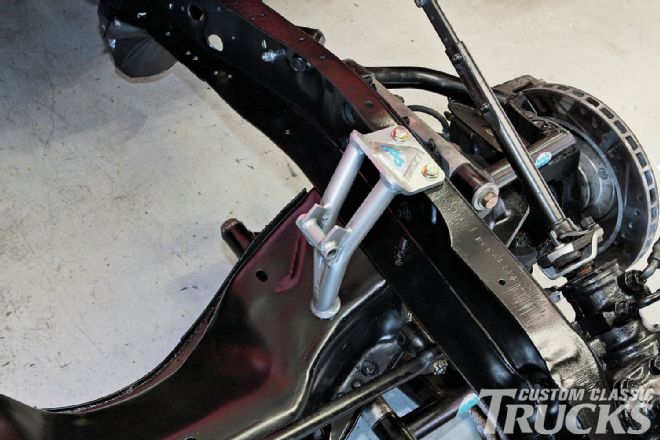 9. Classic Performance Products’ (CPP) Tubular Engine Mounts are designed to work with both LS and early small-block Chevy engines in the stock V-8 location, as shown. This makes motor swaps exceptionally easy. The only problem is that the design of the Tubular Engine Mounts can interfere with certain header setups.
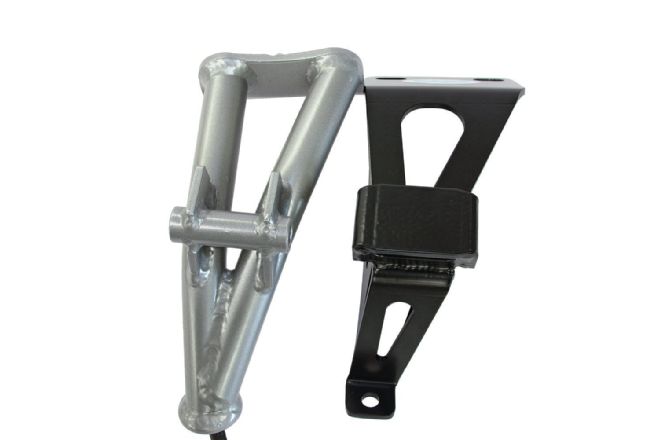
 10. The solution? CPP’s Sheet Metal Engine Mounts. Made from laser-cut 3⁄16-inch plate, these engine mounts combine the strength of the tubular units with the clearance solution many applications require (including ours).
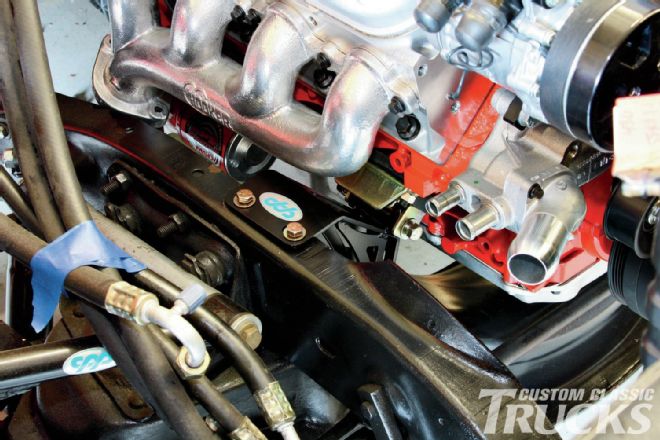
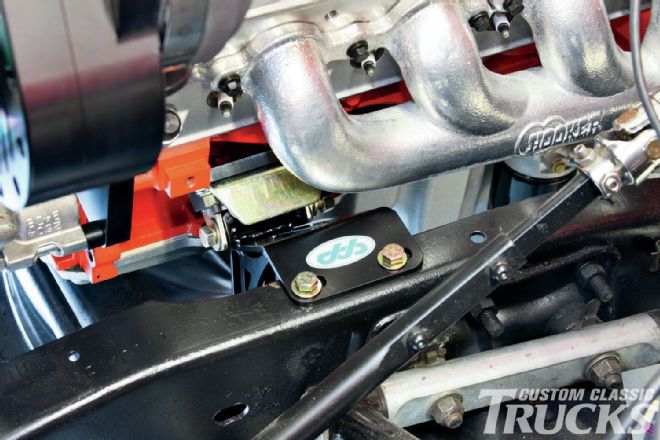
 11. Here, you can see the area where clearance can be a problem and how CPP has solved that with their Sheet Metal Engine Mounts.
 12. Here, you can see the area where clearance can be a problem and how CPP has solved that with their Sheet Metal Engine Mounts.
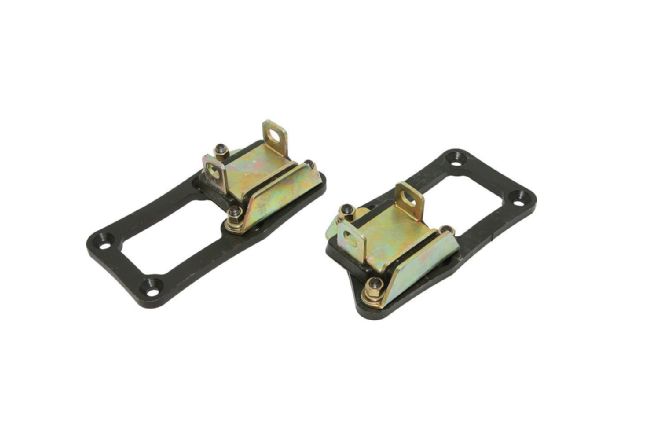 13. The other part of our mounting setup are these adapter plates from CPP that allow us to bolt the LS engine to the engine mounts using traditional small-block Chevy motor mounts. CPP offers four different versions (stock location, ½-, 1¼-, and 3-inch forward) that allow the user to cater the location of their LS engine in relation to the stock chassis mounting point. We’re using the stock location plates as a starting point and to give us plenty of room up front for the intercooler plumbing and electric fans behind the radiator.
 14. To support that engine and transmission out back, we’ll be using this polyurethane transmission mount from Energy Suspension.
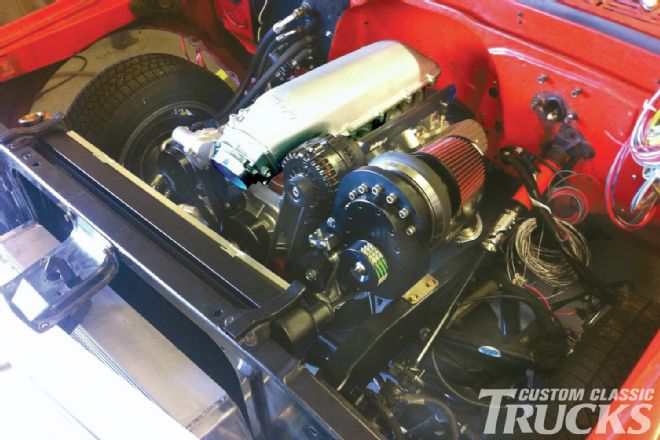
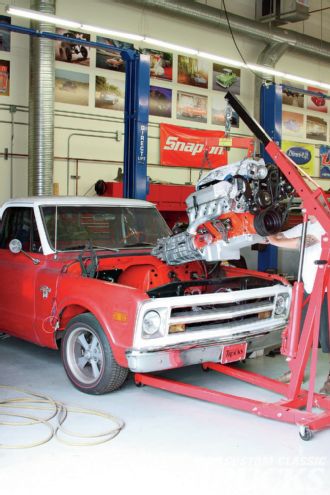 15. With the motor mounts bolted to the engine and the trans crossmember sitting on the framerail, ready to be slid forward under the trans mount, it’s time to drop the LS327 into our ’68. Granted, it would have been a lot easier with the core support and grille assembly removed, but who doesn’t like a little challenge!?
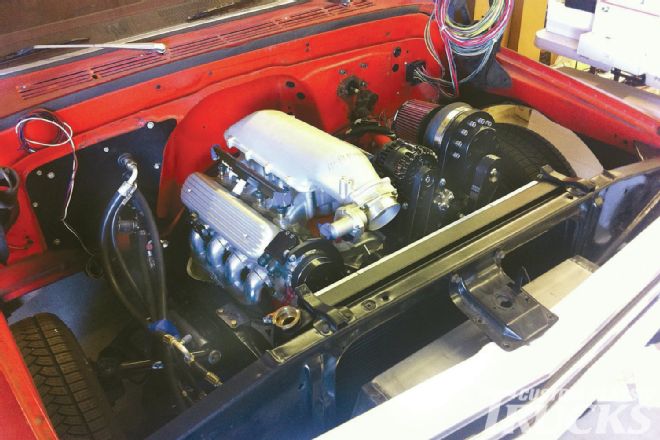
16. Now that the engine’s in place, you can see that there’s plenty of clearance between the Sheet Metal Engine Mounts and the Hooker cast headers we’re using.
17. Now that the engine’s in place, you can see that there’s plenty of clearance between the Sheet Metal Engine Mounts and the Hooker cast headers we’re using.
15. With the motor mounts bolted to the engine and the trans crossmember sitting on the framerail, ready to be slid forward under the trans mount, it’s time to drop the LS327 into our ’68. Granted, it would have been a lot easier with the core support and grille assembly removed, but who doesn’t like a little challenge!?
16. Now that the engine’s in place, you can see that there’s plenty of clearance between the Sheet Metal Engine Mounts and the Hooker cast headers we’re using.
17. Now that the engine’s in place, you can see that there’s plenty of clearance between the Sheet Metal Engine Mounts and the Hooker cast headers we’re using.
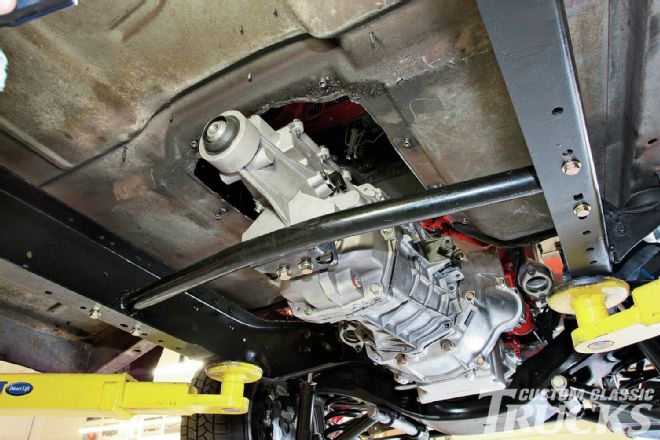 18. Out back, I was able to use the same transmission crossmember from the 307/T5 combo previously installed, even picking up an existing set of boltholes on the chassis. The crossmember has a slight drop to give extra clearance between the tailshaft and floor of the cab.
 19. I’m still on the fence as to whether or not the T56 Magnum trans would have cleared the stock, low-hump pan on the cab’s floor, but I can say with certainty that I’m pleased with the extra room the high-hump conversion affords.
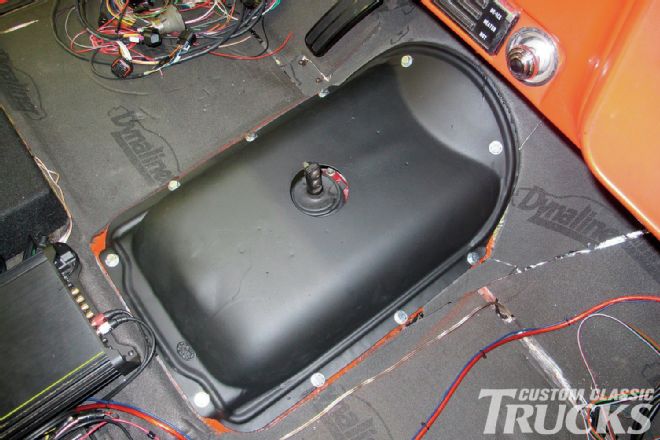 20. Note the shifter placement is centered between the front of the bench seat (rear edge of the pan) and the dash. A 16-inch double bend Lokar shifter will work perfectly.
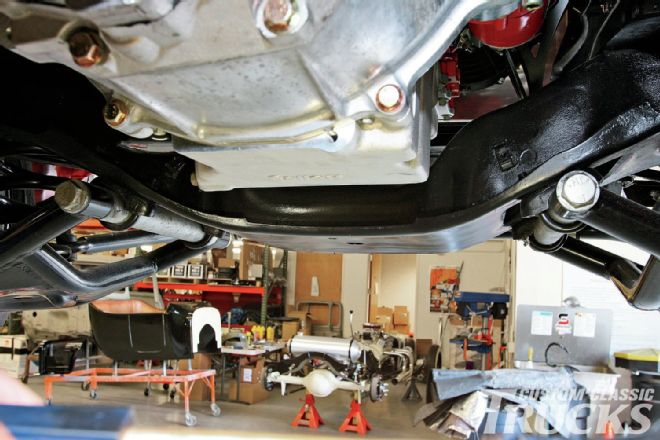 21. One of the problems that may be faced when it comes to dropping an LS engine in a classic truck is clearance issues regarding the oil pan. Thankfully, Holley has developed a line of LS Retro-Fit oil pans to help take the guesswork out of an LS swap and kick those clearance issues to the curb. We’re using kit #302-1, which gives us plenty of clearance and tucks up nicely behind the stock front crossmember.
 22. While dropping the motor in the truck turned out to be one of the simplest engine swaps I’ve ever done, it will be interesting to see if the rest of the road to run-in will be as smooth.
 23. While dropping the motor in the truck turned out to be one of the simplest engine swaps I’ve ever done, it will be interesting to see if the rest of the road to run-in will be as smooth.