The Corvette has really always had two kinds of buyers. The first is one who wants performance first and foremost. This is the guy who buys the car and immediately starts trying to shed weight and add power. Sure, they love how the car looks, but their main focus is on all-out performance. They love the exhaust note. In fact, they likely rip off the stock exhaust and install something far louder.
Then there’s the other Corvette owner. They see the car as more of a touring sports car than a track day warrior. They love the performance as well, but are pretty happy with the power levels offered by the factory. They want style and comfort on their long cruises along the coast. They don’t mind adding a few pounds if it adds to their driving enjoyment.
In terms of most cars, and especially past generations of Corvettes, the new C7 Stingray is pretty damn quiet inside. GM went out of its way to get rid of all the squeaks, rattles, and other annoyances that were far more prevalent in previous designs. Still, it’s a sports car and road noise filters into the interior. One way to ditch most of this is to add sound deadener.
Sound is really just noise energy that “vibrates” through the floor and structure of the car until it reaches your ears. Stop the vibration and, in effect, you stop the sound. So, sound deadener functions by sticking to panels to keep them from vibrating and transmitting sound (like putting a pillow on top of the head of a drum). Another benefit is that it acts as a heat barrier, which takes pressure off of the A/C system. But mainly, people add a product like Dynamat to their ride to get rid of noise.
To see what’s involved in making the already quiet interior of a new C7 Corvette even quieter we grabbed a new 2015 Corvette Stingray, a few basic tools, and a couple of boxes of Dynamat Xtreme.
01. This is a 2015 Corvette Stingray and, as such, the interior panels are mostly plastic. This means you have to be careful and refrain from just yanking on panels to get them separated from the car.
02. You can start anywhere, but we decided to start at the back and work our way forward. The rear panel was held by two bolts and a couple of clips.
03. These are the most common clips used by GM to hold the panels in place. Typically, they only require a small tug (straight out, not at angles) to pop free. When they appear stubborn you can use a small flat-head screwdriver to pop them loose. Just be careful not to mar the plastic.
04. Other fasteners, such as nuts and bolts, can be found under access panels. Again, moderate pressure is all that should be needed to remove these. If the panel isn’t coming off then you’re doing it wrong.
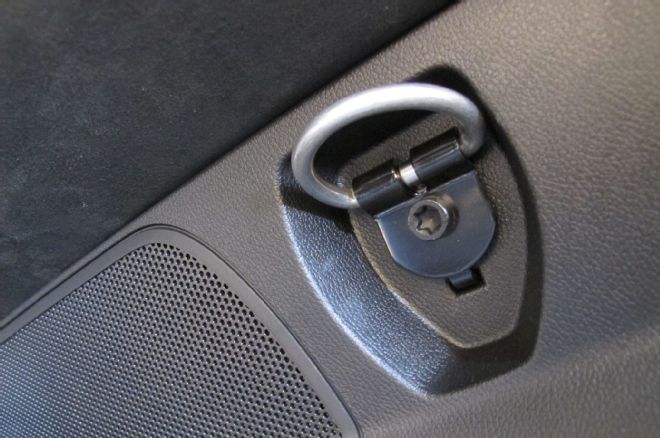
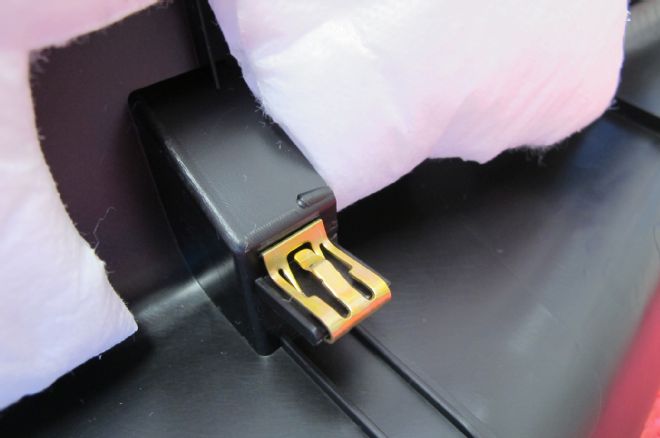
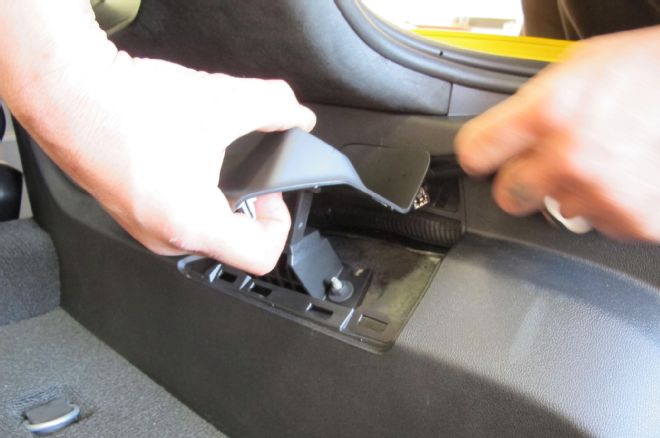
05. The cargo hooks also serve to hold the panels in place. To remove, you’ll need a set of Torx bits.
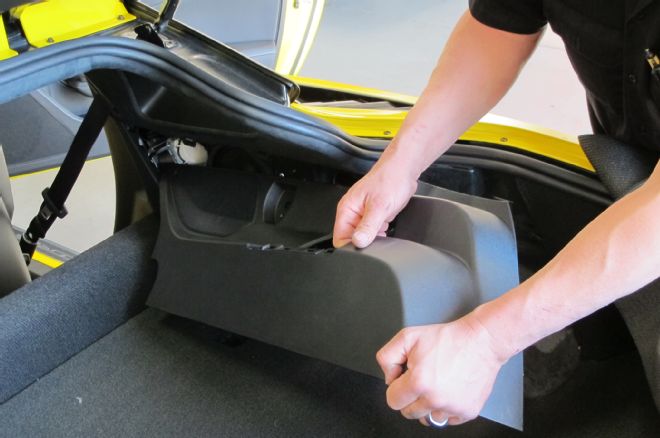
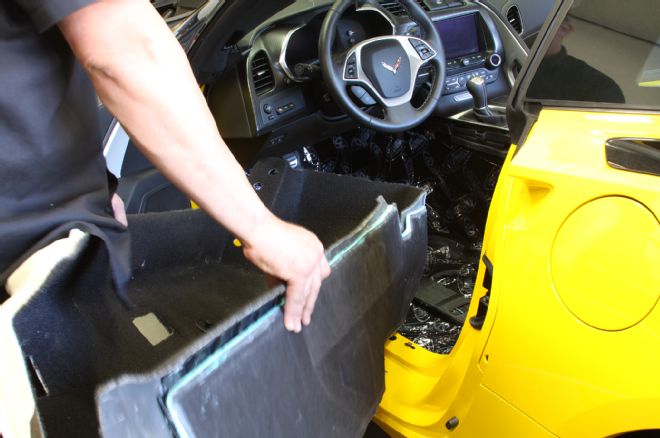
06. You can then remove the side panels. It’s also a good idea to take pictures and store the panels with the fasteners for that panel in an organized fashion. This will make putting it all back together again easier.
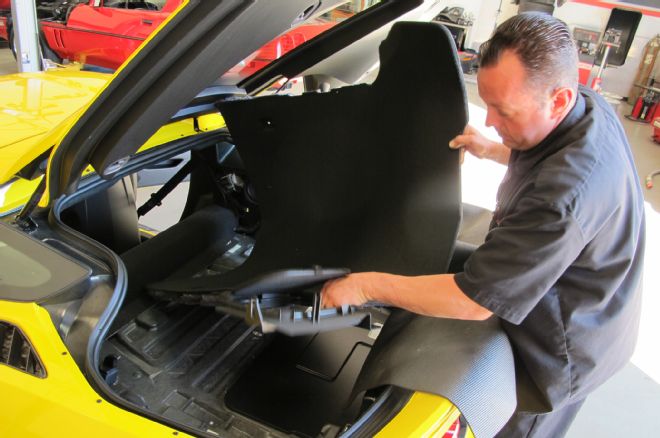
07. With the panels gone, the carpet simply slides out of the car.
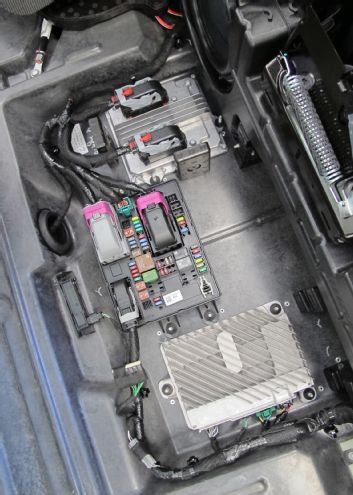
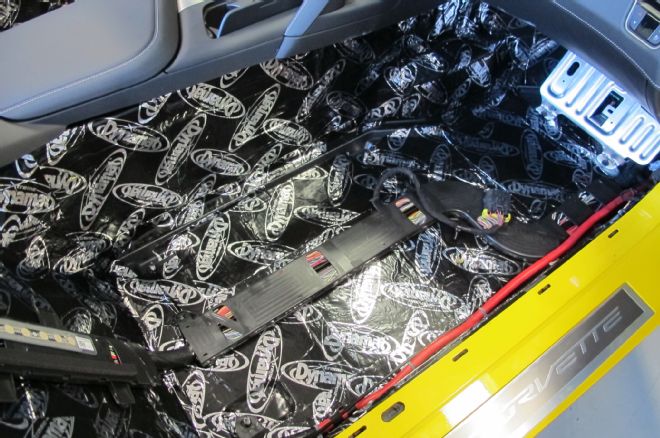
08. In the very back of the car, under the carpet, you’ll see some pretty important items like the main fuse block, ECU, and what we’re pretty sure is the BCM. Take care around these critical items.
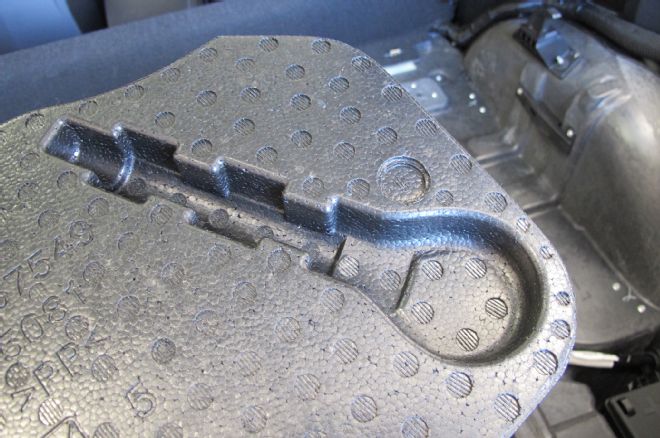
09. In the foam cover we noticed this indentation. We guess a tow hook is available from GM.
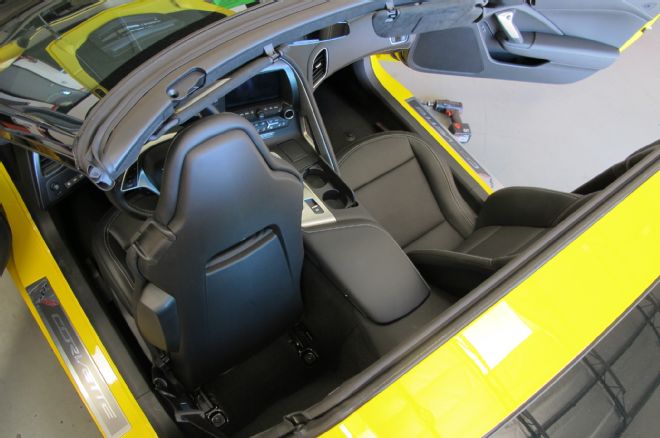
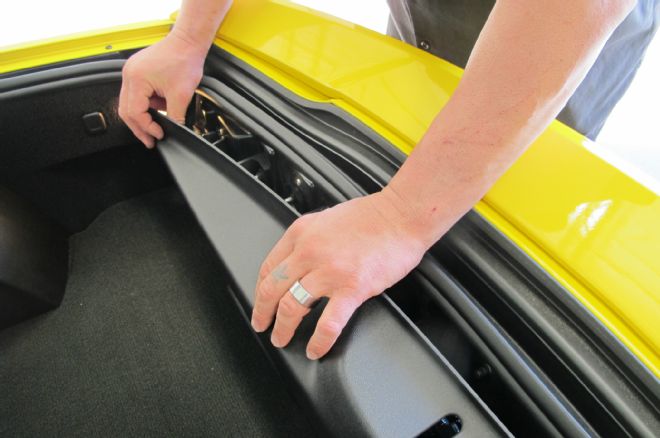
10. It’s then time to move to the front of the C7 Corvette. Removing the targa top makes accessing the interior much easier.
11. Leaning the seats forward gives access to the four nuts that hold each seat to the floor.
12. Like the back of the car, the panels in the front are held in place with a combination of those previously shown clips and a few small bolts.

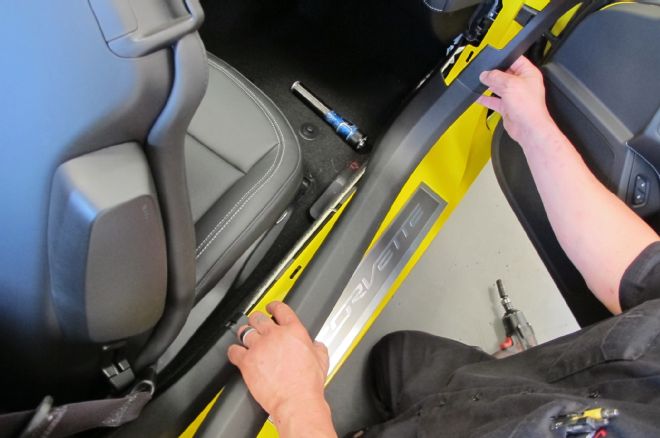
13. The side panels are mostly held by clips, but the seatbelt retractor system does complicate things a bit. Pull the panel and just lay it to the side.
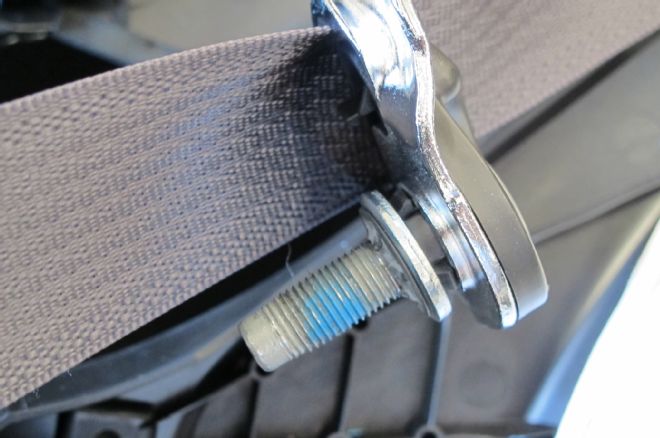
14. The seatbelt brackets are held in place by large Torx bolts.
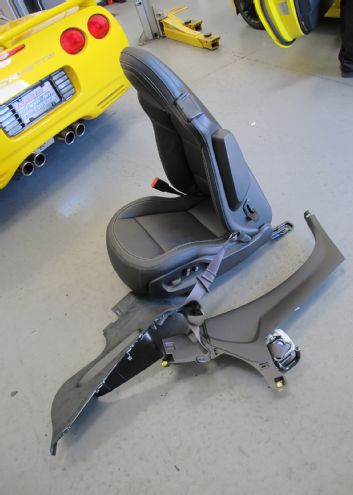
15. The easiest option is to just remove the entire seat and panel (with belt system) at the same time and set it aside. This way you don’t need to mess with trying to wrangle the belt from the panel.
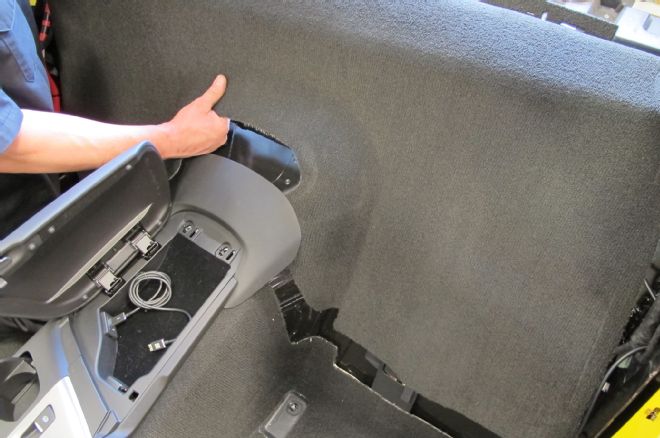
16. With the seats out of the way, the rear bulkhead carpet just slides out of the car.
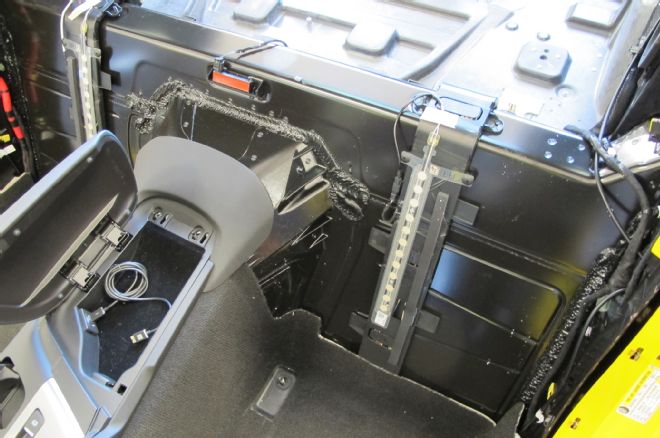
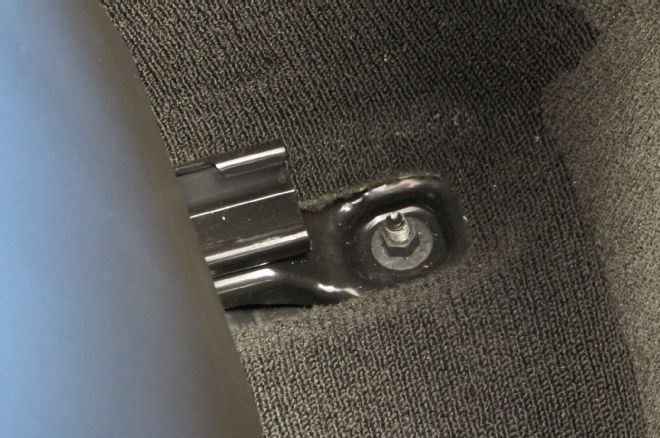
17. This may seem shocking, but behind the carpet was even more sensors! These two vertical ones had us puzzled, but we eventually figured out they have to do with monitoring the seat position. We heard that if you unplug them that the seats move back an extra inch (nice hack for those extremely tall people).
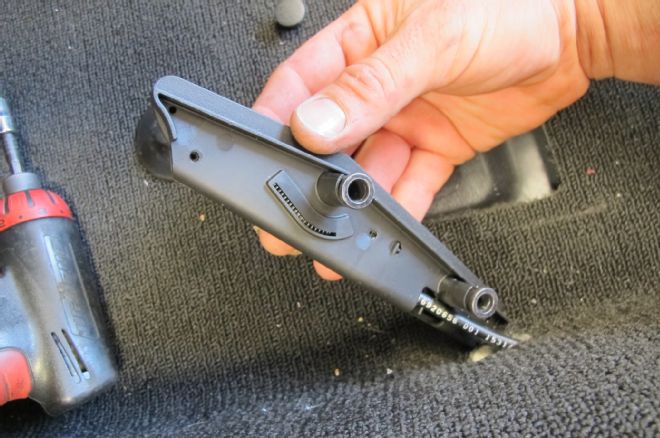
18. The levers for the manual releases need to be taken apart to get out of the way. Again, take notes and detailed pictures so you can get them back together properly.
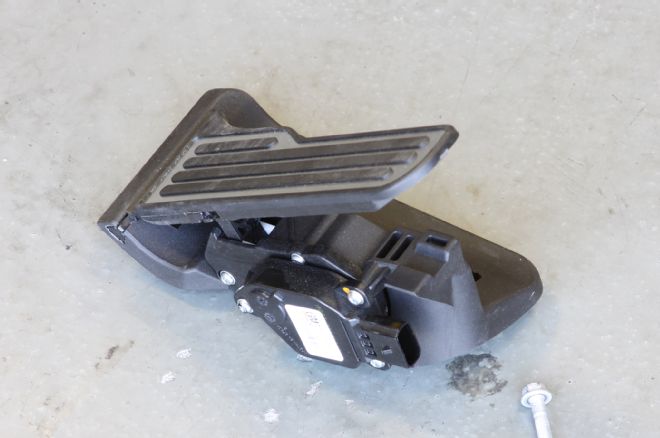
19. We unplugged the electronic gas pedal and then unbolted it from the floor. This needs to be done since it holds the carpet down in the front.

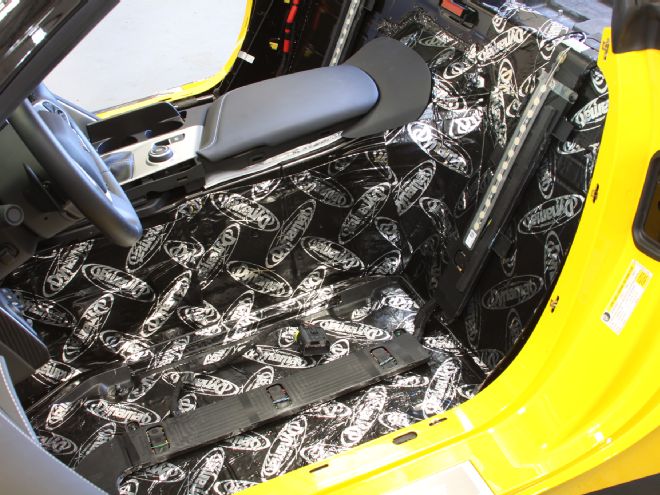
20. It’s then time to pull the left and right floor carpets out of the way. We decided to leave the center console in place since it doesn’t hide much floor, but you can go further and remove it if you wish.
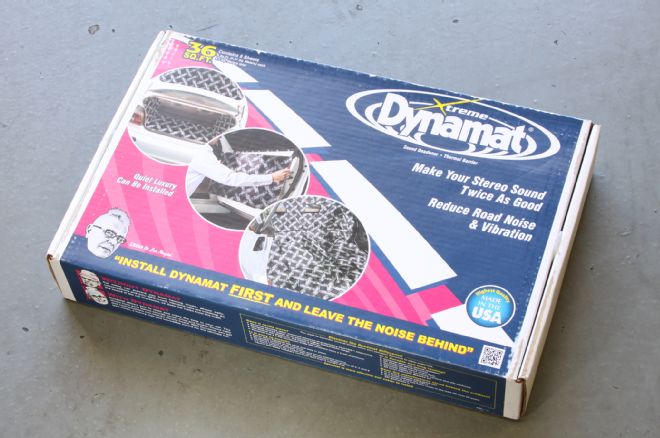
21. For sounds deadener we chose Dynamat Xtreme. It kills road noise and is also a great thermal barrier. For this install we picked up two boxes that contained 36 square-feet each.
22. The needed tools included some very sharp scissors, metal ruler (also a good straight edge), silver marker (since the Dynamat is black), tape measure, and wood-handled roller. A razor blade is also pretty handy.

23. The basic process is measure, mark, cut, stick. The whole job is eventually hidden away, but you still want to take your time and do a clean job.
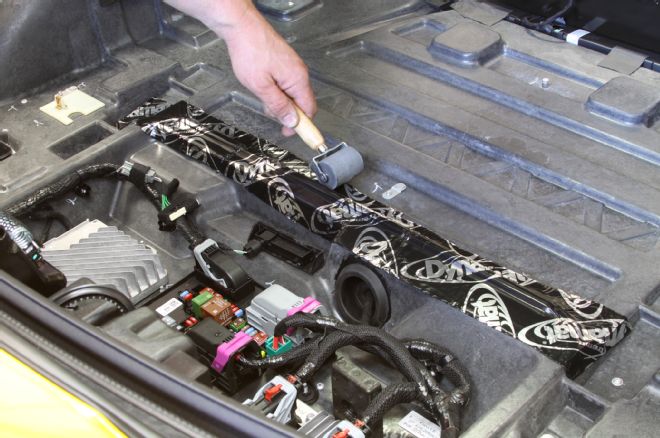
24. Starting in the back of the car we laid down the first strip and then conformed it to the floor using our roller. The black “tar like” substance on the back of the foil can ruin your clothes, so wear some beaters. Also, the metal foil can cut, so take care.
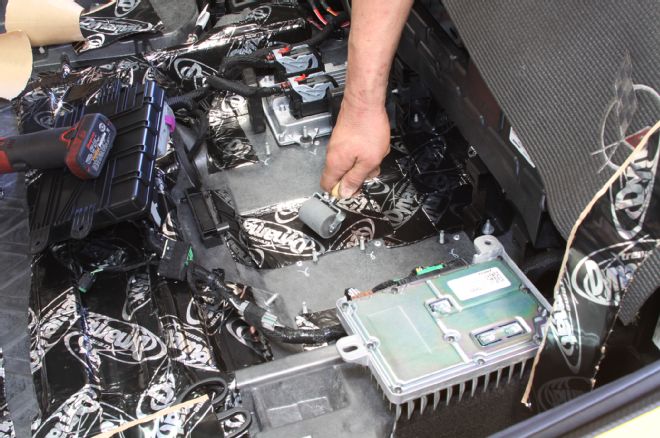
25. Simply work your way around sticking down mat one section at a time. You can even carefully move the bolted down electronics and apply some underneath if you want to do an extra thorough job.
26. Here’s the passenger floor area completely covered in Dyanmat.
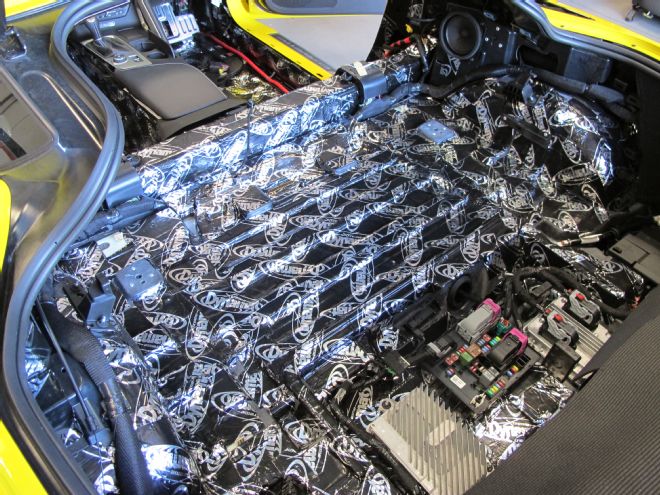
27. And the rear area covered, with all the electronics back in place.
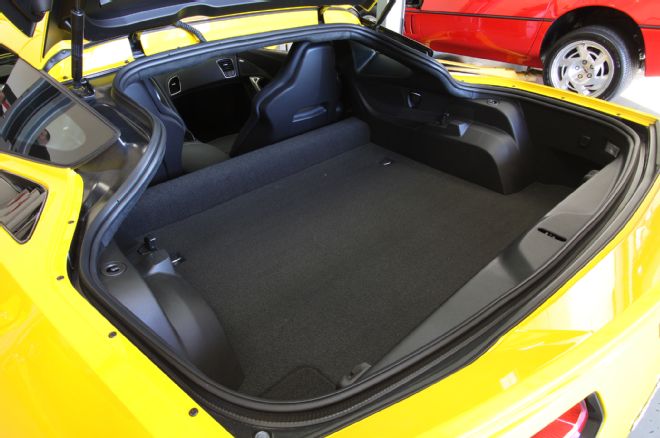
28. With all the sound deadener installed it’s then time to put the interior back into the C7 Corvette.
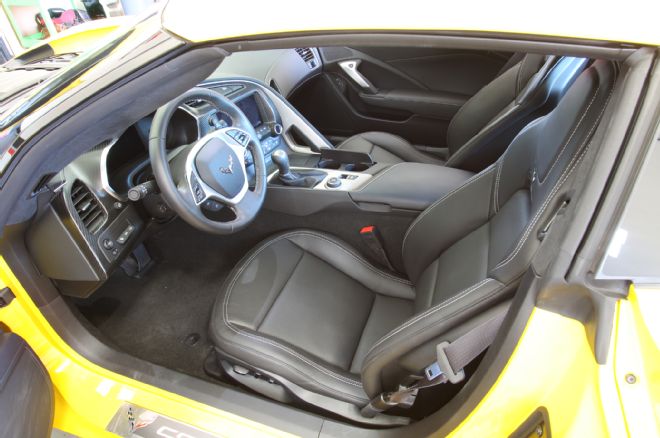
29. With the interior back in you can’t even tell the product is installed, but you’ll be able to when cruising down the highway. We used almost two full boxes.