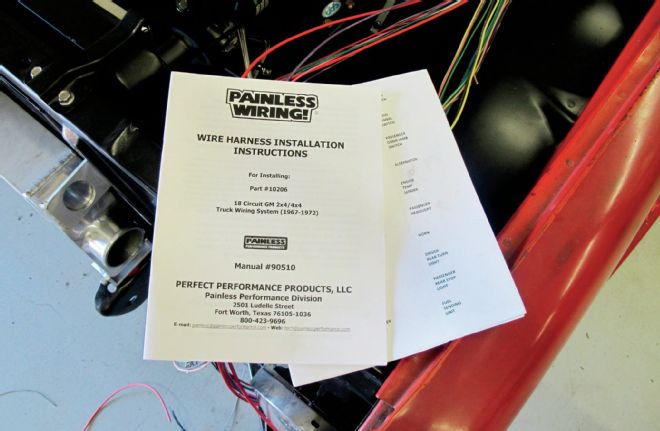
With all our components in place, it's time to start pulling wire and hooking things up. We'll be using a Painless Performance 28-circuit chassis harness coupled with a few add-on accessories to handle the extra components on our truck. Things like electric fans and fuel pumps that draw excessive amps require their own relays to take the strain off the fuse panel itself; so we'll be wiring up a couple for those components.
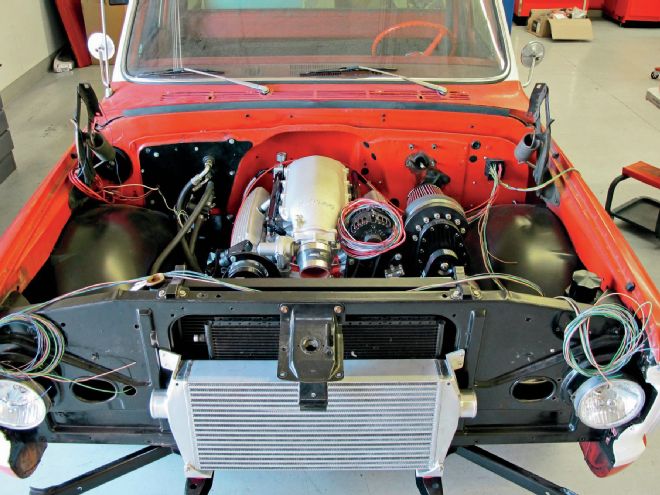
We also had to relocate the grille-mounted turn signals to the headlights on our '68 due to the intercooler's claim to that real estate behind the grille. A custom harness will be wired up to handle those lighting duties, as well as the side reflectors we'll be converting to fulltime turn signals. Just a couple of custom touches that we'll be making to the stock Painless harness.
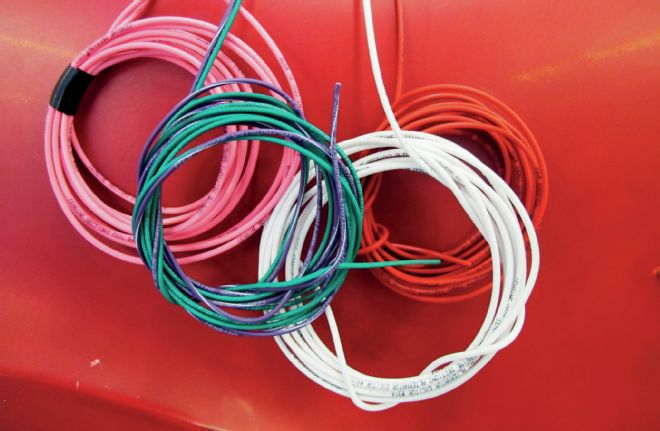
Splitting the harness up into more easily manageable sections is easy thanks to Painless' wire-labeling process; every wire is numbered, labeled as per its termination point, and color coded.
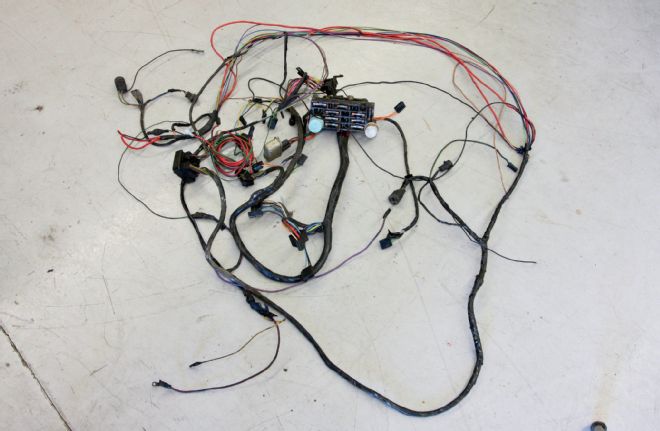
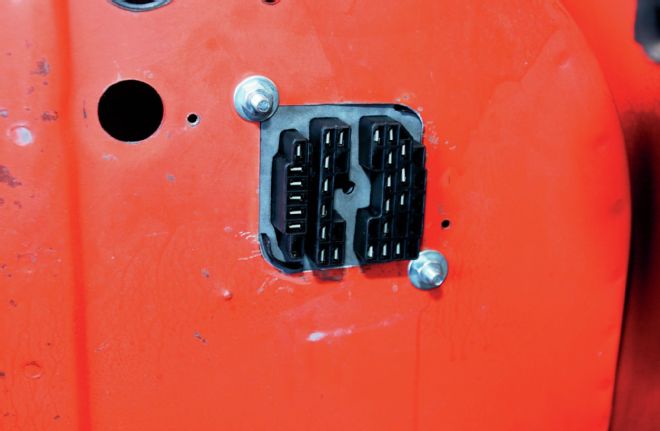
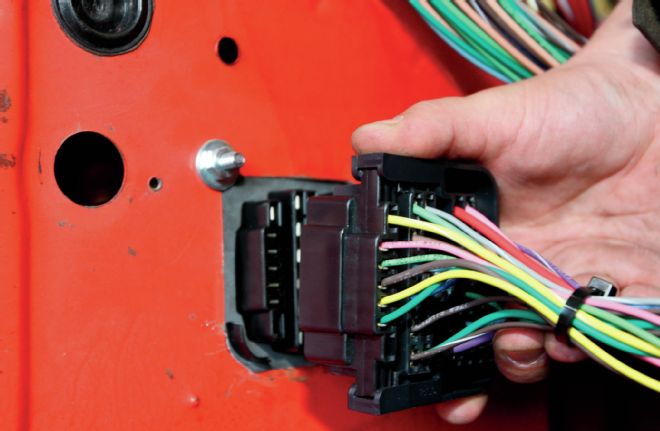
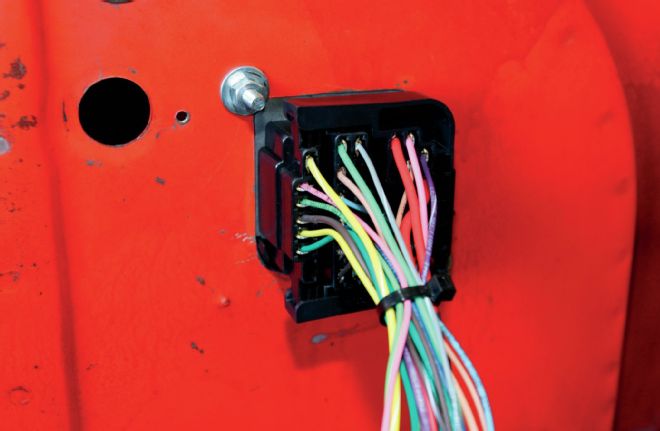
01 Here's the old wiring harness and fuse panel removed from the truck. Given its age, it's actually in pretty good shape, which is good since we might have to reuse a couple of the original connectors.
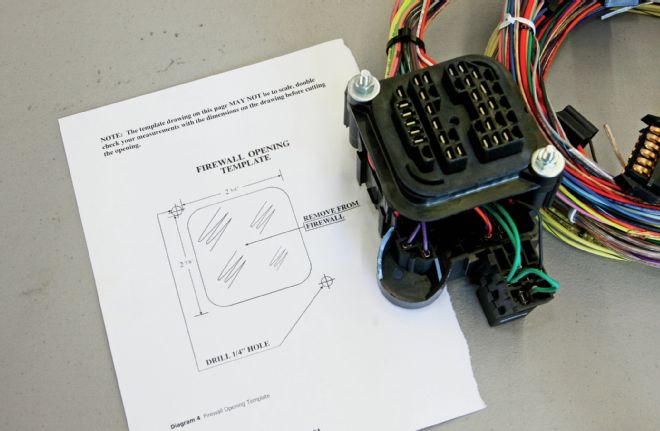
02 The first step is to mount the new Painless Performance 28-circuit fuse panel. It will mount in the same location as the original panel, but the opening in the firewall will require a bit of trimming.

03 Thankfully, Painless includes a template that can be used to mark the new opening as well as the two mounting holes.
04 With the firewall trimmed, the fuse panel can be fastened in place…
05-06 …and the engine harness can then be attached.
07 Routing the various sections of wire is the next big step and arguably one of the most important when it comes to a sanitary install. Every wire's route from origination to termination is easy to trace thanks to the direct labeling on the wire itself as well as the in-depth detail of the installation instruction manual. Labeling sheets are also included for temporary labeling of those stray wires that won't be included in a specific section.
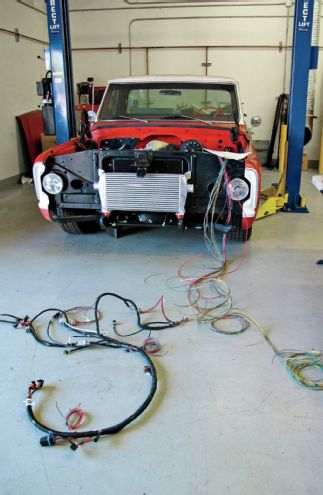
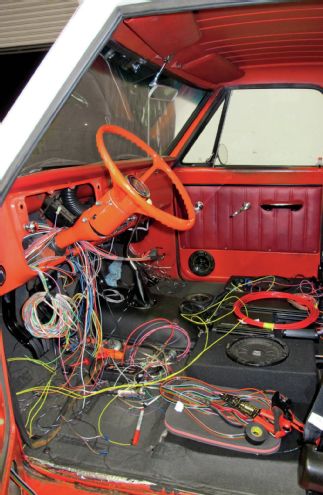
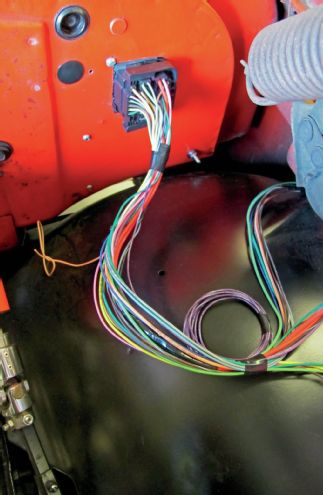
08 Which leads us to the next step; harness routing. At this point, we've got the external wire harness laid out as well as the Holley main engine harness to get an idea what we're dealing with.
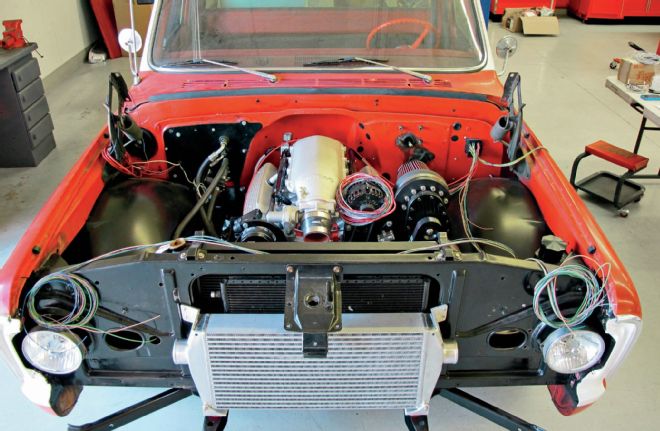
09 With the harness laid out, it's easy to break up the individual wires into various groups that correspond to the section of the truck that they'll be routed to. Here, the left and right turn signal and headlight wires have been routed, as well as the various engine accessory and sending unit circuits.
10 These wires make up the left side headlight section (left turn signal, high and low beam, side marker lights, and park lights) as well as the fan relay wire, which will be routed to the electric fan relays mounted on the bottom of the radiator shroud. The group of wires running toward the left of the image is the right side headlight section.
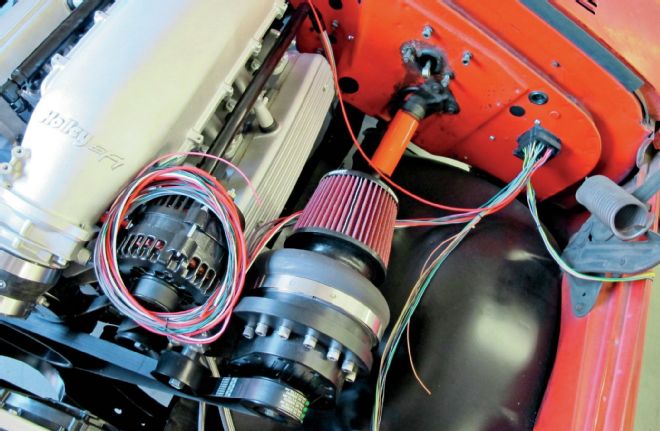
11 The engine section wires are grouped together on the alternator, waiting to be routed to their respective terminal. These wires will mate to the alternator (and on to the battery), oil pressure and temperature sending units, A/C compressor, and starter.
12 The tail section consists of the electric fuel pump wire (which will trigger a relay to power the pump), both turn signal wires, fuel sending unit, backup and taillight wires. This section will be run under the truck, along the inside of the framerail.
13 Our kit consisted of a handful of wires that we won't be using, such as the alternator exciter wire, B+ coil wire, tachometer source, temperature sender (dummy light), and electric choke. These wires will be trimmed back, coiled up, and tucked out of the way. Though they may not be needed for their intended purpose, they may still prove useful to provide a constant or keyed 12V+ source at a later date.
14 With the wire sections ran to their respective location, we can start building the loom, permanently running the wires in the process. Like we mentioned last month, I'll be using Painless' PowerBraid loom exclusively throughout the wiring job to protect the wires and keep things looking nice and clean. First, I've taped the section of wires together that will be inserted in the loom.
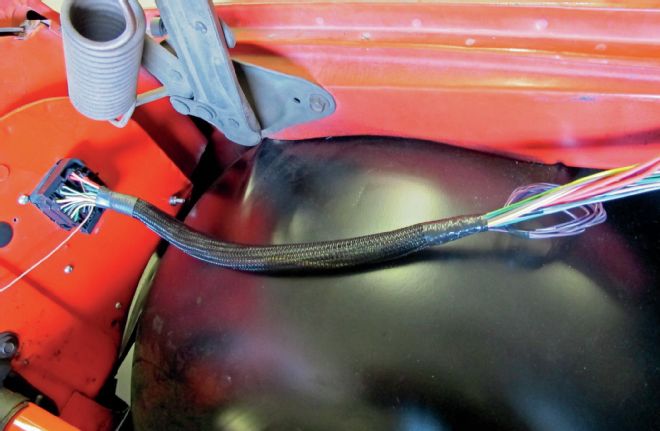
15 Then the loom is cut to fit and the wires tucked inside. The top of the loom at the engine harness is finished off using a section of heat-shrink tubing, while the bottom of the harness is taped together, in case I need to modify later. This section will be tucked down into the fenderwell along the firewall, out of sight.
Further, the entire 28-circuit harness is split into three major groups:
-The Engine/Headlight Group
-Rear Light Group
-Dash Group
This month, we're going to tackle the first two groups; effectively handling the wiring duties for the lighting, electric fans, fuel pump, and fuel gauge sender circuits. We'll come back next month to cover the interior components, which has turned into a job in and of itself! Lastly, we'll show how we'll be controlling the LS engine using Holley's Dominator ECU.
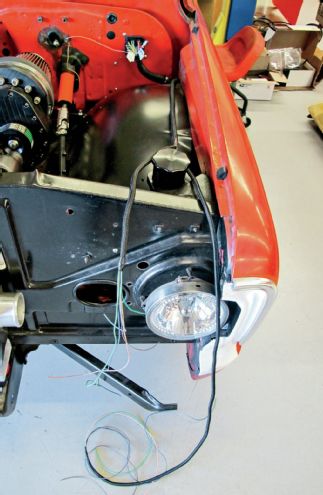
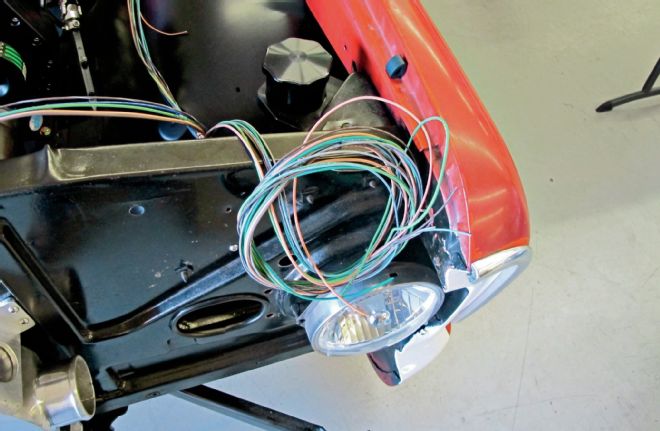
16 From there, I also wrapped the two headlight sections in loom as well, effectively building the entire front harness. This section will be tucked along the top of the inner fender and across the bottom of the radiator core support.
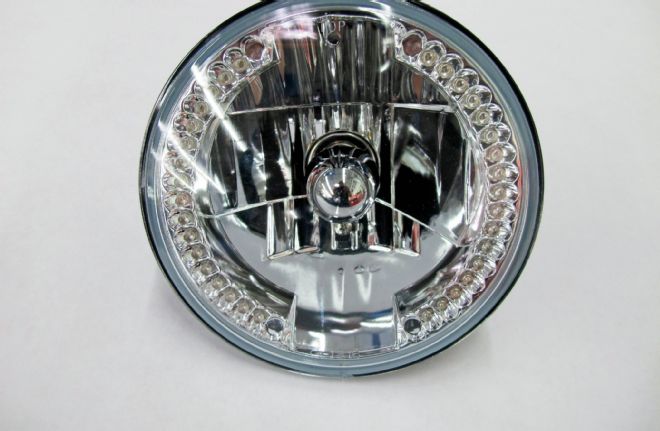
17-18 I've relocated the front turn signals from the grille to the headlights thanks to these units from Brothers Trucks (#EHL80TR). We'll be wiring the inner row of LEDs to the park lamp circuit while the outer row will be connected to the respective turn signal circuit.
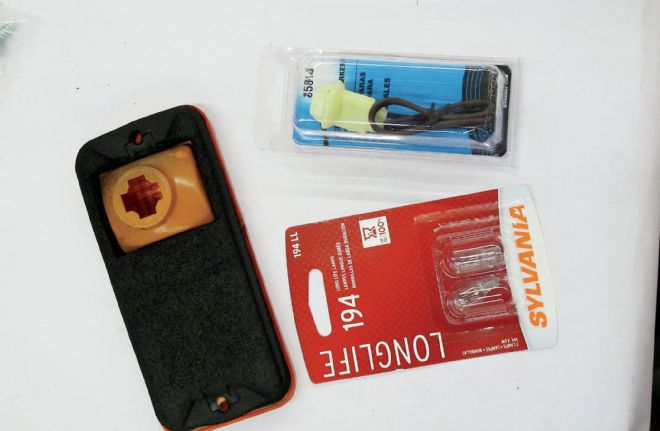
19 I'm also going to convert the side marker reflectors into actual turn signal lights as well using a couple 194LL bulbs and a marker light kit from the local auto parts store. The new lenses from Brothers came equipped with the proper twist-fit connection, so it was really a no-brainer.
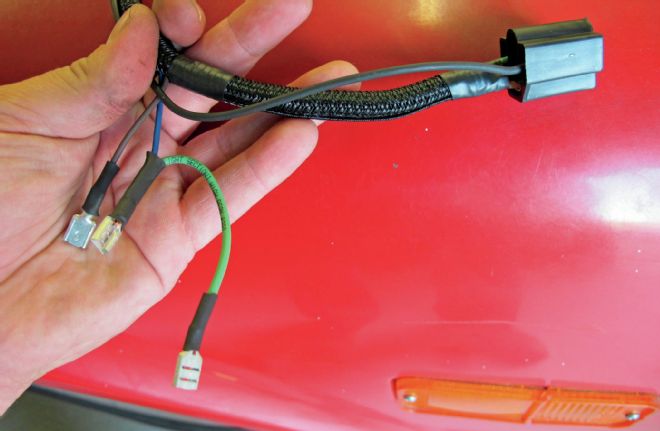
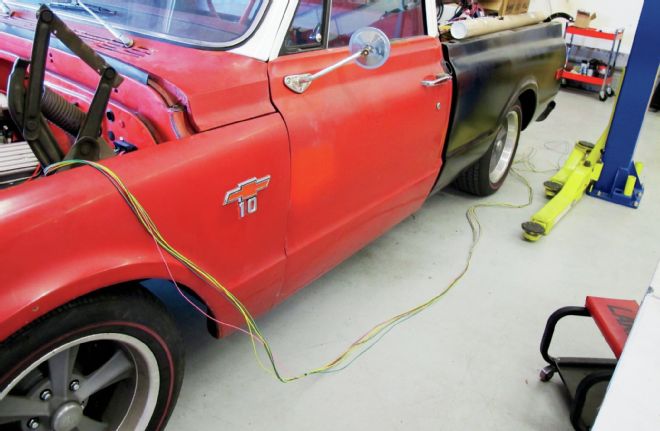
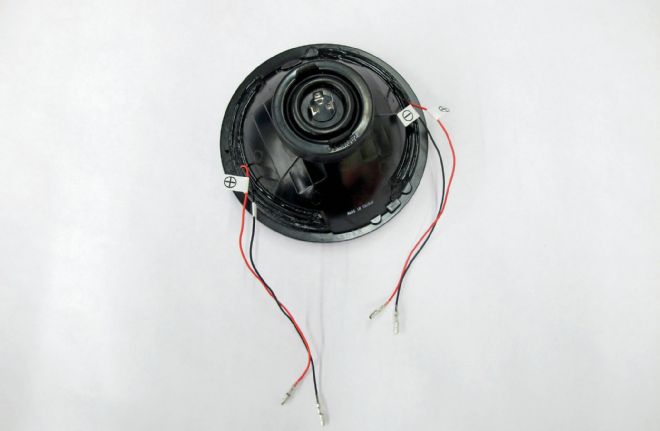
20 By simply modifying the lighting harness, I was able to easily plug everything together. The main plug mates to the H4 Halogen bulb (high and low beam, and ground), while the blue wire from the Painless harness will attach to the LED turn signals in the headlight, while also pigtailing to the side marker turn signal (green wire). The brown wire (park light circuit) attaches to the other set of LEDs in the headlight.
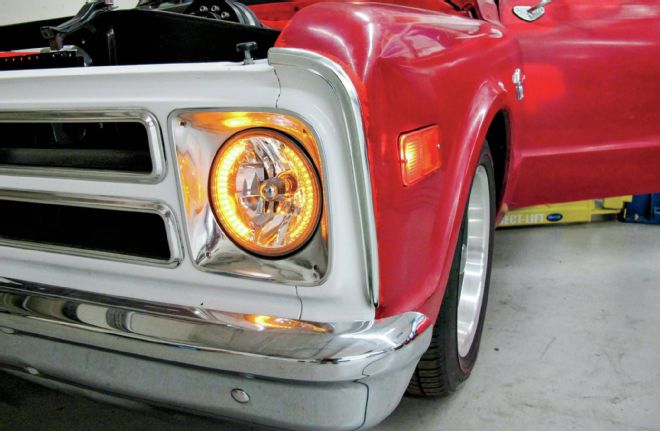
21 This is what it looks like with the park lights on as well as the left-hand turn signal engaged (of course the turn signal circuit flashes).
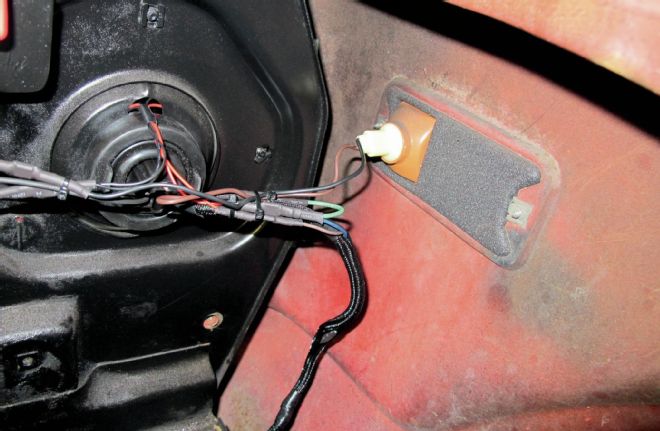
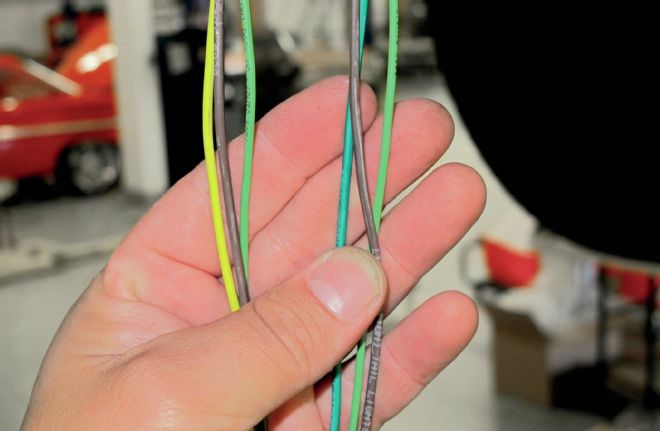
22 I used male/female blade disconnect crimp terminals to make all the connections before covering them in heat-shrink tubing. Note the black wires that all run to a solid chassis ground location near the battery tray.
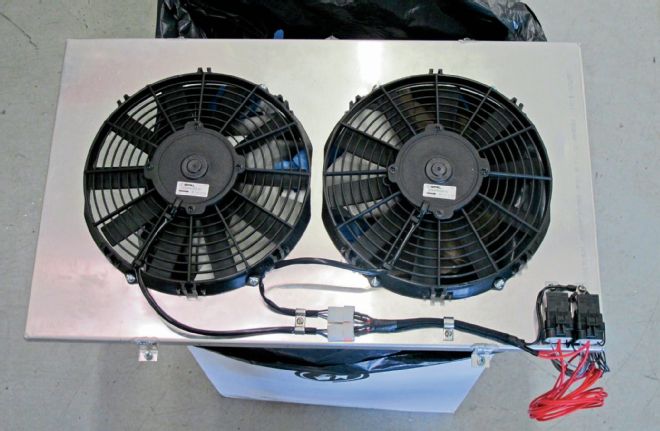
23 Before I installed the radiator, I mounted the two fan relays and wired the fans to them. Each fan motor has a black wire that will be connected to chassis ground as well as a red wire that connects to each relay. The wire that is tucked into the headlight harness powers the relays, allowing them to operate when triggered and is connected to the gray wire on each relay. The two red wires that run from each relay will be connected to a pair of circuit breakers connected directly to the battery. When the relay is triggered, this is the circuit that will bear the amperage draw from the fans, not the wire that runs through the ignition switch.
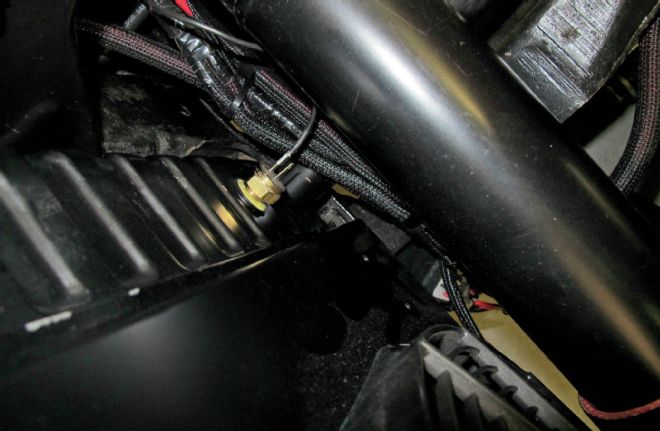
24 Triggering the fans will be achieved via a thermostat switch mounted in the radiator near the outlet. One side of the thermostat switch is mated to chassis ground while the other side connects to a black wire on each relay. The thermostat switch acts as a "snap switch" grounding the relays when the thermostat "sees" a preset temperature (195 degrees On / 185 degrees Off), which triggers the fans. This helps save the life of the fans as well as alleviating their draw on the electrical system by only running them when they're needed.
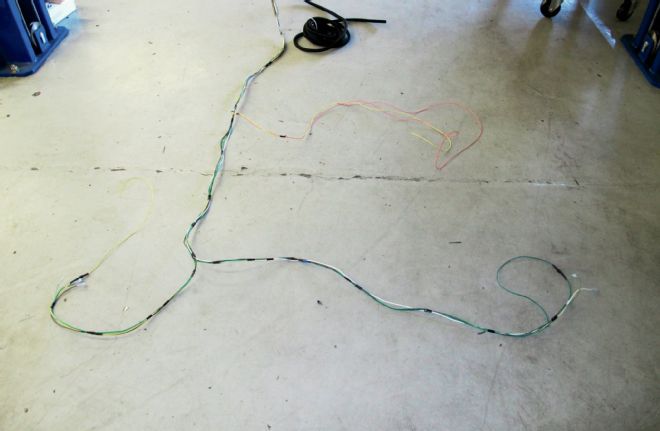
25 Moving to the rear of the truck, the harness for the taillights, fuel pump relay, and fuel sending unit are clearly laid out on the floor.
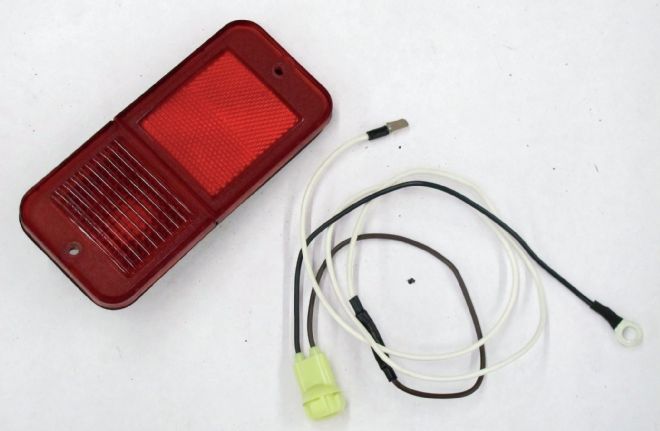
26 The rear reflectors are going to get the same turn signal conversion treatment as the front.
27 Like the rest of the Painless kit, the tail section of the wiring harness is clearly marked and simple to wire. The three wires on the left will connect to the left rear turn signal, taillight, and backup lights, while the three on the right will connect with the same terminals on the opposite side.
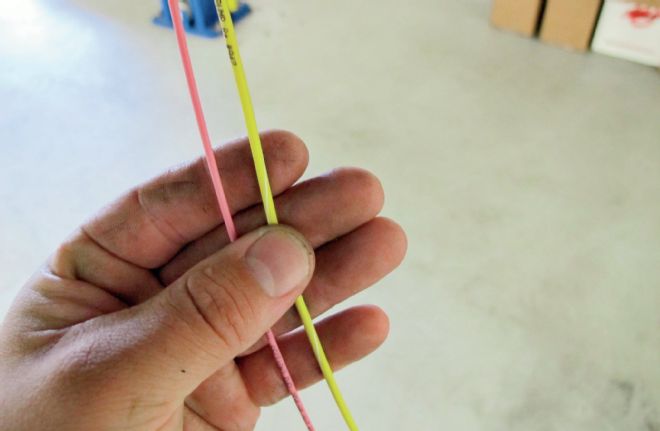
28 Two additional wires are also a part of the tail section, those for the fuel pump relay (yellow/white) and fuel sending unit (pink).
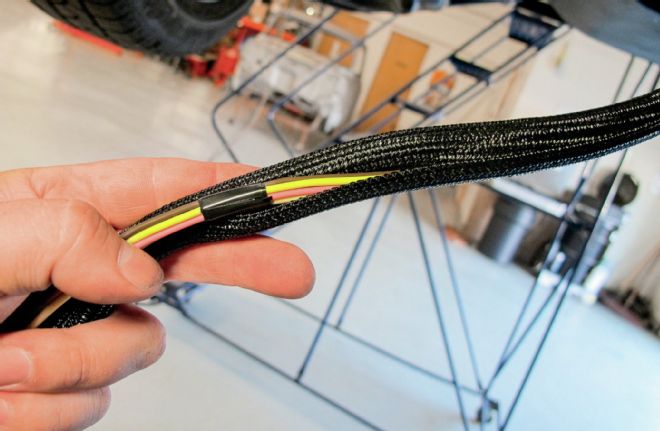
29 With the tail section wires terminated, they're also wrapped in PowerBraid to protect them from the elements.
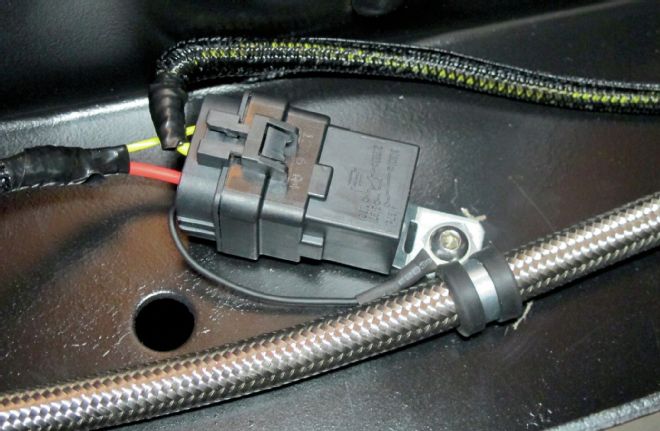
30 The yellow/white wire triggers the fuel pump relay at ignition "on," drawing 12V through the large gauge red wire, which is wired directly through to the battery via a circuit breaker. The large gauge yellow wire then powers the fuel pump, which is mounted inside the fuel tank. Note the short ground wire.
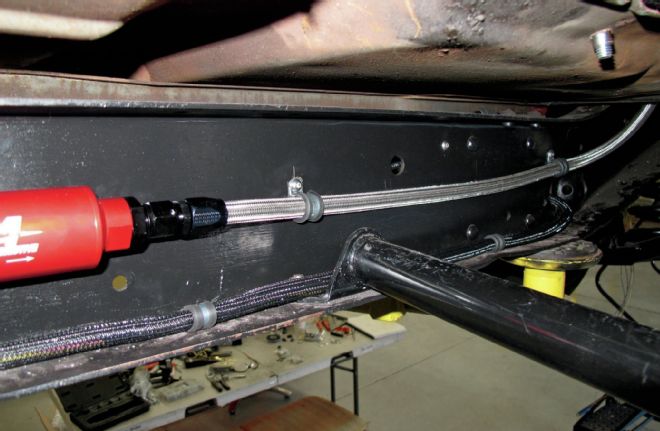
31 I used insulated hose clamps for all our plumbing as well as any of the wiring harness that needed to be run along the framerail.