I can't be the only one who's had trouble hooking up a speedometer to a modern transmission—especially when a cable can't be used and an ECU converter or pulse signal adaptor or generator is required. While Classic Instrumentsh installation manual shows you how to wire their electronic instruments to both a generator and adaptor (allowing the signal generator to be used with a Ford or Tremec transmission with a cable speedometer drive), there's now a much simpler way. Not only is this method simpler to install, but it makes calibration so much easier than before, too.
Classic Instruments calls their answer to this problem SkyDrive, an electronic speedometer sending unit that uses GPS satellite signals. It updates 10 times per second and with the push of a button it's ready to use. The "little black box" is mounted inside the car, ideally with an uninterrupted view of the sky, to guarantee a good satellite signal. A status LED will light up red when the SkyDrive is powered but has not acquired a satellite signal, and green when it has. Supplied with its own wiring harness, it should be connected to a constant 12V power source (if connected to a switched power source it'll require 1-4 minutes for initial signal acquisition every time the power is switched on), grounded to the chassis, and the signal wire connected to the speedometer. There are also wires enabling a load, such as a warning light, to be powered up at a user-determined speed, and another 12V output wire that stays live for 5 minutes after the vehicle is stationary.
With a T5 five-speed in my lakes racer Model A roadster pickup, the SkyDrive unit seemed the ideal solution to the problem of hooking up the speedometer. But what speedometer? While it's unlikely the car will ever hit 200 mph with the engine combo it currently runs, almost all aftermarket speedometers top out at 140 mph, and the car's already been faster than that. Once again, Classic Instruments had the answer, with their Bomber Series gauges, which not only seem apt for use in such a car, given so many aviation parts found their way into and onto lakes racers and hot rods after World War II, but also because the Bomber Series speedometer runs up to 200 mph. This gauge series was designed by Steve Moal, with a 3 3/8-inch speedo and tach, and 2 1/8-inch oil, fuel, volts, and temp gauges. Sets with or without the tach can be purchased, as well as with or without the bezel assemblies. The latter are what sets the series apart, in my opinion though.
With this particular car having minimal electrical systems, it really only needs a minimal fuse/relay panel. Ron Francis Wiring supplied one of their ideally suited Bare Bonz systems. The panel itself measures 7 1/2 x 3 1/8 x 2 7/8 inches, and is available as a standalone panel or as part of a complete wiring system with enough wire and connectors to take care of basic engine, dash and lighting, gauges, and some accessories, yet built well enough to be compatible with electronic fuel injection. They can be set up for Mopar, Ford, or one-wire alternators, and can be ordered to fit GM, Ford, or Mopar steering column electrical connectors. Or in my case, none! The system you receive is customized to your application. If you're building a basic hot rod with no electric windows, or power seats, antenna, A/C, and the like, the Bare Bonz panel is perfect.
In a further nod to aviation, as well as British sports cars (I am English after all!), I wanted to use a wrinkle paint finish on the dash. The Eastwood Company offers just such a product in aerosol form, which seemed perfect. If you plan on doing similar, pay attention! On the can it says to apply two heavy coats, with no primer, at between 70 and 90 degrees F. This I did and after the paint cured there were some smooth glossy patches, though there had been no further change in the surface finish after the first couple of hours. Seems I didn't apply enough of the coating to allow sufficient thickness for the wrinkling to develop in some areas, so I media blasted the paint off and tried again, with three heavy coats. Though I didn't let it cure for the recommended 12 hours, judging by the previous finish, which was repeated on the second attempt, I hit the panel with a further three heavy coats after two hours. This was probably excessive, as I now have an extremely wrinkle-finish dash, though it is a uniform finish, which I like a lot.
 1. Before I could mount the gauges in the dash, I had to fabricate the dash! This was made from 18-gauge steel, secured to the car’s tubular structure using Dzus fasteners with a 3/16-inch gap around the perimeter.
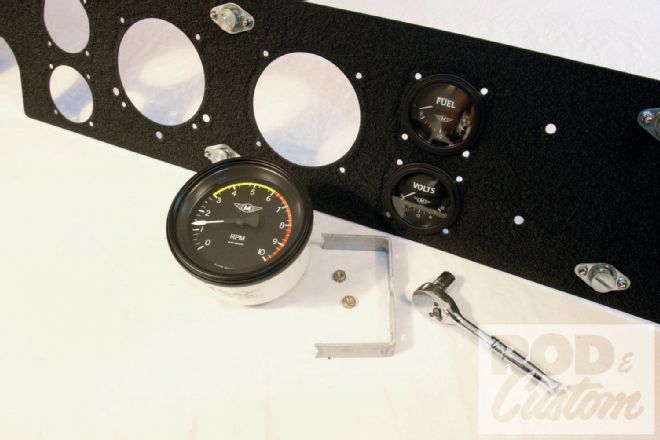
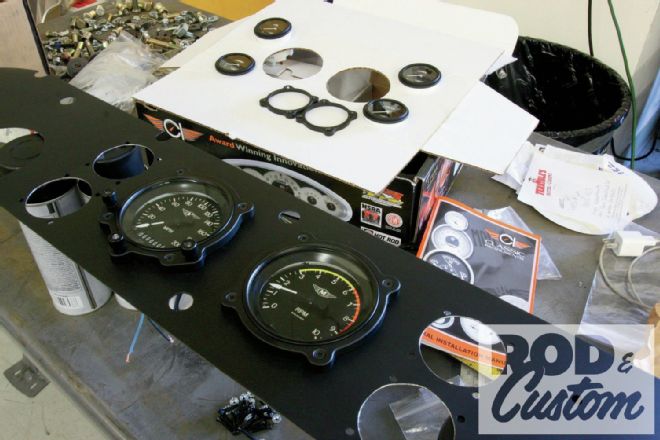 2. We showed you how to use a holesaw and drum sander to install gauges last month. As can be seen by the gauges in the background, the bezels for the Bomber Series gauges are separate, and require bolting through the dash, using the star bolts supplied. While the bezels will prevent the gauges from falling out, they won’t stop them from turning, so the clamps on the rear are still required.
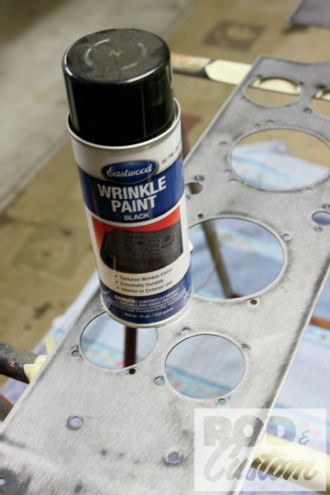 3. With the temporary satin black paint sanded off using 220-grit paper on a DA sander, Eastwood’s Wrinkle Paint was used to finish the dash.
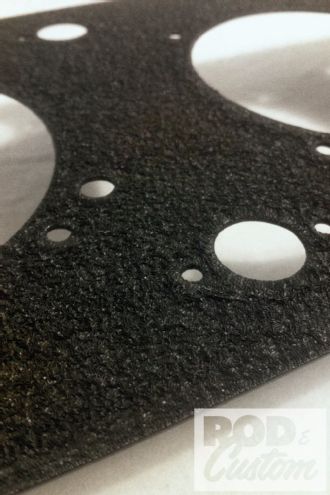 4. Here’s the uniform wrinkle finish we achieved after a couple of false starts.
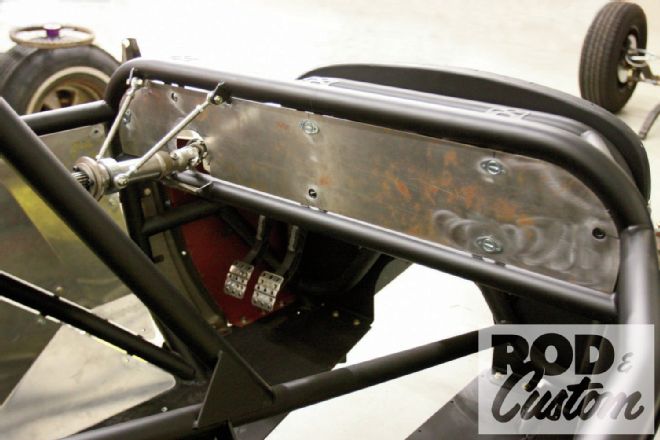
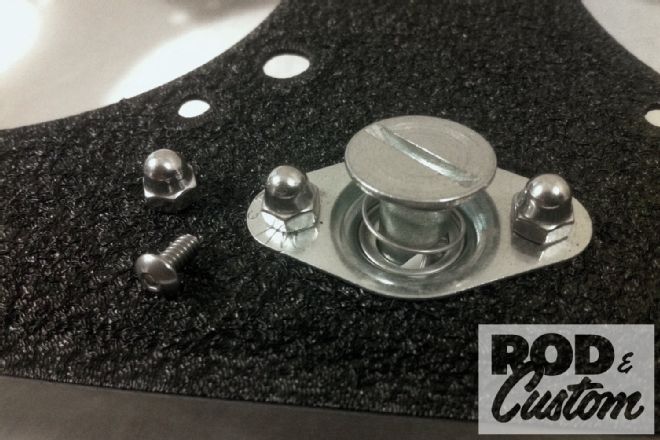 5. Speedway Motors–sourced Dzus fasteners and tabs hold the dash to the car’s tubular structure. However, the rivets attaching the springs to the tabs are directly behind the mounting holes on the fasteners. Using rivets or nuts would make the dash protrude too far, but using 4-40 stainless Allen bolts and acorn nuts solved the problem.
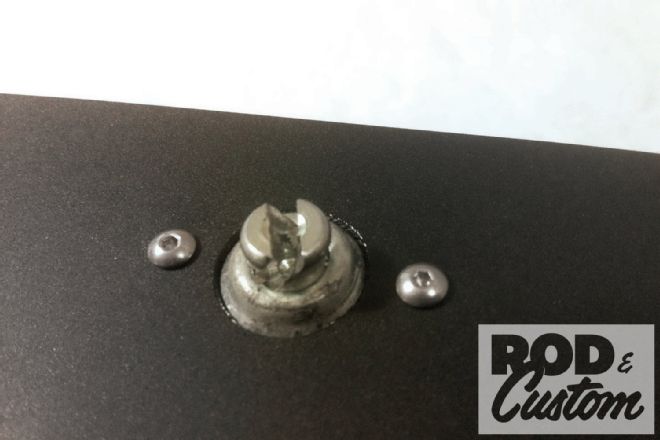 6. The Allen heads of the bolts on the rear of the dash don’t protrude anywhere near as far as nuts would have, though it might have looked neater to use these on the dash fascia.
 7. The dash going together for the final time. Each gauge has an aluminum clamp. Note also the four holes around each gauge hole for the bezels. The speedo has three extra holes for warning lights.
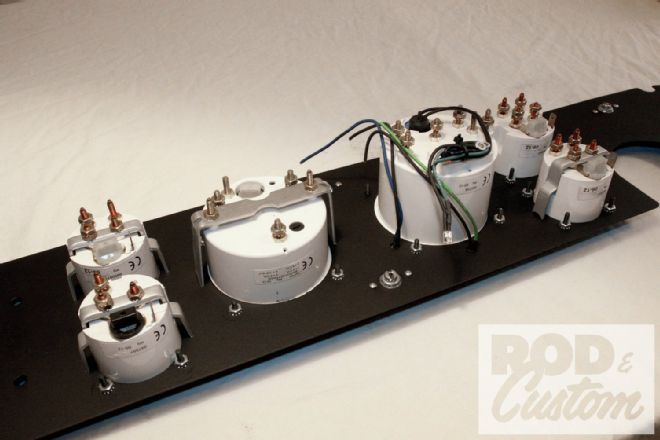 8. Ensuring all six gauges are level from the front, the clamps and bezels were tightened. Note there’s nowhere for a cable drive on an electronic speedometer.
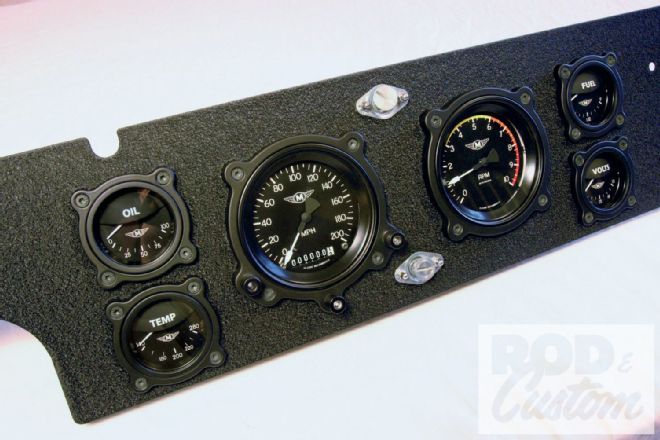 9. Ready to go into the car, with all bezels and Dzus fasteners secure. The countersunk bolts securing the bezels may appear to be Allen heads, but actually take a star wrench to tighten them.
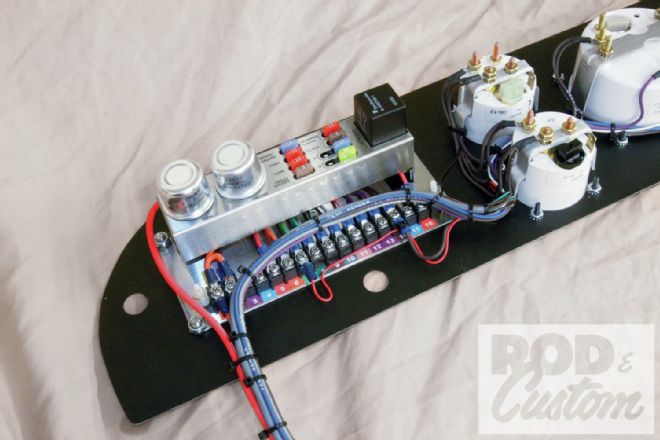 10. Also bolted to the rear of the dash panel is a Ron Francis Bare Bonz electrical panel. With 8 fuses and 10 circuits this will be more than enough to take care of all the components in this car, even when it’s eventually put on the road. For now, the wiring is minimal and the fuel pump is fused inline at the gas tank.
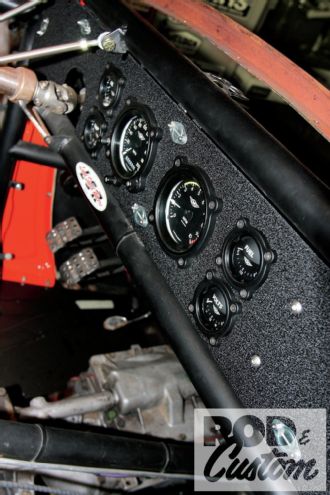
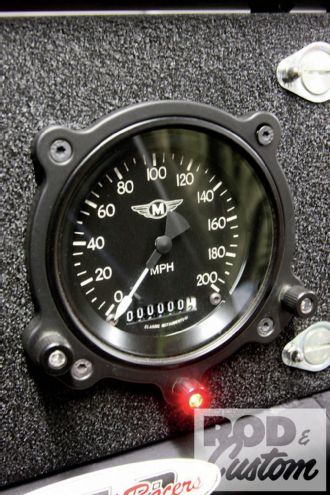 11. The large speedometer bezel features three “adjuster knobs”, which are actually fake, but house LED turn signal and high beam indicator lights. That high beam LED is bright enough to use as an oil pressure warning light!
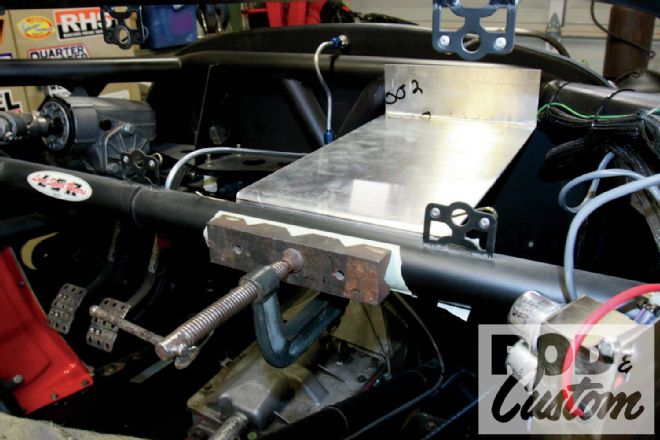 12. Both the SkyDrive unit and the engine management system will need somewhere to mount, so I bent up this aluminum panel to fit behind the dash for the purpose. A V-block makes a great way to clamp something to a tube.
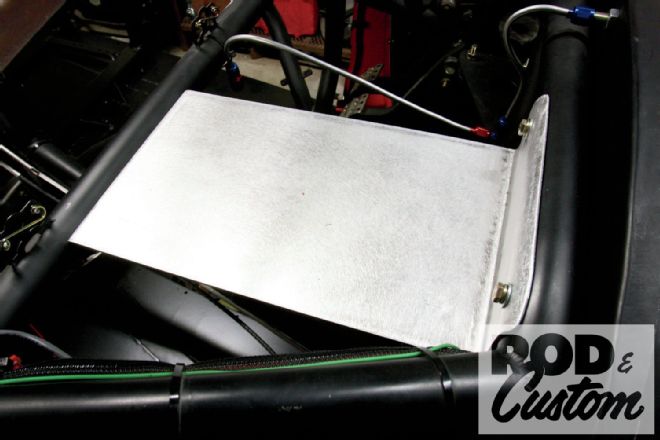 13. The finished panel, formed to the tubular structure, sanded, and bolted in place using 1/4-20 bolts, which are used throughout the car.
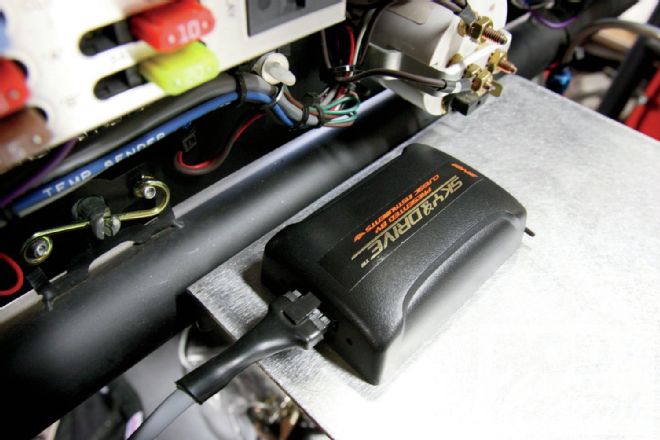 14. Here’s the SkyDrive unit, harness connected and held in place using Velcro. I’ll see if it works in this position under the cowl, and if not, will find a suitable mounting place where it can “see” the sky for a clear satellite signal.
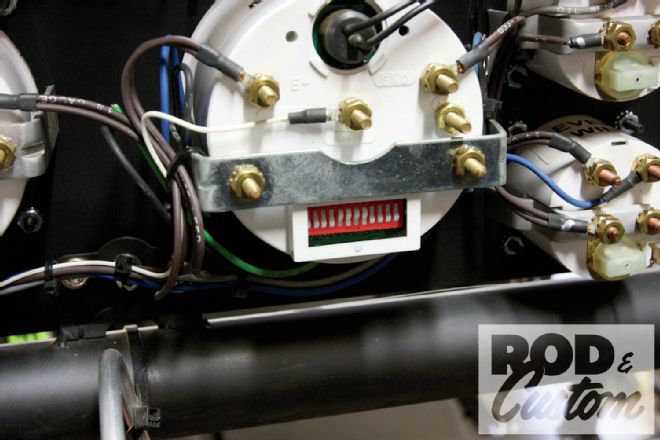 15. The instruction manual explains how to hook up the speedo, though the dip switch should be set to this default setting with switches 5, 6, 7, and 8 in the “open” position for mph calibration rather than kph, which requires 4, 10, 11, and 12 open.
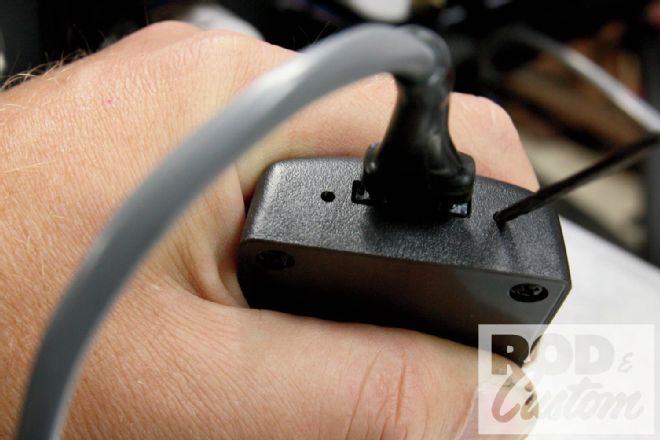 16. The SkyDrive unit has two small holes on either side of the electrical connector. The one on the left is the status LED, while the other provides access for the internal calibration button, which is pressed using this supplied stylus, similar to a toothpick.
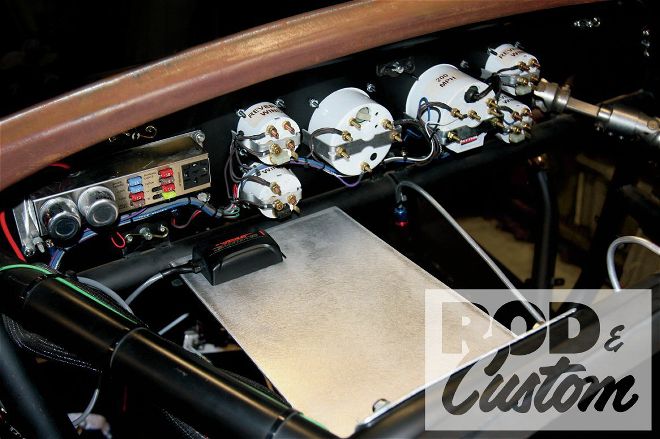 17. With plenty of room left to mount the engine management system, here’s what the backside of the dash looks like.
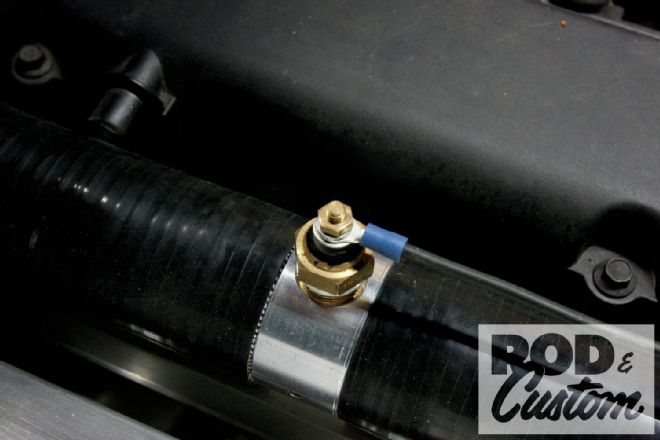 18. Of course gauges don’t work without sensors, and Classic Instruments included this water temperature sender, which I installed inline close to the thermostat, in order to get as accurate a cylinder head water temperature reading as possible.
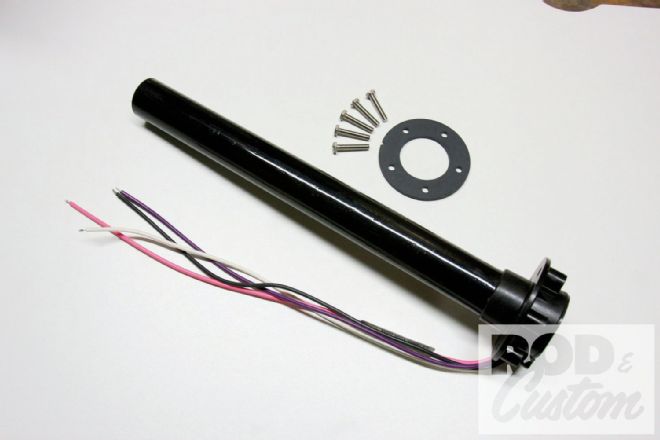 19. This float-less fuel gauge sender is also from Classic Instruments, and once the tube is trimmed to within a 1/2 inch of the bottom of the tank, it can be calibrated. It has a resistance range of 240-33 ohms, should you wish to use it with another manufacturer’s gauge.
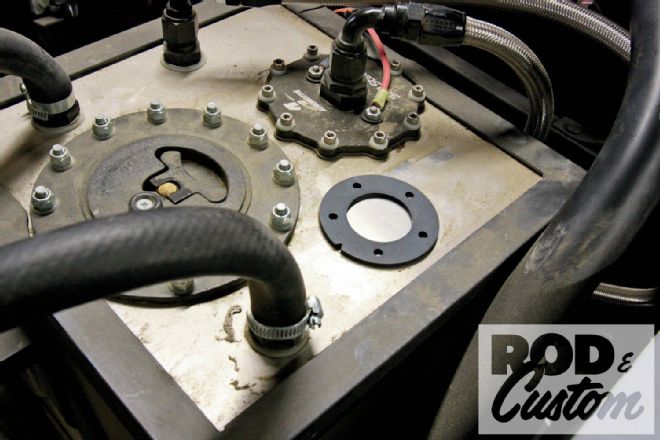 20. Left: While I haven’t installed the fuel level sender in my 6-gallon Aeromotive tank yet, I will before the car is made road-legal. The rubber gasket denotes the only possible location. Excuse the El Mirage dust on the tank!
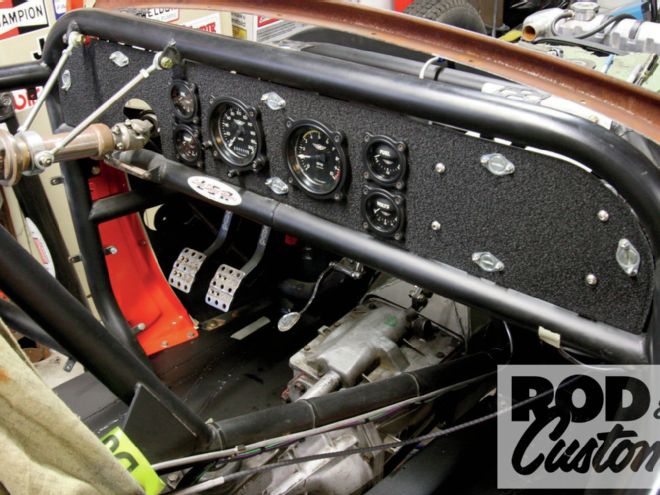
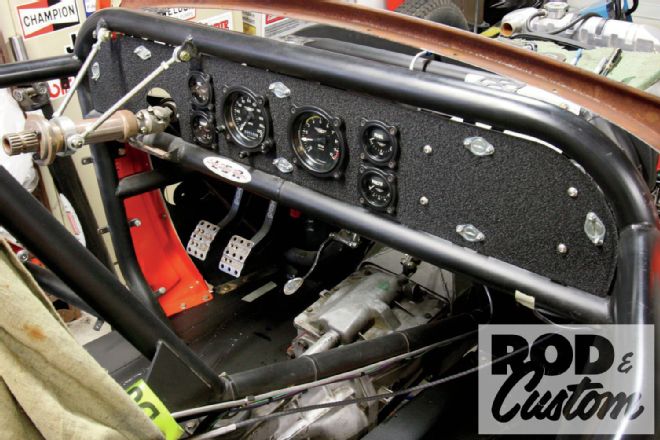 21. The finished dash, with everything bar the fuel gauge and tach hooked up. With a wasted spark ignition rather than a regular coil on the Zetec four-cylinder, the tach will connect to the engine management system.