Speaking in very general terms, add-on air-conditioned automobiles of the late '50s and early '60s were easy to spot. The era's large hangy-down units performed adequately. However, interior legroom was sacrificed, as otherwise-stylish dashes were all but deflowered by dealerships and aftermarket installers alike. The factory air-equipped cars of that period featured somewhat less-obtrusive hardware, but complete OEM A/C changeovers can be difficult to round up in wrecking yards today.
Deep in the heart of Escondido, California, in the fabrication department of Hot Rods & Custom Stuff, customer David French's stylish-from-the-factory '59 El Camino is undergoing a good deal of styling refinement. At the time of this typewriting, the project's finished chassis waits in another section of the shop, and a genuine Rochester fuel-injected 327 has already assumed its position. Although circa 1959 factory bolt-on A/C components exist, the hunting and reconditioning required to salvage such an antiquated setup is best left to the purest of pure restorers. For the rest of us, there's Vintage Air.
For interior aesthetics, Vintage Air offers a variety of louver styles to choose from, each of which outshines the rare Chevrolet factory units. Even if they could be found, the factory air-conditioning vents for '59-60 Chevys don't even resemble surrounding interior appointments. More specifically, they'd clash with the dash. With necessity once again being the mother of invention, Hot Rods & Custom Stuff proprietor, Randy Clark birthed a notion to fabricate custom A/C vent housings that would blend as if they belonged. From here, we'll show y'all how.
 The first order of business was to create a cleaner-appearing underside for the existing dash. Hot Rods & Custom Stuff (HR&CS) fabricator Jeremy is notorious for starting new projects ahead of this writer/shooter’s loosely scheduled arrival, so once again, yours truly may have missed a shot or two here. Anyway, we think this bolt-on sub-dash adds a dash of class.
 The first order of business was to create a cleaner-appearing underside for the existing dash. Hot Rods & Custom Stuff (HR&CS) fabricator Jeremy is notorious for starting new projects ahead of this writer/shooter’s loosely scheduled arrival, so once again, yours truly may have missed a shot or two here. Anyway, we think this bolt-on sub-dash adds a dash of class.
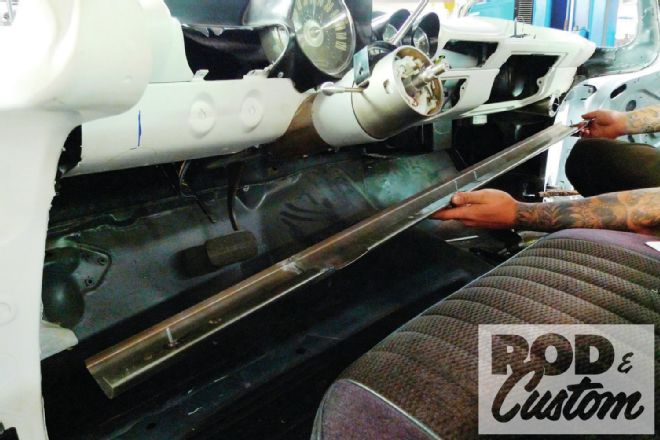
 The fabrication of custom vent housings begins with a pair of Vintage Air 49153-VUL through-dash (all chrome) standard louvers, a cardboard pattern, and a length of 2 1/2-inch exhaust tubing. Trimming to fit takes place in increments, with numerous fit checks along the way.
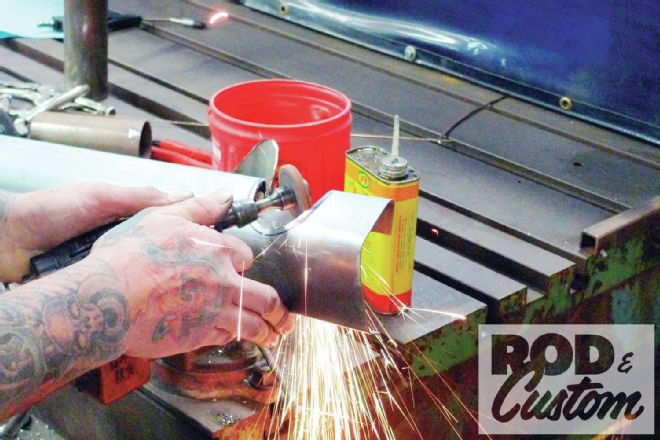
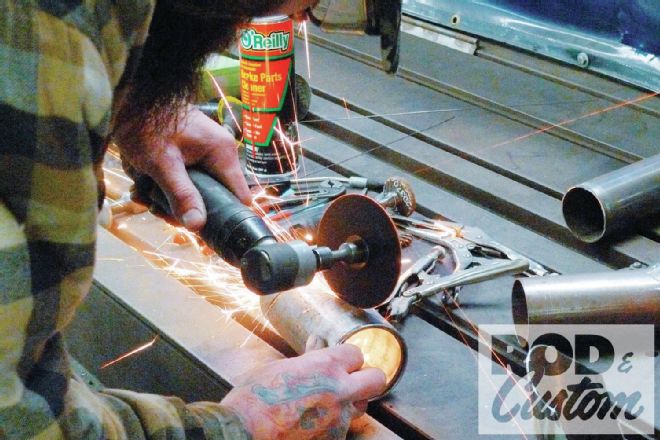 Here on the table, a pneumatic angle die grinder works well for the initial trim.
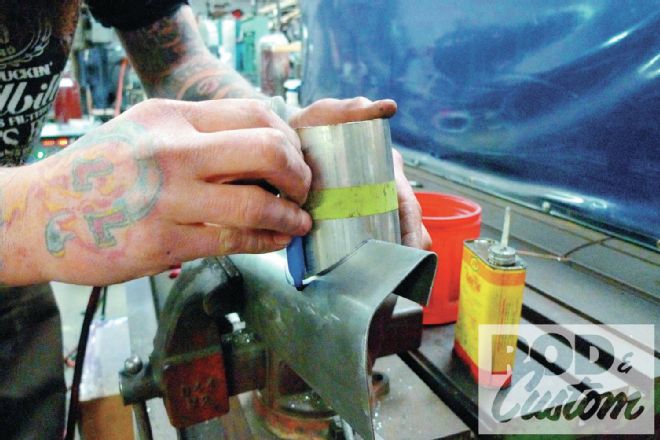
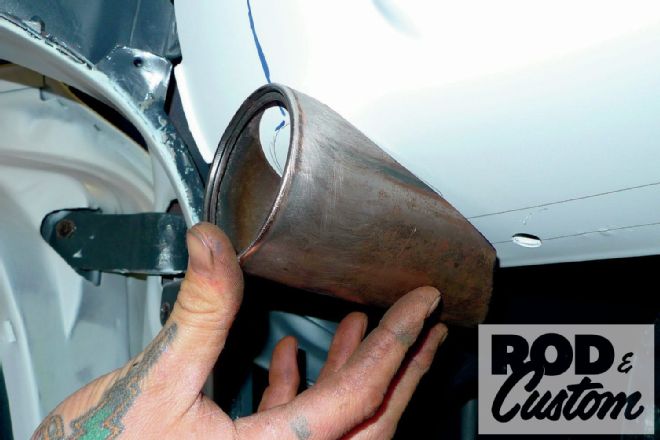 For a first cut, this ain’t bad at all. Next, with the tubing held firmly in position, marks will be drawn for relief cuts to the bottom edge of the dash.
 Now with a small section of sheetmetal removed, the first of many fit checks can be conducted.
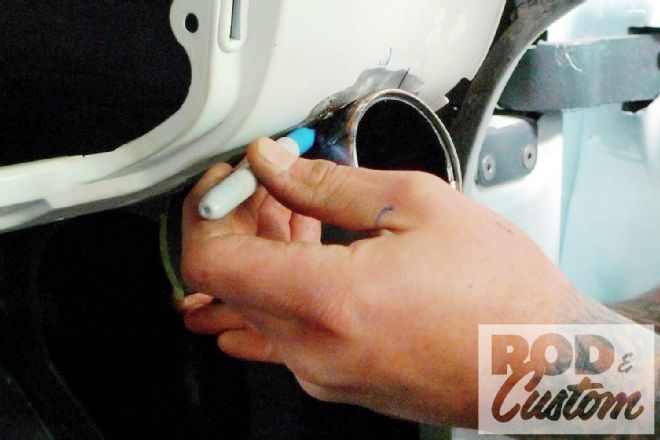 The steps are now repeated on the opposite side. To this point, accurate-enough scribes have been made with a dull Sharpie.
 At times like these, a Harbor Freight Central Pneumatic high-speed metal saw is the hot-tip tool for the job. This blade was fashioned from an old hacksaw blade. With the blade narrowed to a point, the tool turns easily in tight corners.
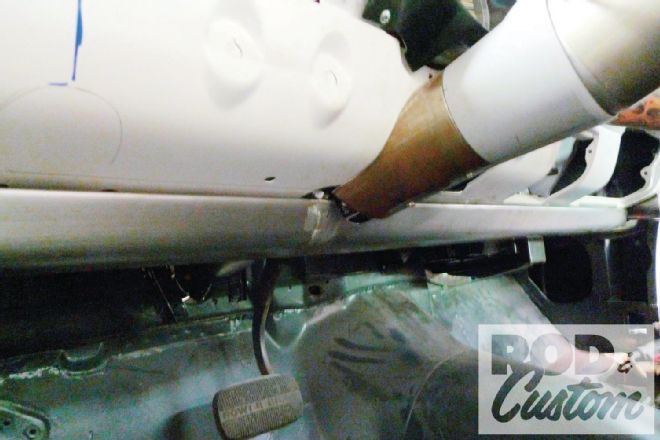
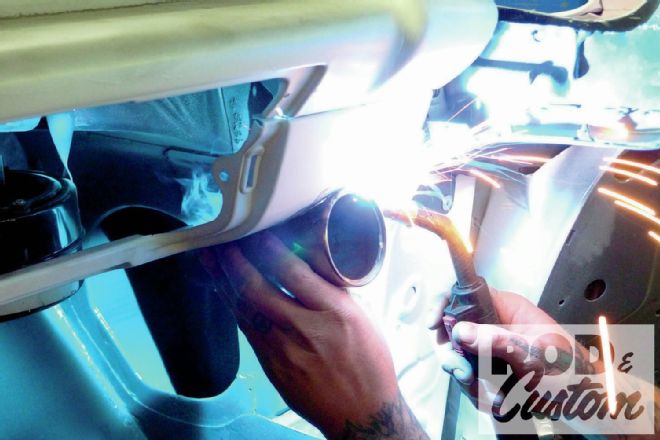 For the time being, a single tack weld with the old Miller MIG will hold the tubing so that trajectory can be checked and adjusted as necessary.
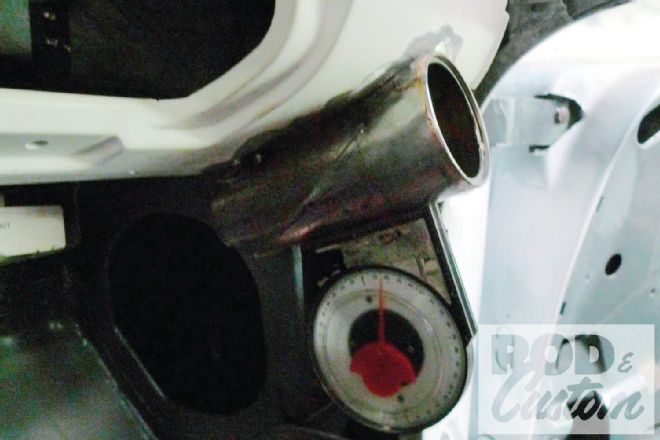 The idea here is to match the angles of the tubing to the angles of the stock instrument bezels. For this determination, a magnetic angle finder is helpful.
 Once the vent housings are tack-welded into their appropriate positions, relief cuts to Jeremy’s previously fabricated sub-dash are required. With a die grinder, this is done in increments, as the dull Sharpie will again provide the guide.
 Once the vent housings are tack-welded into their appropriate positions, relief cuts to Jeremy’s previously fabricated sub-dash are required. With a die grinder, this is done in increments, as the dull Sharpie will again provide the guide.
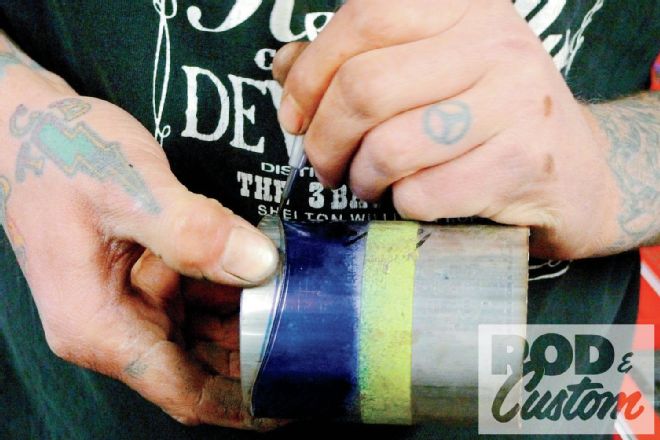 On shop-owner Randy Clark’s suggestion, Jeremy is now creating eyebrows for a finished look, which will flow with the eyebrow shapes of the instrument cluster. This time rather than a dull Sharpie, speed-dried (he used a torch) Dykem blue layout fluid and a proper scratch awl are used for the scribes.
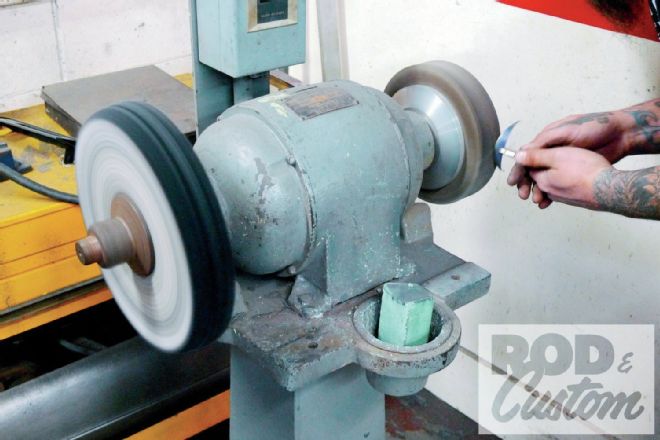
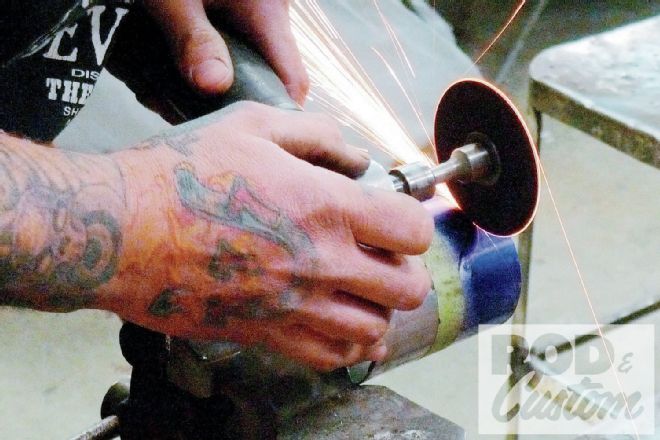 Here again, the angle die grinder makes the cut, while further cleanup is accomplished with the shop’s bench grinder and belt sander.
 Here again, the angle die grinder makes the cut, while further cleanup is accomplished with the shop’s bench grinder and belt sander.
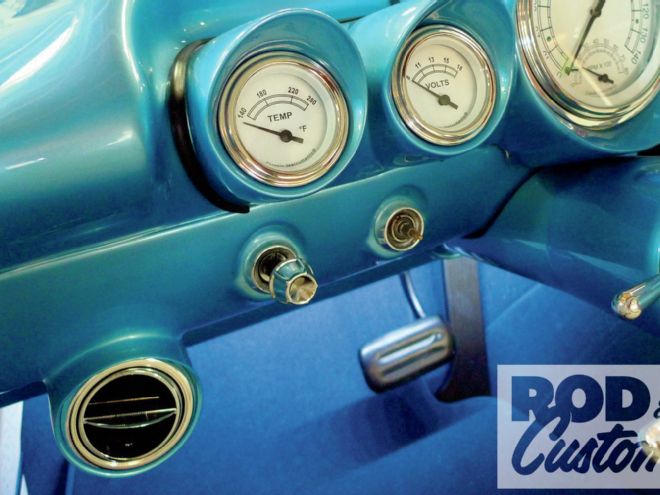
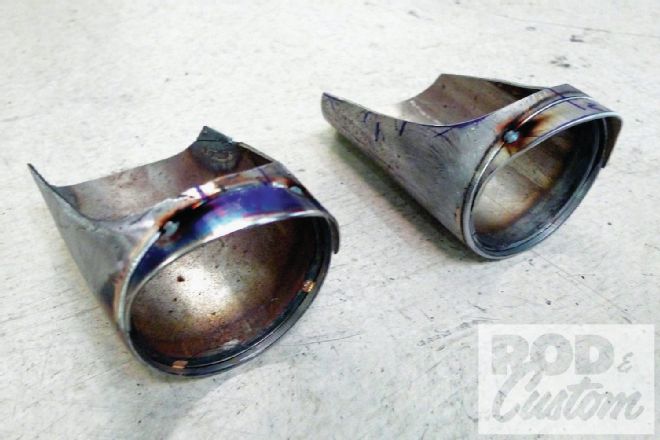 Those who are familiar with ’59-60 Chevrolets will notice and appreciate the theme consistency. This is what the factory air vents really should have looked like.
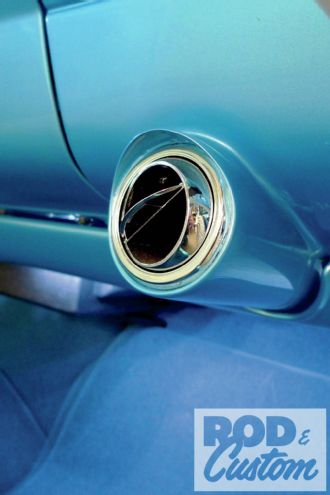
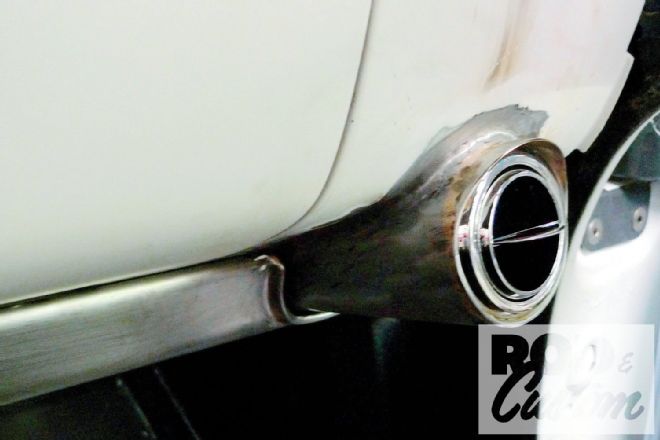
 So here’s an overall view, as well as a close-up of the passenger side vent, with fabrication finished and filler work to follow.
 So here’s an overall view, as well as a close-up of the passenger side vent, with fabrication finished and filler work to follow.
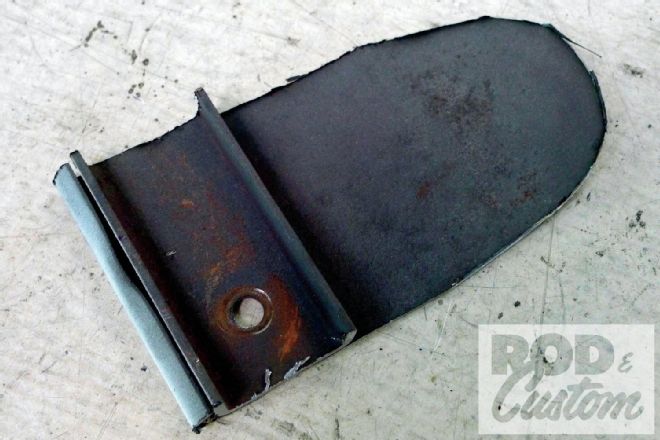
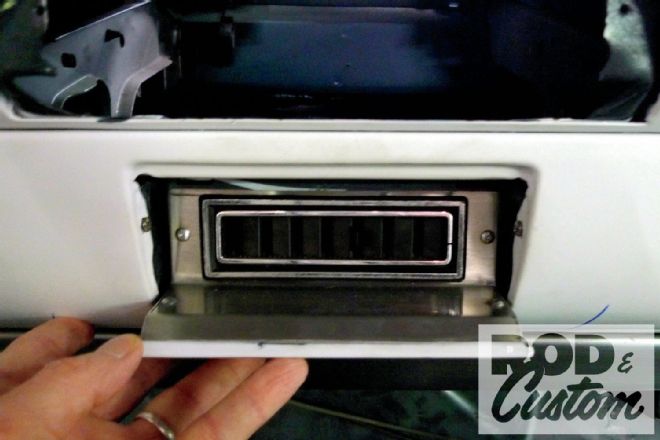
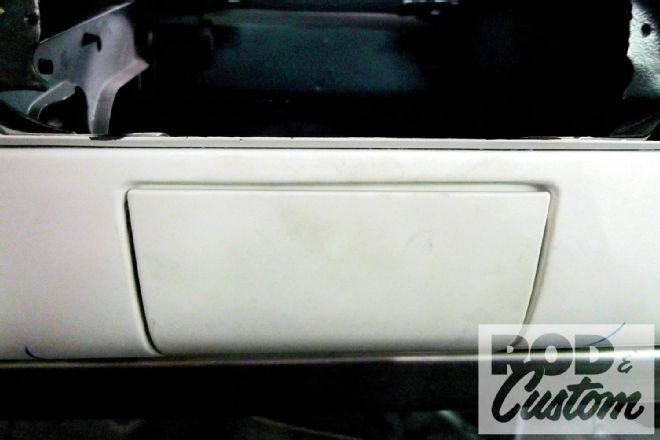 At HR&CS, cool A/C vents are a breeze. But what about the third vent? Vintage Air recommends the use of three. In this application, one of Vintage Air’s own rectangular louvers is now cleverly concealed—non-smoker style.
 At HR&CS, cool A/C vents are a breeze. But what about the third vent? Vintage Air recommends the use of three. In this application, one of Vintage Air’s own rectangular louvers is now cleverly concealed—non-smoker style.
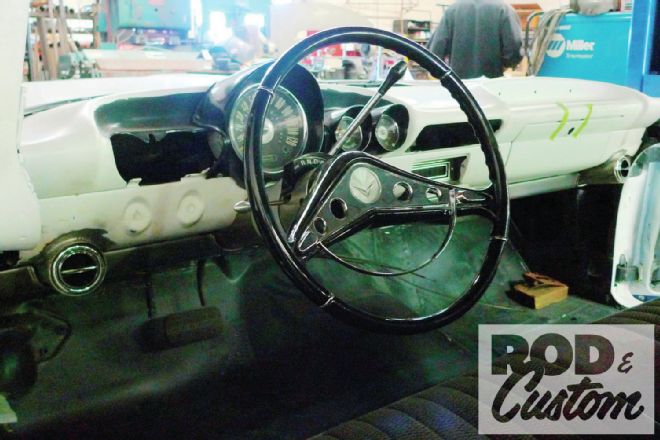
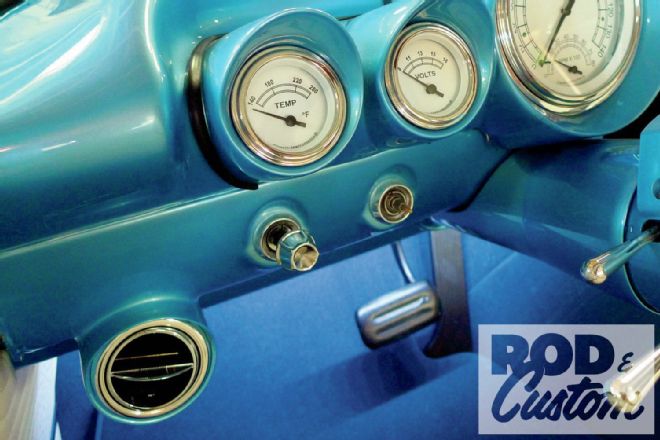 No clash for this dash. As the project nears completion the custom A/C vents’ eyebrow-like protrusions clearly harmonize with those of this El Camino’s instrument bezels—as they should.