Regular readers may remember me mentioning in the story on my fake folding roof in the January issue that the seat upholstery for my '46 pickup was underway. It was, it arrived, and it's in the cab. But before we come to the seat, let's backtrack a little. I'm by no means an upholsterer, but I do like to attempt most jobs on my cars myself, and not just because I'm a cheapskate either, but because I want to try my hand at them.
However, budget is a consideration, and the interior is always the last part of a project, meaning the budget's already either broken, or under severe strain. So I figured I'd attempt a budget interior, and I'm pretty pleased with the result, physically and financially.
First up was the dashboard. The chrome trim was worn out and peeling, the old gold 'flake steering wheel had seen better days, an accessory gauge set hung where the speaker should live, and the dash panel itself had a gaping hole a radio once called home, as well as an Appleton-style spotlight hole. From my parts stash I dug out a matching set (well, the bezels matched and they all had black faces!) of Stewart-Warner and Sun oil, temp, and volt gauges, modified the dash to accept them, and welded up the remaining holes. After painting the dash to match the rest of the truck, I installed a new chrome dash trim set and three-spoke steering wheel from Speedway Motors. Dash? Done!
Next up were the door and kick panels. Some Masonite and a jigsaw made light work of the panels, covered with premade tuck 'n' roll with heat embossed pleats from a local upholstery supply house. A personal pet peeve is seeing screw heads in upholstery, so all fasteners were hidden using plastic trim clips, such as those used in late models. The same upholstery was used on the transmission tunnel, before some cast-off carpet from a friend's Suburban project was cut, trimmed, and put to use on the floors.
Speaking of pet peeves, another is seeing the top of a seat back or headrests in an old car above the beltline, so the $25 junkyard-sourced Aerostar minivan third seat had a few inches removed from its risers, prior to new mounts being welded on. I chose this seat as not only was it the right width and came with integral seatbelts (I have a pre-teenage son), but it tilts forward for access to the battery, toolkit, and spare wheel. EZ Boy Interiors (part of the LeBaron Bonney company) stitched a cover to suit. The pleats on the seat cover are stitched, not heat embossed, and each section is stitched to foam then assembled, so the upholstery is completely foam backed. Numerous styles and colors are available, with illustrations on the company's website. Simple to fit, the cover completes the interior, transforming what was obviously an old minivan seat into something infinitely more stylish!
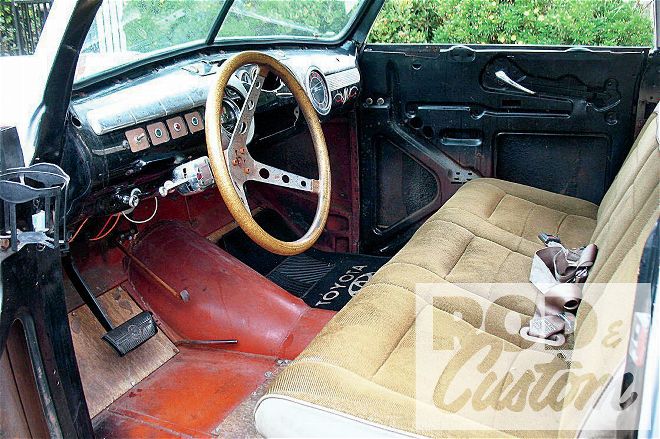 This is what we started with, albeit prior to paint. A bare interior, idiot lights where the stock gauges should be, and the third (folding) seat from a Ford Aerostar van … in brown.
 Our first job was to fix the dash, so it was removed, media blasted, and the radio hole welded closed.
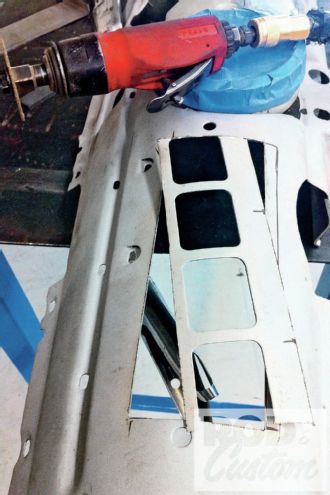 The gauge section was cut out, as we planned on using three round gauges, not the four stockers.
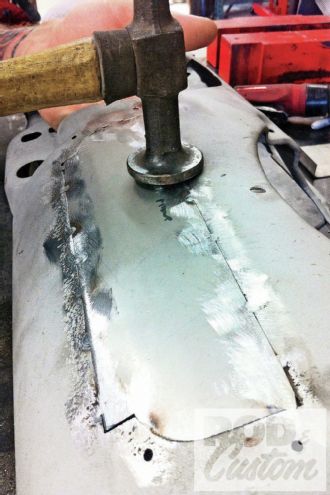
 This flat section was welded in place with pilot holes drilled for the center of the gauges, as it’s easier to lay out and drill these first.
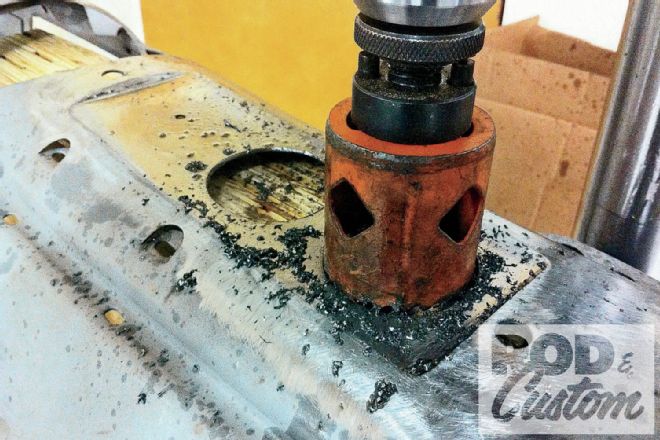 A holesaw in a drill press was used to cut out the gauge holes, with a block of wood behind the dash.
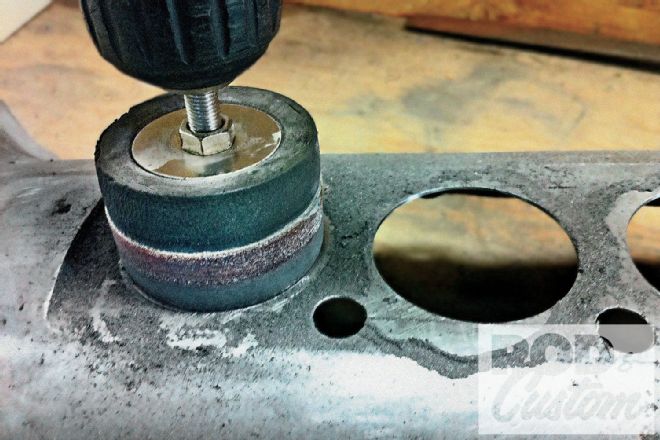 A drum sander was used to slightly enlarge the holes until each gauge was a press fit.
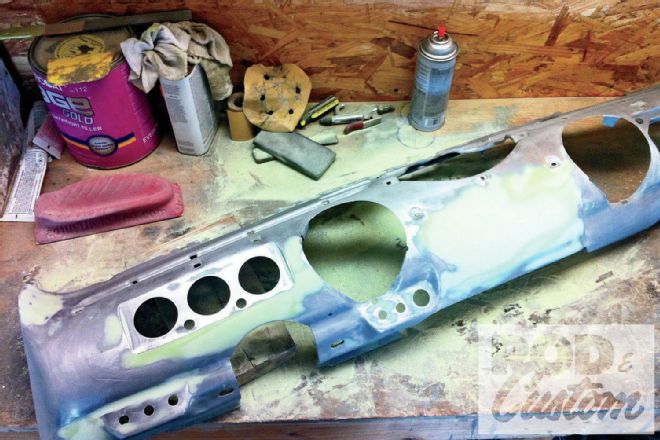 A skim of filler where required and the dash was ready for primer and paint. We also narrowed the switch panel on the left, and reduced the sizes of most of the switch holes to accept modern switches and lights. The ignition is now on the far right.
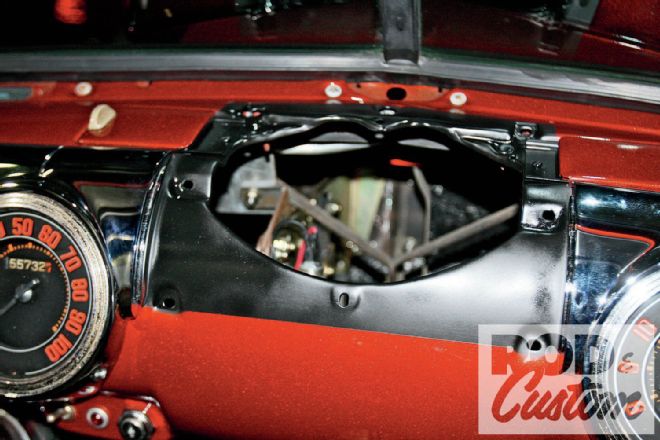 Once the dash was painted and clearcoated, we blacked out this section behind the speaker grille, as one of our pet peeves is seeing body color through grilles, be it of the speaker or radiator variety (or in fenderwells).
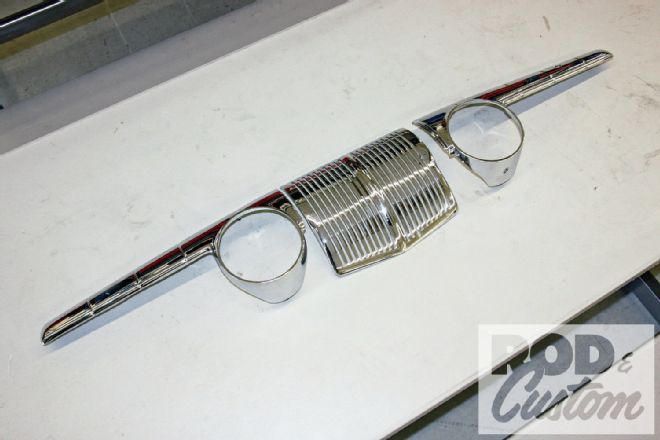 We always make a point of going through each new Speedway Motors catalog when it arrives, as you never know what parts they’ll add. For instance, the three-piece chrome dash trim for ’46-48 Fords. Hmm …
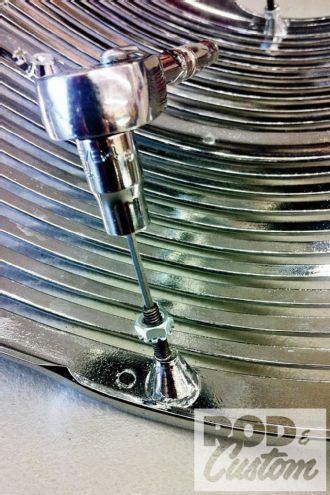 The dash trim has these threaded nubs on the reverse. However, it’s way easier to install a nut on a thread than try to seat a bolt through the holes in the dash, so these Allen-headed studs were used.
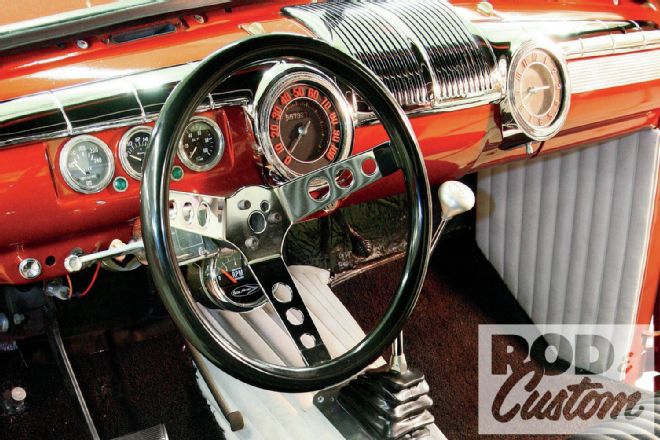 We’re jumping ahead a little, but here’s the finished dash with the new trim and gauges. We also added turn signal lamps between the gauges. A Speedway Motors three-spoke steering wheel was added to complement the fresh interior.
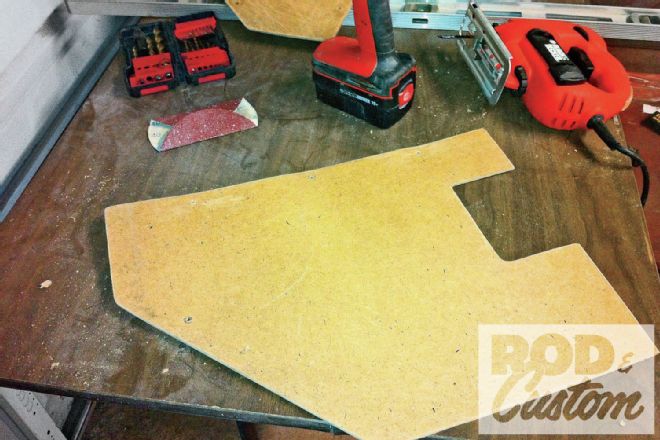 Using an electric jigsaw, Masonite was cut for the kick panels as well as both doors. The cutout in this one, for the driver side kick panel, is to clear the fuse panel.
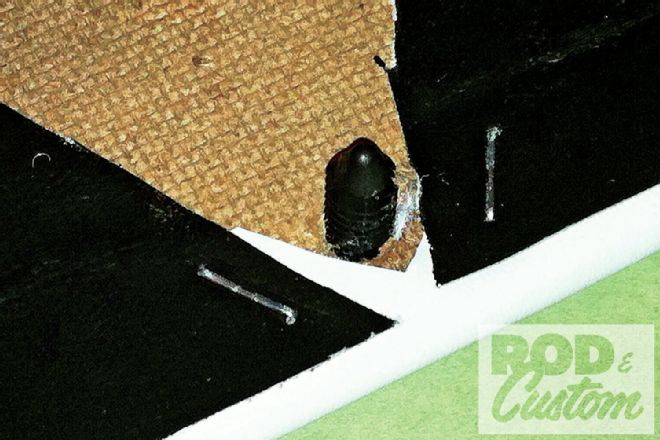
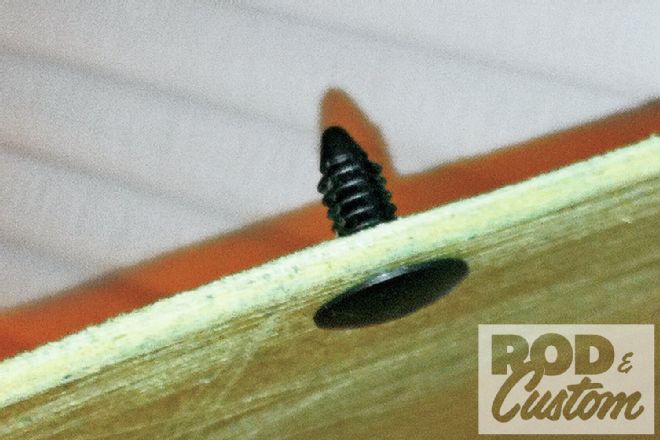 The Masonite panels were drilled, screwed in place, and then removed. The holes were enlarged to accept these trim clips, available at auto parts and hardware stores, as were the holes in the body structure. These should be slightly smaller than the clips, so they grab and don’t fall out.
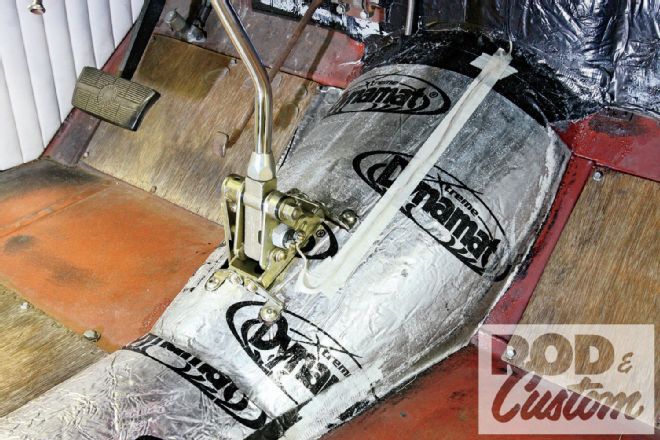 Prior to upholstery, the tunnel was covered in Dynamat, and the wiring for the neutral safety switch installed and then taped down.
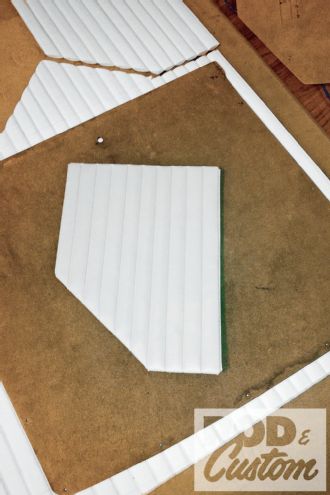
 With the clips in place, the smooth side of the Masonite—to which the upholstery will stick—was scuffed using 40-grit sandpaper. The vinyl was then cut to size, leaving enough to overlap the Masonite.
 More of the tuck ’n’ roll vinyl was glued in place, and carpet added. The firewall is covered with heat insulation and may get the tuck ’n’ roll treatment at a later date.
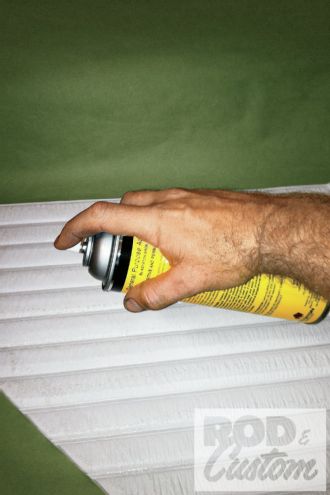 The backside of the upholstery, as well as the smooth side of the Masonite, was liberally coated with spray-on contact adhesive.
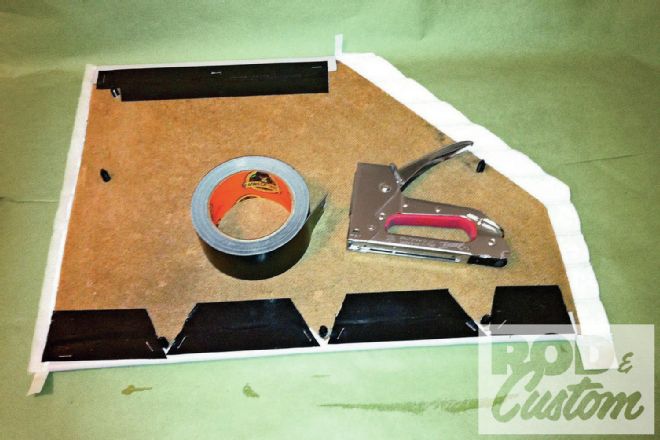 This may not be the accepted way to do it but it worked for us. With the upholstery glued to the Masonite, the edges were folded over and glued to the reverse. Gorilla tape was used to hold it in place, trimmed to clear the clips.
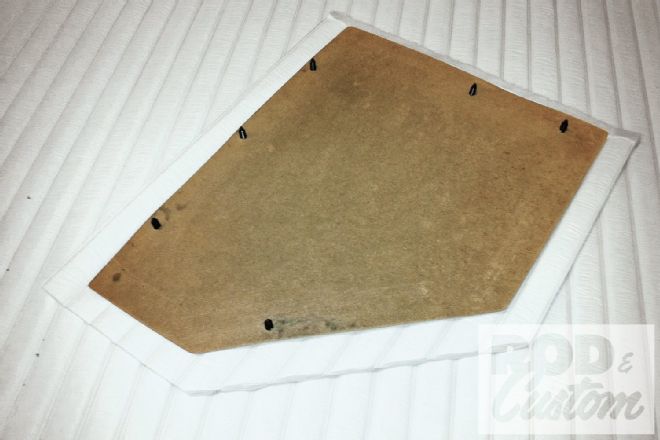
 To ensure the upholstery wouldn’t come apart, staples then held everything together.
 As we’d used ready-made tuck ’n’ roll with heat embossed pleats, the padding and backing had to be removed before we could fold over the vertical sections of upholstery.
 The passenger door panel ready to be installed. We prefer to use the panel clips rather than screws as it leaves no visible means of fastening once finished.
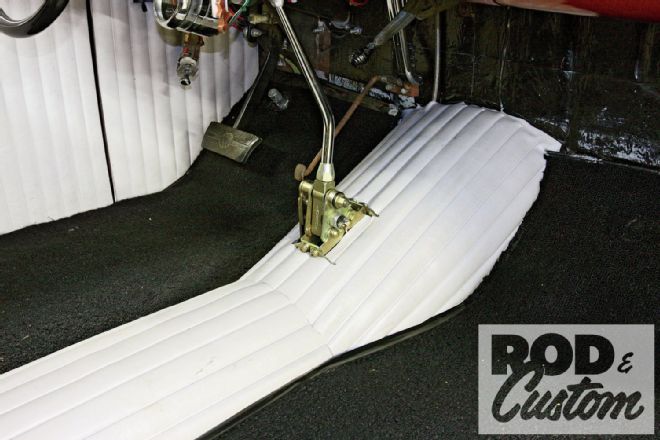
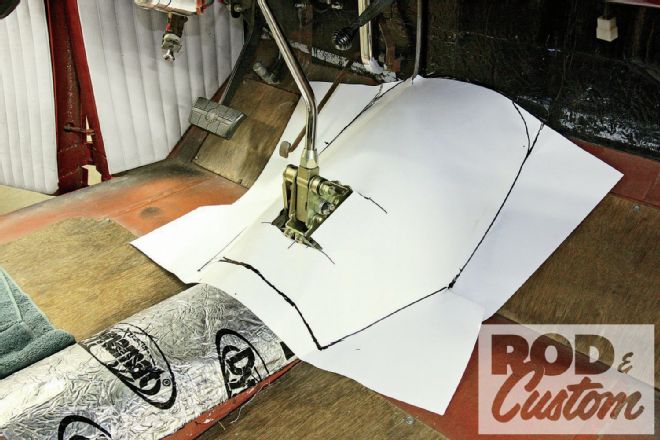
Once we’d installed our shifter, we made a card pattern to cover the transmission tunnel.
The passenger door panel ready to be installed. We prefer to use the panel clips rather than screws as it leaves no visible means of fastening once finished.
Once we’d installed our shifter, we made a card pattern to cover the transmission tunnel.
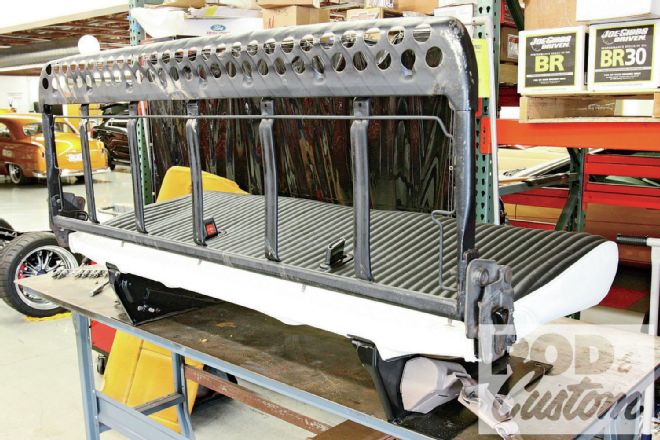
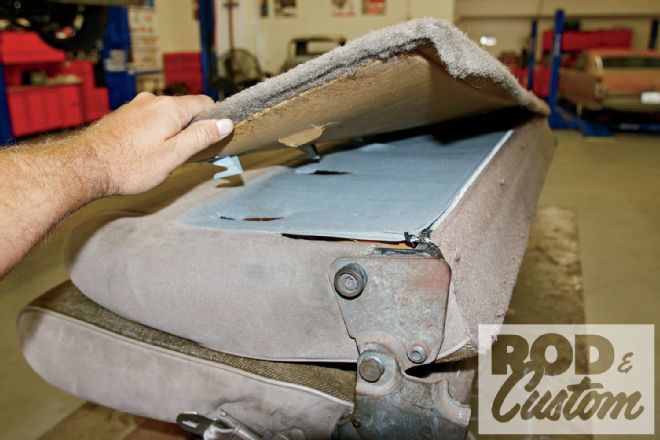 Moving on to our junkyard bench seat, this panel was removed from the rear of the seat to access the zipper on the original seat cover.
 We had to remove this bolt on each side to enable the cover to come off.
 These plastic hooks hold the cover to the seat frame.
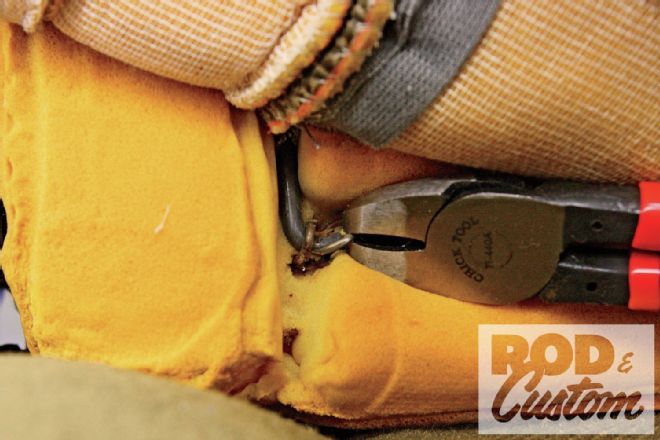 We discovered that the covers had metal rods running through them, attached by hog rings to metal inside the seat foam. We sourced hog ring pliers and new rings from Eastwood to help disassemble the seat and to reattach the new cover.
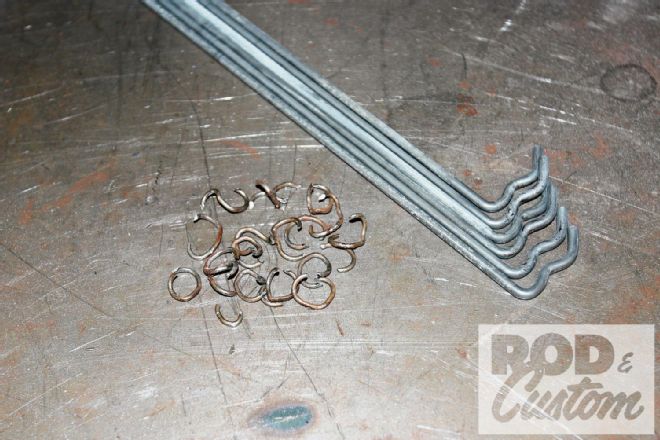 These are the rods and the old hog rings from the original seat cover.
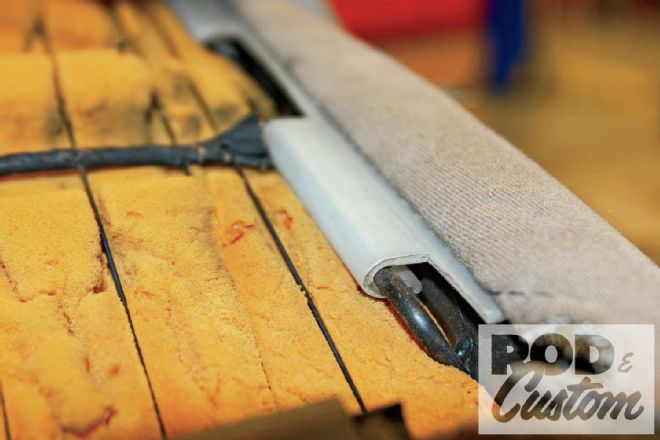
 The rods ran through loops in the cover (the gray sections) and sat in the grooves in the foam.
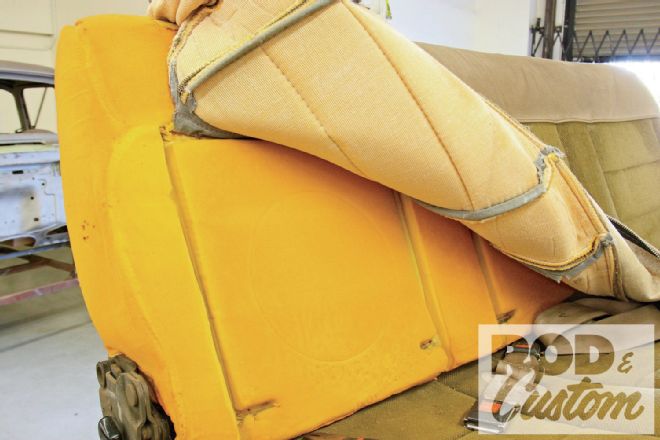
 When our new cover arrived from EZ Boy Interiors, as we’d suspected, it had no loops for the metal rods. If it had, we’d have been stuck with the same pattern as the stock cover, so for that we were grateful. Unfortunately, it meant we’ll have to show you how to install hog rings at a later date!
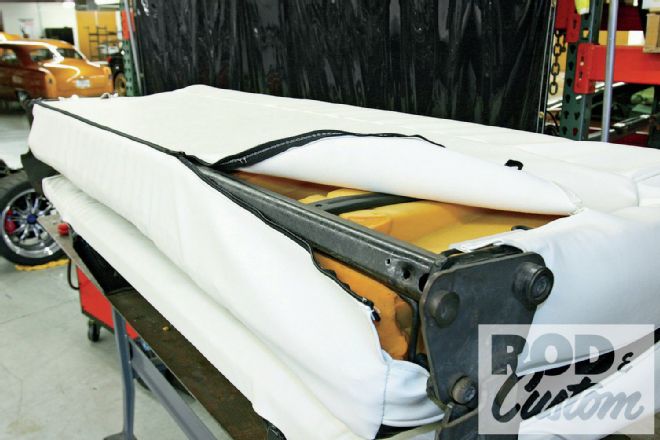
 The EZ cover had the same plastic hooks as the stock cover to attach it to the seat frame. Our hands are still aching from the effort required to pull it into place, but that just ensures a nice, tight fit.
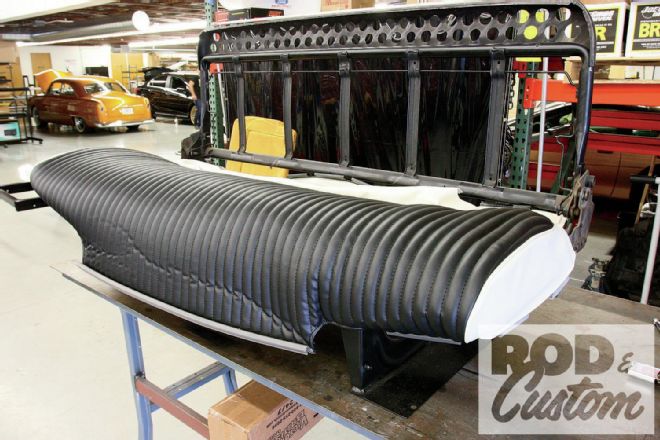
 With the cover on the seat base, we could tackle the rear. Note we’d elected to retain the seatbelt holes in the base, EZ installing black ferrules for the belts to pass through.
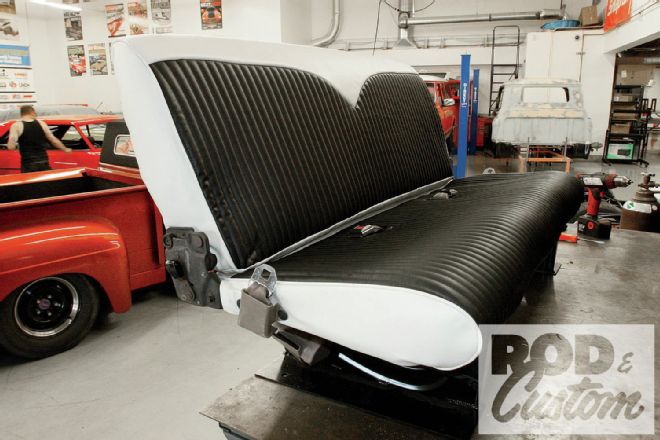
 The rear cover went on in much the same manner as the original came off, though the vinyl extends all the way to the zipper, at the lower edge, negating the need for the original cover panel.
The finished seat cover, with seatbelts installed. Installation is straightforward, but does require some stretching and pulling to get the cover into position.
The rear cover went on in much the same manner as the original came off, though the vinyl extends all the way to the zipper, at the lower edge, negating the need for the original cover panel.
The finished seat cover, with seatbelts installed. Installation is straightforward, but does require some stretching and pulling to get the cover into position.
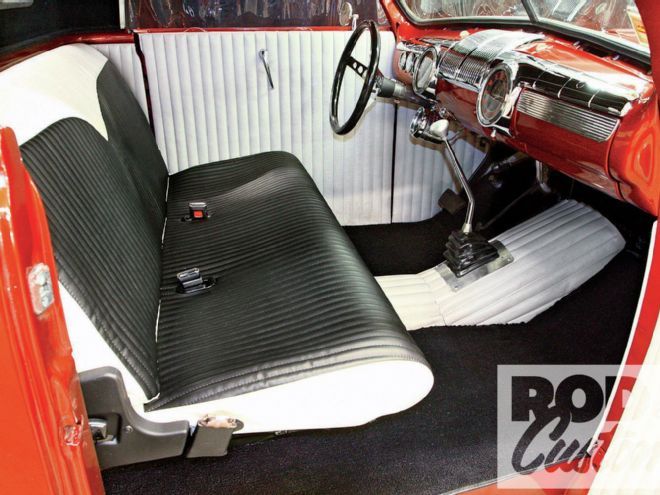
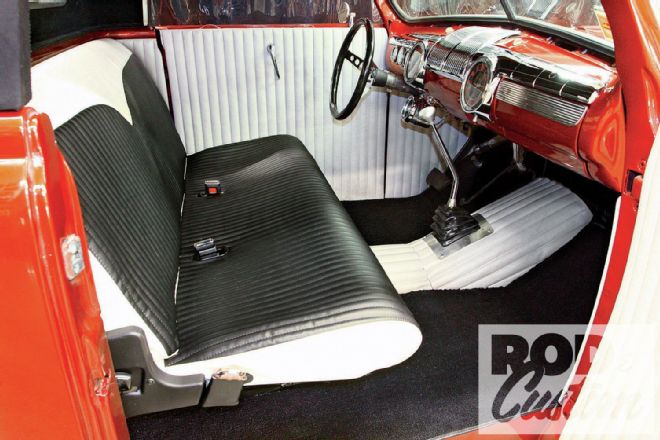 The completed interior. Note we painted the plastic seat hinge covers and seatbelt assemblies black.