The interior of our 1965 Ford F-100 is already starting to come around. We have just finished our gauge cluster, which is now ready to go back into the dash. The next step for us will be to redo the factory bench seat. When we removed the original seat from the truck, we noticed that there was little left that we could salvage of the original foam. So we trashed it and began looking on the Internet for an aftermarket replacement.
After a lot of searching we realized that at the present time there is just not any readily available. So we're going to have to go old school on this one and cut and shape our own foam cushions. The good news was that LMC Truck has a large assortment of original-style upholstery kits available for this year, which made getting our hands on some replacement vinyl easy.
We approached this project using simple tools that you would have around the house or garage. Yes, for cutting the foam you could go down and buy a high-dollar foam cutting tool. For cutting the fabric you could likewise go to the local upholstery store spend a small fortune on a pair of fabric shears, but unless your future plans include upholstering additional seats, there is no reason to be out the extra expense. Remember there are many ways to tackle this type of project, the main thing is that you locate a good dense foam that will provide years of comfort when out cruising.
For the installation we turned to Rusty Stallings, owner of Krusty's Kustoms in Azle, Texas. We have known Rusty for many years and he just recently opened a new shop. He heard about our newly acquired Ford truck and mentioned to us that if we ever needed help on a project to give him a shout. Once we got all of our parts together, we rang him up and he agreed to take an afternoon and walk us through re-covering the seat.
A shout-out needs to go to Jimmy Davis of JD's Glassworks in Lubbock, Texas, and Dooley Cameron of Dooley & Son Rods & Customs in Magnolia, Texas, who both took time away from what they were doing to answer my questions when it came to tracking down some replacement foam.
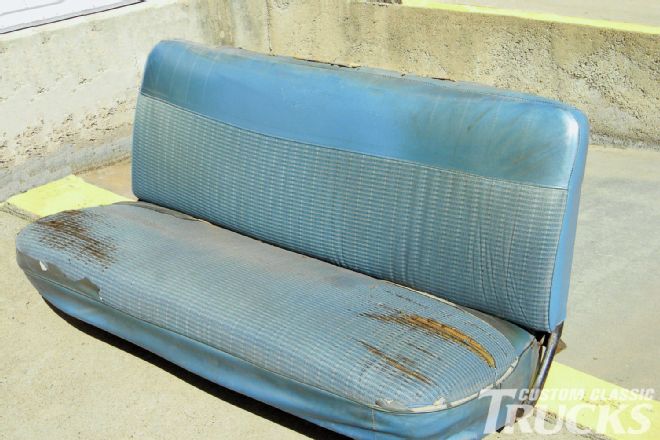 1. Here’s the seat just as it sat after pulling it out of the cab. It’s pretty beat, but is actually more uncomfortable than it looks!
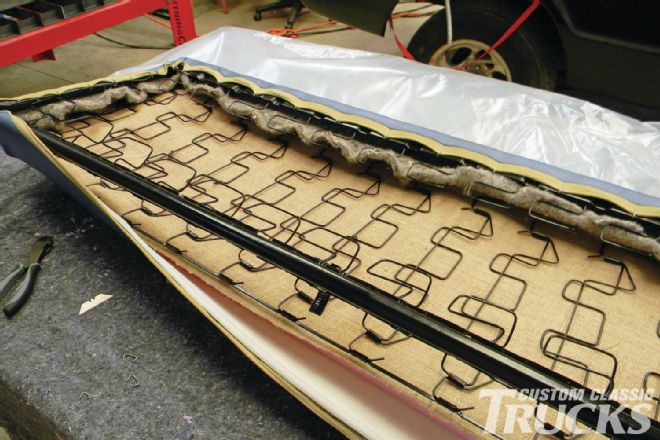
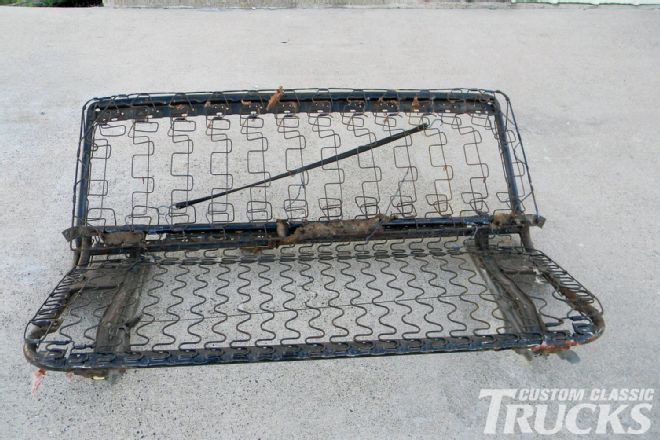 2. This is how our seat frame looked after removing the original seat cover.
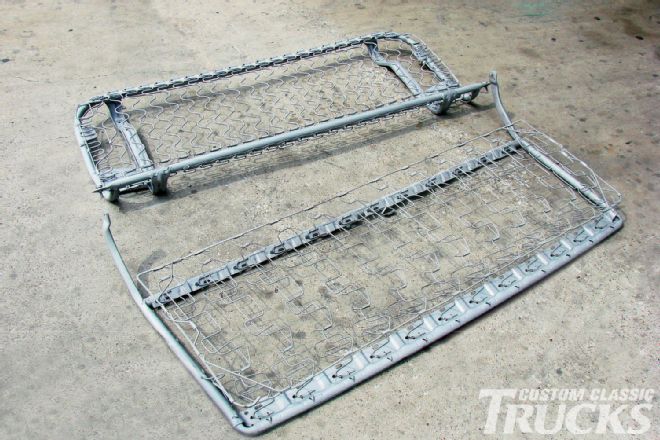 3. TM Sandblasting of Forney, Texas, hooked us up cleaning all the old rust and fabric off of our seat frame.
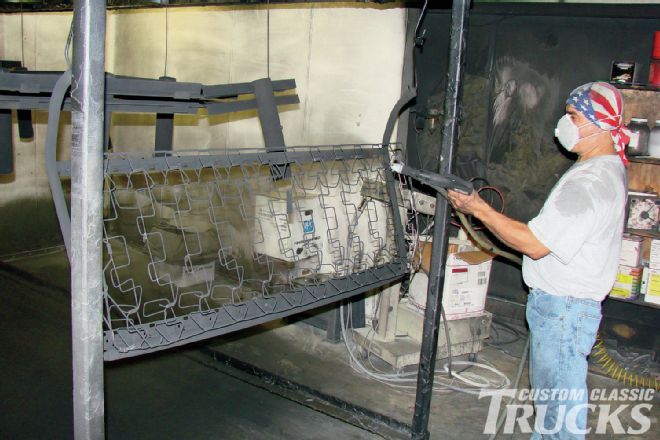 4. Then we sent it over to Cross Link Powder Coating of Forney, Texas, who gave it a fresh coat of gloss black.
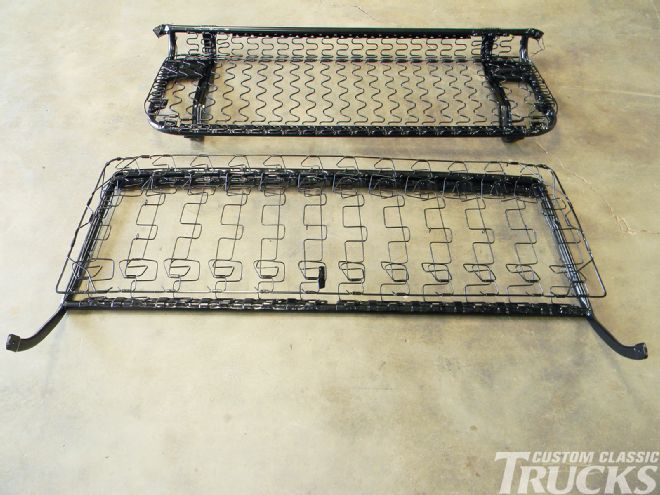 5. Here is our seat frame fresh out of the oven.
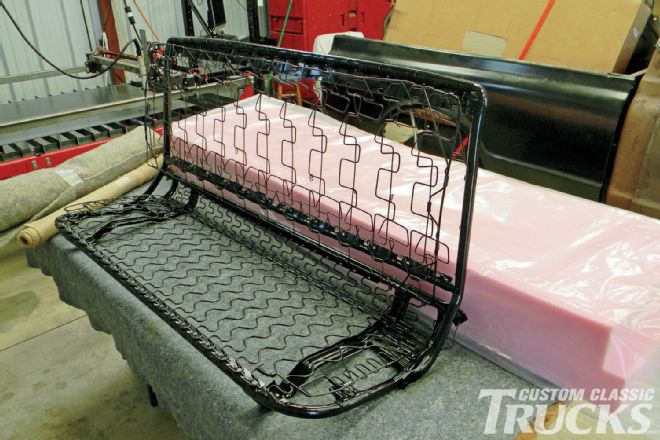 6. Krusty’s Kustoms of Azle, Texas, will handle the task of recovering our seats. We are ready to get started with the freshened-up frame, and new foam, burlap, and jute.
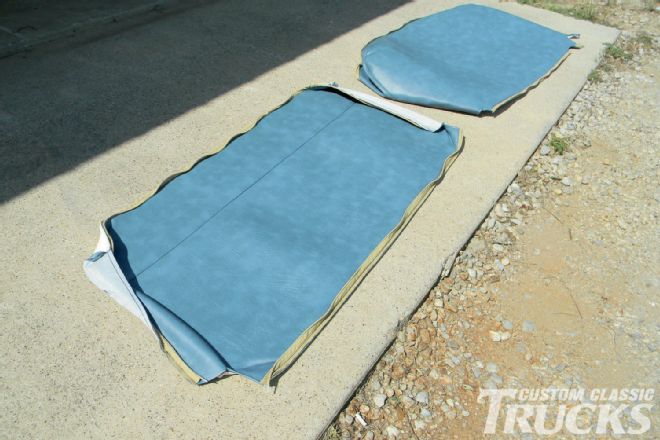 7. To remove the box wrinkles in the seat covers and to make the vinyl nice and pliable, Rusty placed the seat covers in the sun an hour before we started.
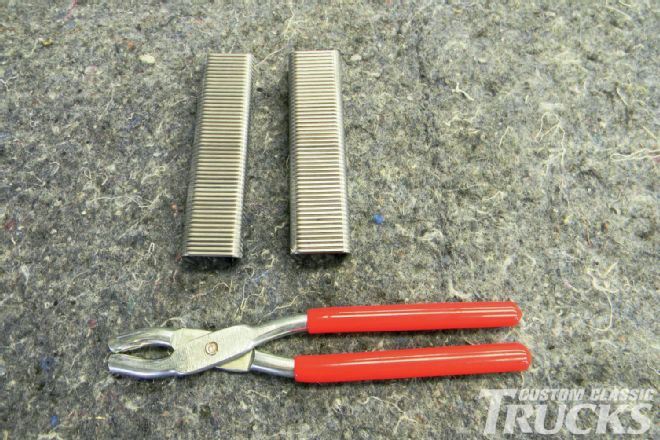 8. Included in the LMC Truck Reupholstery Kit are plenty of hog rings and a set of hog ring pliers.
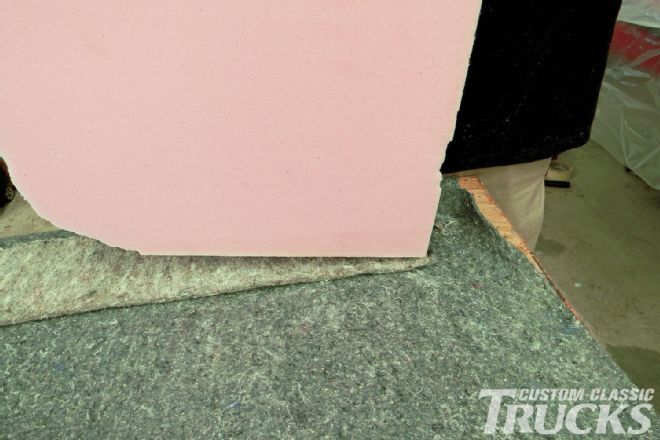
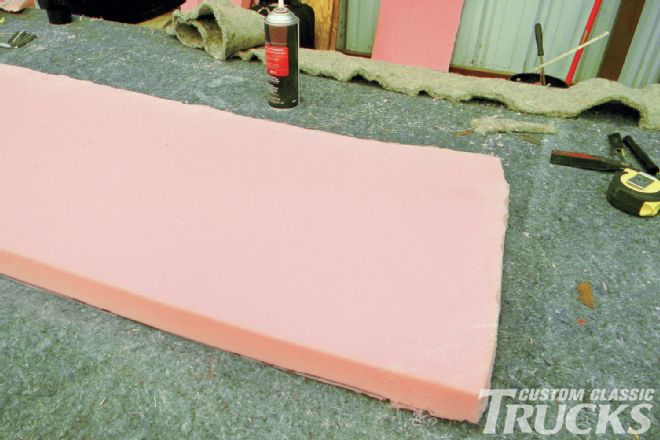
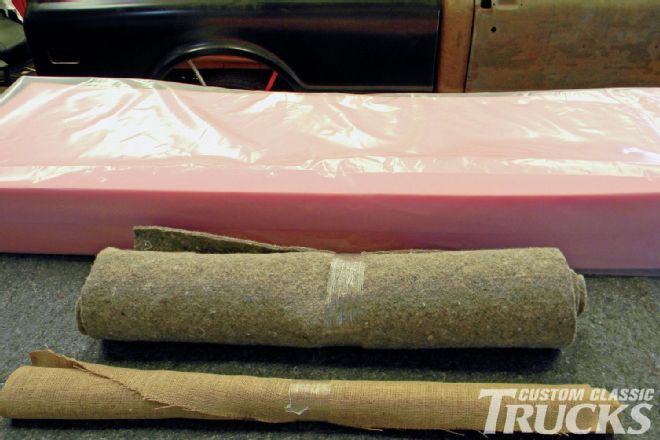 9. From Sunbelt Fabrics we purchased burlap, 27oz jute, and high-density foam in 2-inch and 4-inch thicknesses.
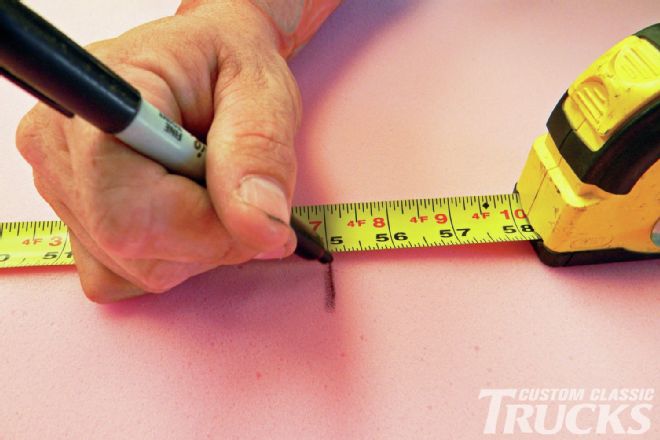 10. First, we need to trim the foam down to 55 inches long.
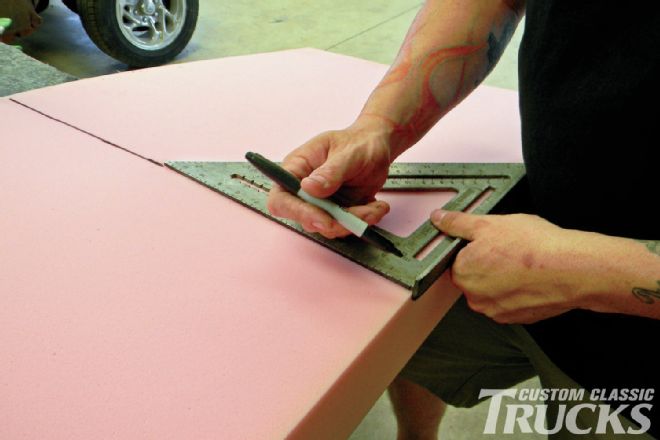 11. After measuring three equal spots across the foam, we connect the points using a straight edge.
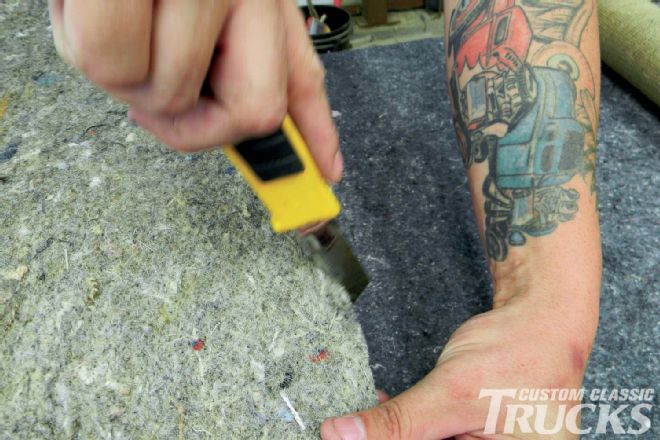
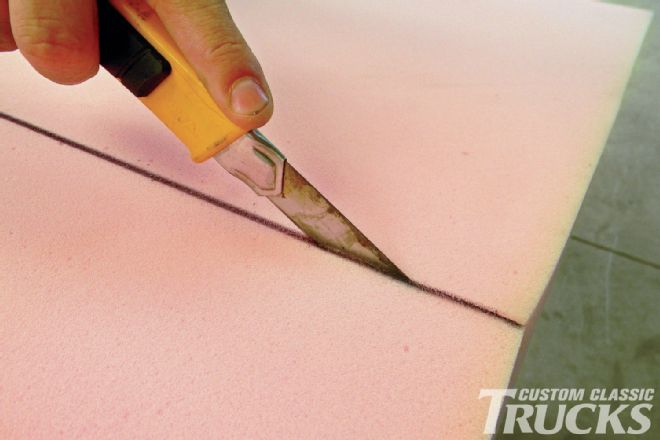 12. A razor blade knife is used to cut the foam.
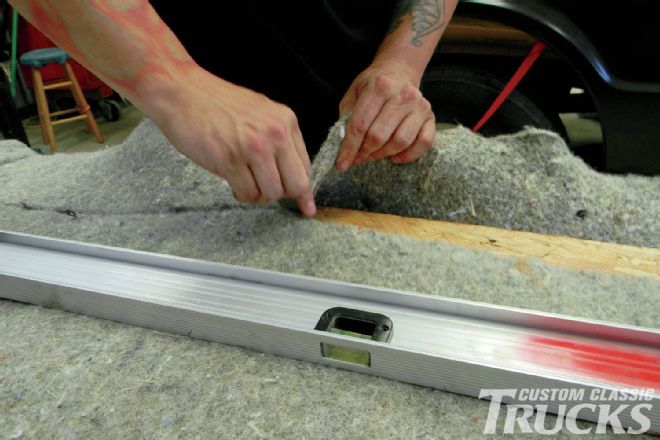
 13. The back of the lower seat frame has a small angle. Rusty uses a Stanley Sliding Bevel Angle Finder (part number STA046825) to get the correct angle.
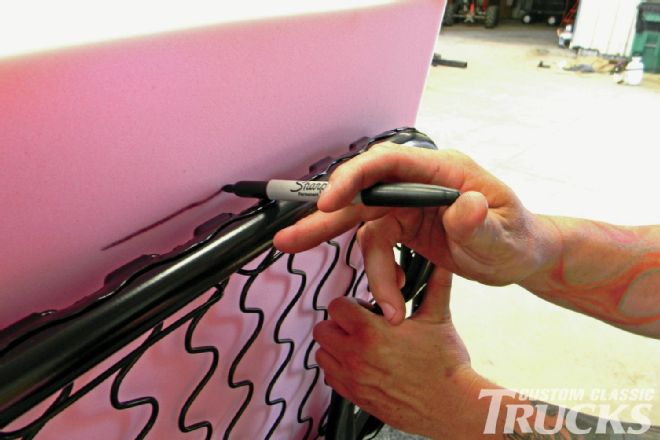
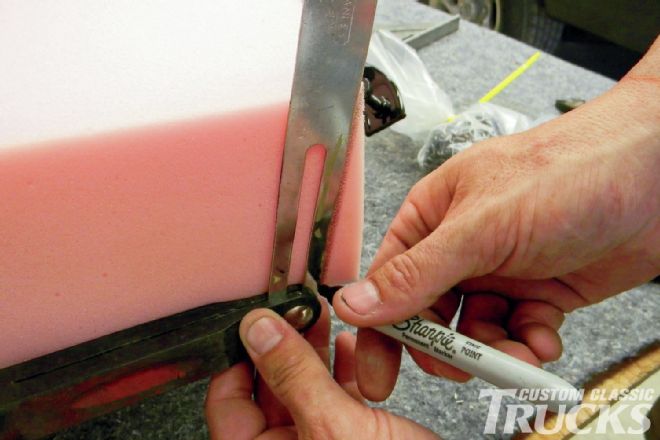 14. We then transferred the angle to the foam and marked it with a permanent marker.
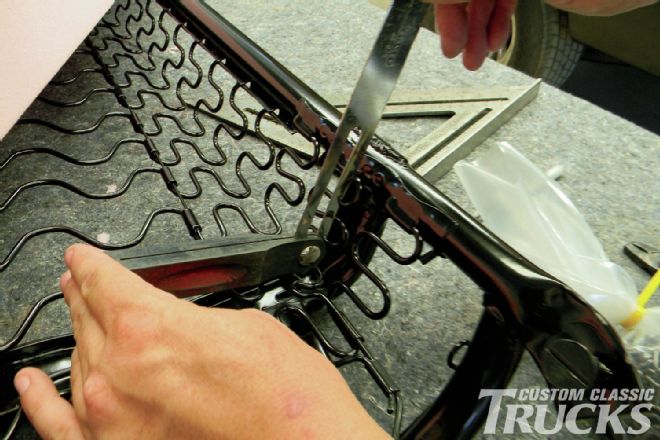
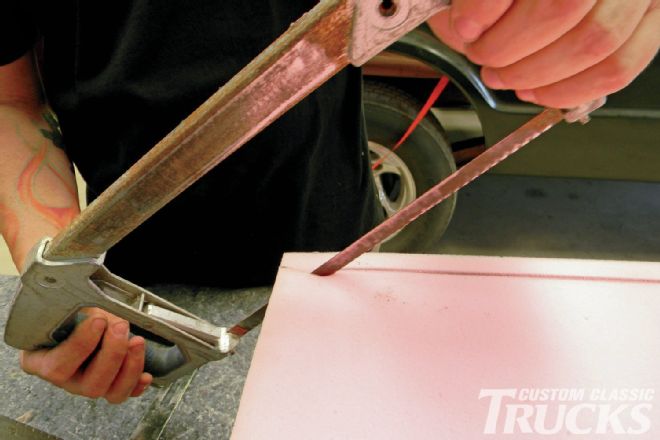 15. Then we used a hacksaw to trim the foam.
 16. We then placed the seat up on its side and transferred the pattern of the seat to our foam.
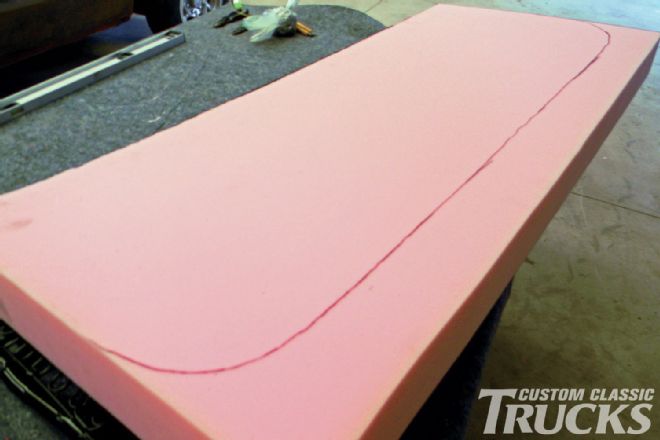 17. Here is the foam ready to be cut.
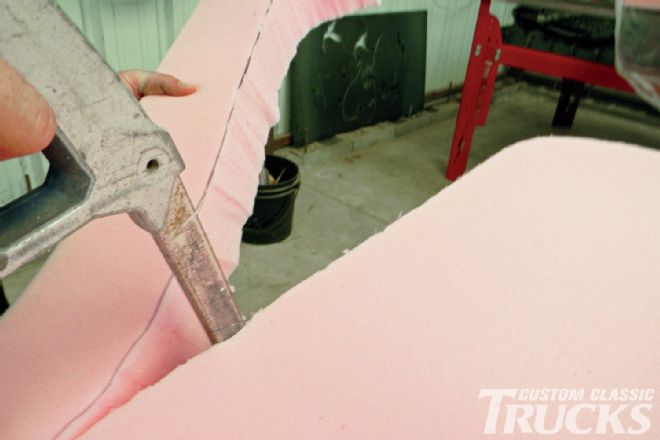 18. Hacksaw in hand, Rusty trims the excess off.
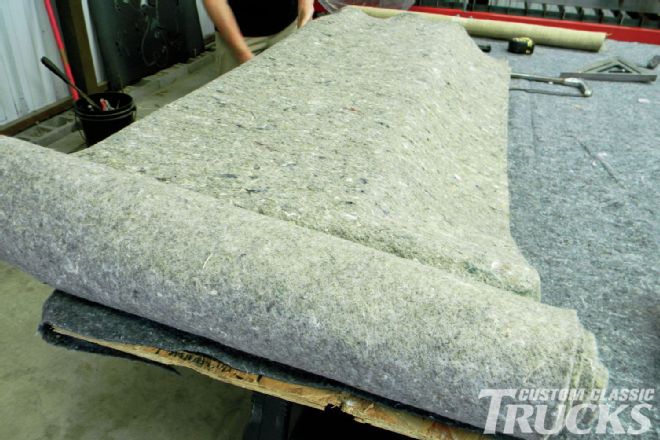 19. We will use the jute on the ends of the seat foam.
 20. Using our razor blade knife we cut a 97-inch-long piece of jute.
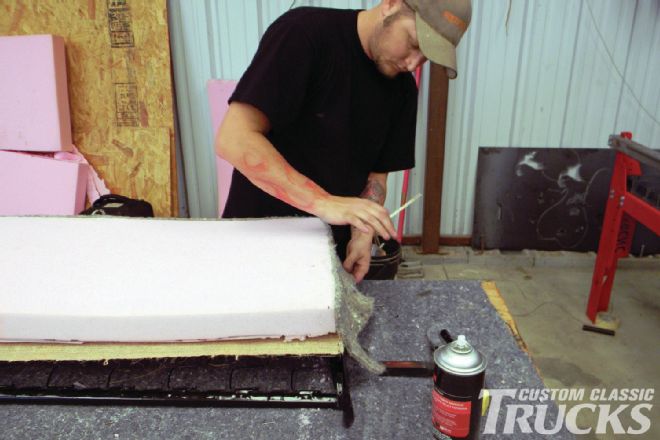
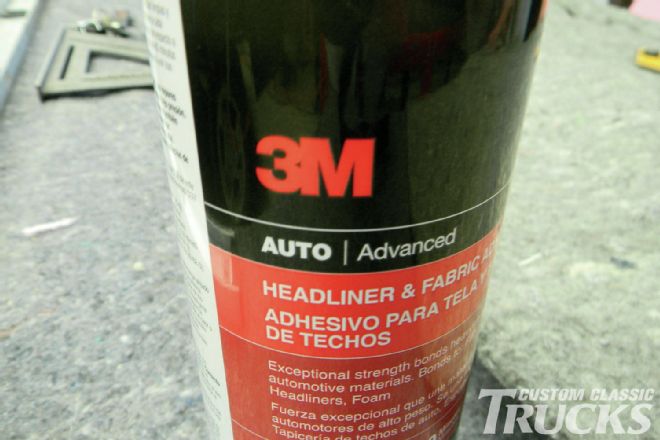 21. We purchased a can of 3M Headliner and Fabric glue from a local auto parts store to mate the jute to the foam.
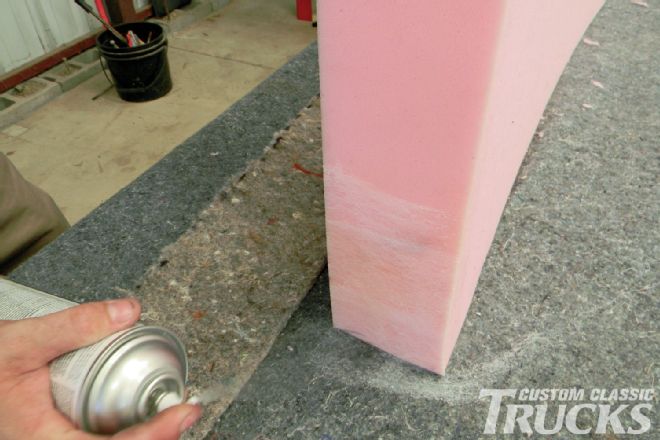 22. We spray the foam first.
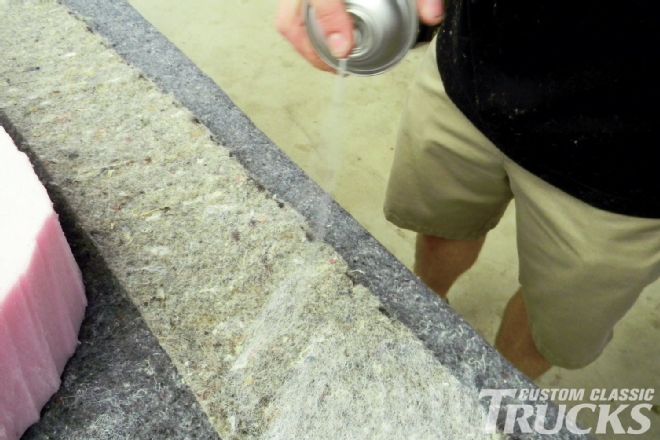 23. Then the jute is sprayed.
 24. To bond the two together, once the glue is tacky, the jute is laid out flat and then we roll the foam over it.
 25. The jute will give the seat a nice flat surface when the seat cover is applied.
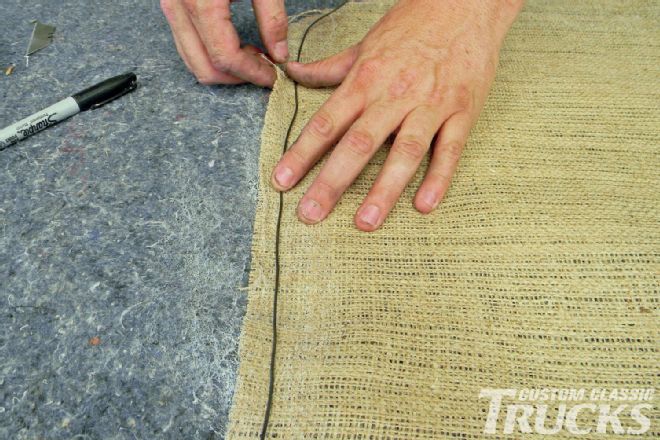
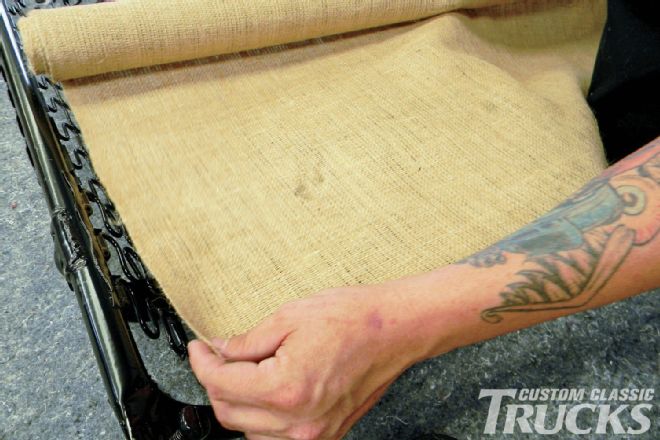 26. Rusty grabs the burlap and lays it over the seat, so that he can trace a pattern.
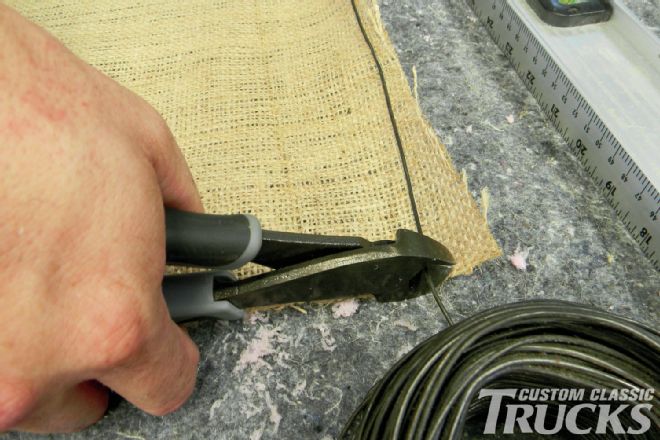
 27. After our pattern has been traced onto the burlap, we cut it out with a razor blade.
 28. Grabbing a roll of bailing wire, Rusty cuts enough wire to go around the burlap. This will allow us to hog tie the burlap to the seat frame.
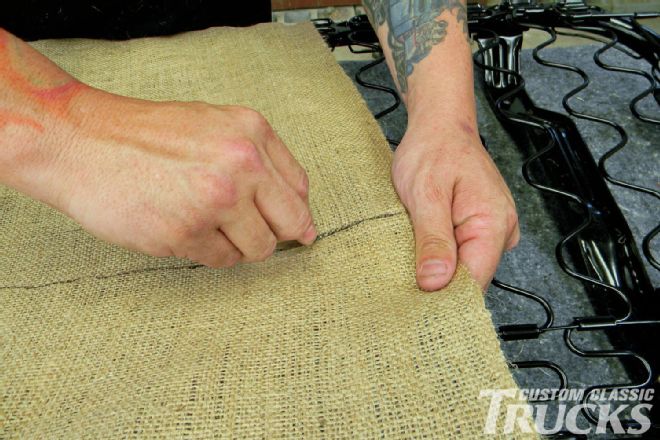
 29. With the 3M glue in hand, Rusty sprays out a 1-inch-wide pattern around the perimeter of the burlap and inserts the bailing wire ½ inch from the outside edge; the fabric is then folded over.
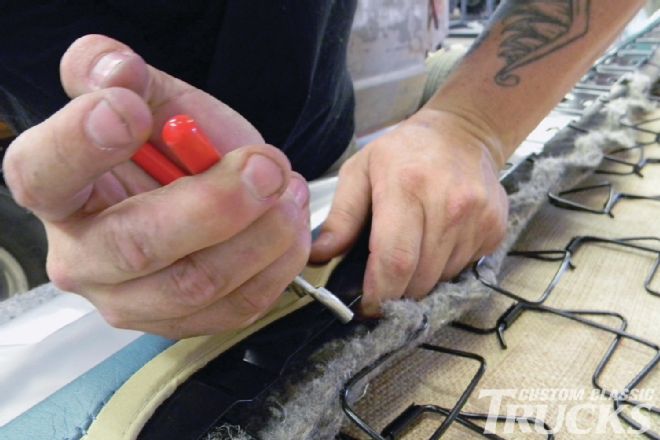
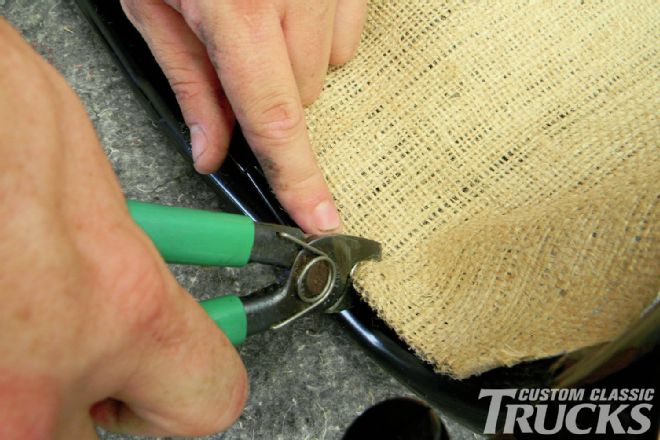 30. Once the glue has dried, Rusty hog rings the burlap to the seat frame.
 31. Now we place the foam with jute on the frame and make the final trimming.
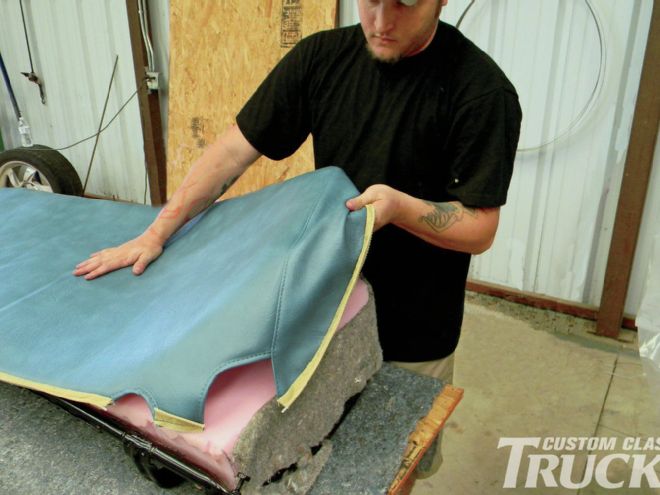
 32. Starting at one end, we set the LMC Truck seat cover over the foam and center it. Once the seat cover is centered, it’s flipped over so that it can be hog ringed down.
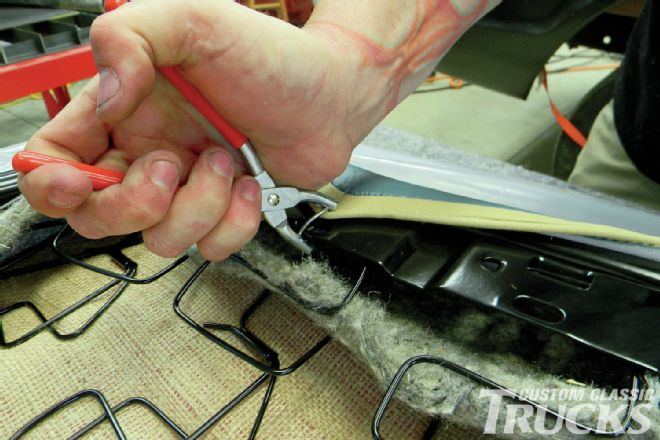 33. Finding the center of the seat, Rusty hog rings the front of the seat first, followed by a hog ring every 2 inches along the front, then the two sides, and followed by the back section of the seat.
 34. At this point, the base of our seat is ready to rock.
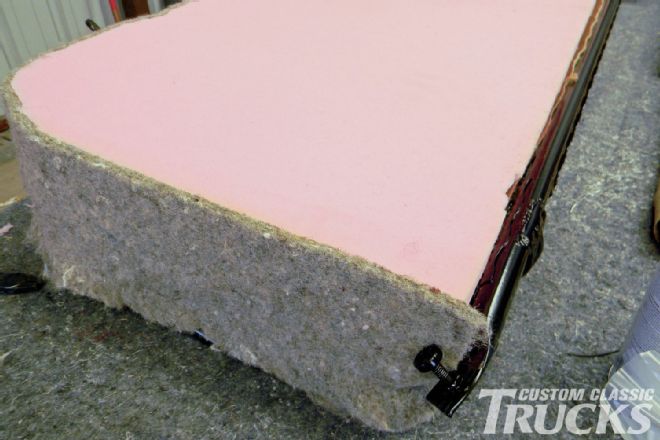
 35. For the back of our seat, we will switch to a 2-inch-thick piece of foam.
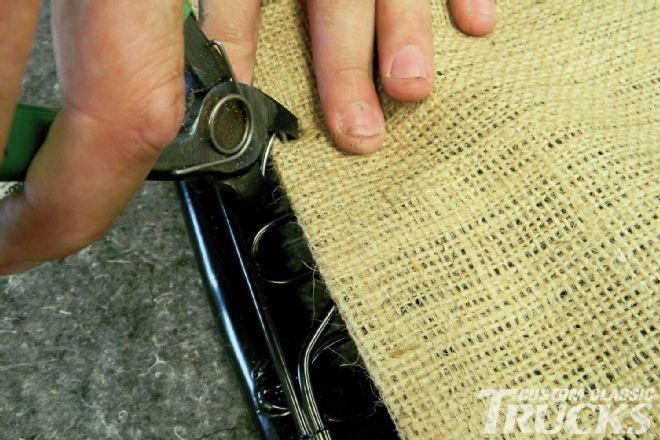 36. Once again, a burlap cover is fabricated and held to the seat back with hog rings.
 37. Then, Rusty measures the overall seat height to make sure everything is going to fit under the vinyl cover.
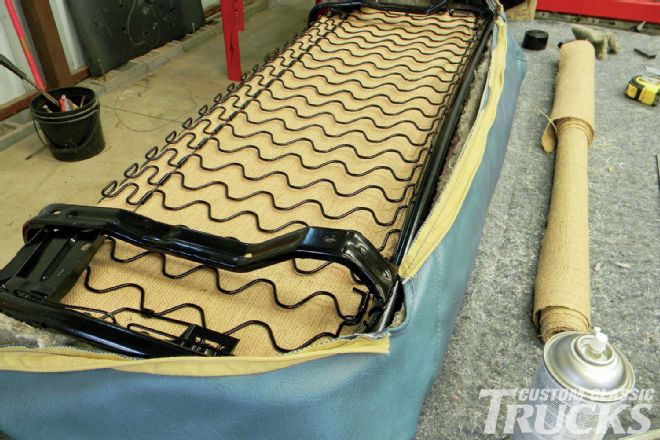
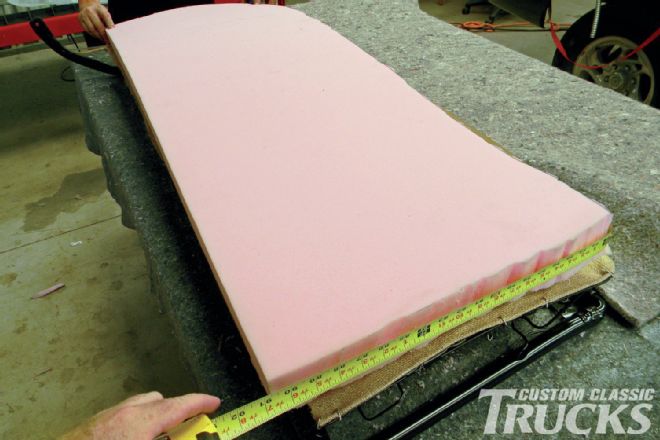 38. Next, we ran a tape measure around the outside perimeter of the seat cushion to get a length for our jute.
 39. Using a razor blade we trimmed our jute to fit.
 40. Double checking the fit and length, Rusty sets the foam and jute on top of the seat frame and trims the excess.
 41. With the seat cover in place Rusty starts at the top, hog ringing the seat cover to the frame followed by the two sides.
 42. He then finishes it up by doing the bottom portion last.
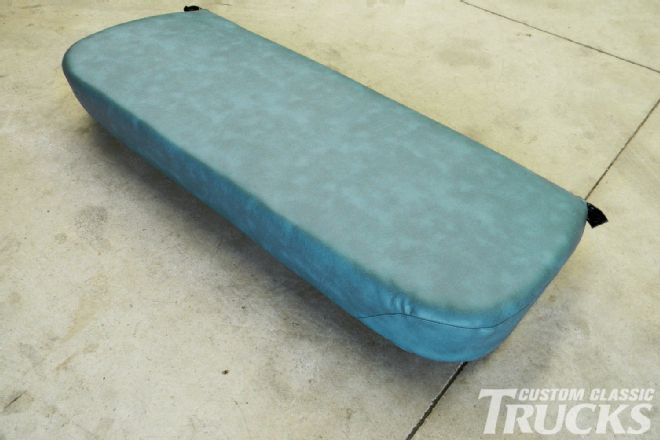
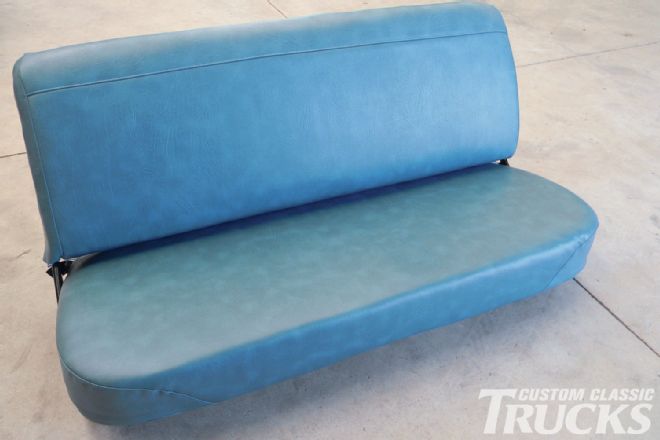 43. Once everything is nice and tight, the top is attached to the base and the new seat is ready to go.