
When it comes to upgrading the interior of a classic truck, the crown jewel of upgrades has got to be a new gauge cluster. As the centerpiece of the dash, it’s one of the few things that receive constant attention from the driver. That said, there are two good reasons to update those old gauges. One, who wants to look at a bunch of faded, blurry gauges? And two, if the gauge cluster is going to transmit the vital details of your engine compartment, shouldn’t it be done in a precise manner?
That was the driving factor when it came time to replace the gauge cluster in our buddy’s ’85 Chevy C10. It’d just received a fresh interior overhaul thanks to LMC Truck and the new door and dash panels made the lackluster gauge cluster appear to lack ever more luster. A few of the gauges had ceased operation as well, making a replacement all the more necessary. It was decided to replace the entire cluster, rather than rebuild and restore the original item, with a new, aftermarket unit from Dakota Digital.
Dakota Digital has been in the gauge business since this Chevy truck was brand new, 25 years if you’re counting, and are well known in the automotive aftermarket for their cutting-edge instruments. Their latest line of gauges doesn’t deviate from this trend in the least.
Known as the VHX System, a loose acronym for Vehicle Hybrid Instruments System, it represents the latest electronic dashboard technology for classic trucks. Combining modern digital electronics with a traditional analog look, the VHX Series gives the driver accurate information based on his vehicle’s system in a stylish package.
Highly lit message centers, flanked by fully lit needles and backlit faces, provide great nighttime visibility while the bright needles and characters on the gauge face make daytime visibility just as easy. The VHX dashboard also gives drivers unparalleled accuracy thanks to microprocessor technology monitoring solid-state sensors and driving stepper motors.
The combination of digital accuracy and solid-state reliability is a pairing that will yield quality service for miles down the road, backed by Dakota Digital’s limited lifetime warranty on a product engineered and manufactured in the USA. CCT
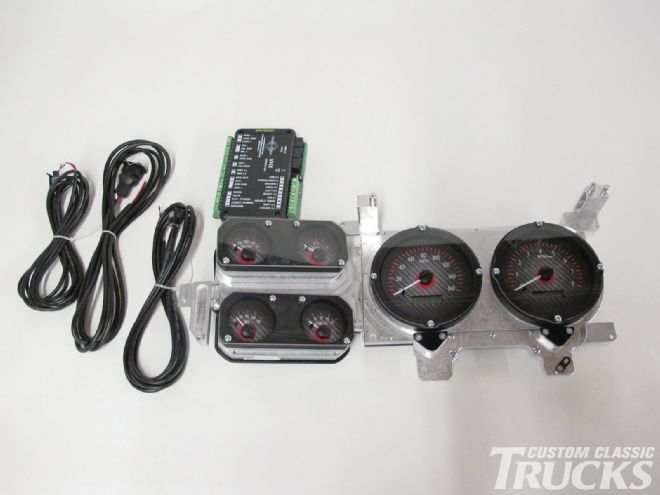
1. Here’s the gauge display, control box, and cables provided with the kit to hook everything up. The control box is the brains of the operation and will get mounted within 3 feet of the gauge cluster.
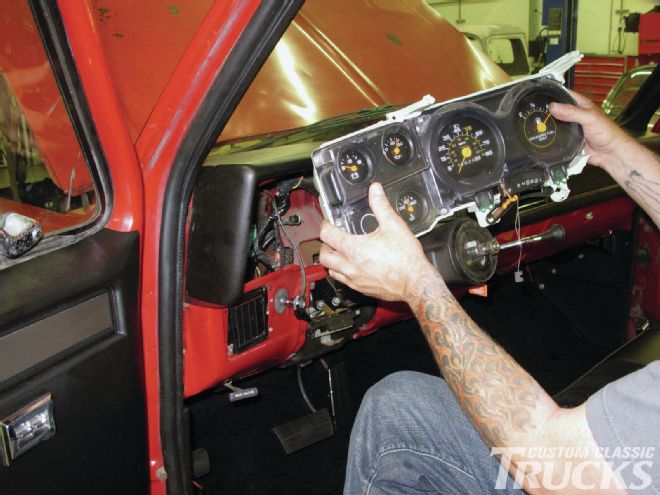
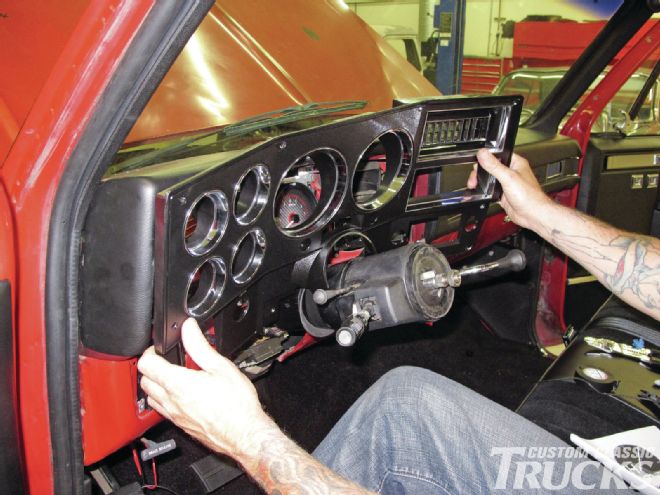
2. First things first, however, as the original gauge cluster needs to be removed before we get started. This will require removing the bezel, column surround trim, and possibly the dashpad as well.
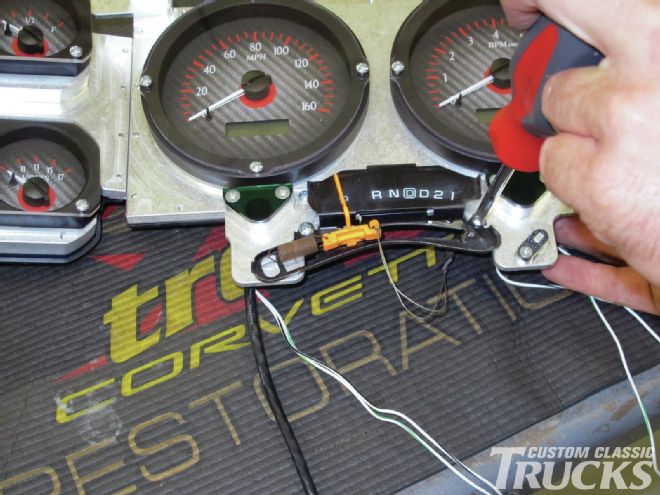
3. Since we’re going to retain an automatic transmission, we need to also retain the shifting indicator under the gauge cluster. This screws into place in the stock location on the Dakota Digital VHX gauge cluster.
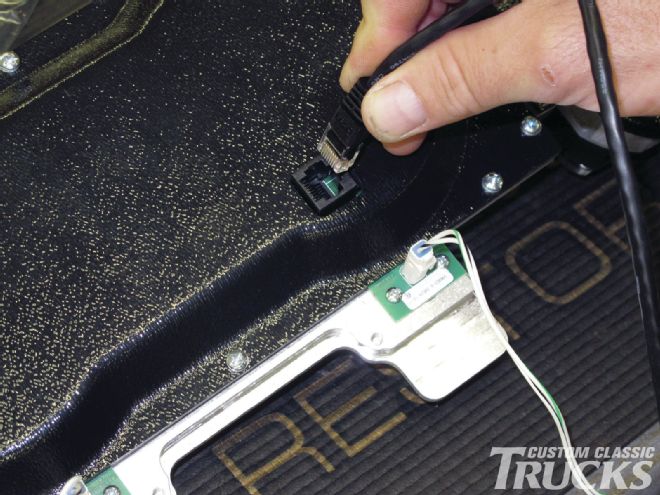
4. Since our gauge cluster uses multiple displays, first the two halves are mated together used the wht/grn and wht/blk wires. Then the CAT5 cable is connected, which is to be run to the “display cable” connection on the control box.
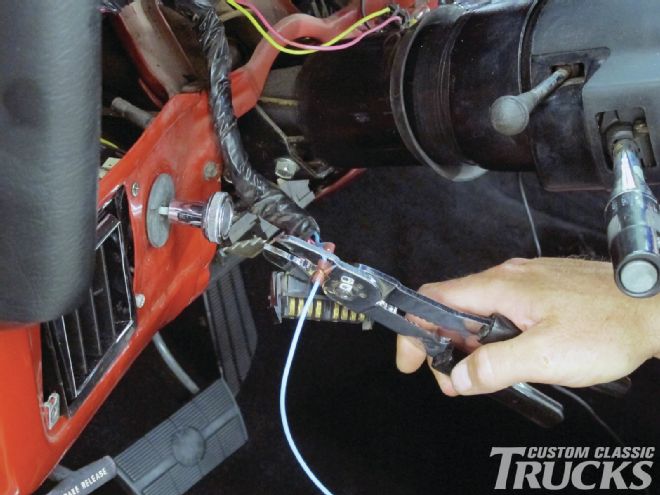
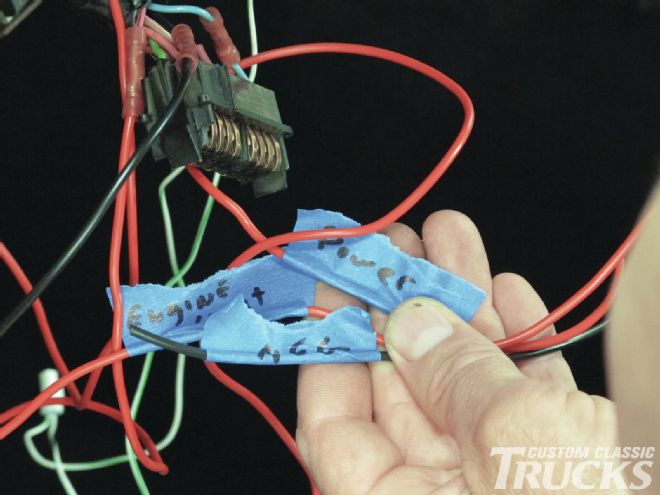
5-6. The easiest way to wire in the control box is to use the original gauge plug to identify each wire’s source, cut them free from the connector, and then mate them to another length of wire running to the control box and its corresponding attachment point.
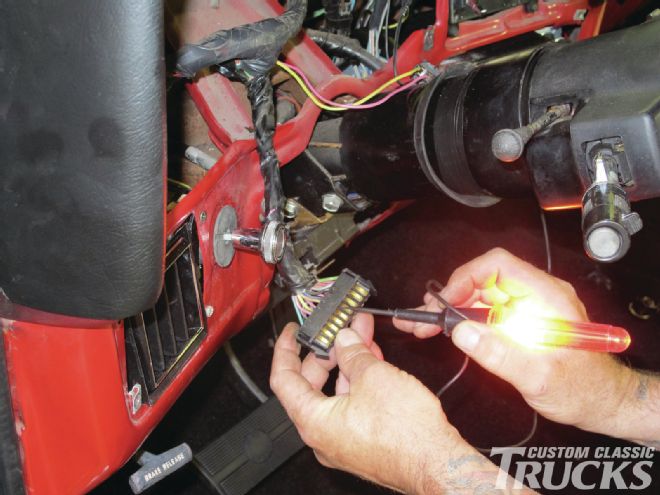
7. Here, the engine start, 12V+ power, and accessory circuits have been identified.
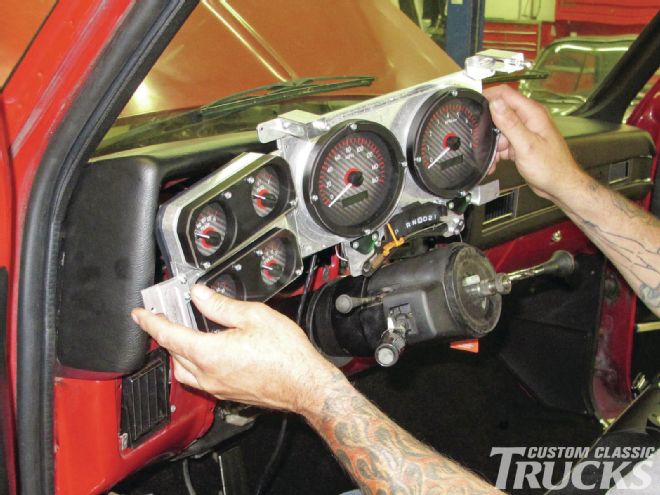
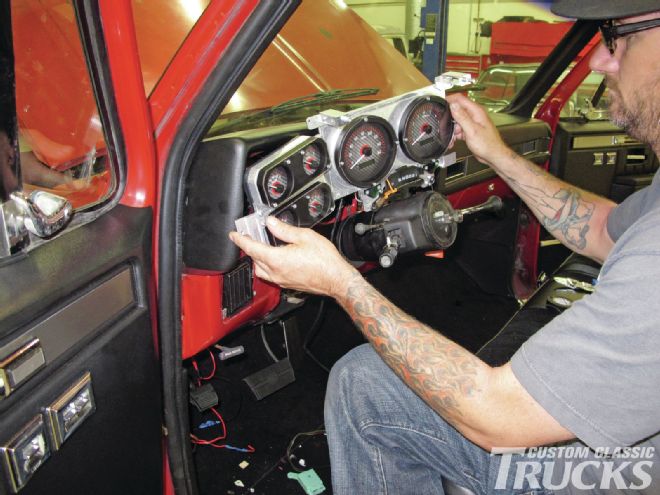
8-9. The new gauge cluster goes in just like the original came out, only opposite.
10. The wires previously identified are then attached to the control box…
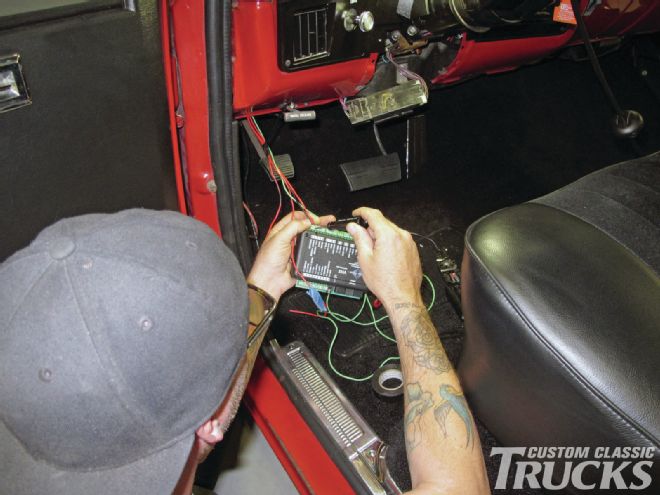
11. …before it’s mounted on the kick panel. Note the CAT5 cable attached under the “display cable” label as well as the first of the many wires from the original plug.
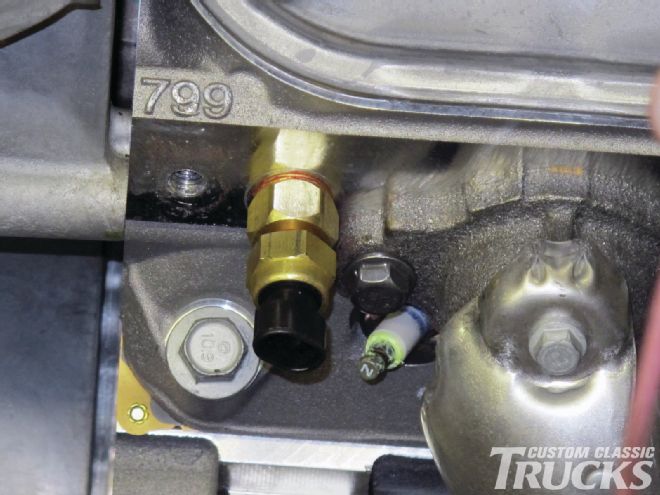
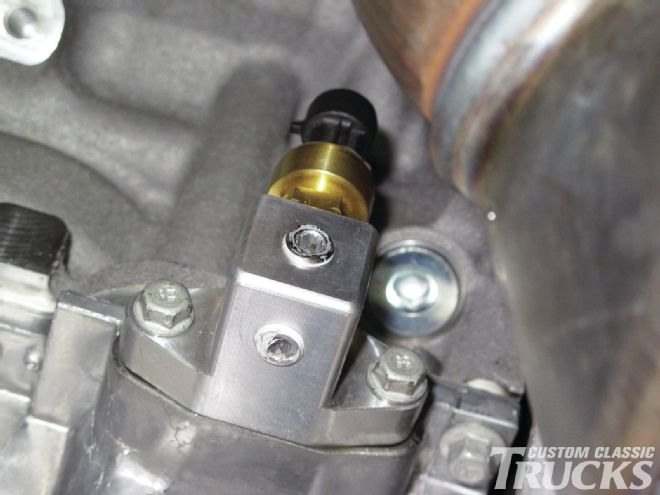
12-13. Next, it’s time to install the senders. These vary between applications, but here, the oil pressure and water temperature senders are installed on the engine.
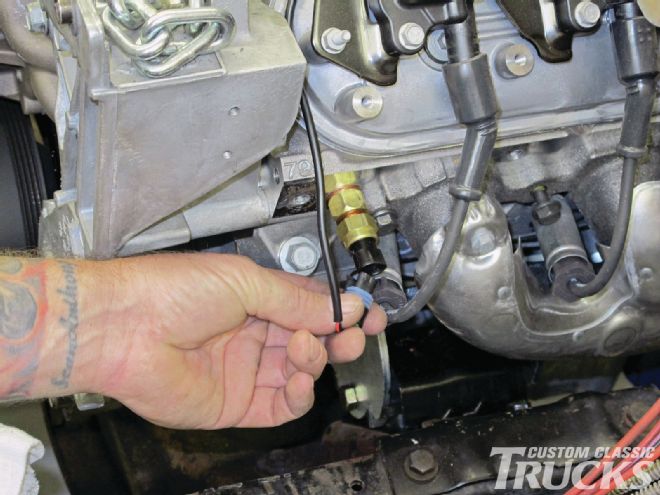
14. Each sender also has a specific cable, enabling the entire system to be “plug and play.”
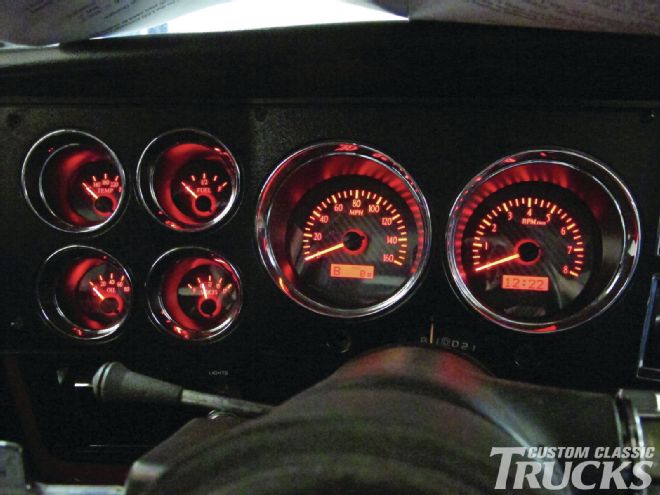
15. A few more connections and the gauge cluster is ready to be programmed by following the provided instruction manual. Once the initial programming is complete, the cluster should look like this. We still need to get the motor and trans install wrapped up, then we’ll complete the control box setup.