
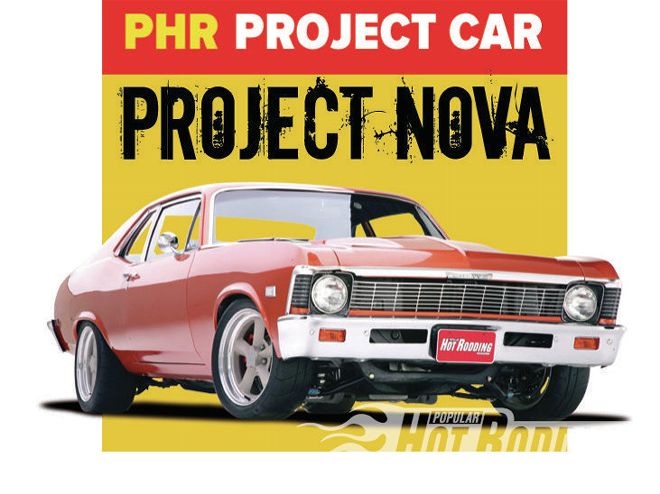
Looks can be deceiving. Take our flawlessly restored ’68 Nova for example. Even after Outlaw Motorsports in Riverside, California, spent six months of slaving over the sheetmetal, making things smooth, and coating it with a perfect layer of Eastwood’s Malibu Sunset Metallic, Project Nova still hid an ugly secret: frayed, 40-year-old fire-hazard wiring. In past projects, we were able to overlook the old wiring because it wasn’t that bad—but here we were faced with a real rat’s nest. It had to be dealt with head-on, and soon.
Wiring an old car is one of those jobs that at first blush seems diabolically simple. What could possibly be that hard? Just pull out the old wiring and run new wires. The truth is, completely rewiring a car has a difficulty level of the highest order—on par with an engine buildup or a body and paint restoration. What brings the job within the ability of mortal hot rodders are kits from companies like Painless Performance. We want to make something perfectly clear from the hit: just because the company name has the word painless in it does not mean this job is a piece of cake. It merely brings the difficulty level down from “design a manned orbital spacecraft and deliver it safely back to earth” to “finish the New York Times crossword puzzle in a week.” It’s still ornery, frustrating work.
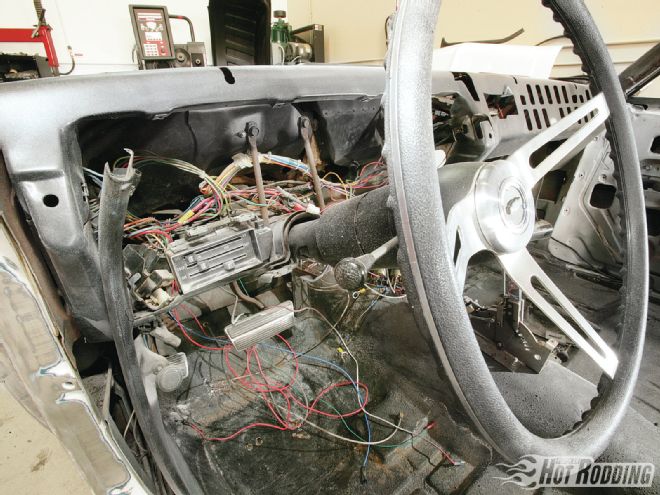 The age of our Nova notwithstanding, the wiring in our ’68 had been the subject of several teenage hack jobs over the years. We discovered the enormity of the carnage once we blew the car apart for restoration.
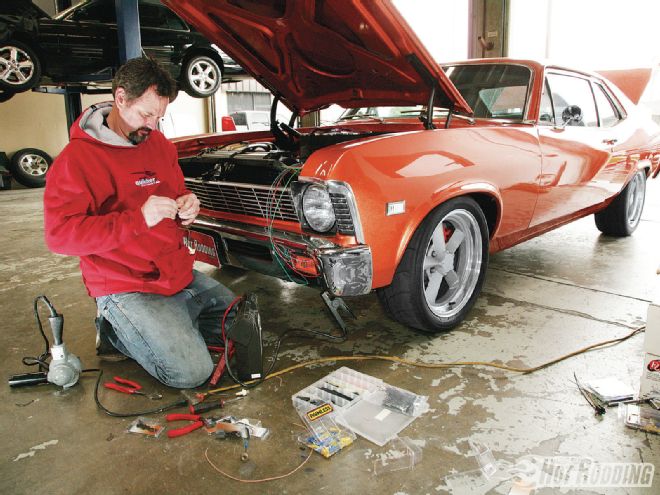
Ron Aschtgen at Outlaw Motorsports has been installing Painless Performance kits in muscle cars for years. Presently, he’s one of the most experienced installers in Southern California, and he insists on using Painless kits for all of Outlaw’s restoration projects. We admit to being a bit naïve going in: We figured this for a one-day project, a weekend tops. This is no “grab a case of beer and a buddy” weekend project. Even with 20 years experience, it took Aschtgen nearly a week to do our ’68 Nova using Painless Performance’s Universal 12-circuit Muscle Car kit (PN 20103, $449.95 street).
The difficulty level of our Nova was compounded by the fact that we had to use a universal kit. We’ve run into this before with other suppliers—the ’68 Nova is an oddball year, having traits of earlier cars (for instance the dash-mounted ignition key), but having much of the wiring of the later ’69-72 Novas. This meant our kit came without pre-terminated plugs for the ignition switch, dimmer switch, headlight switch, blower motor, wiper motor, or turn signals. That said, our experience would be representative of what any oddball car—say a ’69 AMC Ambassador—would be like.
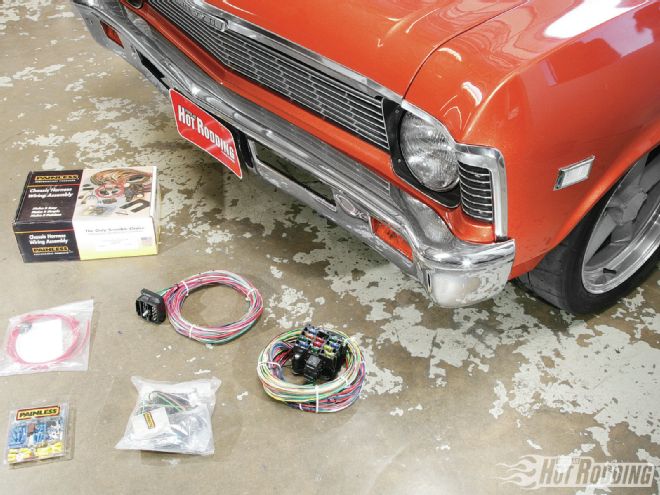 Painless Performance’s 12-circuit Muscle Car Harness (PN 20103, $449.95 street price) to the rescue. Plan on banking a few hundred dollars on top of the kit price for stuff like bulbs, connectors, extra zip ties, tools, sockets, switches, and other stuff. If you’ve got a ’69-74 GM, you’ll be glad to know Painless makes a more expensive kit with many of the extras—like pre-terminated plug ends—included.
To be manageable, the wiring job should be split into four smaller jobs of about a day for each: laying out the harness and attaching the bulkhead connector, wiring the engine bay, wiring the rear of the car, and wiring the cockpit/instrument panel. To get ready for the job, you’ll need to remove all of your old wiring, but don’t throw it in the trash heap just yet. You’ll need to systematically remove all the unique plugs and terminals—stuff that plugs into the wiper motor, high beam switch, ignition switch, dimmer switch, marker lights, turn signals, blower motor, and dozens of others.
Count on lots of trial and error if this is your first at-home wiring job. A circuit tester and a jump-start booster box (for testing circuits) are indispensable. You’ll want a soldering iron, solder, an extra box of butt connectors, heat-shrink tubing, electrical tape, wire loom, flush-cut dikes, a crimping tool, wire ties, and a heat gun. Also, plan on replacing a lot of burned-out 40-year-old instrument panel bulbs and bulb sockets (found at most auto parts stores). If you want to replace your ignition or headlight switches with new ones, order them ahead of time. Before you dive in, put Painless Performance’s tech number (800-423-9696) on speed dial, and be sure to save the Painless Performance tech forum (www.PainlessPerformance.com/forum/index) as a favorite on your web browser. Now you are armed for success!
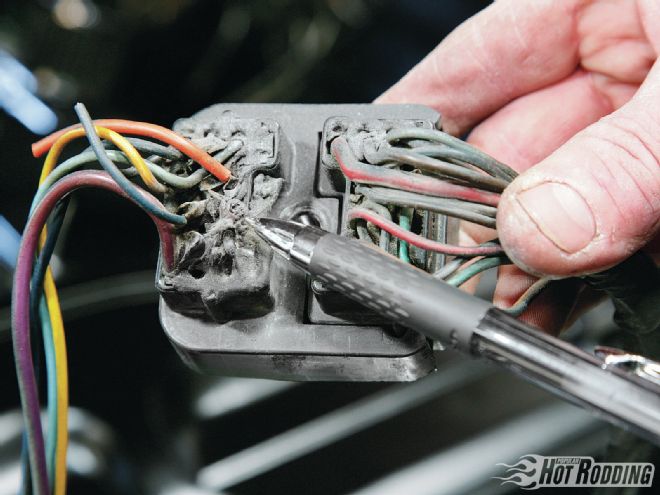 The old bulkhead connector illustrates how OE wiring can become frayed and burned over the years. The pen points to the ignition power lead, which has had too many add-on circuits piggybacked onto it over the years, and has burned up.
If it sounds a little too difficult for your skill level, Outlaw can also do the job for you. In fact, while we were there, Aschtgen was rewiring a ’67 Chevelle that had a botched rewiring job from a less experienced shop. Aschtgen says they typically charge about $1,800 for putting in a new Painless kit, but the cost can vary depending on stuff like aftermarket gauges, aftermarket A/C, keyless entry, or high-powered stereos. To see how our progress went, go to the PHR YouTube channel (YouTube.com/PopularHotRodding) and check out the videos.