In 2005 my wife and I had the opportunity to purchase a brand-new car. When I drove the new car home I realized one thing right away, it was quiet inside and I didn't have to crank the windows down. At the time, I was driving a four-door '62 Chevy Impala with Rally wheels. It was a hard top so I could roll the windows down and it would almost appear as if it was a two-door, but that's beside the point. The only thing about that car was when I did roll the windows up the wind noise was horrendous and you were not able to talk to the passenger without yelling. Skip a few years, I sold the Impala to buy a 1959 Chevy Apache Fleetside, but again, the wind noise at highway speeds was enough to drive me crazy. So I contacted Brothers Trucks of Corona, California, where their friendly staff guided me through a way to get rid of some of the obnoxious noise coming inside the cab.
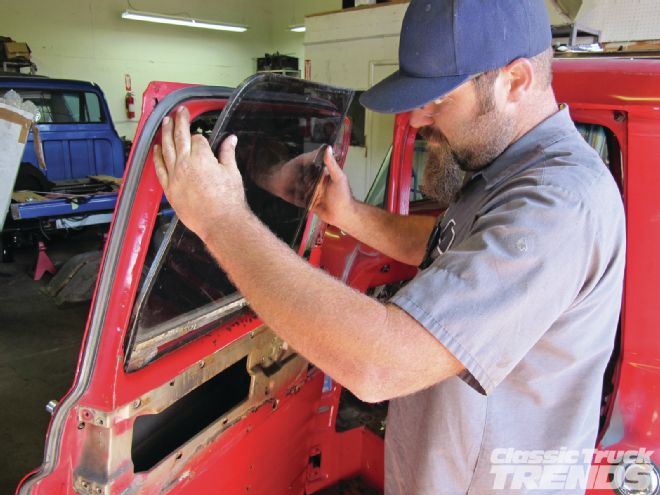
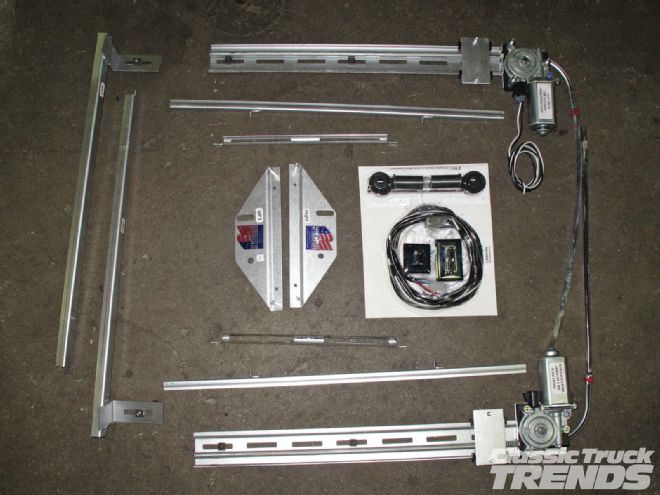
First order was to install their one-piece glass, along with new door components to shine up the interior. The kit comes with two window switches, wires, two regulators with motors, run channels, window felt, glass, and a bag of miscellaneous hardware. There are several things to take into consideration when installing the one-piece windows. One is, depending on whether you want to upholster the door panel or not; I choose not to upholster the doors. Secondly, the directions state that you can cut a square hole in the door for easy access to the guts of the door, but this step was not necessary with my doors as it was possible to reach the parts from the large open hole in the top of the door. Lastly, I wanted to maintain an original look inside the cab, preferring to maintain the stock-style handles to control the window motors. I was in luck, and it just so happened that Brothers Trucks had been working on a switch that would do just what I was looking for. The switches are separate from the kit but will operate the power window motors from the stock location in the door panel with Brothers replacement window crank handle—my stock crank handle would not fit the new switch.
So with the one-window piece window all figured out parts wise, I wanted to further reduce noise by also installing a new door seal. Taking these steps now ensures that when my truck is road worthy it will be more comfortable to drive. And besides, I want to hear some tunes while cruising!
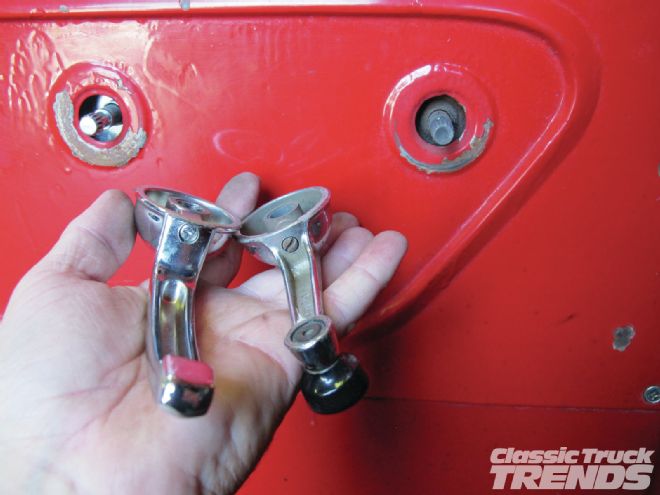
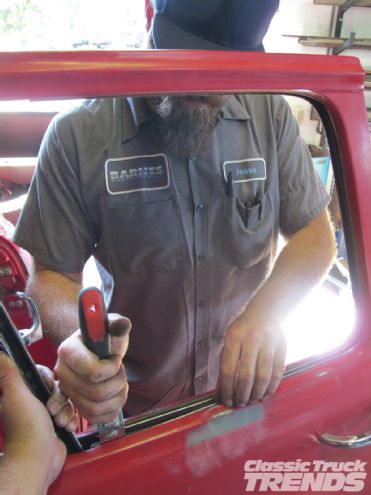
I headed over to Barnes Fabrications of Escondido, California, where Jesse Barnes helped out where I needed more than one set of hands. The first step was to remove the door handle and crank window arm with a long flat-head screwdriver. Don’t pry them off, the handles have set screws on the underside and once unscrewed they should slide right off.
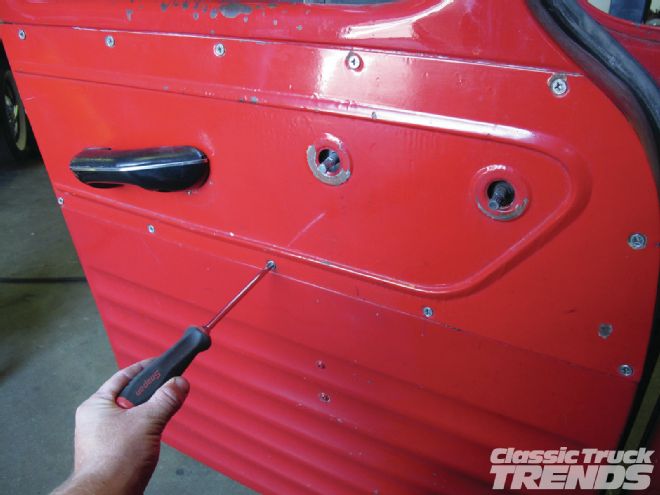
The next step was to remove the Phillips head screws from the door panels to remove the outer cover from the door, as well as the arm rests.

The door latch mechanism screws require a special tool, which luckily a local hardware store had in stock. Remove the door latch mechanism and set it aside.

Remove the upper door trim and there are two screws holding the wind wing, remove them.
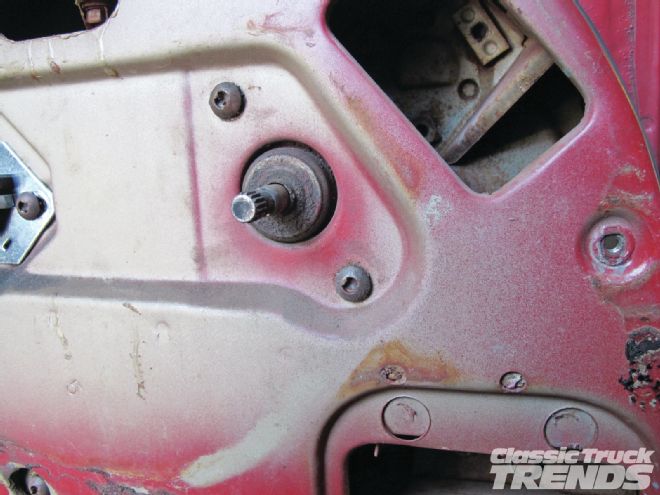
Support the glass with tape and remove the window regulator bolts on the lower part of the door. Also, remove the bolts around where the window crank handle slides into.
Next, remove the felt. Jesse used a door panel removal tool but a regular flathead screwdriver will work.
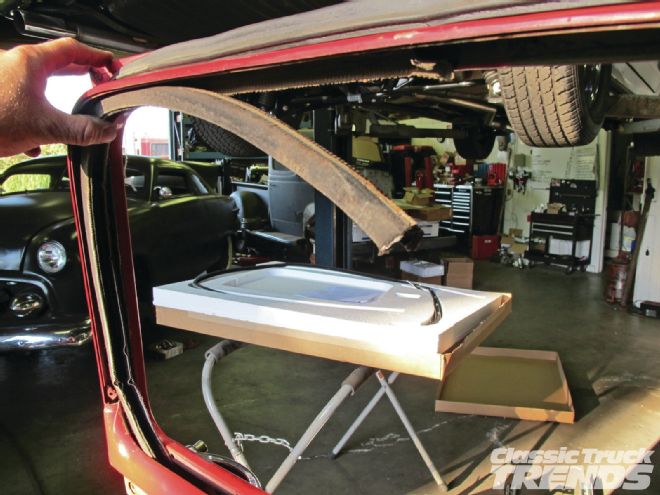
Remove the 1/4-inch bolts holding the glass to the regulator and remove the glass from the door. If you plan on selling the glass, be careful when pulling it out so you do not scratch it.
Jesse removes the wind wings and, again, carefully makes sure not to scratch the glass.
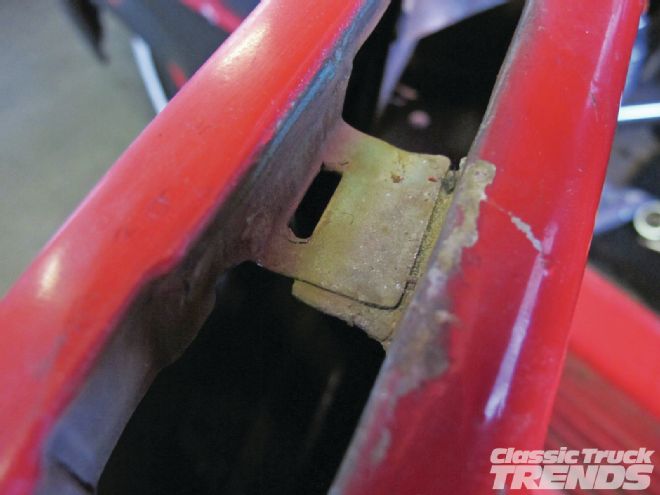
You will need to cut this piece of the door. It helped guide the old window but now it will get in the way of the new one piece window.
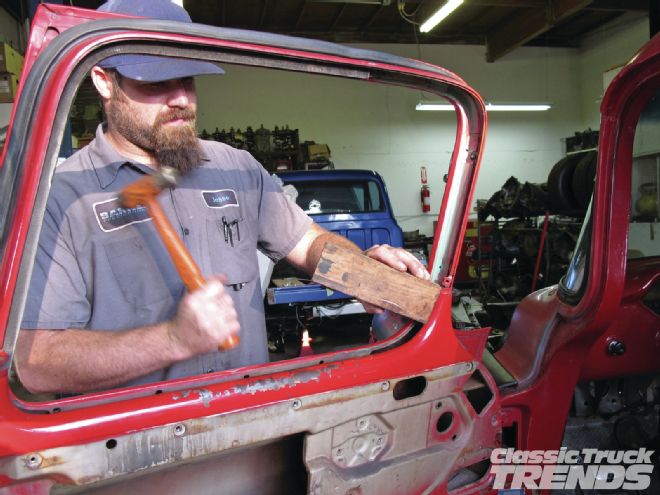
Next, we used a block of wood and a hammer to even out the gaps in the front of the door. It doesn’t take much of an effort here; a few whacks with the hammer and the gaps were perfect.
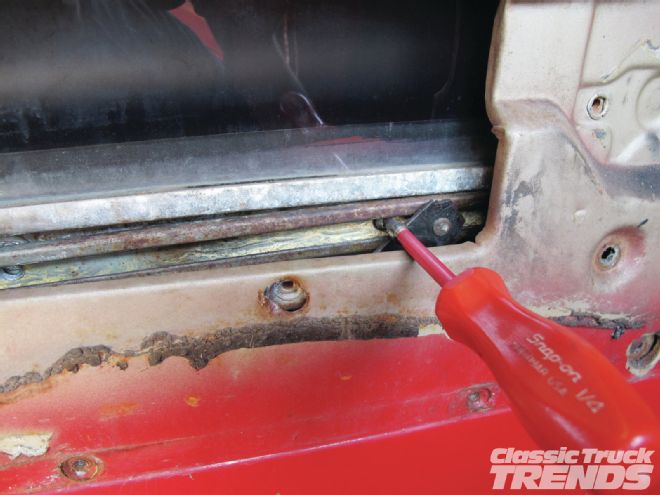
Now is a good time to remove the old window run channel and clean where the old glue was.
There is a metal crossbrace that connects the inner and outer door skins; this will have to be removed to make room for the regulator. Jesse used an air powered buzz saw to make quick work of the metal crossbrace.
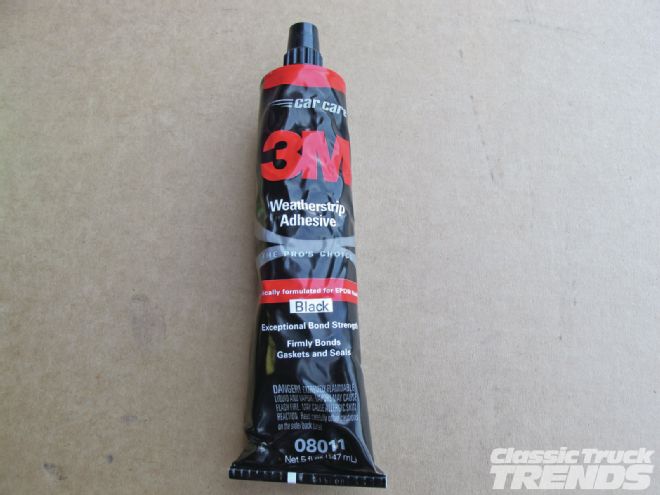
3M PN 08011 is a black weather strip adhesive that will work perfect to glue the new window run channel.
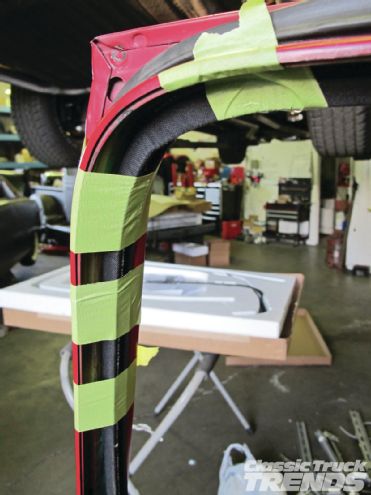
Here I used the 3M glue to attach the run channel to the rear upper door. Tape was used to hold the run channel and glue into place while I worked on the other pieces. Do not glue the whole run channel in at this point because the front of the window to the run channel may need to be spaced to fit your door properly. This will depend on how well your door was constructed by GM.
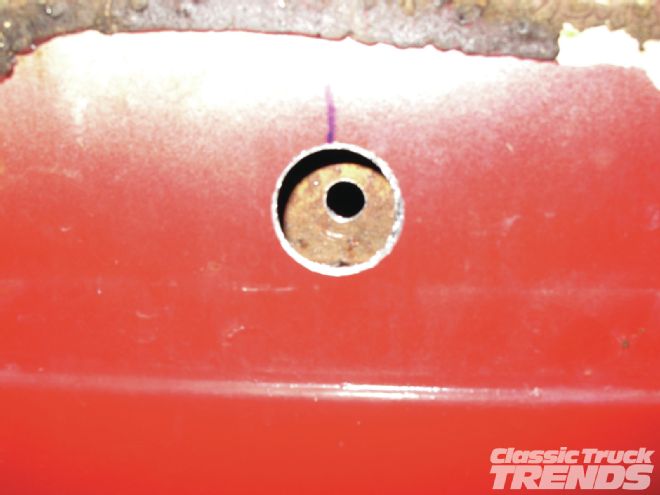
You will need to drill a few holes for the new window regulator. Working with the driver’s door measure 13¾ inches from the left and 1-3⁄8 inches down and mark this with a Sharpie. Moving down from the top hole measure 13¾ inches from the left and 2¾ inches down from the big rectangle hole in the door and mark with a Sharpie. On these two markings, you will need to drill a 5⁄16-inch hole through both panels and then use a 7⁄8-inch hole saw to drill into only the first panel.
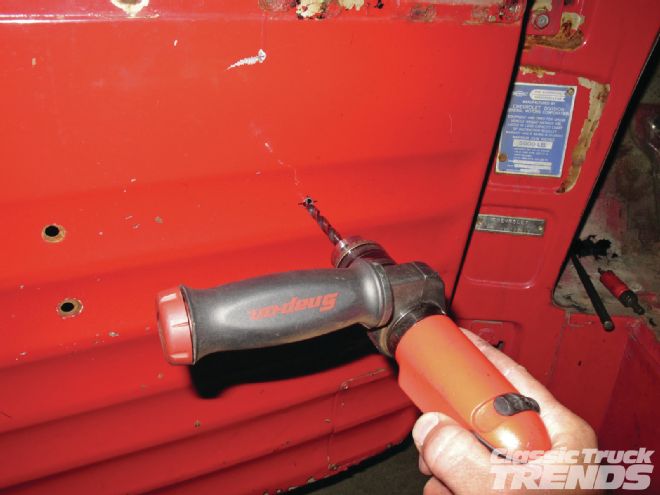
Measure 9-1/2 inches from the second hole down and 13¾ inches across from the left and mark and drill with the 5⁄16-inch bit. Next, measure 7½ inches from the right side of the door and 6 inches down from the bottom crease of the door latch cover, then drill with a 5⁄16-inch bit. The last hole is for the front run channel guide that will require adjustment inside the door. This may be a good time for you to cut the square hole out for easier access but, again, this is optional.
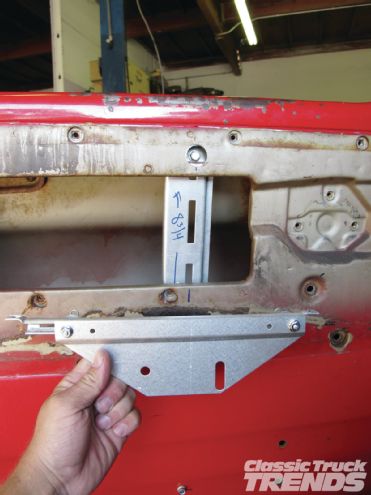
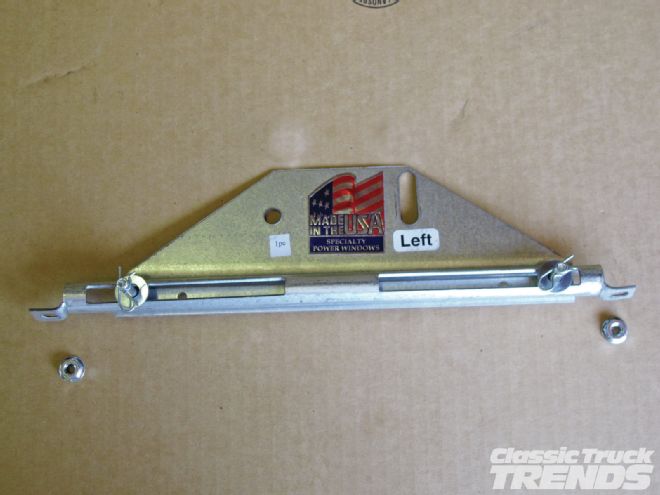
Test fit the regulator inside the door panel. You will need to pull the regulator in and out a few times to get the adjustable nuts to line up to the holes drilled in the door. Notice the plate that I am holding; this will attach to the regulator with the acorn nuts. When using the acorn nuts, they will not tighten to the regulator all the way, this allows for the window to move freely in the channel and prevents binding.
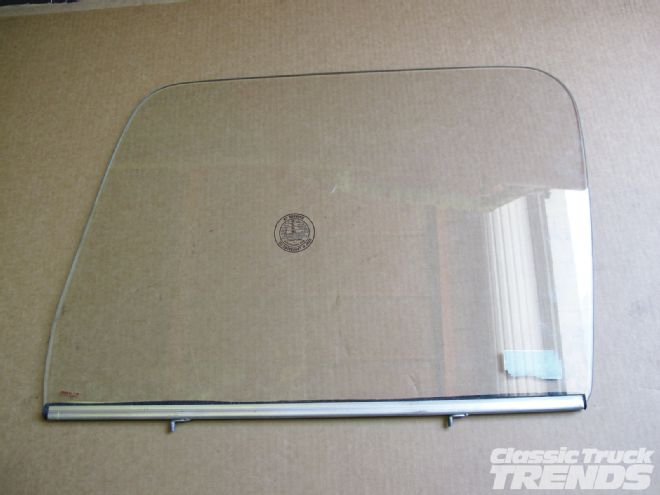
Next attach the supplied window base channel and rubber to the new glass. After putting the rubber in the channel, bend it in half so that the sticky side is towards the glass. I used a rubber mallet to gently hammer the channel on to the window.
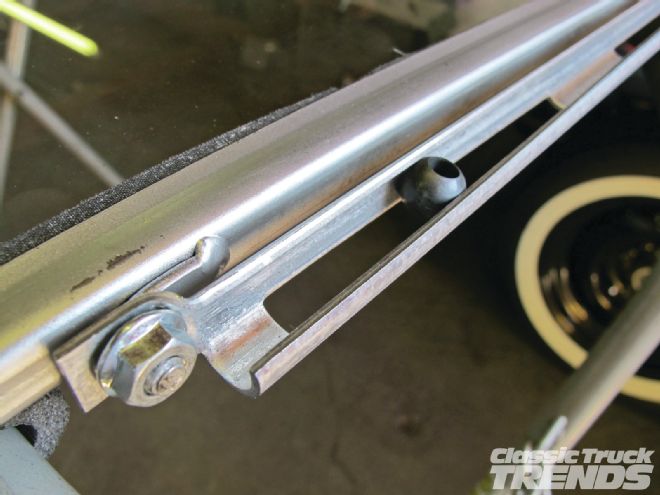
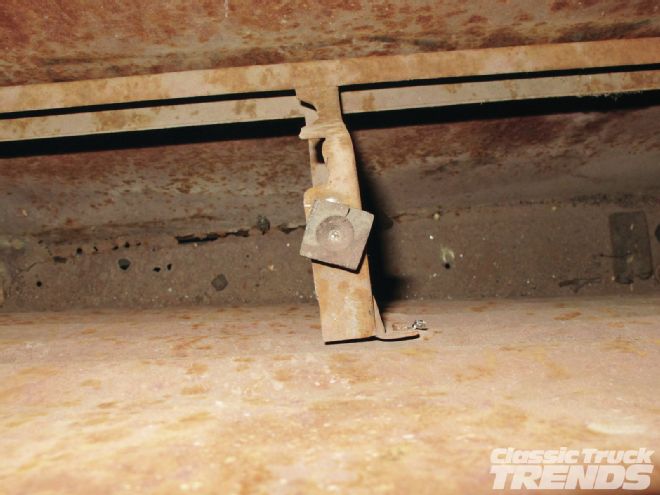
There is a guide that you will need to put the black ceramic balls into so the regulator can float freely from side to side. Next, attach the supplied nuts to the bottom of the window base run channel to the guide. This guide will be attached to the window regulator and is guided via the round balls with the holes in the center.

Slide the window into place and check for fitment issues with the window and run channel, adjust the gap if necessary and finish gluing the remainder of the run channel. I would suggest using tape to hold the run channel to the frame while the glue is drying.
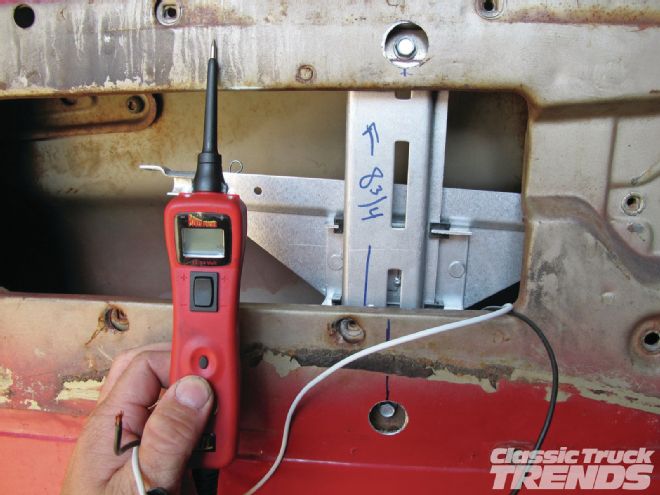
I used this handy tool called a Power Probe. It hooks up to the vehicle’s battery and allows you to apply power and ground circuits safely using the built-in circuit breaker. I applied power and ground to the regulator motor to bring it to the top of the door.
This is how the guides should look when inside the door panel. Remember to use the acorn nuts for the regulator guide so that you don’t crush it against the regulator. Also, use the supplied washers and clips to mate the two guides together. You will need to copy this, but inside the door frame.
This is the front run channel guide that will need to be adjusted once inside the door. Roll the window up and down to adjust it accordingly.
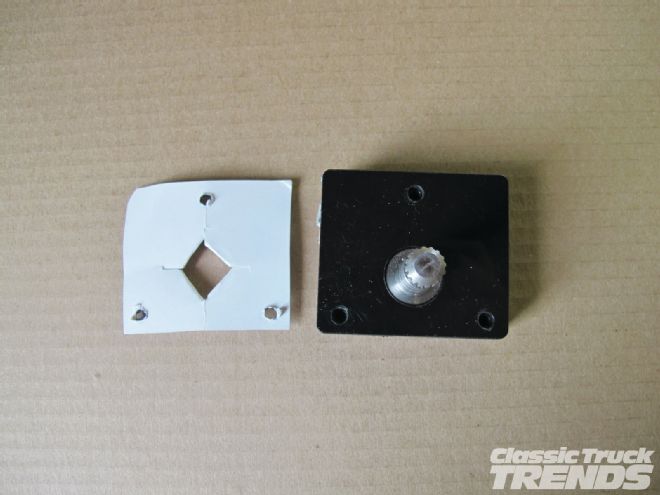
This is the switch that will go into the stock window crank’s place. This switch is an extra option from Brothers that will keep the stock look of the door panel and handles. Make a quick template out of paper and transfer it to the door panel. Use a punch and small drill bit to drill the three holes for the switch mounts. In my case, I had extra material that I needed to file away in order to mount the switch smooth on the inside of the door. Connect the wires from the kit to the switch and take the two blue wires and connect them to either end of the window motor. Test and make sure they are hooked up correctly.
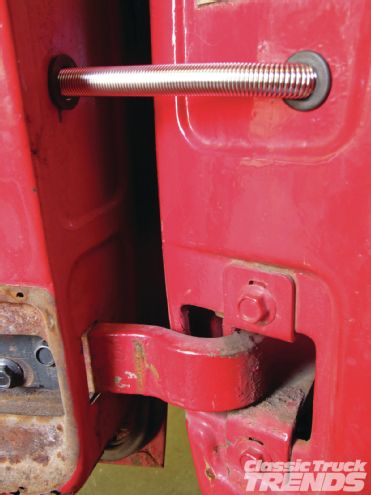
Drill a 3/4-inch hole on the driver’s side A-pillar and a 15⁄16-inch hole on the inside of the door. I used the rubber grommet to hold the spring in place, and the other slide bushing to allow the spring and wires to move freely into the door when opening and closing. Find a buddy with long arms to help you with the inside washer that will hold the slide bushing in place. I removed the door from the body to drill the 15⁄16 hole but if you cut the square access hole you could just drill the hole from the inside of the door panel.
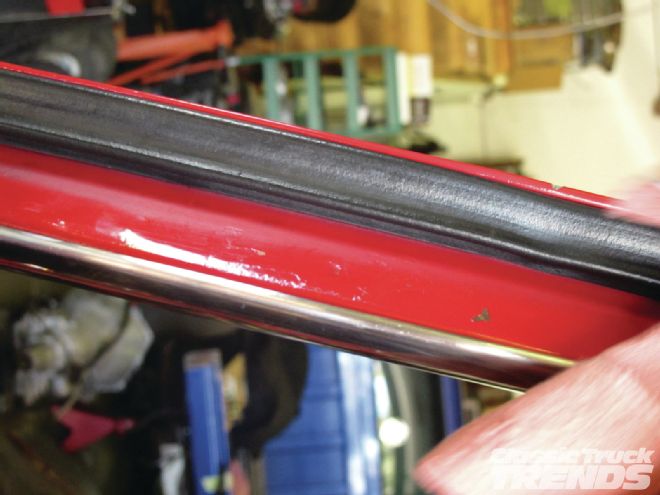
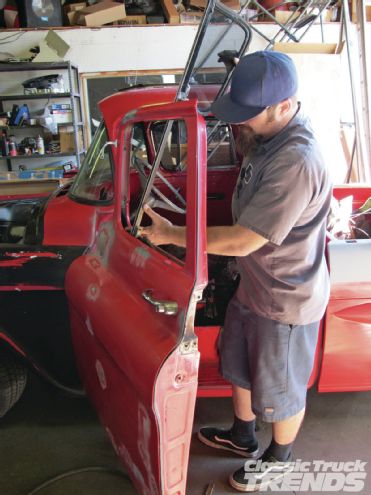
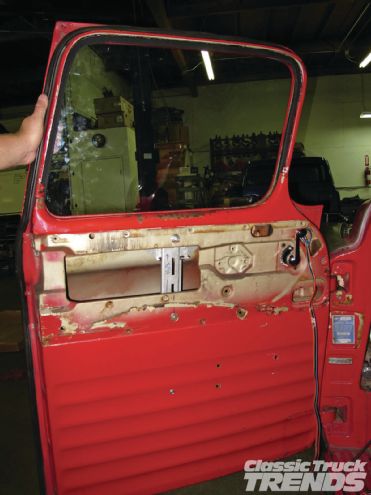
While I had the door panel off, I went ahead and replaced the outer door handle with a new Brothers Trucks handle and also replaced the outer door weatherstrip that I purchased from Brothers.
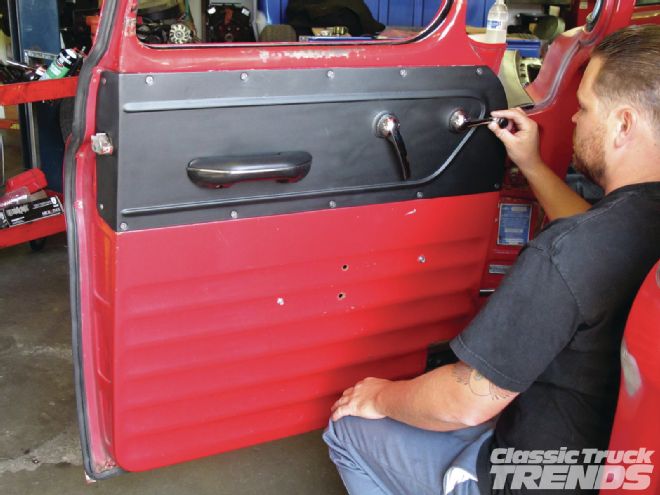
I installed the door latch mechanism, the outer cover, and the new Brothers door latch handle and window crank. Now it was time to finish up the wiring on the switches that go into the cab. I used a 12-gauge power wire coming straight off the battery and a 20 AMP fuse to protect the motors. If you choose to run it off the ignition switch, it would be preferred to use a relay and also if you have kids, they can’t roll their hands in the window without the ignition on.

Here is a photo of Scott Lauffer’s 1957 Chevy that also has the Brothers one-piece window kit. I thought it would be nice to show you a finished truck rather than my unfinished Apache.