 As scary as it looks, this tangled mess of wires is really simple if you break it down.
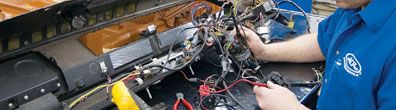
There are few things that cause a classic car owner more frustration and dread than wiring and electrical issues. From starting and charging problems, to gauges and taillights that won't work correctly, tracking down wiring troubles can lead to endless hours of searching and to feelings of helplessness like nothing else.
The truth is that precomputer wiring harnesses are actually fairly simple systems. The reason most of us are so intimidated by them is because we have so little experience dealing with them. Of course, it doesn't help when a taillight problem could actually be located in a firewall bulkhead connector.
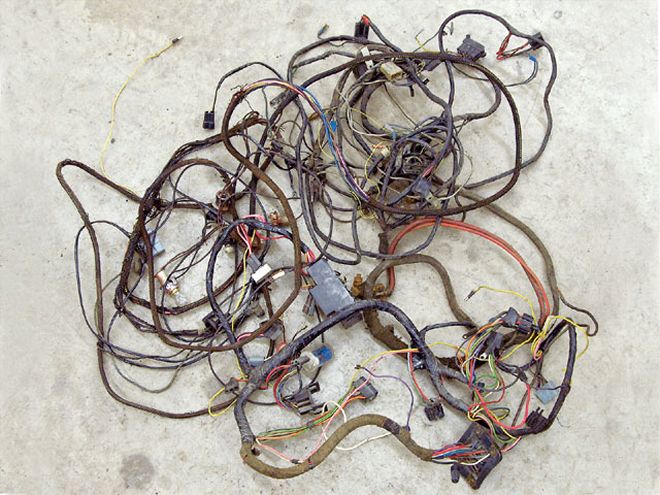 This rat's nest is the entire wiring harness. Once you untangle and stretch it out, it's not nearly as intimidating as it looks.
It's also true that most electrical troubles are not really electrical issues at all, but rather mechanical ones. Corrosion, vibration, and three or four decades of seasonal weather changes all work to undermine the physical integrity of the harness and its connections. Other problems can be caused by any number of dealer or previous owner additions that may not have been done correctly.
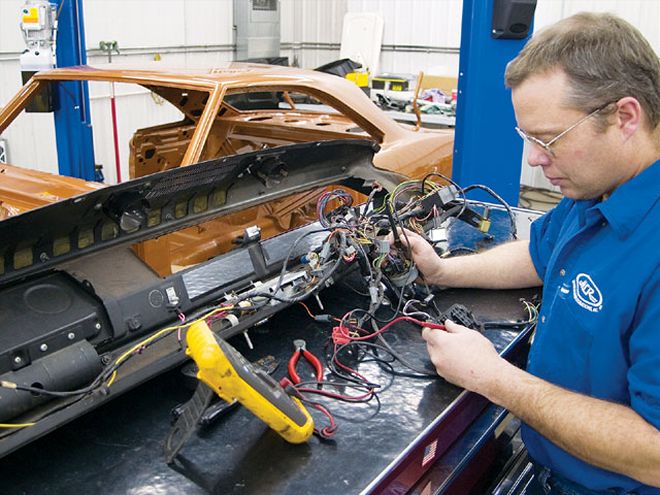
All the previously mentioned issues are certainly the case with the wiring harness in the '68 Barracuda that Muscle Car Restorations (MCR) is tackling as a testbed for their new program-the Progressive Restoration. This is a new consumer-available process where instead of restoring the car all at once, the car is done in stages, one section at a time. It's a great concept that enthusiasts can employ when they need to slowly restore their car over time, but still want to drive the car during the summer. It sounds like a great idea to us.
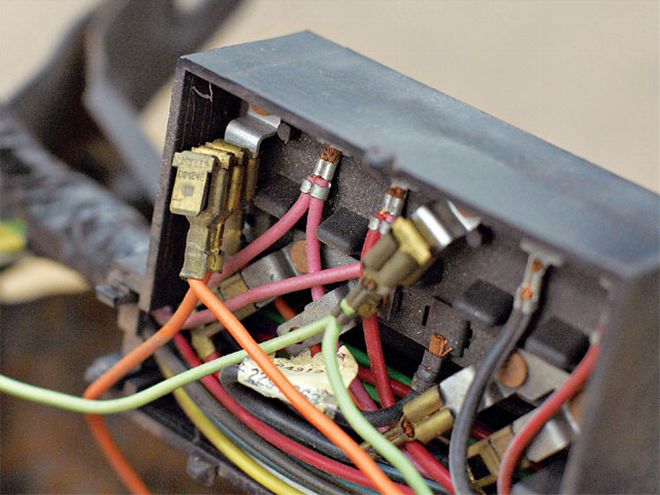 Notice the piggy-backed connectors in the back of the fuse box. These could have been added by the factory during assembly or later by a dealer. Even aftermarket dealers could have made additions here. While this kind of addition is better than cutting and splicing wires, you have to make sure that the wattage-sum of all the accessories doesn't exceed the rating of the fuse on the other side.
Wiring harnesses are generally in three sections: under the dash, under the hood, and everything from the dash rearward. Many times, the wiring may be in good shape, and a rewrap is all that is needed. But what if your harness has been the victim of a guy with wire strippers, little blue snap-on wire clips, and/or three rolls of electrical tape? You might be better off simply replacing the wiring harness. You heard correctly, you can now get a completely new wire harness from YearOne. There is no way, however, to anticipate every option that could be on your car, so it's important to take a lot of detailed photos and careful notes during disassembly; that way when you begin to replace the wiring in your car you know for sure where everything goes. Keep in mind there could be some additional wiring that you may need to add to the YearOne harness. Do yourself a big favor and, if possible, remove the dash so you can restore it and your wiring on a bench. The underdash wiring is not nearly so intimidating when it's out in the open on a bench where you can see everything clearly. Removing the dash is especially worth the effort if your gauges also need work.
Before you decide that you do need a new harness, there are a few things to look at. If your harness doesn't have these problems, you might be lucky enough to simply rewrap and move on. Just remember though, there may be hidden problems that could come back later to haunt you, so keep that in mind when deciding if you need a new harness or not.