Those of you who have followed our '69 Charger project know that we started with a bare shell of a car with little history other than knowing it was a pretty common 318 auto/air-conditioning setup. That allowed us intrepid journalists to justify taking some liberties with the design of the car. From drivetrain to suspension to interior to body, we're touching it all, albeit subtly. This month we're tackling one of this author's favorite alterations: bodywork for functional brake ducts.
I grew up an oval track racer and spent the majority of my youth wrenching on and driving race cars. Nowadays I'm still known to don the helmet occasionally, but leave most of the racing duties to my 17-year-old son. My point in telling you this is that over the years I've gained a first-hand appreciation of the importance of a good brake cooling system. Overheating the brakes on a racetrack usually ends with bent sheetmetal and some sort of unwelcomed pain for the driver.
Our Charger is being designed as an all-around racer. Hard driving including straight, left, and right turns are all in its future. Plus, given this model's NASCAR pedigree it seemed to make sense to include a system to keep the monster Wilwood disc brakes icy cool in the heat of competition. So when designer Murray Pfaff created the original sketches for our Charger he asked if we would be open to putting brake cooling scoops in the rear quarters. Never ones to shy away from an idea, we took a look and liked the concept. With the decision made to create custom scoops we decided that we wanted to use existing scoops from a same-era Mopar. One call to Stephen's Performance and side scoops off of a totaled '70 GTX were on their way to the master restoration shop and home-away-from-home for our Charger, The Finer Details in Danville, Indiana. Follow along as The Finer Details' Scott Dowdy gets to work grafting GTX parts onto our Charger.
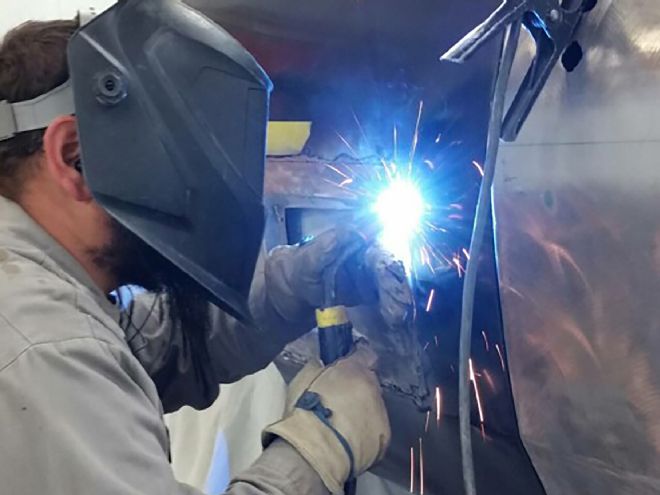
1. What's more fun than cutting and welding? Nothing, really…
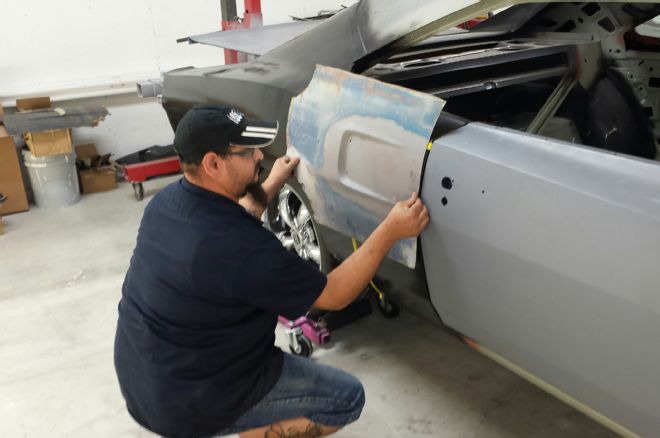
2. The scoops we're using are off of a '70 Plymouth GTX, a not-so-distant cousin of our Charger. Pfaff's original design called for the scoops high and in the center of the quarter-panel, but we experimented with several placements. Here it is in the “low” position.
3. Here it is placed up higher. Our goal was to pick the right body line, Chargers have quite a few of them, and we wanted to maintain continuity through the actual scoop. We wanted it to look like it belonged there from the factory.
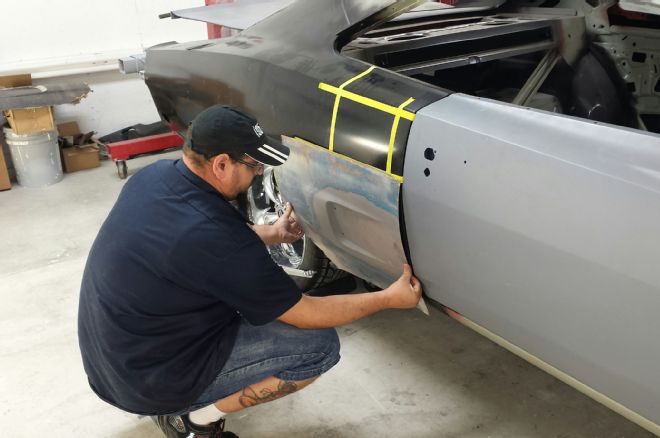
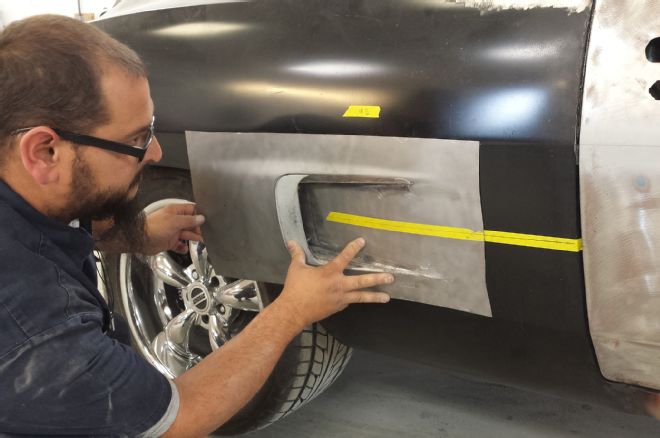
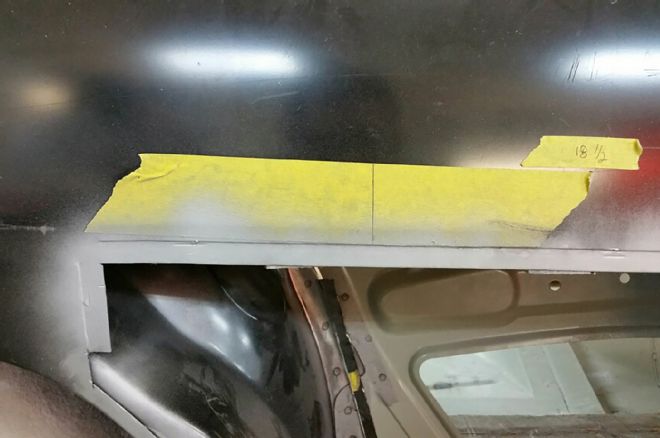
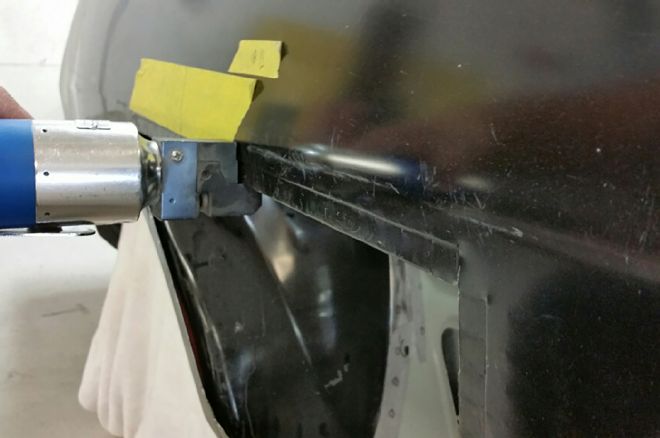
4. We ultimately settled on a low location for the scoop, however, after much debate we decided that the scoop should be centered between the two body lines to create a uniform look. Here, The Finer Details' Scott Dowdy holds the scoop in line with the marked masking tape to give an idea of final placement.
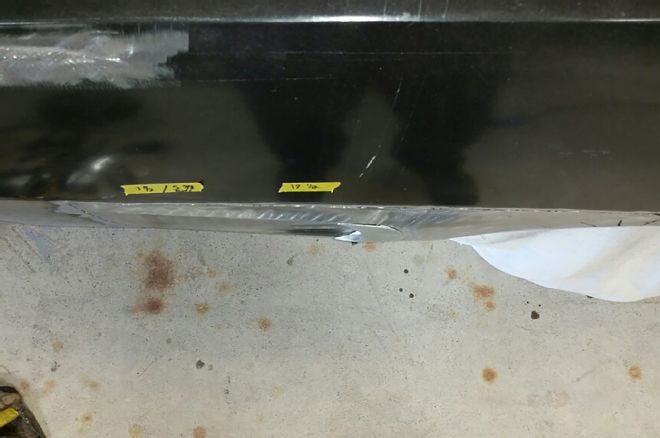
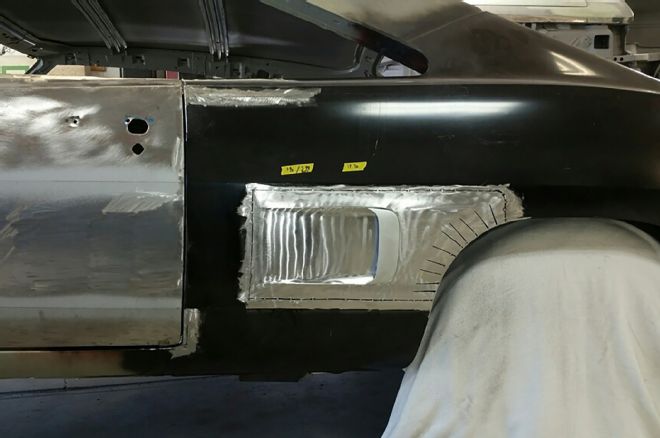
5. With the placement chosen we taped guidelines of the hole to be cut in the quarter-panel, notated the arrows. Dowdy was diligent measuring 8 inches back from the doorjamb and 2 inches from each body line, so that the scoop was centered top to bottom and just far enough back to look good and still maintain functionality. This is also critical to ensure that the scoops are in the same exact spot on both sides of the car.
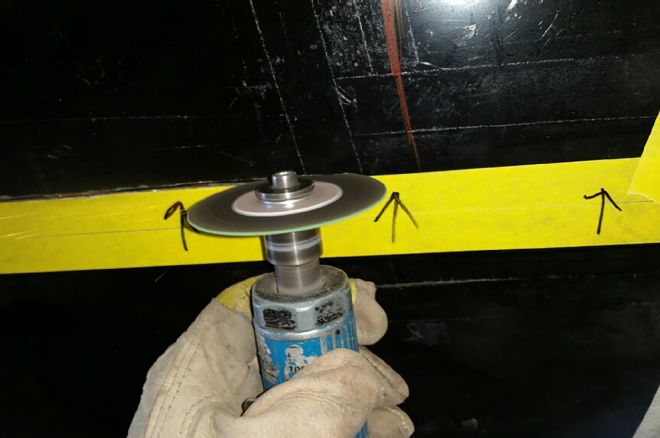
6. There are actually two ways to tackle cutting the opening for the scoop. We'll show you the second way a little later but the first way is to use a cut-off wheel to open the quarter-panel up along the tape marks.
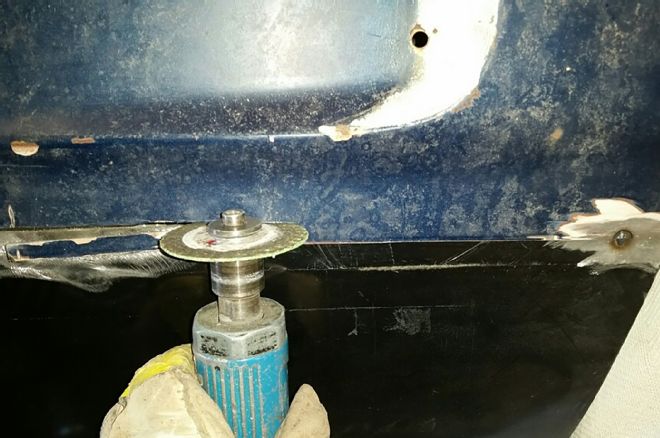
7. Dowdy then tack welds the scoop in place and performs an overlap cut, where he is actually cutting through both the scoop's skin and the quarter-panel. This ensures that he will have a perfect fit when it comes time to actually weld the scoop into place.
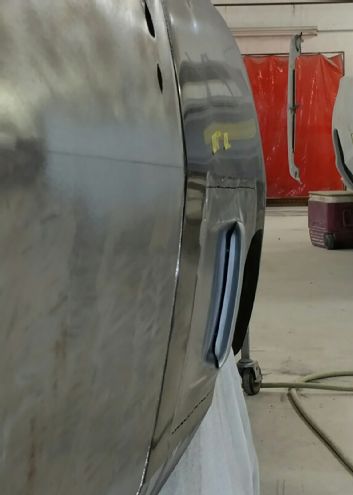
8. With the test-fit complete and looking good, the delicate work is about to begin. As you can see here the side scoops on a GTX are nonfunctional, and Dowdy has to change that.
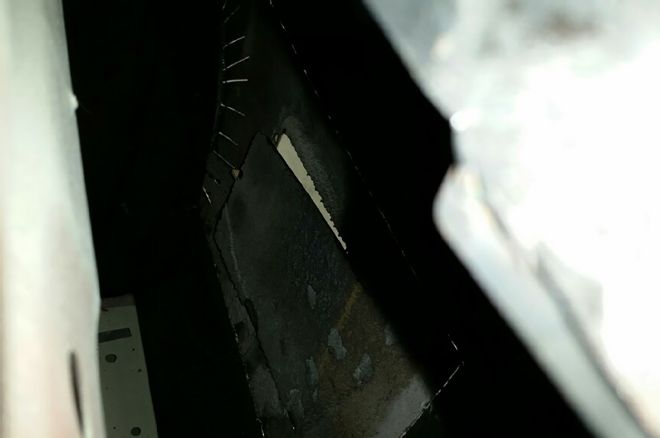
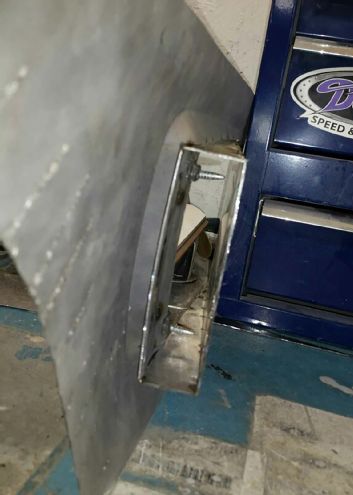
9. Dowdy carefully cut around the interior lines of the scoop so that he could open it up and make it functional. This shot shows that opening from the backside by looking down through where the rear window will go.
10. A different angle of the same scoop shows a small piece of wood that Dowdy used to maintain the opening's size to check window mechanism clearance. We wanted the opening to be 1 inch wide to provide enough airflow to the brake rotors and calipers.
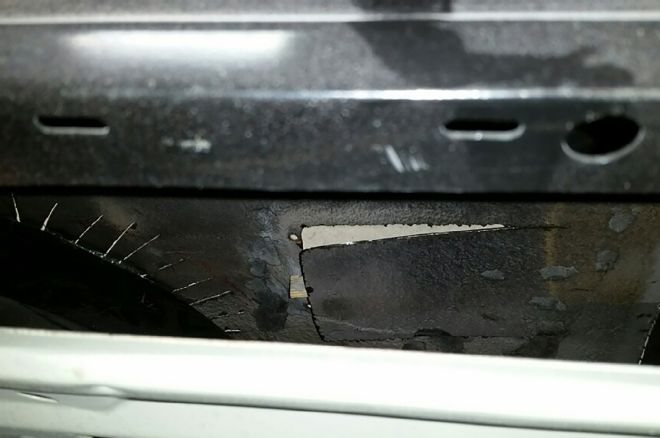
11. From the outside, the opening for the brake cooling duct looks huge. Now it's time to create the functionality for the scoop. And yes Dowdy will cut his tacks off and take the scoop off the car.
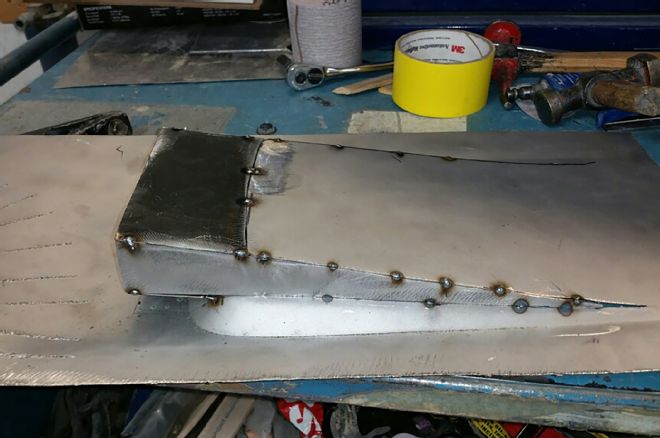
12. Back on the workbench Dowdy closed off the side gaps and fabricated a snorkel using nothing more than four pieces of sheet metal and a welder … no fancy tools needed.
13. The 1-inch gap will flow plenty of air. We'll eventually attach the proper air duct hose and adapter to the snorkel Dowdy created.
14. Looking from the exterior down the now-functional scoop you can see the screws that hold the pot metal trim work on the GTX scoop. Since we're going to retain the scoop's trim work, Dowdy will cut the screws short so that they're difficult to see should somebody look down the scoop.
15. In our mind, what's really impressive is how unobtrusive the scoop really is when you look at it from the top down. It's a testament to the skill of the guys who work at The Finer Details.
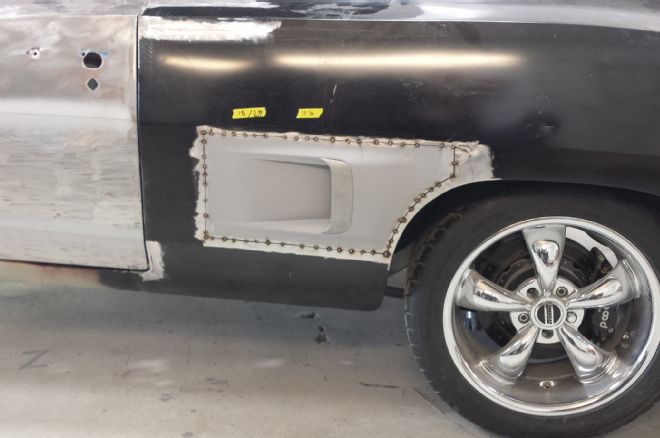
16. Remember when we said we'd show you a different way to mount the scoop? Here it is. On the passenger side, Dowdy uses a pneumatic panel flange/punch tool to create a step flange. Not everyone owns one of those, which is why we showed you the other method. Either way, patience and diligent measuring is critical to get a good-looking finished product. Side note: There are manual panel flange tools available for anywhere from $40 to $100 depending on the manufacturer.
17. The step flange will add strength and rigidity to the scoop. Here, Dowdy primed the flange with weld-through primer in preparation for attaching the scoop.
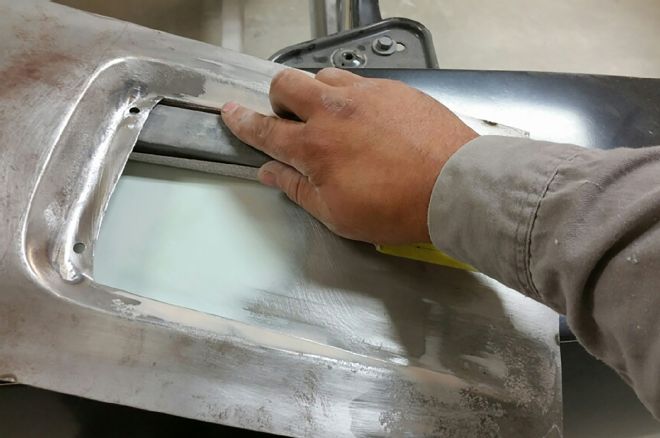
18. Prior to welding up the passenger-side scoop, Dowdy opted to do some filler and sanding finish work on the bench. This was easier than doing it on the car and since the area is far enough away from the weld spot the heat will not affect the finish work.
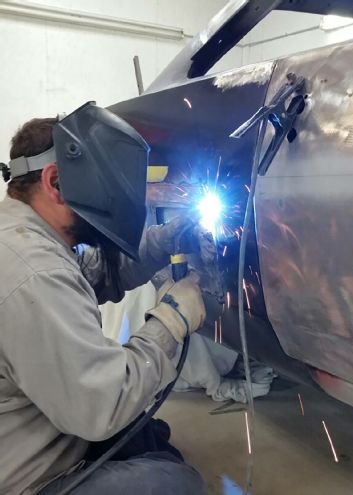
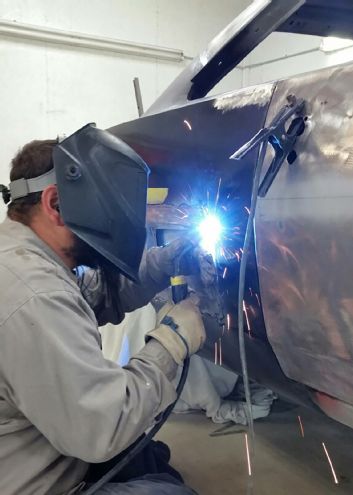
19. And the welding begins!
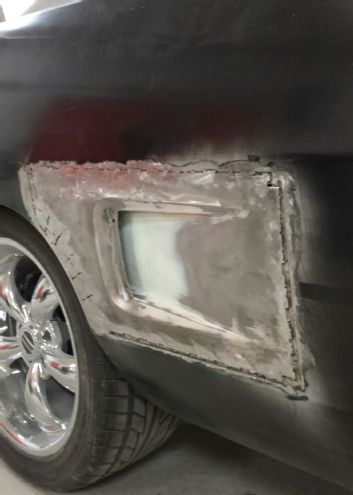
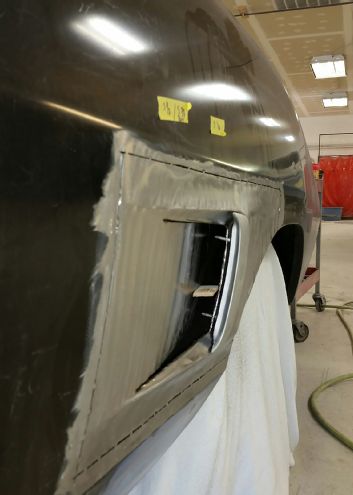
20. With the scoop panel welded in place and all of the welds scuffed and sanded smooth, the finish work can begin.
21. One very important aspect of welding two body panels together—essentially what Dowdy did here—is to follow a certain crisscross pattern with the tack welds. This minimizes warping, but only if you let each weld cool before doing the next one.
22. With the passenger-side scoop scuffed down and smooth it's now ready for some Duraglass filler and a whole lotta block sanding.
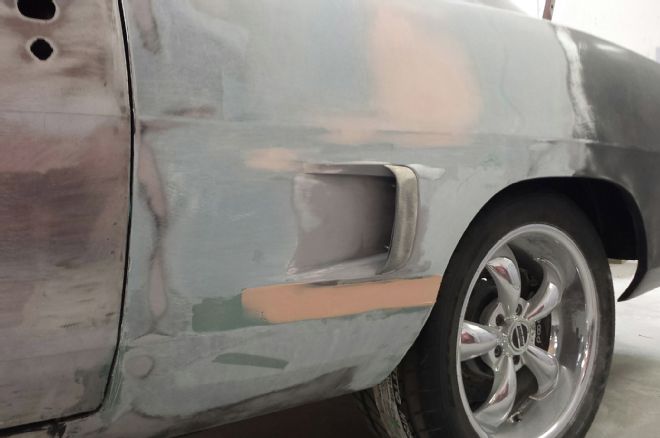
23. Although it's not shown here, when Dowdy fills and sands anywhere there is a body line he will mark off the line and work in sections, as evidenced by the beige filler. That way he is sure to not lose the line by sanding it off. It's that attention to detail that makes the finished product perfect.

24. Looking into the scoop you can almost see how the ducting will work. It will be routed up and over the wheelwell and enter through the back side, directing the air right onto the caliper and rotor.
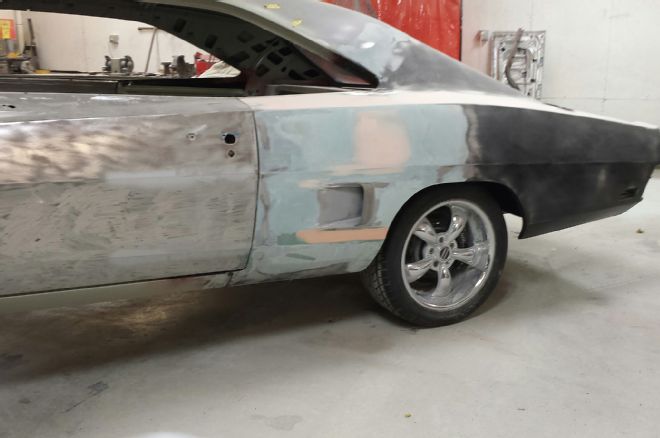
25. When you stand back away from the car the new scoop looks like it belonged there all along.