One of the areas people often overlook (sometimes deliberately) when modifying a car is what the auto industry likes to call “NVH” – that is, Noise, Vibrations, and Harshness. OEMs go to great lengths to minimize the effects of NVH on their product, only for most customizers and tuners to do things to their cars that encourage the opposite, thus making simple activities – like holding a conversation as you drive, or listening to music – a pain. Luckily, there are some straightforward fixes, especially when it comes to minimizing road noise; installing sound deadening, like Eastwood Thermo-Coustic material, will keep noise at bay, while complementing loud running gear with quieter tires is another way to beat the hum, buzz, and thuds of street driving.
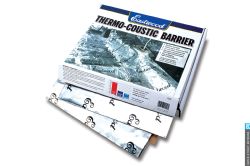

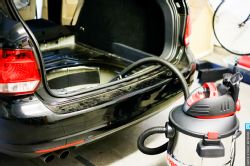
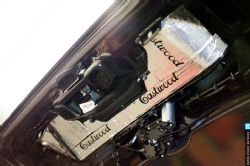
Installation of automotive soundproofing material is simple in theory. To see for ourselves, we sourced Thermo-Coustic Sound Deadening Material from Eastwood, which is a rubber membrane with a strong adhesive on one side and aluminum backing on the other. We installed it in our 2011 Volkswagen Jetta Sportwagen TDI. The product has two main benefits, reducing vibration, which causes noise in the vehicle cabin, and blocking outside heat from either the sun or the drive train. We found it performs both of these tasks effectively.
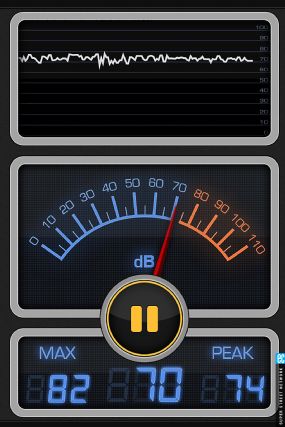
 | dB meter reading before install
We should say right off the bat the weight of this material should be taken into consideration if you’re sensitive to that sort of thing. We used about two and a half boxes, each box weighing 30lbs. The total weight is equivalent to carrying a pre-teen in your car, but without all the snarky comments and bad attitude.
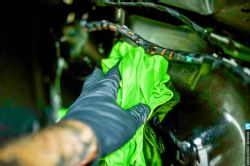
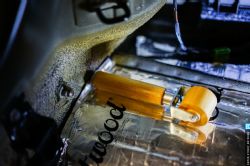
Part of the labor from this install comes from removing interior materials (mainly panels and factory insulation), cleaning surfaces, and getting as close to bare metal as you can. That said, there were several areas throughout this install that did not allow for complete installation unless we were willing to remove components like airbags, sensors, and motors (and we weren’t). Because Thermo-Coustic is pretty much a giant sticker, it’s not necessary to remove items that you can slip it behind and get it laid nicely to the bare surface. You’ll find out quickly once you lay it up on a section and use the wood roller to really press it to the surface, it’s not coming off. So, be really sure about placement before you use the roller, and that everything is clear and you’re not covering a bolt you’ll need to locate later, or a sensor that could need replacing down the road.
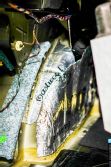
 | 18 Panel Snaps These Suck
We started with the hatch since the panels were larger and fairly easy to remove. VW has used several different plastic snaps in the interior and you’re going to need to be careful, as always, to break as few of these as possible. If you can get through this install without breaking a single one, let us know and we’ll mail you a prize. We snapped off about five – not bad. If you mangle some, no worries; they’re easy to find online and replace. Because of the variety, using a panel popper wasn’t always an option because it can damage surrounding surfaces and not all of them come out the same way. Our advice: go slow.

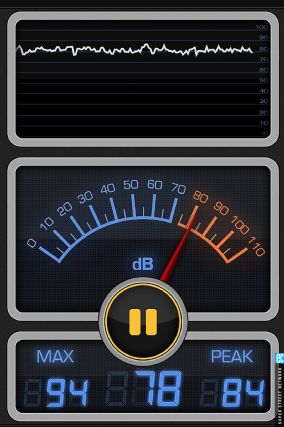
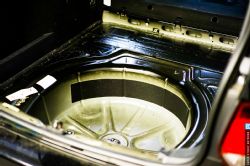
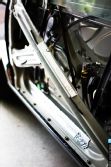
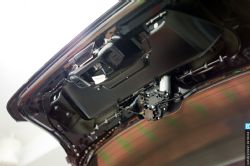
The hatch panels in the wagon extend past the rear wheel wells, so we were able to remove the rear deck and sides fairly easily and cover the entire floor, spare tire well, and sides, as well as the wheel wells on both sides. Square footage is plentiful, so we used almost an entire box. If you were only going to use this material on one part of the car and wanted results, the spare tire well would be the best place. It’s single layer and hollow. It acts like a reverberating drum when vibrations pass through it. Using our ultra-scientific “knock test,” we determined it went from really loud to really quiet. This was before the road test where we used a decibel meter-reading app for the iPhone. We were surprised how sensitive it was for an app using the smartphone’s microphone.
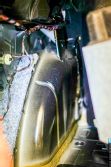
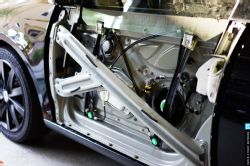
 | 7 Preserve All The Bolts
Next we moved forward and took out the rear bench seat but left the seat back in because it wasn’t blocking anything we needed to access. With the bench out we had to pull up all the carpet as well as remove the side panels under both doors, which help hold the carpet in place. Once those were out of the way, it’s an easy roll all the way across the car covering the floor and under the seats. Because this car is a daily driver, we were gutting it, installing material, and reassembling it each night so we could drive to work the next day. Ideally, we recommend taking a Saturday and banging the whole thing out at once if you can, which should be manageable.

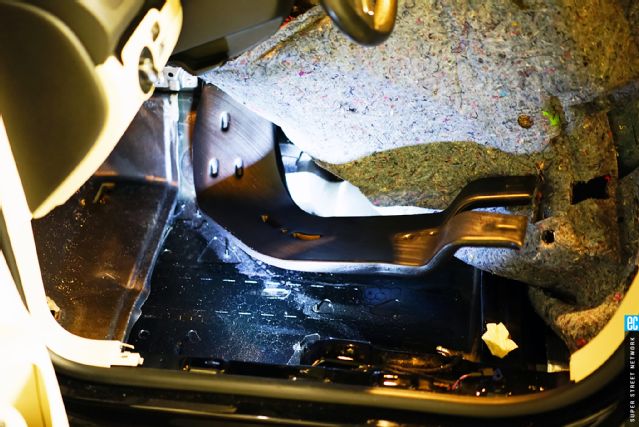
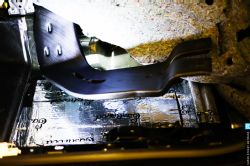
The front of the cabin was next and we had to, again, remove the rear seat, the side panels, the front seats, the paneling up to the fire wall, the gas pedal, the hood release cover, and pull all the plugs for the sensors inside the seats. Once all this was out, we pulled the carpet up from the floor, careful not to stretch the wires underneath the driver and passenger seats that control the heaters, power adjustments, and weight sensors. With the carpet up, we were able to lay down large pieces of the deadening material.
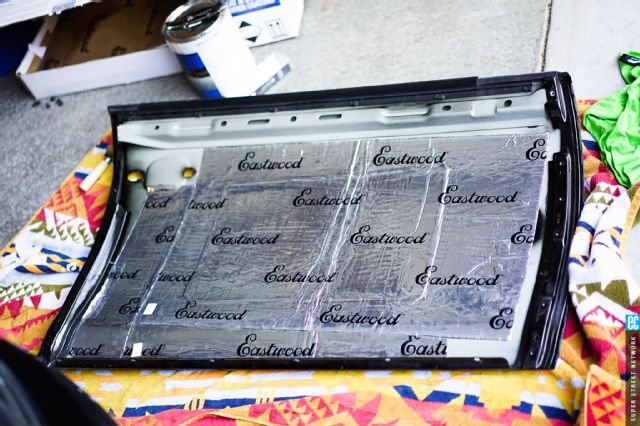 | 12 Door Skin Covered
For the last portion of the Thermo-Coustic install we focused on the doors. The front doors have a “skin” that comes off from the outside, while we accessed the rear doors and hatch lid by pulling the plastic panels off from the inside. The fronts were removed by using a torque driver and about 15 screws. With the door skin off, you can put deadening material on the entire skin. The effect of this portion of the application was huge. Not only did it reduce vibration and road noise significantly, but all the sound from the very sub-par sound system VW uses was pushed into the car, making it sound halfway decent for a change. You really have to work this stuff into every nook and cranny with the wood roller, but it forms easily to any surface and it’s strangely therapeutic, like rolling out pizza dough.
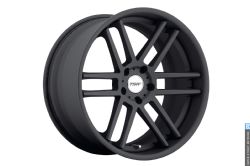
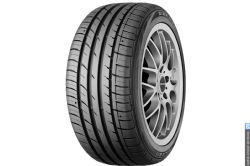
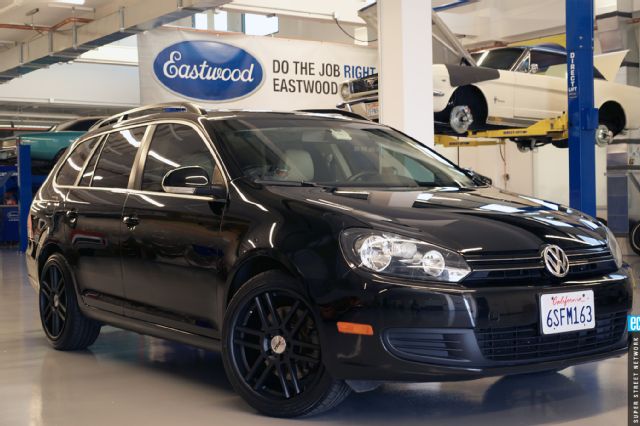
Most of the road noise comes from your wheels and tires, and to address this the fine folks at TSW Alloy Wheels and Falken Tire sent over a set of rims and rubber for the project – Rouen multi-piece wheels in matte black and Ziex ZE914 EcoRun tires, respectively. Because the tires were new, we saw a decrease of 6 decibels in the cabin from the already low 76 with the Thermo-Coustic material alone.
 | dB meter final reading
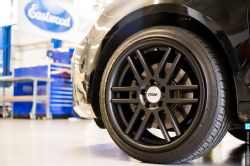
The combination of the TSW wheels and Falken tires, with the Eastwood Thermo-Coustic Sound Deadening Material, made the car seem really solid, took all the little rattles and creaks out of the car when hitting small bumps, and increased significantly the sound the stock stereo system put out. For our money, it’s a really economical way to make a huge difference in everyday ride quality.
CONNECT:
Eastwood
Falken Tire
TSW Alloy Wheels
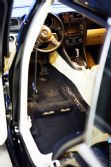
 | 16 Bare Drivers Floor
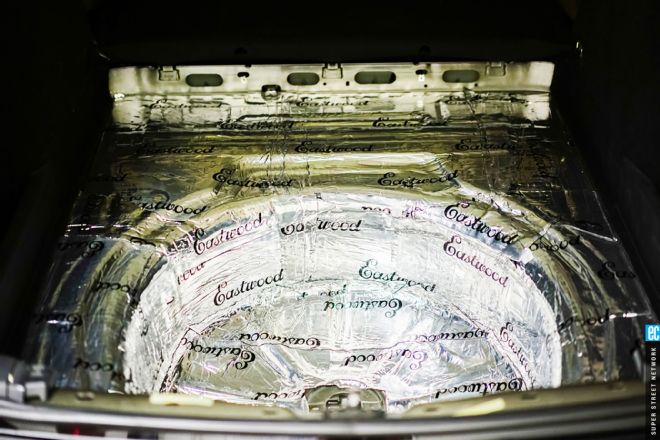
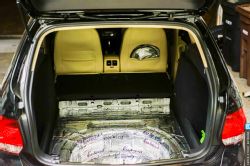
 | 21 Final Product