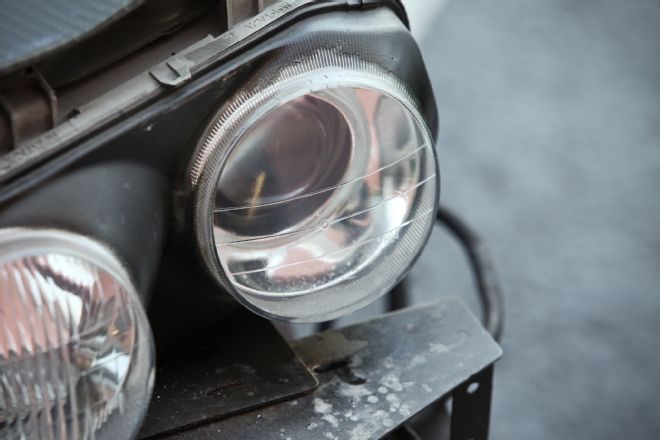
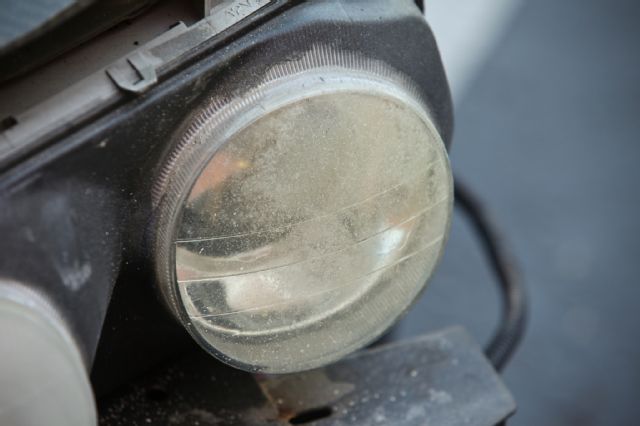
Anyone who's owned an older car with plastic headlights (like most of us) has experienced headlight oxidation. It's without a doubt one of the best ways to make your car look crappy. Dude driving a DC Integra that's a little rough around the edges but has clear headlights? Probably cared for it since Day 1. Dude driving a DC Integra with cloudy, yellow headlights? Definite slacker, probably with some sort of substance abuse problem. And one who doesn't care to see where he's going at night.
So let's say you came up on a new project with dingy lights, or you just became conscious of the affliction in ol' faithful. And you're short on cash. And time. Well, you're in luck.
 | Remove Bumper Cover
Step 1
Remove the headlights or bumper cover - whichever is easiest to expose the entire headlight lenses free of their surroundings.
 | Orbital Sander With 400 Grit
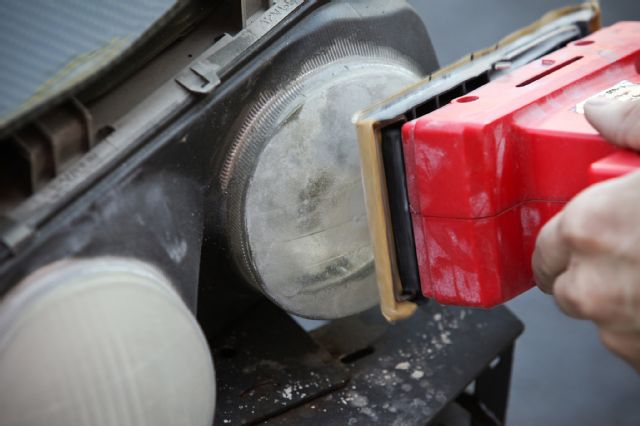
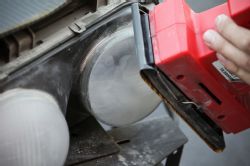
Step 2
If your headlights are as bad as ours were when we started, slap some 400-grit sandpaper (800, if they're not so bad) on an orbital sander ($19 at Walmart) and start sanding your headlights. Yes, sand your headlights.
 | Sanding Evenly
As you sand, you'll begin to cut away the yellowed, oxidized plastic. Keep sanding evenly, targeting the yellow areas a bit more heavily.
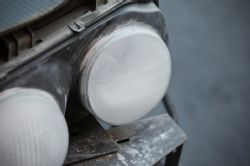
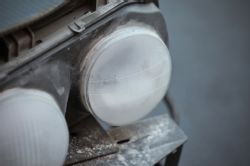
Step 3
Once the yellow is all gone, you may notice some areas that appear cloudier than others. Keep sanding until the lenses become a uniform opaque white.
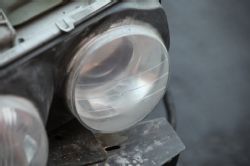
Step 4
Switch to 1,200-grit paper and repeat the process. You'll notice the lenses starting to look clear again. Keep going until you've got a nice, uniform finish that looks just slightly cloudy.
 | Spray Acrylic Clear Coat
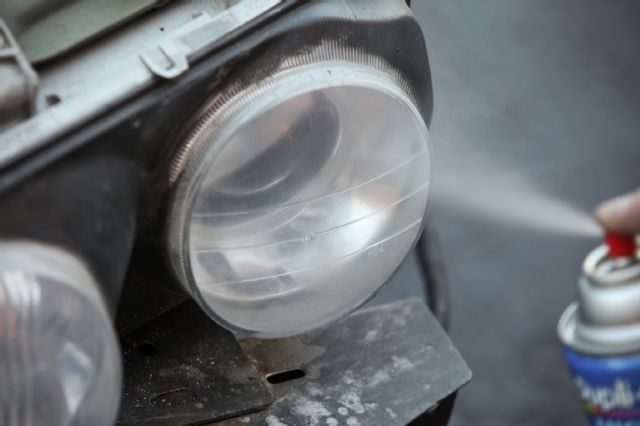
Step 5
Now, you could repeat the sanding process again, working all the way up to 2,500-grit paper for a near-perfect finish. But we recommend stopping after the 1,200 grit stage and spraying your lenses with some quality acrylic clear coat while their surface is still rough enough for it to bite into, giving them a protective coating against future oxidation.
 | Dried And Finished
Step 6
Let them dry (completely, unless you're after that bugs-and-rocks look) and you're all done. If you're really particular, you could wet-sand and buff to a perfect finish. But if you've got better things to do, fire up your headlights and bask in self admiration immediately.