We constantly preach that lifting your truck on bigger wheels and tires kills performance and mpg. There are ways to reclaim everything you lost and more, but if you recently spent thousands on a lift and wheels and tires, the last thing you want to do is drop thousands more on performance upgrades. The quickest and easiest way to reclaim some of that lost power is to upgrade the intake and exhaust systems. The OEMs try to find the right balance of decibel levels and mpg. Unfortunately, that means there is some power and torque left on the table. It is our job to find it.
For this F-150, we called S&B and ordered its intake kit (PN: 75-5050, $299.00). The kit includes a smooth-bore intake tube for even airflow through the intake and a larger airbox. There are also options for an oiled, cleanable filter or a dry cotton disposable filter and an intake scoop for added airflow. For our project, we chose the disposable filter and no scoop. The exhaust we ordered was the Dynomax Ultra Flo cat-back system (PN: 39486, $285.99), featuring a welded muffler with straight-through design. The muffler uses Dynomax’s exclusive Continuous Roving Fiberglass to absorb unwanted interior drone. When the parts arrived, we pulled them into our tech center and got to work bringing back some lost power and torque.
1. The intake and exhaust helped us regain some of that lost power from the heavier wheels and tires. The added rumble was a nice touch as well.
| 2009 2012 Ford F 150 Intake And Exhaust Install 02
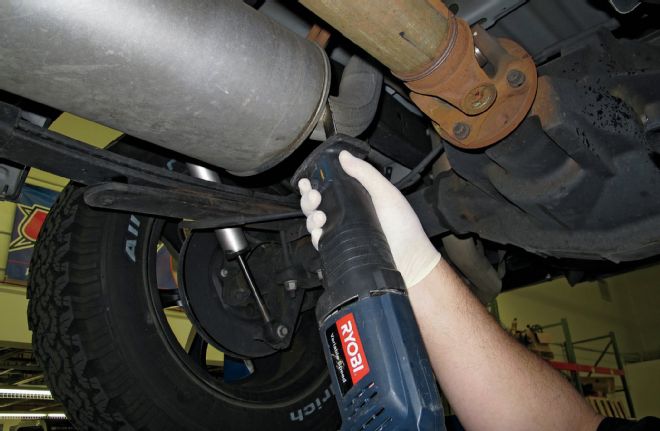
2. With the truck safely on a four-post lift, we got to work removing the offending pieces. The easiest way to remove the exhaust was to cut the tailpipe off the muffler.
| 2009 2012 Ford F 150 Intake And Exhaust Install 03
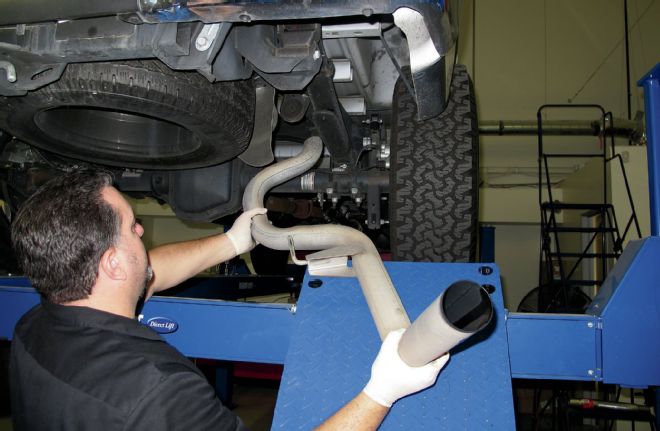
3. Once that was cut and the hangars were lubed up, the tailpipe was removed from the truck.
| 2009 2012 Ford F 150 Intake And Exhaust Install 04
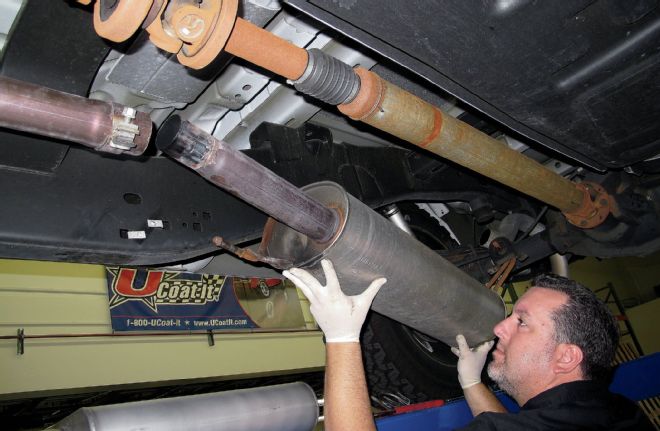
4. Next, the muffler was loosened and removed from the head pipe and tossed in the scrap heap. The head pipe was then unbolted from the Y-pipe.
| 2009 2012 Ford F 150 Intake And Exhaust Install 05
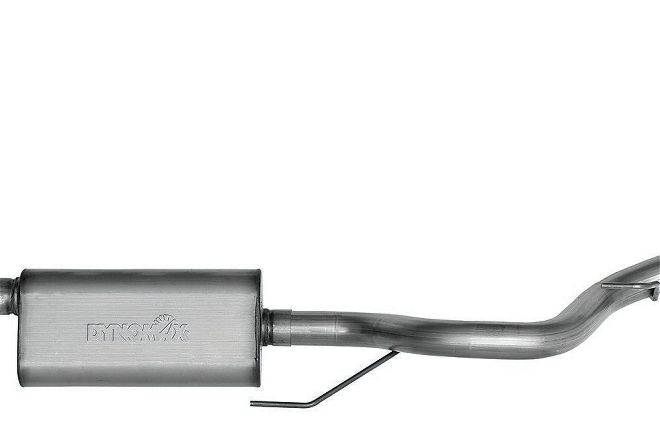
5. The new Dynomax kit is a single-exit rear with a polished tip. It comes with all the necessary hardware and detailed instructions to make installation a breeze.

| 2009 2012 Ford F 150 Intake And Exhaust Install 06
6. The first piece to go on was the head pipe, which was clamped to the Y-pipe. All the clamps were hand-tightened until everything was installed.
| 2009 2012 Ford F 150 Intake And Exhaust Install 07
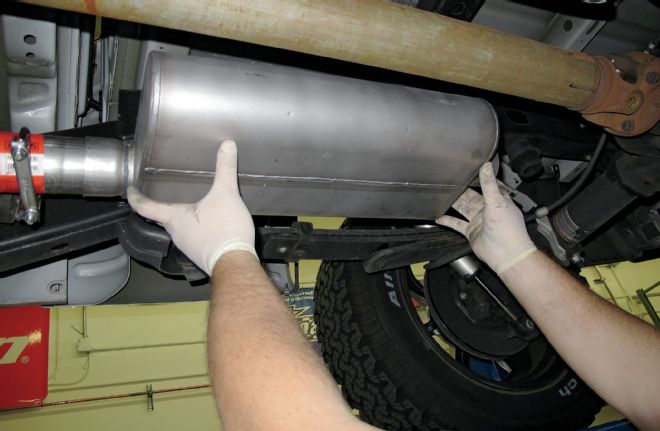
7. Next, the muffler was fit onto the end of the head pipe.
| 2009 2012 Ford F 150 Intake And Exhaust Install 08
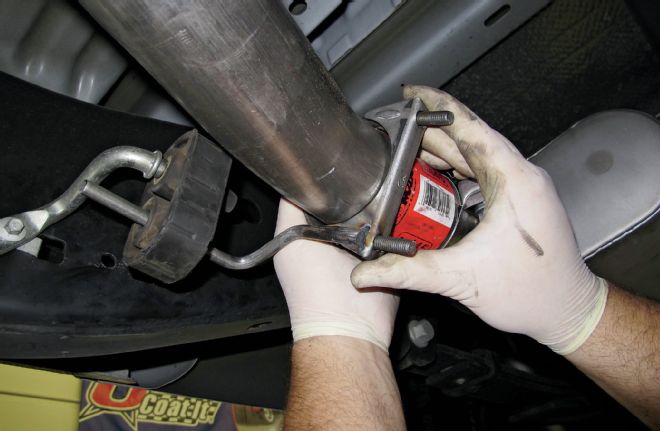
8. Using the included band clamps, the components were, again, hand-tightened.
| 2009 2012 Ford F 150 Intake And Exhaust Install 09
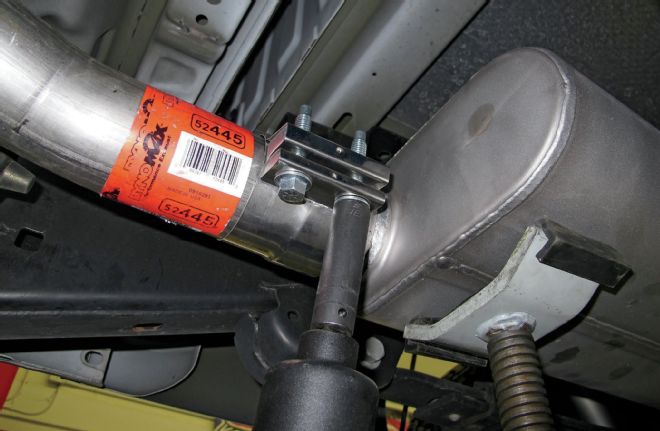
9. A new hangar is included in the kit, keeping everything aligned with the factory specs.

| 2009 2012 Ford F 150 Intake And Exhaust Install 10
10. Finally, the polished tip was installed and all the clamps were tightened to the recommended torque values.
| 2009 2012 Ford F 150 Intake And Exhaust Install 11
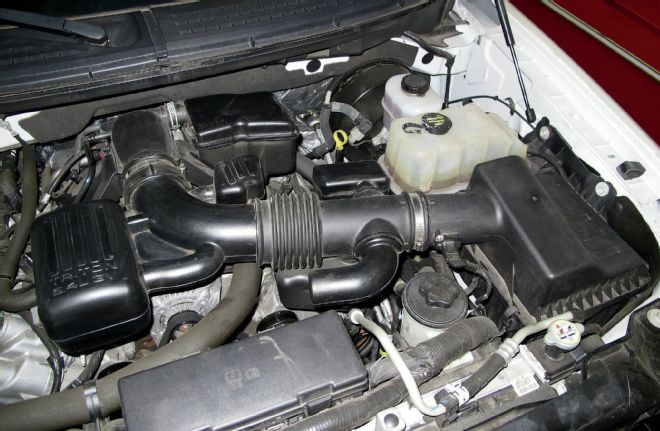
11. Under the hood, the factory intake was about as ugly as they come. The convoluted rubber hose and resonating chambers didn’t help the airflow, either.
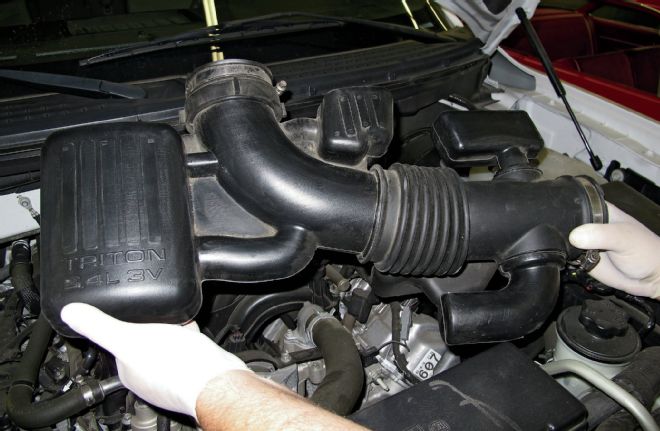
| 2009 2012 Ford F 150 Intake And Exhaust Install 12
12. Loosening two hose clamps allowed us to remove the intake tube from the throttle body and airbox.
| 2009 2012 Ford F 150 Intake And Exhaust Install 13
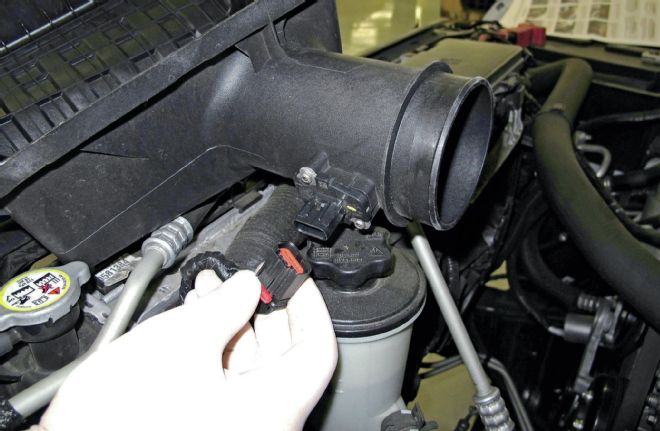
13. Next the mass airflow sensor (MAF) was unplugged from the factory airbox.
| 2009 2012 Ford F 150 Intake And Exhaust Install 14
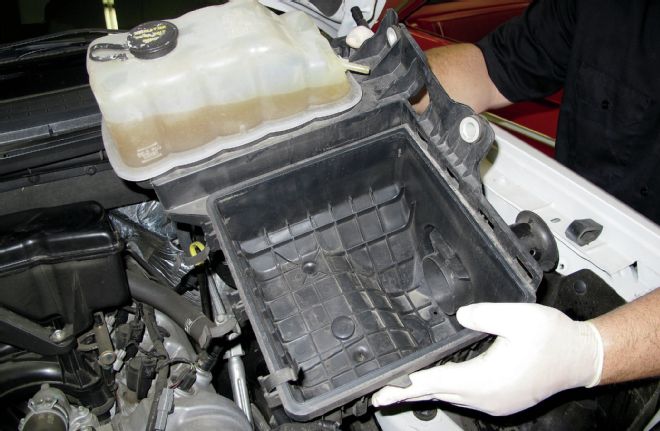
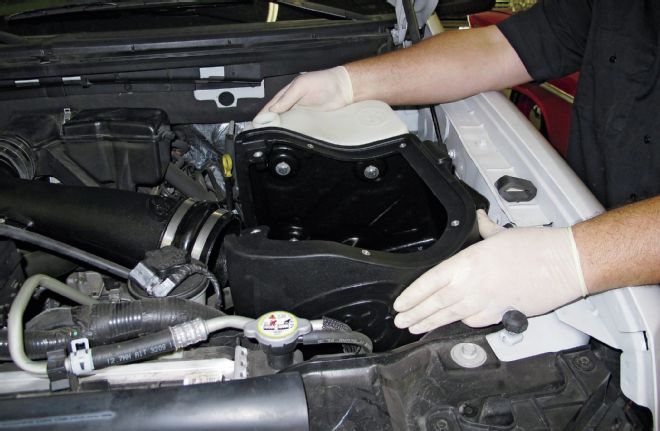
14. Two bolts held the factory airbox in. The airbox and coolant reservoir are one piece and lifted right from the vehicle. Luckily, the S&B kit comes with a replacement reservoir, so we tossed this whole unit in the trash.
| 2009 2012 Ford F 150 Intake And Exhaust Install 15
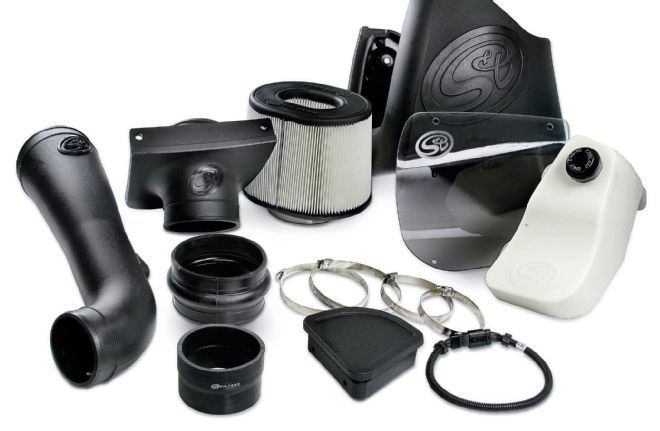
15. As stated, the kit includes the new airbox, smooth intake tube, a coolant reservoir, and all the necessary hardware.
| 2009 2012 Ford F 150 Intake And Exhaust Install 16
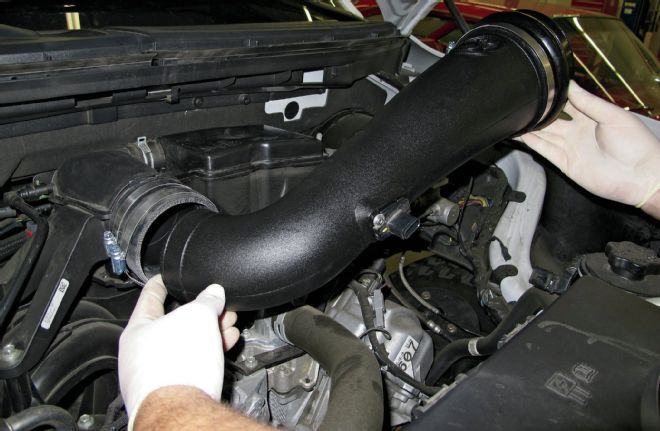
16. To begin, we slipped the new coupler onto the throttle body and slid the intake tube into that.
| 2009 2012 Ford F 150 Intake And Exhaust Install 17
17. The airbox was next and used the factory hardware and mounting locations.
| 2009 2012 Ford F 150 Intake And Exhaust Install 18
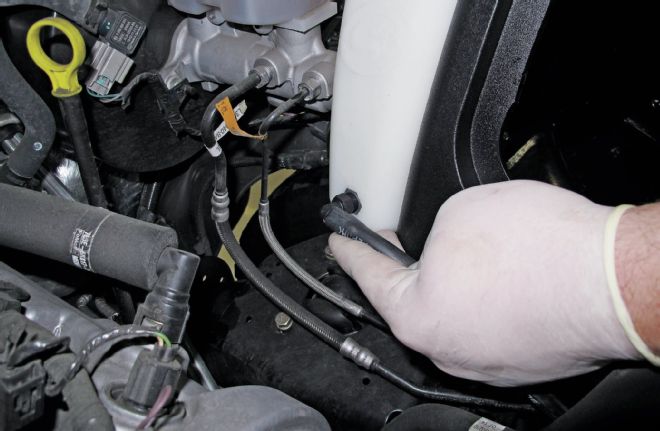
18. Plumbing the reservoir involved connecting a hose from the radiator to the bottom of the reservoir.

| 2009 2012 Ford F 150 Intake And Exhaust Install 19
19. To finish off the install, the filter was installed and the acrylic lid was screwed in place.