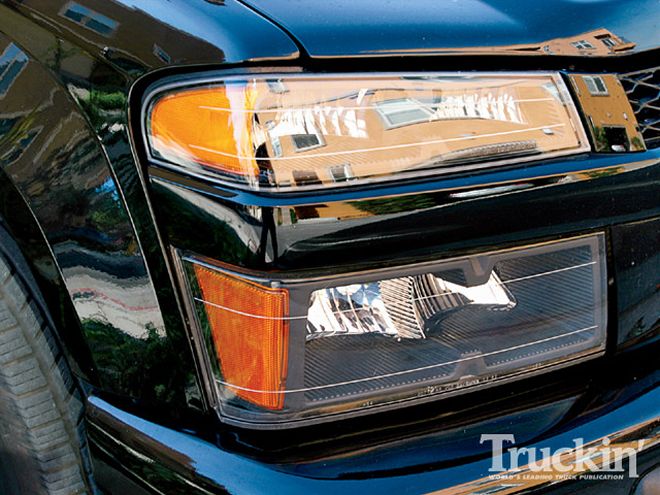
| Before
Adding clear corner lights has been a popular modification for both mini and fullsize trucks for years. On several trucks, like '88-'98 Silverados, 1st generation Tacomas, and on all S10s, the amber reflectors are on the outside of the truck and separate- easily replaceable. When manufacturers switched to sealed beam headlights, the amber reflectors were often included in the main headlight housing, making cheap corner light swaps impossible. If you've got a late-model truck like a '99 or later Silverado or a Colorado/Canyon, you might consider the option we took, baking the headlights to open up the once-sealed headlight and removing the amber reflector. The mod is cheap, really cheap, and can be done in your home with simple hand tools. Take a look at how we did it and make sure to read our suggestions in the From the Driver Seat section.
From The Driver SeatPatience is the key for this headlight modification. After researching the modification on coloradofans.com and 355nation.net, two websites that are populated by Colorado and Canyon owners, we thought we were up to the task. Sure enough, the headlights were stubborn, but not impossible. We knew going in that the problem would be with the driving lights. The plan was to press the driving lights back together after heating them up, but with only one set of hands, it just wouldn't work. Our recommendation: have a friend help you with the driving lights, and maybe use a very thin bead of black silicone, if that doesn't work to your liking, go with the backup plan*. We used a bead of clear silicone, and since there's not a whole lot of places for it to go, it oozed out into a couple of blobs that are visible when checking out the lights close-up. The headlights worked fine after 15 minutes in the oven at 150 degrees, but we found that the driving lights didn't really give up their hold until about 175 degrees.
YOUR QUESTIONS ANSWERED Time Spent Working: 3 1/2 hours. The headlights needed to keep going into the oven to soften the adhesive, so don't rush.
Degree of Difficulty: Moderate. A few bolts and a few prying tools are all it takes, but it's easy to make a mistake on the driving lights like we did.
Parts Used: GE Window & Door silicone $3.79 Backup Plan: Now that we know firsthand how much of a pain the driving lights are, we think we'd opt to buy a set of driving lights with clear corners and only modify the headlights. If that was the case, the total cost would be more like $50.00, but it's probably worth it just to avoid the headache.


