| wi Fi Extender Field Tested bear Extender
If you go out for more than a few days in your RV or you are a full-timer, chances are you’re going to want to check your email or go online for information. The problem is getting that computer in your RV to pick up a Wi-Fi signal within the area. Short of pulling your RV up next to a ranger station’s wireless Internet hotspot, you will most likely have to carry your computer closer to the source.
If the thought of leaving the comfort of your RV to go sit outside the ranger station on a cold winter’s morning doesn’t appeal to you, a Wi-Fi extender might be what you are looking for.
A Wi-Fi hotspot is basically a site with wireless radio. Inside your Wi-Fi-enabled computer is a small antenna coupled with a small transmitter/receiver that sends and receives information from the hotspot. Now put yourself inside a metal-shelled RV, and your small antenna will have a hard time sending a signal outside the walls. To connect to that hotspot a few hundred feet away, you need a bigger, more powerful antenna.
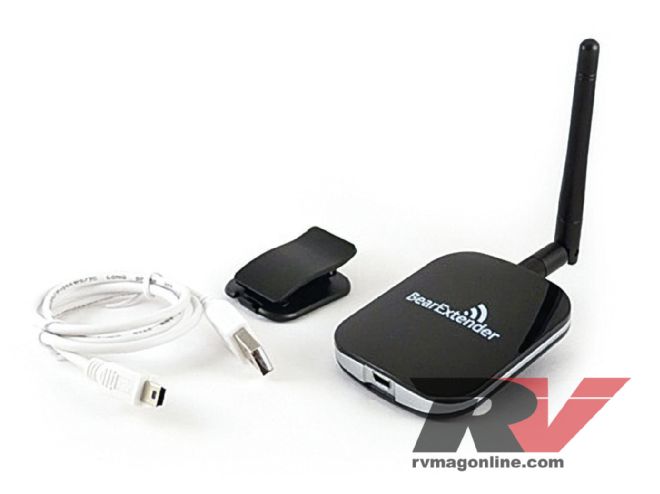
We tested a couple of brands for this job, and ended up keeping the Wi-Fi extender made by Bear Extender ($45).
Extender Essentials
There are two things you should always look for when buying a Wi-Fi extender:
1. It should connect via USB cord; this way you can move the antenna around if you need to search for a signal. Also, make sure the extender will work with your computer. Bear Extender worked with both Mac and PC.
2. It should have a least a 750mw (0.75-watt) transmitter so you can have a substantial gain; more power is always better, but more power costs more money and may not give you better results than a smaller-powered device.

| Depending on where you are, the Bear Extender could find up to 50 different hotspots.
How it’s Used
After we installed the software on our computer, we plugged in the Bear Extender, and it immediately scanned for and found all available hotspots in the area. Depending on where you are, you could be picking up one to 50 different modems.
Typically, you will have some open and some closed hotspots. Places like McDonald’s or Starbucks usually provide free, open wireless. A campground might have secure access; most times they will provide the password automatically; if not, make sure you ask.
Once you’ve installed the software, the Bear Extender is fairly simple to use. If you are connecting to a public access point with no security, just select that Wi-Fi spot, click “connect” and go to your Internet browser. At that point, you will probably be required to accept their terms of service. If you click “accept” you will then be connected.
If you are using a secure connection, like at a campground, select the Wi-Fi point you want to connect to, and press “connect.” A dialog box should pop up and there will be a place for you to enter the password you were given by the provider. At that point, you can access the Web.

| When accessing a secure hotspot, the Bear Extender will ask you for the password obtained from the provider.
And that is all there is to it. Well, almost. The following are some things we discovered as we used the Wi-Fi extender over the past few months in a wide array of settings.
Within the dialog box, you will see your signal strength — 100 is the best; 0 the worst. In our experience, we are finding that signal strength under 30 is essentially unusable. Although you are technically connected, the weak signal strength results in too much dropped data to successfully navigate the Web.
Signal strength of 30 to 50 is sufficient to navigate and do basic stuff, but trying to upload pictures might be painfully slow. Over 50 and you should not notice any slowdown. With signal strength of 75 and stronger, we can easily Skype or Facetime with the grandparents or the office.

| The antenna does best when it is looking out a window and even better when it is looking out a window oriented with the location of the hotspot.