Over the years I’ve watched many homeowners get stressed out over choosing colors during the construction of a new home. Not so with Project Terry, our renovation of a 1978 Terry travel trailer. The exterior was easy since the plan called for keeping the original color scheme, holding true to the vintage theme.
We had more flexibility with the interior color scheme, and there was little doubt it needed an update. The original was dominated by 1970s burnt orange. To get our new decor ideas, we simply toured new travel trailer models at our local RV dealers. In the end, we chose a color scheme similar to our own 2014 Salem travel trailer.
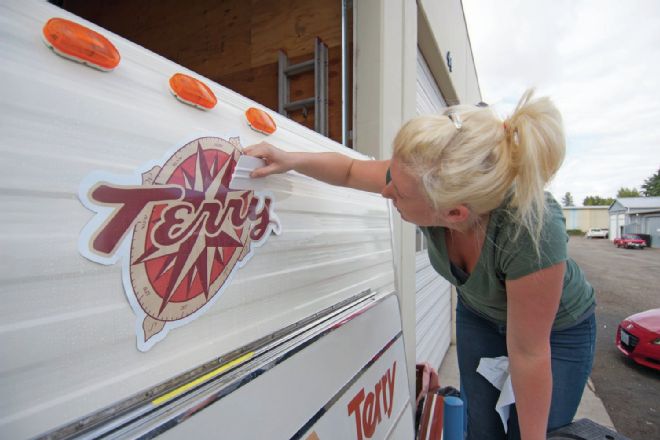
| 1: To finish our exterior colors, we turned to Techna Print in Eugene, Oregon, to recreate the Terry logo from the late ’70s. Lacey’s vinyl install experience was just what we needed for the final exterior touch.
Flexible Walls
Somewhere in the middle of our interior upgrades, I gained a new appreciation for a few of the design elements built into most RVs. Some things that we assumed were a result of mass production, were also a function of one overriding reality for RV components: They spend much of their time in earthquake-like conditions. When rolling over the road, RVs experience stresses that inevitably cause movement between interior surfaces.
One design material built to handle these stresses is round cabinet welt, which can be found between cabinet components. The function is similar to a bead of caulk at corner transitions, but with some distinct advantages. Not the least of which is tremendous flexibility, ideal for a moving structure.
Our decision to eliminate this trim detail resulted in quite a bit of trim work. In our defense, the welt in our project trailer was deteriorating, was very unattractive, and would have been difficult to replace. It is sandwiched between counters and partitions and between cabinets and walls. If you can figure it out, you can find replacement round cabinet welt with a simple web search.
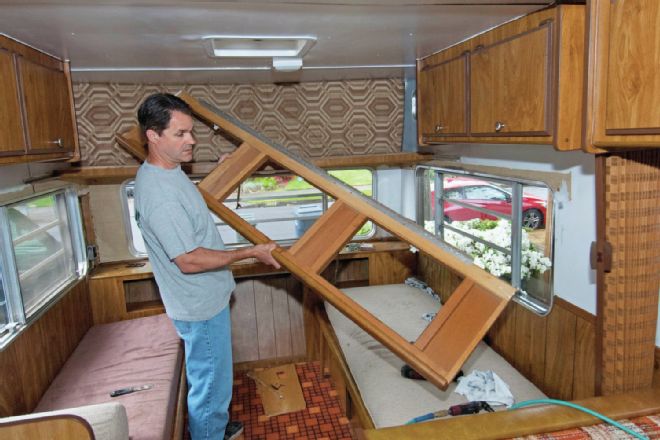
| 2: There are always concerns about adding too much weight to an RV project for the rating of the frame, axles, wheels, and tires. Eliminating some interior features, including an overhead bunk, bulkhead cabinets, and a gaucho bed, lightened our project.
To replace the old welt and some vinyl edging in Project Terry, we decided to use painted wood trim. Although it was a lot of work, the end result looks really good and can be easily touched up or repaired in the future.
Another RV element designed to handle the rock and roll of RV travel are surface-mounted transition strips on wall and ceiling panels. It was a quick and easy solution to making a durable seam that can handle the movement intrinsic in RV use. We decided to handle these flat panel seams with a couple of different approaches. First, we used automotive filler where we wanted to hide seams. Next, we used painted wood trim strips to accentuate, rather than minimize, the visual impact of the transitions.
Painting the walls and ceiling was another choice that meant extra work. However, painted surfaces can be a big advantage going forward. You can always paint it a new color. Plus, using the right filler can repair almost any type of damage.
CounterTops
For countertops, we wanted to step it up a bit in the galley and bathroom with real stone surfaces. However, we needed to strike a balance between travel-trailer budget and upscale coach. Weight was also a consideration. We think we found a great solution in off-the-shelf granite tiles. We installed these over plywood substrate with automotive filler, which is more flexible than typical tile-setting compounds.
Our grout was also chosen for its flexibility, as well as for its color. The painted wood self-edge we used for the countertop helped give mass to the counter edges and provided a protective edge. Wood is also better suited to moving environment than rock products.
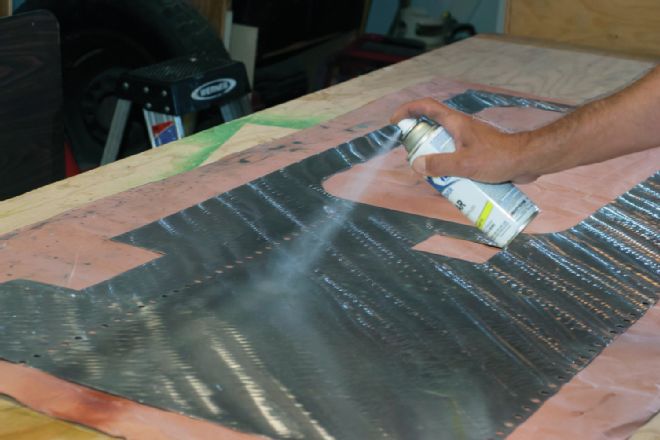
| 6: After putting down a pattern with the angle grinder, we sprayed three coats of clear finish on our metal backsplash.
Flooring
Bamboo flooring provided a rich natural surface with excellent durability. The flooring was designed for a floating installation, which means it is not attached, and therefore, cannot separate with movement.
Our best lessons for this phase of the project: RV makers know what they are doing, so use caution when second-guessing their designs. It is essential to make surface selections light and travel ready. Beyond these considerations, RV interior finish is not unlike home improvement.
Next time: Project Terry arrives in a new millennium with new fixtures, modern appliances, and some cool technological upgrades.
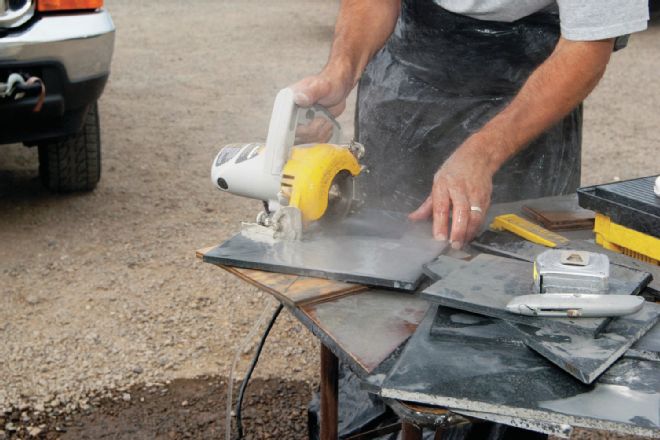
| 10: We used a circular tile-cutting saw with a water feed to cut the curved shapes on the granite tile. Making several passes with the saw blade, adjusting slightly deeper each time, made a surprisingly smooth cut. We thought this would be a bigger challenge.
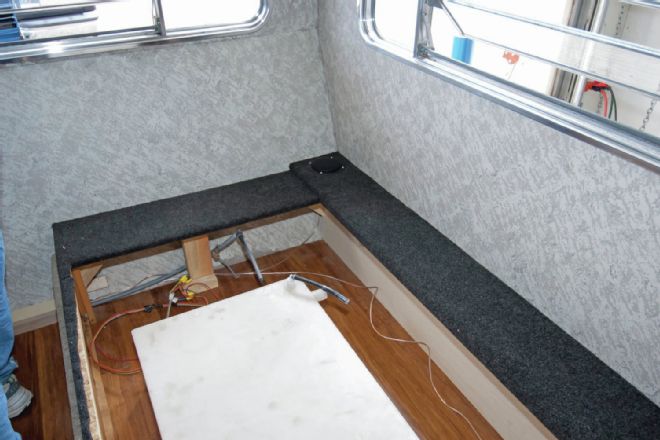
| 29: We built a platform around the outside of the sofa bed frame and covered it with indoor/outdoor carpeting. Note the stereo speaker located in the outside corner.
Project Terry Sponsors
LED lighting: Arcon
Awning: Carefree of Colorado
Air Conditioner: Coleman-Mach
Roof, Sealants, Blinds: Dicor
Vehicle Transport: Horizon
Brute Power Jack, Centerline Hitch, Super Foot: Husky Towing Products
Assorted Hardware & Electrical Products: JR Products
Refrigerator: Norcold
Portable Generator: Powerhouse Products
Cooktop/Range, Furnace, Water Heater: Suburban
Toilet, Chemicals, Bathroom Accessories: Thetford
Plumbing Parts: Valterra
Vents, Range Hood, Plumbing Stacks: Ventline by Dexter
Antenna: Winegard


