The summer sun is heating up, and towing anything under it is sure to get the temperatures churning in your truck’s drivetrain. Our ’04½ Chevy Duramax 2500HD often tows a trailer close behind—sometimes right in the thick of scorching weather. As a preventative measure, we opted to install a larger rear differential cover and transmission pan to give us more available fluid capacity as well as greater cooling ability. As an added bonus, this is also a great time for a fluid change and inspection of what might be hiding under the stock covers.
| Ppe Diff Cover
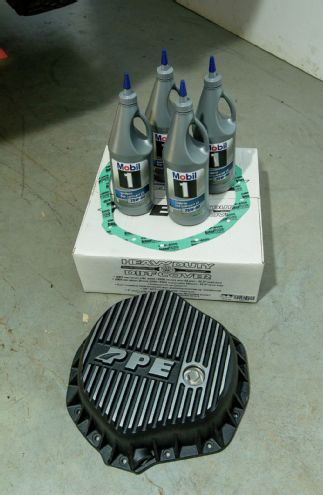
Rear Differential Cover
PPE has made the factory cover change out pretty simple, with products that not only come with gaskets but also have ports for inserting a temperature probe just in case you are interested in watching things heat up. Providing you have all your replacement fluids and tools handy, this process can be knocked out in an afternoon.
| Draining Rear Diff Fluid
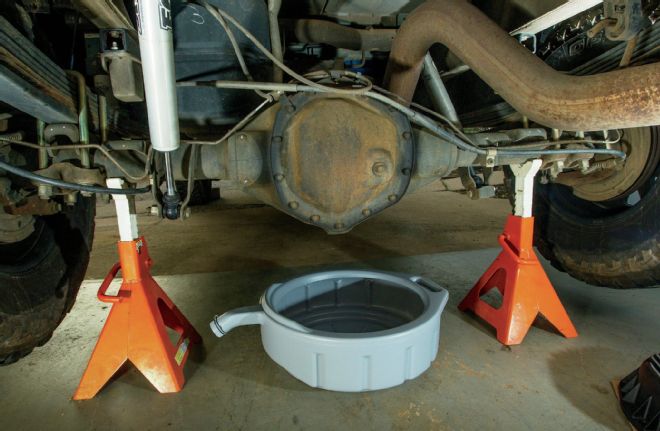
We’re starting with the rear differential cover, so we opted to remove the spare tire for easier access. Getting the heavy 2500HD up onto a pair of 6-ton jackstands gave up a little more work area as well. After placing the drain pan under the rear differential housing, it was time to start removing the factory cover bolts.

| 2
When you begin pulling the factory bolts from the housing, be sure the drain pan is in place below and leave at least one bolt at the top loose but still screwed into the housing enough to hold the weight of the factory cover. This allows the fluid to drain without a huge mess, as the cover will contain the flow of your escaping fluid.
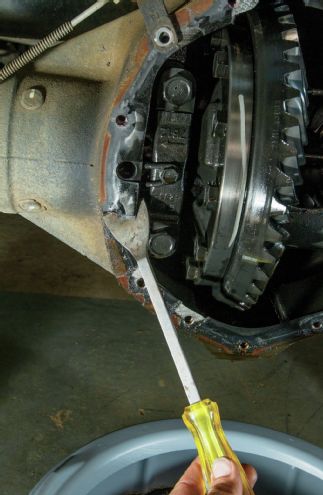
| Scrapping Gasket Material Off
Your next move is to clean off all the old gasket material and make sure the area where your new gasket will mount is grease and grime-free. A dish scouring pad will do wonders for the final touch-up before wiping the mating surface down with some residue-free brake cleaner or rubbing alcohol. It may also be a good idea to clean the new heavy-duty cover as well.
While our main purpose for changing the differential cover was additional cooling, we took the opportunity to also flush out any junk or old fluid that might have been in the bottom of the differential and clean everything inside as well. A can of brake cleaner goes a long way in spraying off old oil and particulates that rest in the housing. Just be sure to allow the insides to dry before sealing the differential. A shot of compressed air can help dry up any final cleaning fluids left in the bolt holes, or in the differential itself.
-

-

When you are ready to install the new heavy-duty cover, first insert one bolt through the top of the cover (and gasket) and into the housing, as this will make it easier to align and support the cover until you get the remaining bolts started. For our own peace of mind, we used just a small amount of red threadlocker on the new bolts. Using the pattern in the instructions, we tightened the 6mm hex-head bolts to 15 ft-lb, making at least two passes around the cover to be sure we had touched each bolt.
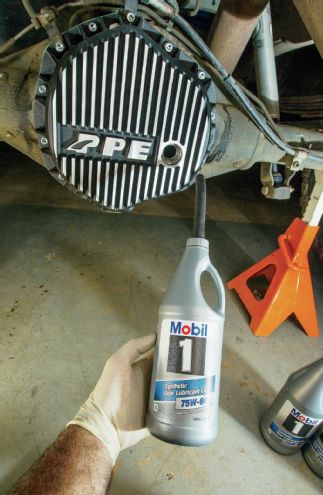
| Mobil One Gear Oil
The final objective was to refill the rear end with Mobil 1 synthetic 75W-90 gear oil. This meets the GM requirement of GL-5 or higher standard and should do well in our driveline for years. To get the fluid in the new cover, we used a small piece of 3⁄8-inch hose snugly secured to the top of one bottle cap. This provided the flexibility we needed to be able to squeeze every small drop of lubricant out of the bottles. With the larger heavy-duty cover, the GM rear end will take a little more than 5 quarts of differential fluid compared to the stock unit’s 4 quarts.
Transmission Pan
Once our heavy-duty rear differential cover was on, it was time to focus on the transmission. Our Allison 1000 transmission, which had been rebuilt by Merchant Automotive in Zeeland, Michigan, will be featured in an upcoming issue. For now, the MA700 Allison trans will get a PPE heavy-duty deep pan. With the company’s deep transmission pan PPE has also included a new in-pan filter, which is a no-brainer to change when swapping the pan. This simple swap will allow the fluid to not only run cooler but also stay fresh longer.
The first move is to drain your transmission and remove the screw-on filter that is found on the side of the Allison. When removing the screw-on filter, do not forget to save the magnetic washer on top of the filter (inset image), as it can get accidentally tossed out. You will want to clean this washer and reinstall it with the new screw-on filter.
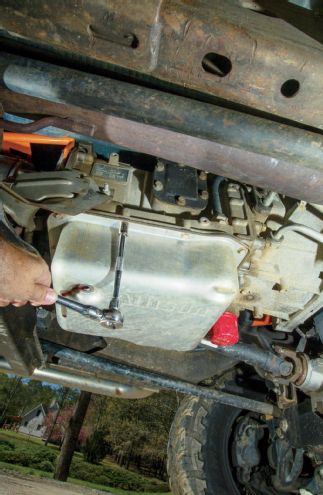
| Removing Transmission Pan
Once the transmission fluid is drained, you can then start removing the bolts that hold on the factory pan. There will be a little fluid in the lower cavities, so be careful to keep the cover level while lowering it to the drain pan. A quick safety net might be to reinstall the drain plug in the factory pan. The gasket on the Allison transmission is reusable, so do not discard it—and be sure to clean it up for reinstallation. Also avoid bending or cutting the gasket in any way to avoid leaks.
PPE provides a brand new in-pan gasket with the deep pan kit. We pushed back our Merchant Automotive–installed filter support and pulled the old filter out. You must be sure to get the orange O-ring-type gasket (arrow) out of the transmission before reinstalling the new filter. Also, make sure the filter goes in just as the old filter had been positioned prior to removal.
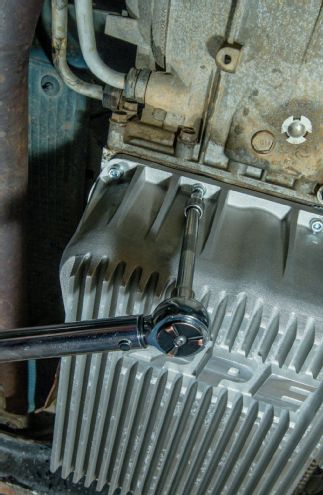
| Ppe Transmission Pan Install
The new pan is heavy, so position the clean reusable gasket on the new deep pan and use one 6mm hex bolt to hold it in place while you lift it into position. We found it easiest to place a bolt in opposite ends of the cover to hold it to the transmission while screwing the remaining bolts in position. The 6mm hex bolts will get torqued to 15 ft-lb. Start tightening the four center bolts first. Make at least three trips around the cover tightening the bolts in a crisscross pattern to make sure the cover seats level.
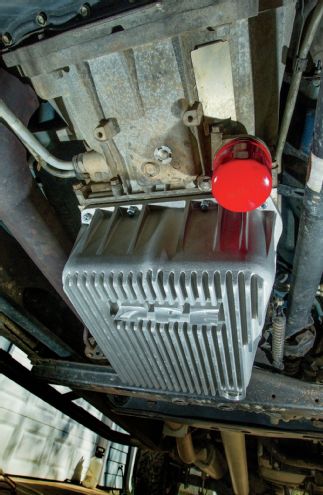
| Ppe Transmission Pan Installed
With our new deep transmission pan installed, it’s time to refill the Allison with AC Delco Dexron VI fluid. With 9 quarts of fluid, we just barely spotted the bottom of the dipstick, and with just about 12 quarts we were at the high mark on the stick. The additional fluid is sure to help with the cooling of our tough Merchant Automotive MA700 Allison transmission and, with the fins on the pan, you can bet it will dissipate heat well also.
Parts List
PPE Heavy Duty Deep Transmission Pan – Raw
Fits Allison 1000, 2000, and 2400 series transmissions
Part #128051000
Starting at $329.99
PPE Heavy Duty Rear Aluminum Differential Cover – Brushed
Part #138051010
Starting at $349.99


