The Jaguar XJ6 is a luxury mid-sized saloon vehicle first sold in 1968. The XJ series was the last Jaguar model designed by founder William Lyons. Disc brakes were introduced in the Mark II series of XJ6, introduced in 1986, and have been added as a standard feature to every XJ6 since. Replacing the rotors of the XJ6's brake system is similar to other disc brake replacements and should only be done by a person knowledgeable about automotive mechanics.
Place the wheel blocks underneath the wheels opposite the end of the vehicle that will be lifted. Use a 1/2-inch ratchet wrench and lug socket to break loose the lugs on the wheel that will have the rotor replaced. Roll the hydraulic lift underneath the vehicle and lift at a structure point. Place the jack stands underneath the wheel control arms (or axle support if replacing rear rotors) and lower the hydraulic lift until the weight of the vehicle is distributed evenly amongst the lift and the jack stands.
Remove the lugs entirely from the wheel and pull the wheel of the hub assembly. Place the lugs inside the wheel and slide the wheel underneath the vehicle. Use a slotted screwdriver to gently pry off the caliber retainer clip. For newer XJ6 vehicles, use the appropriate sized Allen wrench to remove the two retainer bolts also. Use a rubber mallet to gently tap the caliper off the rotor.
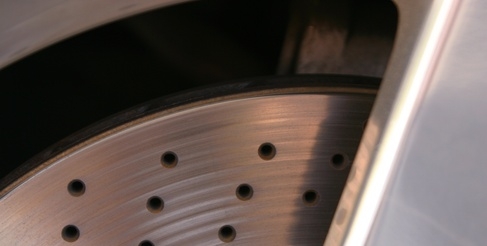
Place the caliper on the lower control arm. Pull the rotor off of the wheel assembly and discard. Replace with the new rotor, lining the drilled holes up with the hub assembly lug bolts.
Remove the brake pads from the caliper. Put a C-clamp inside the caliper near the piston unit and extend the pistons to their fully open position. Put the brake pads back into place. Push the caliper back into place, tapping it with a rubber mallet if necessary. Reinstall the metal retainer clip to the caliper and secure the two retainer bolts by tightening them to torque specifications, if used.
Put the wheel back onto the hub bolts and hand thread the lugs to the bolts. Lift the hydraulic lift to remove the jack stands. Lower and drop the vehicle and remove the hydraulic lift. Tighten the lugs to the torque specifications using the 1/2-inch ratchet wrench and lug socket. Remove the the wheel blocks.