Creating a smooth painted finish on your car with the use of spray paint, while difficult, is possible. The process takes time, requiring that you pay careful attention to each paint coating applied, making sure that each layer of paint is smooth and contains no imperfections that may show up on the next layer. Any mistake in the process will require you to sand away all the paint and begin again. If done correctly however, the process can produce a finish that’s of car-show display quality.
Mask off the specific car panel that you’re painting. The painting process is easier to control when painting the car in sections. Place painter’s paper over all surfaces that you are currently not painting, using masking tape to secure the paper in place.
Prime the car’s surface with a layer of sandable polyester primer. Paint the primer onto the car using a paintbrush, applying the primer in three or four thin coats until you build up a solid layer that conceals the surface of the vehicle. Spray a layer of black lacquer paint onto the primer, covering it completely and then allow the primer to dry onto the car overnight.
Sand the primer coat with 220-grit wet/dry sandpaper attached to a rigid sanding block. Keep the sandpaper dry as you go over the primer, creating a smooth surface for adhering the rest of the paint coats to. Wipe the surface of the car with a wax-impregnated tack cloth to remove the sanding residue, and then spray a second coat of the black lacquer paint onto the car body. Wait a second night for the primer to dry.
Sand the second primer coat with 400-grit wet/dry sandpaper. Keep the paper wet as you did with the first sanding, and remove any imperfections in the second primer layer. Create a perfectly smooth coat of primer for the final coat of paint to rest on. Wipe the surface with the tack cloth to remove residue from the sanding process.
Use a grease remover on the car to remove any oils left from touching the car while sanding. Any oil remaining may interfere with the adherence of the final coat of paint, causing discolorations.
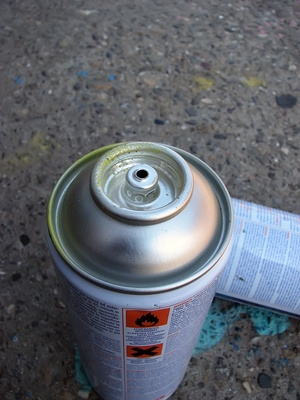
Apply your final color coat of paint to the car. Spray the coat onto the vehicle by making smooth even passes across the car panel with the spray from the paint cans. Start each pass slightly before the start of the panel, spraying across the panel and stopping the spray after you’ve reached past the panel end. Do not try to build up your final coat in one application of paint, instead use three thin layers, building one layer atop the other until you get a solid paint covering. Wait two hours drying time between after each layer of paint.
Cover the final coat of paint with a layer of clear coat paint to prevent damage to your paint job. Spray the clear coat as you did the final coat, applying thin layers of the coating until you have an even layer covering your paint. Wait overnight for the clear-coat layer to cure.
Smooth the clear coat layer with 2,000-grit wet/dry sandpaper. Sand the clear-coat with the sandpaper, keeping the paper wet throughout the process to remove any imperfections in the paint. The sanding also creates a mirror clear shine when viewing the paint beneath the clear coating. Wipe with a tack cloth and let the clear coat sit for three hours to finish curing.
Repeat the painting process on unpainted car areas until the entire vehicle is completed.
Polish the clear-coat to a high gloss. Apply car polish with a cotton rag and then wait for the polish to become hazy as it dries. Buff the polish away with a buffing cloth until the clear-coated finish shines.