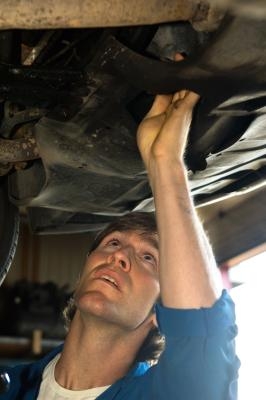
Unlike transaxles of front-wheel drive vehicles, the transmission of rear-wheel drive vehicles can be removed from the engine without having to first remove the motor. Transmission are attached to the underside of the vehicle with mounting bolts that connect a flange on the transmission to mounts on the vehicle's frame. The transmission is connected to the engine via a flex-plate, or flywheel, bolted to both the transmission and engine. Using common hand tools you can remove a transmission from the motor of a rear wheel drive vehicle in about an hour.
Park the vehicle on a level spot. Block both front wheels of the vehicle with the wheel blocks. Disconnect the vehicle's negative battery with a socket wrench. If the vehicle has an automatic transmission, place the drain pan under the transmission and remove the transmission fluid drain plug. Replace the plug after the fluid has drained.
Raise the rear wheels of the vehicle with floor jack. Place the jack stands under the vehicle's rear axle, with one stand just inside each of the vehicle's rear wheels. Release the jack and lower the vehicle onto the jack stands. Check to be certain the axles are set solidly on the stands and the bases of the stands are set squarely on the ground. Set the vehicle's gearshift to "Neutral."
Spread the ground cloth under the vehicle. Crawl under the vehicle and hang the work light on the vehicle's frame where it will be out of your way while still providing adequate illumination of the work area.
Remove the transmission cooling lines -- from an automatic transmission -- and disconnect the speedometer cable from the transmission housing with a box-end wrench.
Disconnect the starter mounting bolts with a socket wrench and pull the starter free from the flywheel. Run the rope through one of the mounting bolt holes on the starter and tie the starter to the vehicle's frame where it will be out of your way. Keep tension off the starter's electrical connection wires when tying the starter.
Remove the bolts from the ends of the transmission support bar that runs across the vehicle's frame, perpendicular to the transmission, with a socket wrench. Pull the bar from the frame. Remove the attachment bolts from the universal joint coupling where the driveshaft attaches to the rear of the transmission. Pull the universal joint free from the mount and place the joint in the plastic bag to prevent it from becoming contaminated with dirt. Tie the driveshaft to the vehicles frame with a length of rope.
Locate the flywheel bolt access slot on the front of the transmission's bell housing. Rotate the flywheel, with your hands, until one of the attachment bolts line up with the access slot. If the flywheel is too difficult to turn with your hands, use a large screwdriver to gain leverage. Insert the end of a screwdriver into one of the holes on the flywheel and apply steady, gentle pressure using the transmission's bell housing as a fulcrum. When the first mounting bolt lines up with the access slot, remove the bolt with a wrench. Continue rotating the flywheel until you have removed all the attachment bolts from the flywheel.
Place the floor jack under the center of the transmission and raise the jack until it makes solid contact with the base of the transmission. Do not place the jack under the fluid pan as the weight of the transmission will cause a dent in the pan. Remove the nuts from the mounting bolts on the transmission's mounting flange and bracket with a wrench. Raise the jack to lift the transmission just enough to release pressure on the mounting bolts. Remove the bolts, using a wrench if necessary; the transmission is now free from the vehicle. Lower the transmission by slowly releasing pressure on the jack.