There can't be many readers who aren't aware by now of the benefits of installing insulation in their rod or custom. Not only does it reduce vibration-induced noise, such as road noise, body panel vibration, exhaust droning, or the noise from an air suspension pump, but it can drastically reduce heat inside the vehicle too. It also has the benefit of providing the solid feel of a high-end new car, rather than a noisy, rattling old jalopy.
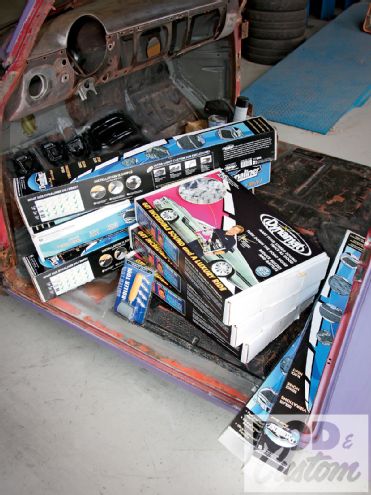
Probably the most well-known manufacturer of such insulation is Dynamat, thanks to their advertising campaign, their project vehicles, and their product endorsement by well-known builders. Then there's the fact that the product just plain works, and works very well. In fact, our hobby is not the only area where Dynamat is used, as it can be found in cars, buses, ships, and railroad cars, as well as home appliances and computer equipment. However, while the company is known for Dynamat, it offers other thermal and acoustic barrier products, such as Dynaliner, a lightweight insulator designed for use on top of Dynamat, which I'll also be installing, as well as DynaPad, DynaSpray, and DynaDeck. Visit the Dynamat website for information on the products not shown here.
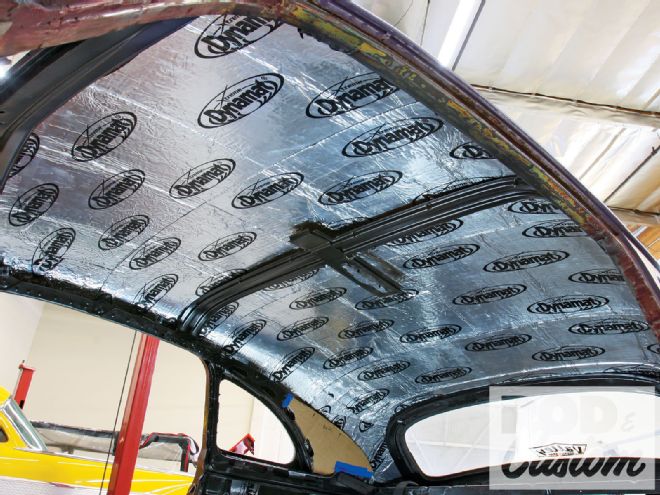
OK, let's get technical for a second. Dynamat Xtreme is a patented, lightweight elastomeric butyl and aluminum constrained-layer vibrational damper with an optimum temperature range of 14 to 140 degrees F, though it is capable of withstanding extremes of minus 54 degrees F and 300 degrees F. It can be applied in patches, covering 25 to 50 percent of the area to keep a specific panel from resonating, or applied over an entire area, as I chose to do, to create a sound barrier and vibrational dampener. Dynamat claims complete coverage of a vehicle can reduce road noise by as much as 18 dB.
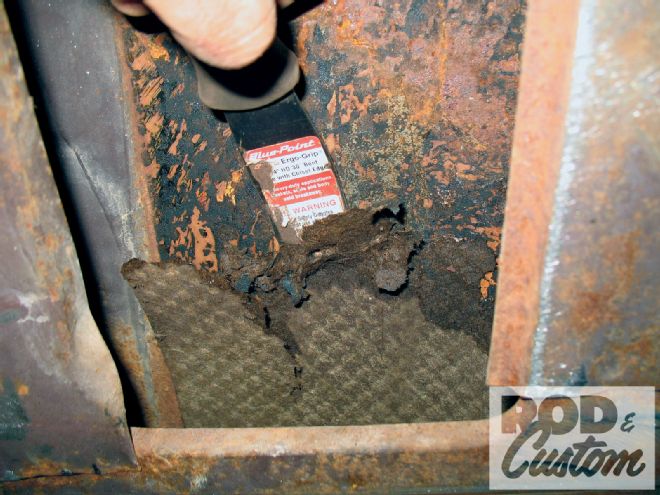 In a similar vein to paintwork, preparation is key to the success of installing sound and heat insulation. All the old sound deadening pads were scraped off the inside of all body panels. Be aware, however, that it's easy to dent the metal with a scraper, putting raised spots in the outside bodywork!
Dynamat can be cut to shape with a razor knife or scissors and applied directly to painted panels, or to clean, bare sheetmetal before painting. If applied over paint, remember adhesion will only be as good as the paint's adhesion to the panel. The application surface should be at room temperature and free of moisture, grease, dust, and flaky paint, then cleaned with a suitable panel wipe or de-greaser.
Dynamat recommends cutting the mat to shape before peeling off the release liner, but I found that sometimes it was easier to trim the mat after it was installed, especially over complicated areas such as the raised floor under the rear seat. In other areas, making templates first and cutting the mat prior to application definitely helped. The easiest way to apply the extremely sticky mat is to bend it slightly and install the shortest edge first, pressing it into place then using a roller tool to work toward the opposite edge. However, in the real world this isn't always possible, but if it's not pressed down too hard at first, the mat can be pulled up and re-laid. The roller tool will help eliminate any air bubbles, which reduce the mat's sound-damping capacity, though these can be removed as I'll show. As with most jobs, preparation is everything, and I probably spent as much time scraping, grinding, sanding, and cleaning as I did applying the Dynamat and Dynaliner. Now I'm looking forward to a solid, quiet, and most importantly, cool ride this summer.
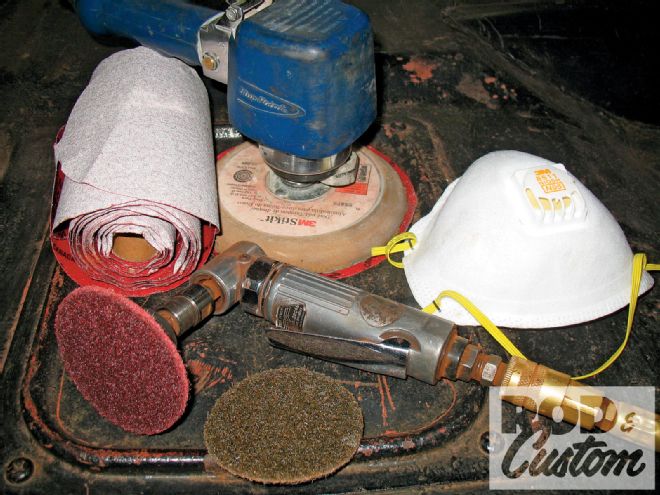 All panels that would be receiving Dynamat were sanded for good adhesion. I used 80-grit DA discs and Scotch-Brite pads on a mini air grinder, not forgetting to wear a good-quality mask.