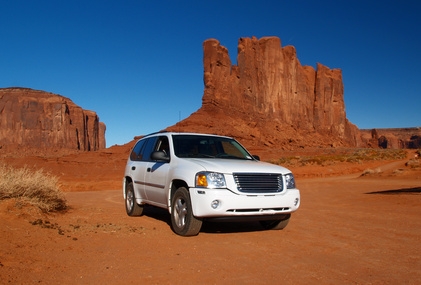
The Chevrolet S-10 Blazer was introduced in 1983. The "S-10" nameplate was removed from the 1996 Blazer, as the full size Blazer became the Chevrolet Tahoe that model year. The 2000 Chevrolet Blazer was equipped with a 4.3-liter V-6, capable of producing up to 190-horsepower and 250-foot-pounds of torque. The 2000 Blazer was available in 2-wheel and 4-wheel drive options. The 4-wheel drive version was equipped with front drive CV-shafts or stub axle shafts. Removing a CV-shaft should take about 1 to 1 1/2 hours to complete, even if you have never done this before.
Remove the wheel nut torque from the front side of the vehicle you are going to be working upon. Loosen the lug nuts to remove the initial torque with a tire iron. Lift the front of the Blazer using a 2-ton jack or a jack with greater capacity. Place a jack stand beneath the front frame rail of the SUV, underneath the side on which you are working. Remove the wheel lug nuts with a tire iron, and remove the wheel assembly completely.
Loosen the spindle or axle nut from the Blazer, using a 1/2-inch breaker bar and a 36-millimeter spindle nut socket. Turn the nut counterclockwise, until the outer face of the nut lines up with the end of the axle.
Remove the caliper mounting bracket bolts from the rear of the steering knuckle, using a 3/8-inch drive ratchet and socket. The caliper bracket are not on the backside of the caliper, but are mounted directly behind the rotor onto the steering knuckle. Remove the entire caliper and bracket assembly, using a pry bar to assist if necessary. Hang the caliper and bracket assembly from the front strut spring, with a metal clothes hanger or thin metal rod. Do not let the assembly hang freely or you will damage the brittle rubber brake hose attached to the caliper.
Remove the brake rotor by pulling it free by hand. Hit the end of the axle with a large rubber mallet, until the CV-axle pops free from the wheel cylinder. Push the CV-shaft inward towards the transmission by hand, in order to expose the lower ball joint nut. Remove the lower ball joint nut from the end of the lower control arm, using a 3/8-inch drive ratchet and socket. Pull the nut completely off of the ball joint assembly.
Hammer the front edge of the lower control arm, with a hammer or miniature 3-pound sledge. Hit the control arm in a motion downward and toward the rear of the Blazer. Continue this hammering until the lower ball joint pops free from the steering knuckle, and the lower control arm drops down from the knuckle.
Remove the spindle axle nut completely form the outer end of the stub axle. Push CV-axle inward through the steering knuckle and wheel bearing assembly, by hand. Use one hand to push the axle from the front, and use your other hand to pull the steering knuckle outward from the axle.
Place a small pry bar between the inner end of the CV-axle and the transmission. Pry the CV axle free from the transmission, with the pry bar. Hold the CV shaft in your second hand so that it does not just drop out of the transmission. Remove the CV-shaft completely from the Blazer.