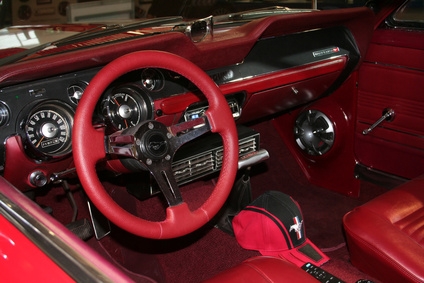
Steering columns have the important function of housing the intermediate steering shaft that connects to the steering wheel. The steering wheel, column and its components probably get more manual handling than any other part of the vehicle, along with the brake and accelerator pedal. The shaft inside the column extends from the splined end of the steering wheel down to the steering box, which activates the turning linkage under the chassis. The ordinary do-it-yourself repair person can pull a steering column out of a Chevrolet vehicle.
Place the vehicle in park, if it is an automatic transmission. Place it in neutral if it is a manual transmission. Raise the hood, and disconnect the negative battery cable with a socket. Remove the ignition key from the steering column if it has a column-mounted ignition tumbler. Go to the engine compartment, and locate the intermediate steering shaft where it comes through the firewall and connects to the steering universal joint. Refer to your owner's manual for its location.
Look at the small retaining clamp that holds the steering shaft into the spline socket of the steering universal joint. It has a small cotter pin set through a castellated nut. Spray penetrating oil on the retaining clamp and bolt. Use pliers to pull the cotter pin out of the nut. Use a socket to loosen the nut until it comes to the end of its thread, but do not remove it completely. Use a large flat-head screwdriver to pry the clamp open so the shaft will slip out.
Look underneath or next to the retaining clamp for the transmission linkage arm that comes through the firewall. Determine how it connects to the transmission linkage joint; it will have a nut and bolt, a cotter pin or a retaining clip. Use a socket to remove the nut, or a pair of pliers to remove the cotter pin or retaining clip.
Go to the inside of the vehicle cabin on the driver's side, and position a shop light so you can see underneath the dashboard. Look for any component that will impede the removal of the column, such as a wire harness or a heater duct or hose. Push the wire harnesses out of the way.
Loosen the clamps on the heater hose ducts with a screwdriver, if they cross closely to the column. Disconnect the wire jacks that follow the steering column up to the steering wheel, including the main ignition wire and turn signal jacks. Unsnap them by hand. Look for any additional wire connected to the steering column, and disconnect it.
Use a socket and wrench to loosen and remove the four bolts on the frame plate that holds the steering column to the firewall. It will be at the lower part of the firewall; the column will end at the plate location. Look under the dashboard for the U-shaped steering column clamp that holds the column to the dashboard frame.
Loosen and remove the two stud nuts with a socket and wrench. Let the steering column fall onto the front seat. Adjust the front seat back. Pull the steering column straight back and out. Turn the column, and pull it through the driver's door opening.