The Chevy idler arm bolts onto the engine block and the idler pulley. The arm is used as a pivot for the pulley. As the serpentine belt starts to stretch, a spring pulls down on the idler arm and pulley, thus creating tension on the belt. This prevents the serpentine belt form slipping on the engine's accessory pulleys. Over time, the idler mechanism wears out; and when it does, the serpentine belt could start to slip. Therefore, replacing the Chevy idler arm along with the idler pulley is the best way to correct the problem.
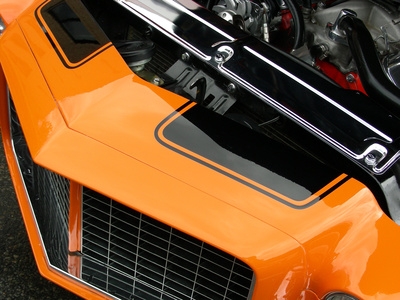
Locate the idler pulley on the lower half of the engine. The pulley has a square hole in the center of it and does not connect to any engine accessories.
Place a 3/8-inch ratchet driver from the socket set into the square hole on the Chevy's idler pulley.
Pull up on the ratchet handle and remove the serpentine belt from the idler pulley. Do not remove the belt from any of the other pulleys.
Remove the bolt that secures the idler arm spring to the idler arm with a socket and ratchet. Do not remove the bolt that secures the spring to the engine block.
Unscrew the two bolts that secure the idler arm to the engine block with the socket and ratchet.
Remove the idler arm from the engine bay and place the new idler arm against the engine block.
Secure the idler arm by threading the two bolts through the arm and into the engine block with your fingers. Tighten the bolts with the socket and ratchet.
Secure the idler arm spring to the new idler arm with the bolt, socket and ratchet.
Place the 3/8-inch ratchet driver into the square hole on the idler pulley and pull up on the handle. Slide the serpentine belt over the pulley.
Lower the pulley into place and remove the ratchet from the pulley.