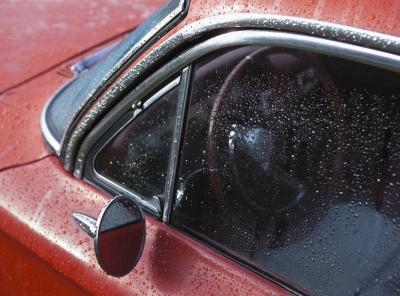
Car trim includes all of the shiny metal pieces (also called chrome) that are attached to the vehicle. This trim provides an attractive appearance to the car as well as disguises any unfinished edges of metal. The trim is typically attached with special adhesive or screws or a combination of the two. After you remove the car trim, you also must remove the leftover adhesive that is still attached to the surface of the car.
Move the car to a well-ventilated location, preferably outdoors. Put on disposable work gloves to protect your hands from the chemicals and a mask to prevent inhaling the fumes.
Open a bottle of adhesive cleaner that is safe to use on painted surfaces. Apply 3 to 4 tablespoons of the remover to a soft cloth until it is saturated.
Press the cloth to the car and blot all areas of the adhesive.
Wait for approximately 5 to 10 seconds to allow the remover to begin to dissolve the adhesive.
Rub a clean, dry cloth firmly against the surface of the adhesive until parts of it start to come off. Reapply additional remover to the cloth as needed and continue rubbing until all of the adhesive comes off of the car's surface.
Wipe the surface of the car with the cloth containing the adhesive remover to remove any remaining traces.
Fill a bucket with 1 gallon of water and 1 to 2 tablespoons of dish soap. Dip the sponge into the bucket and squeeze the sponge gently.
Wipe the surface of the car with the sponge to remove all traces of the adhesive remover and then dry the area with a clean, soft towel.