To maintain clean fuel injectors, the fuel filter needs to function properly, as does the screen on the bottom of the fuel pump in the fuel tank. To prevent problems with clogged injectors in your Honda Civic, keep its fuel filter clean and add fuel injection cleaner to the gas tank. Dirty fuel injectors can cause a series of problems, including misfires, poor acceleration and poor fuel economy. If you have experience as a home mechanic, you can clean the fuel injector yourself with a few supplies.
Pour a bottle of fuel injector cleaner into a full tank of fuel. One bottle every couple months is good practice for preventative maintenance. Fuel injection cleaner works well for preventing dirty injectors, but it is little help in fixing an existing problem.
Remove the fuel pump fuse from the fuse and relay box on the driver's side fenderwell. There should be an illustration of the fuse locations on the bottom of the fuse box lid. If the lid is not present, the fuse location is illustrated in the owner's manual.
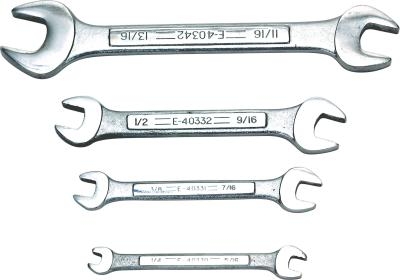
Remove the cap on the Schrader valve, located on the top of the fuel rail above the injectors. If there is no Schrader valve on the fuel rail, remove the fuel inlet line from the fuel tank to the fuel rail, using a wrench.
Remove the largest fuel line that runs from the fuel filter to the fuel rail. The smaller fuel line, on the opposite side of the fuel rail connected to a valve, is the return line. This allows excess fuel to return to the tank.
Start the engine. Let it run until is runs out of fuel.
Remove the valve core inside the shrader valve so the injector cleaner in the can will enter the fuel rail unrestricted. To do this, insert the shrader valve remover in the valve and turn it counterclockwise to unscrew the valve core.
Connect the fuel line contained in the fuel injector cleaner kit to the shrader valve. Just thread the end on the valve. If there was no valve, look in the kit and get the appropriate adapter that will connect to the open end of the fuel rail, where the regular fuel inlet line was removed. Install the adapter to the end of the fuel rail.
Thread the injection cleaner fuel line to the adapter. Screw the can of professional injector cleaner to the injector cleaner line fitting by threading it clockwise. Shake the can a few times. Turn the top knob all the way clockwise to puncture the can and open the valve to begin the flow of cleaner.
Hang the can from the hood with the supplied strap. Start the engine and allow it to run until the can is empty and the engine quits. Turn the ignition off. Remove the empty can of injector cleaner and dispose of it properly. Remove the injector cleaner hose from the fuel rail. Remove the adapters as well, and place them back into the kit.
Install the Schrader valve core using the core installation tool. If the fuel inlet line needed to be removed to gain access to the fuel rail, connect the inlet fuel line to the rail and tighten the fitting with a wrench. Install the fuel pump fuse in the fuse relay box on the driver's fenderwell.